Do you love the look of painted canvas, but don’t have the budget to buy one? DIY this easy birch tree painting to add to your home decor.
Struggling with finding the perfect paint color for your home? My design guides are available for free to my newsletter subscribers. Grab my Free Paint Guide and FINALLY pick a wall color that you love!
Do you know one of the easiest ways to lighten a dark room?
Add some light colored art work.
The need for a lighter picture in our downstairs bathroom was one of the motivations behind this birch tree painting. We intentionally painted our bathroom a dark color to contrast the white tile in the shower, but I wanted to add a few more bright elements in the bathroom.
I have loved the look of painted birch canvas, so I decided to try my own hand at creating my own.
This post contains some affiliate links for your convenience (which means if you click a link and make a purchase I will earn a small commission at no extra cost to you). Please see my disclaimer page for more information.
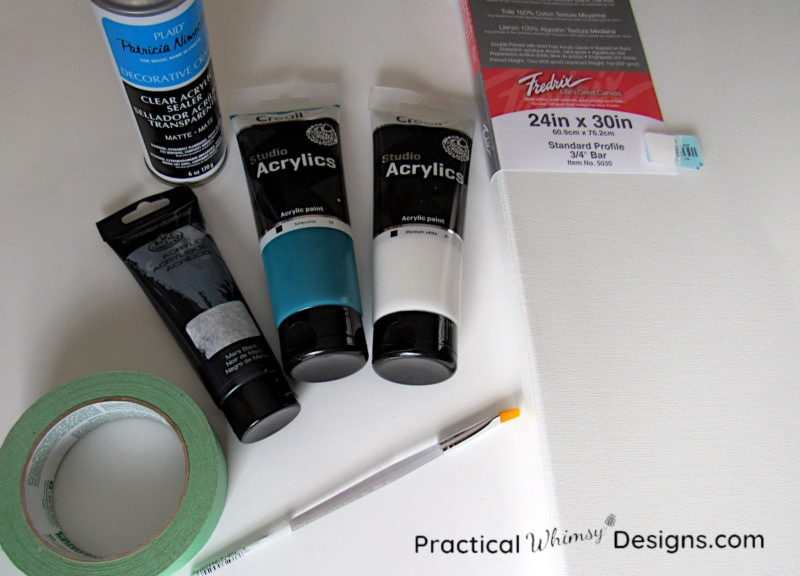
Materials You Need:
- Canvas (I used this brand of 24in x 30in primed canvas)
- Painters Tape
- Acrylic paint (White, and black are essential. Then grab whatever colors you want to use on your canvas. I used this color mixed with white and green for my background.)
- Paint brush (I used a flat, wide size 10 artists brush)
- Pan to mix colors if you desire (I used an old pie tin)
- Acrylic paint sealer
- Print out of birch trees (opt., but handy to remind you what a real tree looks like)
Steps to Make Your DIY Birch Tree Painting
Step 1: Tape your trees
Take your painters tape and tape strips from the bottom to the top of the canvas where ever you want your trees to be. Make sure you use painters tape! This tape is designed to peel off easily when you are done with a project and it doesn’t leave sticky residue on things.
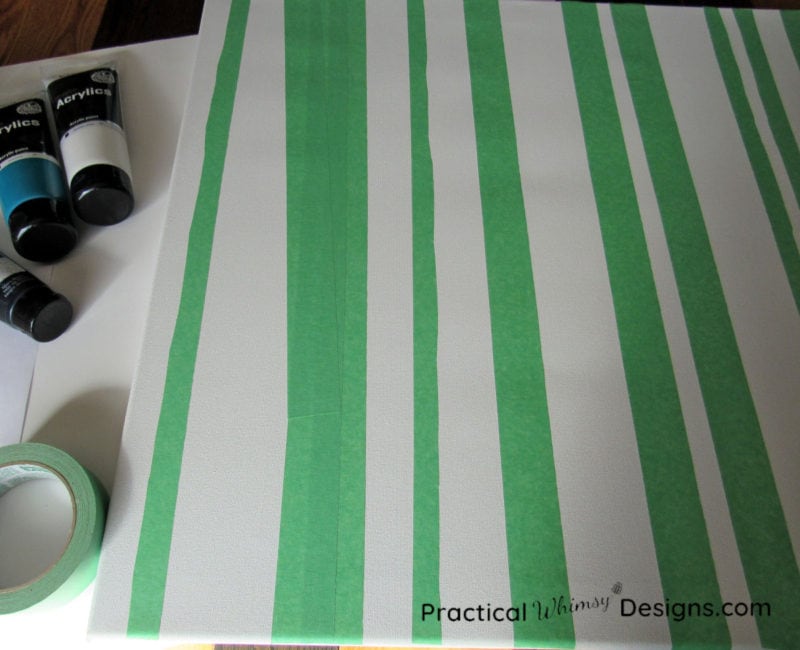
I cut some of my strips in half to create different sized trees. That way they weren’t all the same width. If they aren’t perfectly straight, don’t worry about it. Trees aren’t straight either. 🙂
Smooth the tape edges down so that you have a clean, crisp edge to follow.
Step 2: Paint your background
This can be as difficult or as easy as you want. The simplest is to stick with one color as your background.
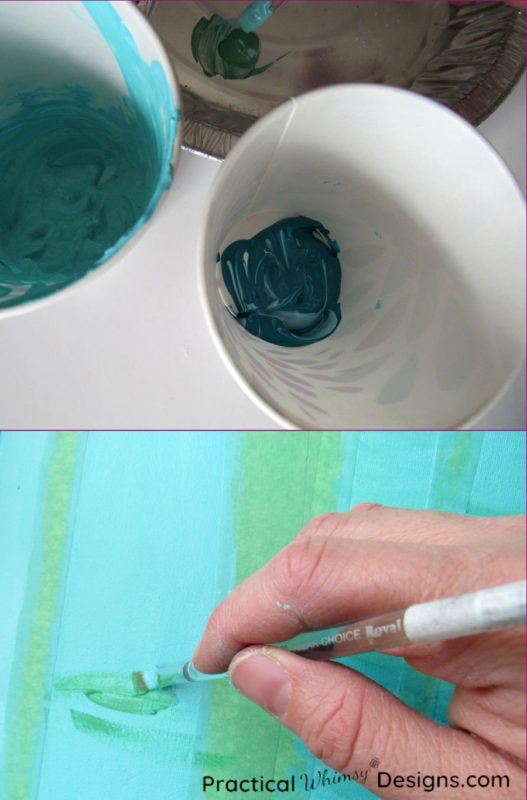
You can either purchase this color or try mixing colors depending on your level of confidence.
Just remember: Acrylic paint dries quickly, so if you are mixing colors, make sure you can use the paint fast enough or that you keep track of your mixing ratio if you need more of that same color.
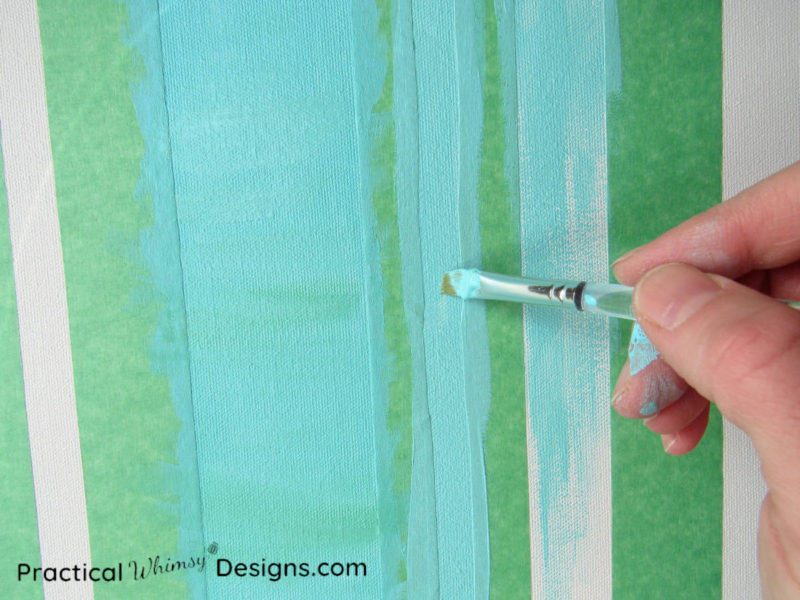
Now, if you want a little more variety in your background, you can blend multiple colors together. I achieved this by dipping my paint brush into darker colors and then dipping the brush back into my base color. Only get a little of the dark color on your brush. Then paint the light color over the top. This was the easiest way I found to blend colors, since the acrylic paint dries quickly.
Step 3: Pull your tape off
After painting your background, pull the tape off of your birch tree painting to reveal the white strips underneath. These will be the base for your trees.

I waited until the next day because I ran out of time to pull the tape off the first day I worked on this painting and it was a lot harder to remove the tape. The paint had hardened it onto the canvas. I recommend pulling it off as soon as you are done painting your background color. Just be careful to not smudge any wet spots.
Step 4: Add detail to the birch trees
Once your background paint is dry, it is time to add some details to your trees.
Again, this can be as complicated or as simple as you want it to be.
Shading: (If you want simple, skip this step).
Use a light grey paint and paint a thin line of grey down each side of the tree.

Now, decide which direction the sun is shining on your tree and paint short sideways strokes from the shaded side to the center of your tree.
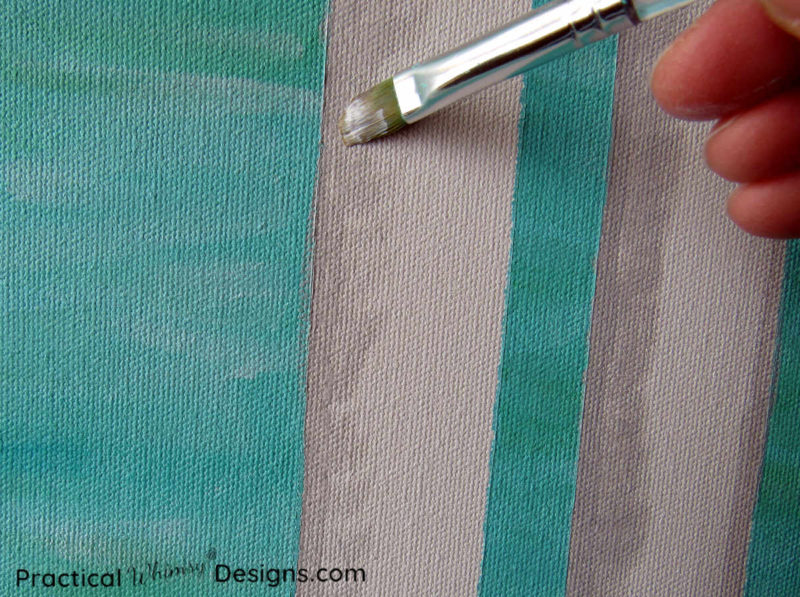
Come back over the grey with white paint to blend the grey into the tree. You don’t want the grey to stand out too drastically, so use a very light grey.
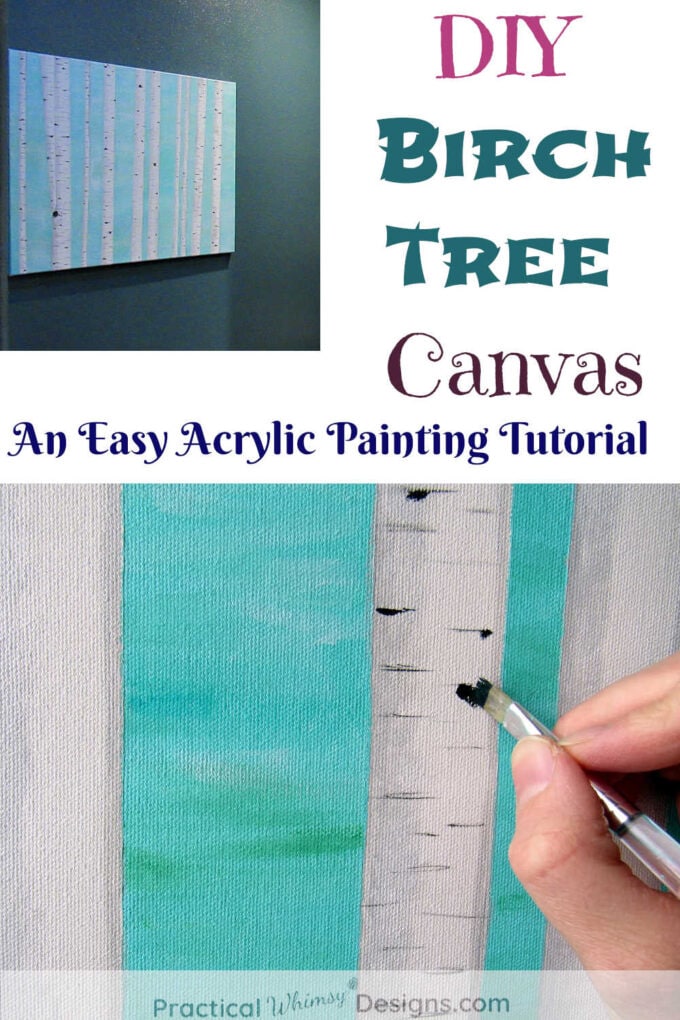
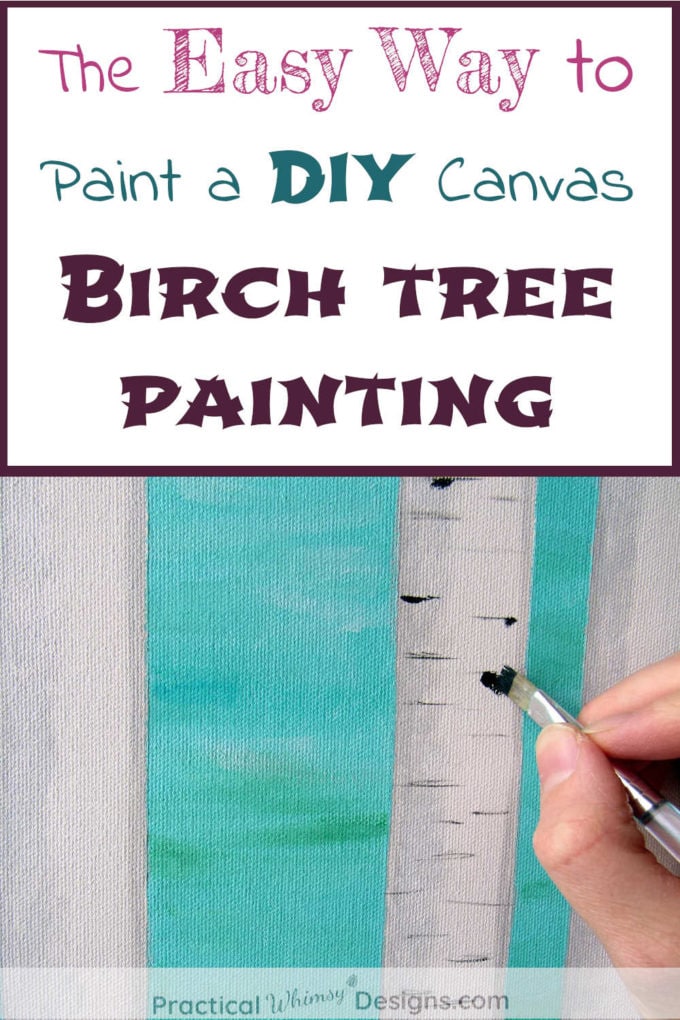
Adding Texture: Now you are going to add the characteristic to the tree that the birch is so well known for: its black knots.
Take black paint and dip the very tip of your paint brush into it. Do not use too much paint! You only need a little bit.
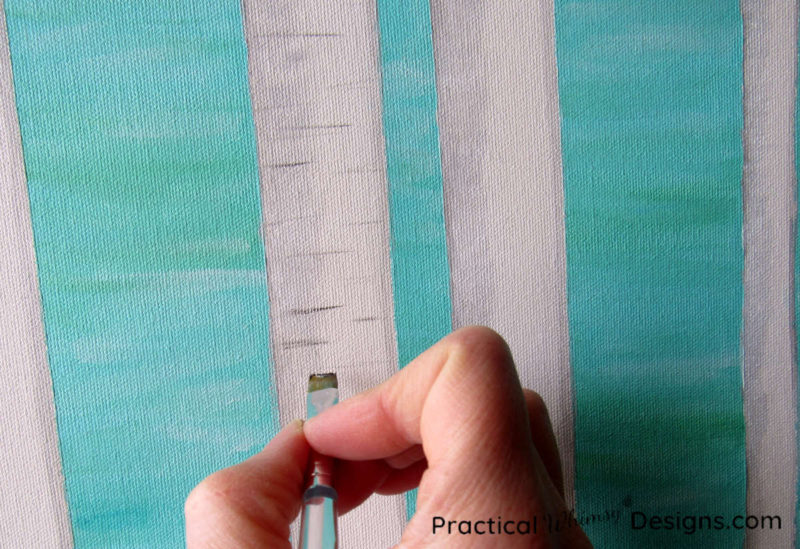
Make thin, horizontal lines on the trunk of the tree. There is no set pattern. Just bring the brush lightly back and forth.
Now, come back in and pick a few of the lines on your tree to paint black knots on them. Use small circular paint strokes to create the knots. I used the lines that were a little darker as my base for the knots.
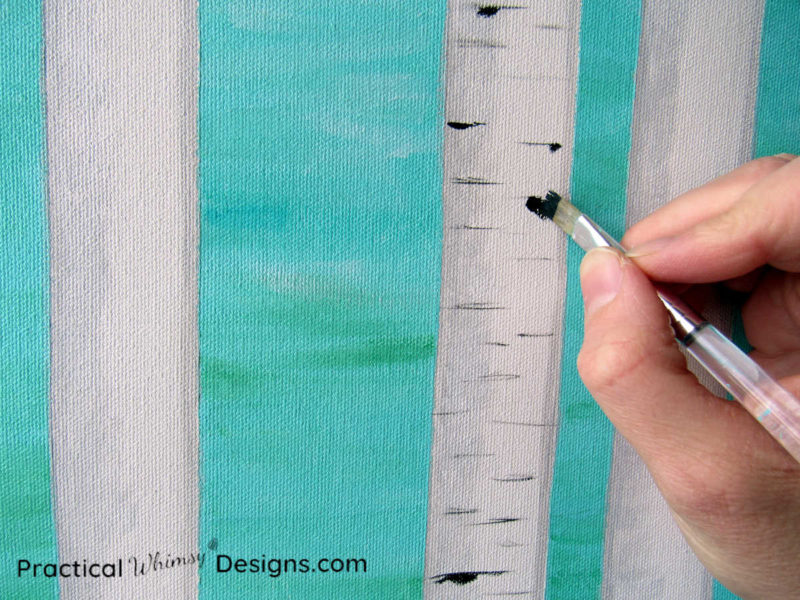
Note: It is really helpful to have a picture to look at for ideas. I printed one off a free photo website just to give me an idea of the types of patterns the knots on a birch follow.
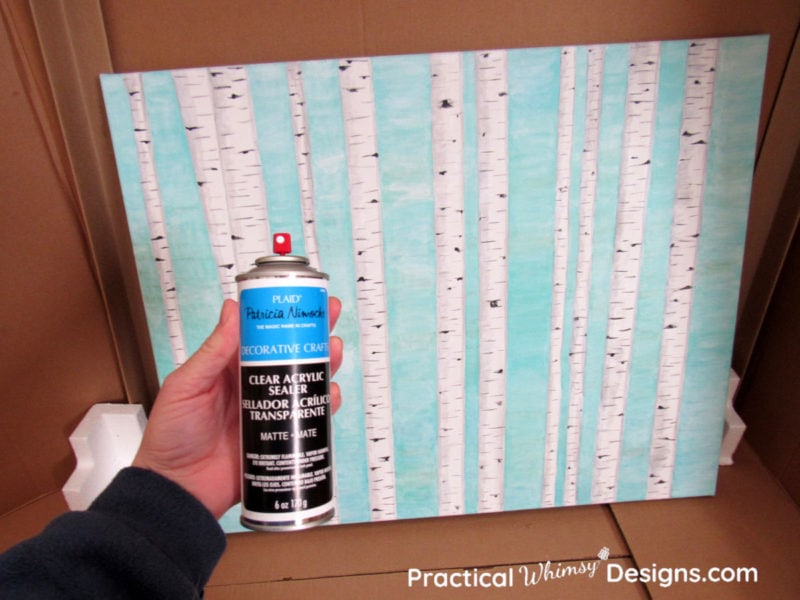
Step 5: Finish and Seal your birch tree painting
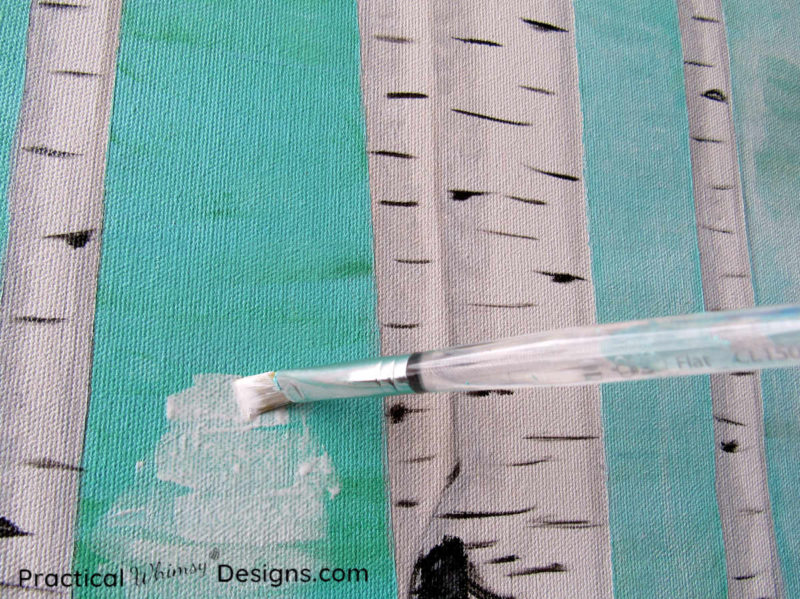
Now is the time to fix any problems your picture has. White paint is your friend! Use it to paint over any mistakes.
When I painted the background of my picture it ended up drying too dark. I didn’t like the intense paint color because it clashed with the room I wanted to hang it in. So I white washed the color to dilute it.
If you are wondering how I got this look here’s how: I dipped my paintbrush in a glass of water and then mixed that water into a small amount of white acrylic paint. I then painted this over the dried background paint and blended it in with horizontal strokes.
Once you are satisfied with the painting (or at least mostly satisfied…. Don’t be a perfectionist! The point of this is to create something beautiful and enjoy the process, as well as the result….Okay….Ending my rant.) it’s time to seal it.
Set up an area that is safe from over spray. Use acrylic sealer to lightly spray your painting. Don’t use thick coats! It is better to use multiple light coats so that the sealer doesn’t run. Read the directions on your sealer to make sure that you are applying it correctly.
Step 6: Hang and Enjoy
You just made a beautiful painting that you can be proud of! I’m proud of you for taking the time to be creative.
Now, pick a spot to put your picture and enjoy.
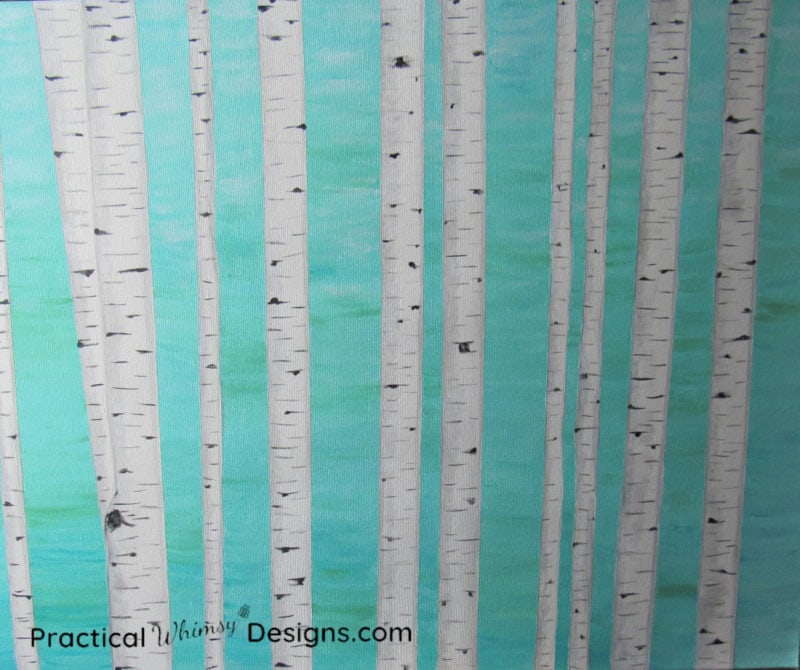
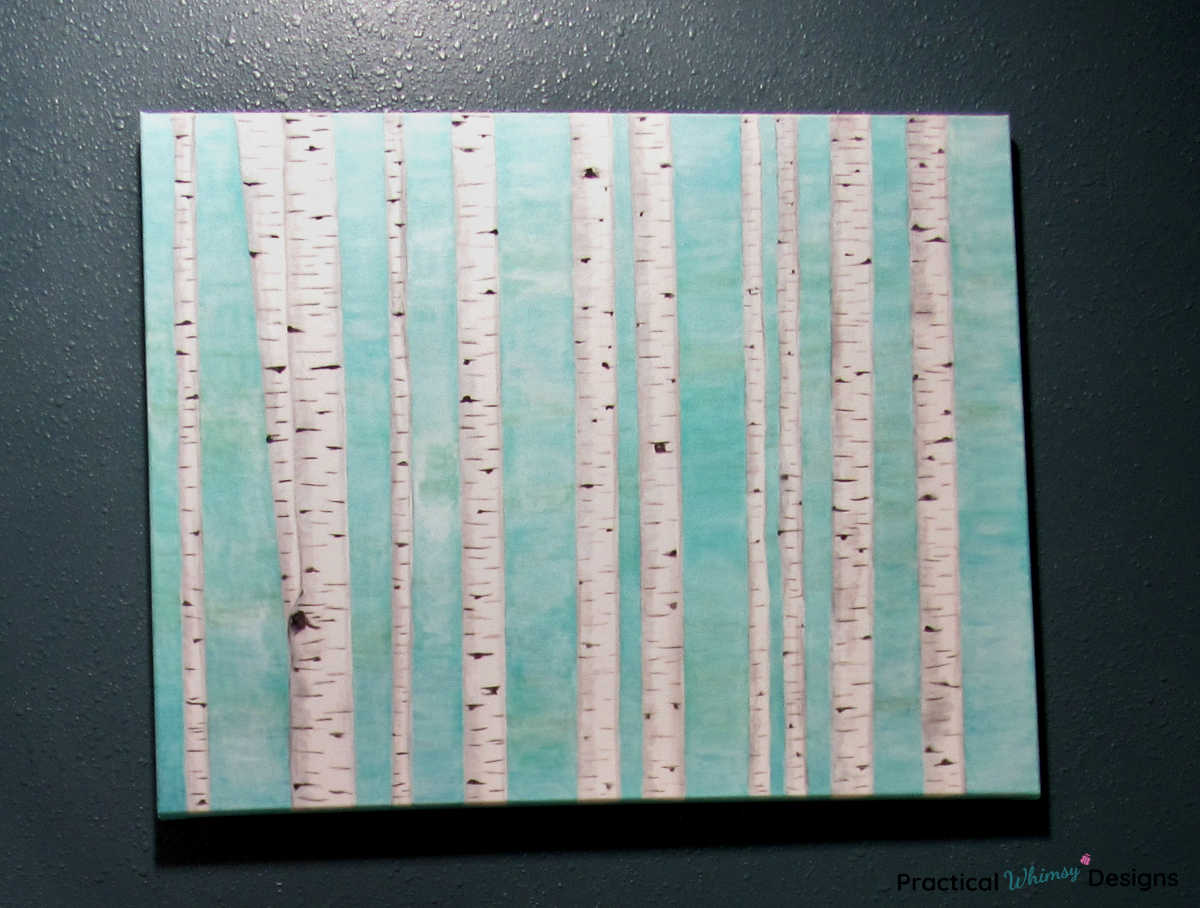
Here’s what my finished birch tree painting looks like hanging in my bathroom.
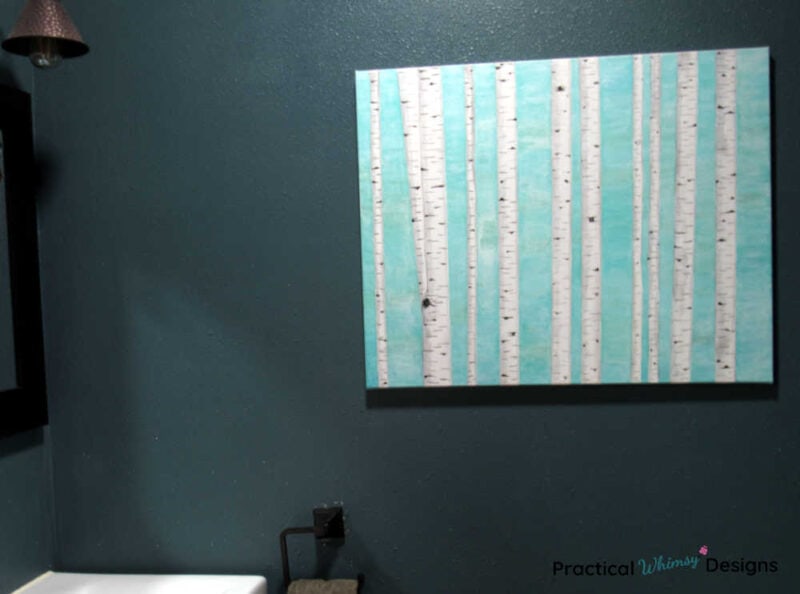
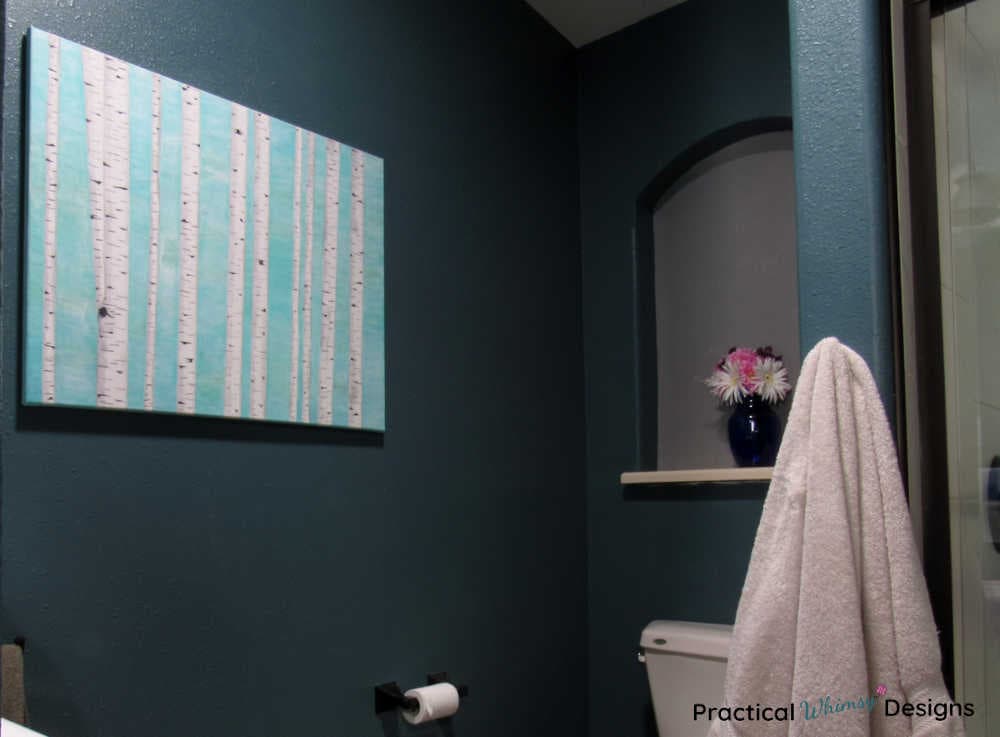
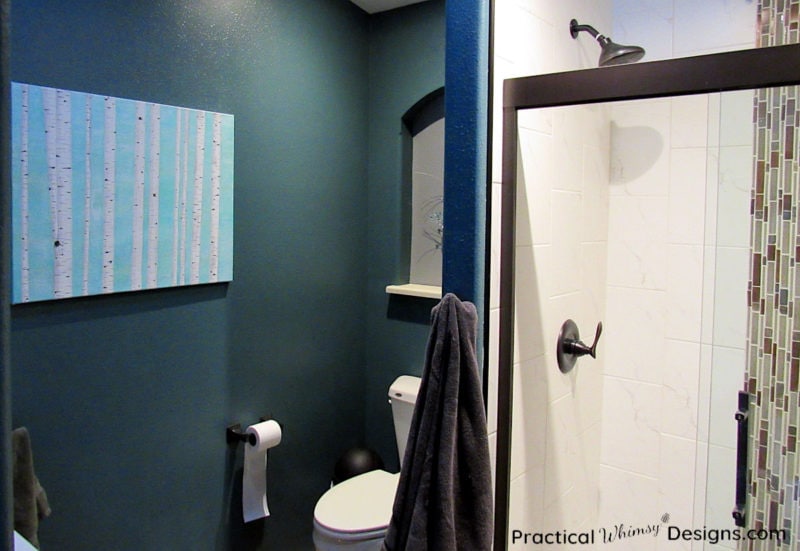
I love how it adds a bright element to the wall that was not there before.
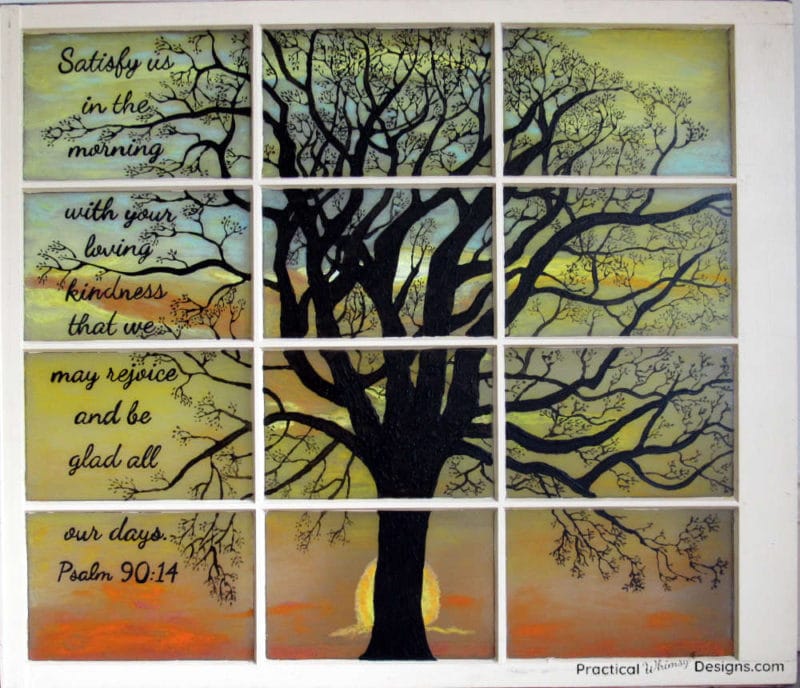
If you love to paint and are interested in another acrylic painting project, take a look at how to make a faux stained glass window art silhouette.
Want More Great Ideas? You Might Like These..


Are we friends on Instagram?
Follow @PracticalWhimsyDesigns to see more
behind the scenes projects
I am no artist but would love to make something beautiful, your steps are so good I think I can do this. Thank you so much!
I am so glad that you are thinking of trying this painting! It is always so much fun to create your own art piece.
Awesome job! Love how it turned out. Thanks for sharing! Pinned!
Thank you so much!
I’m so glad! Thank you for taking the time to read it!
I LOVE this Erin!! Thank you for the detailed explanation.