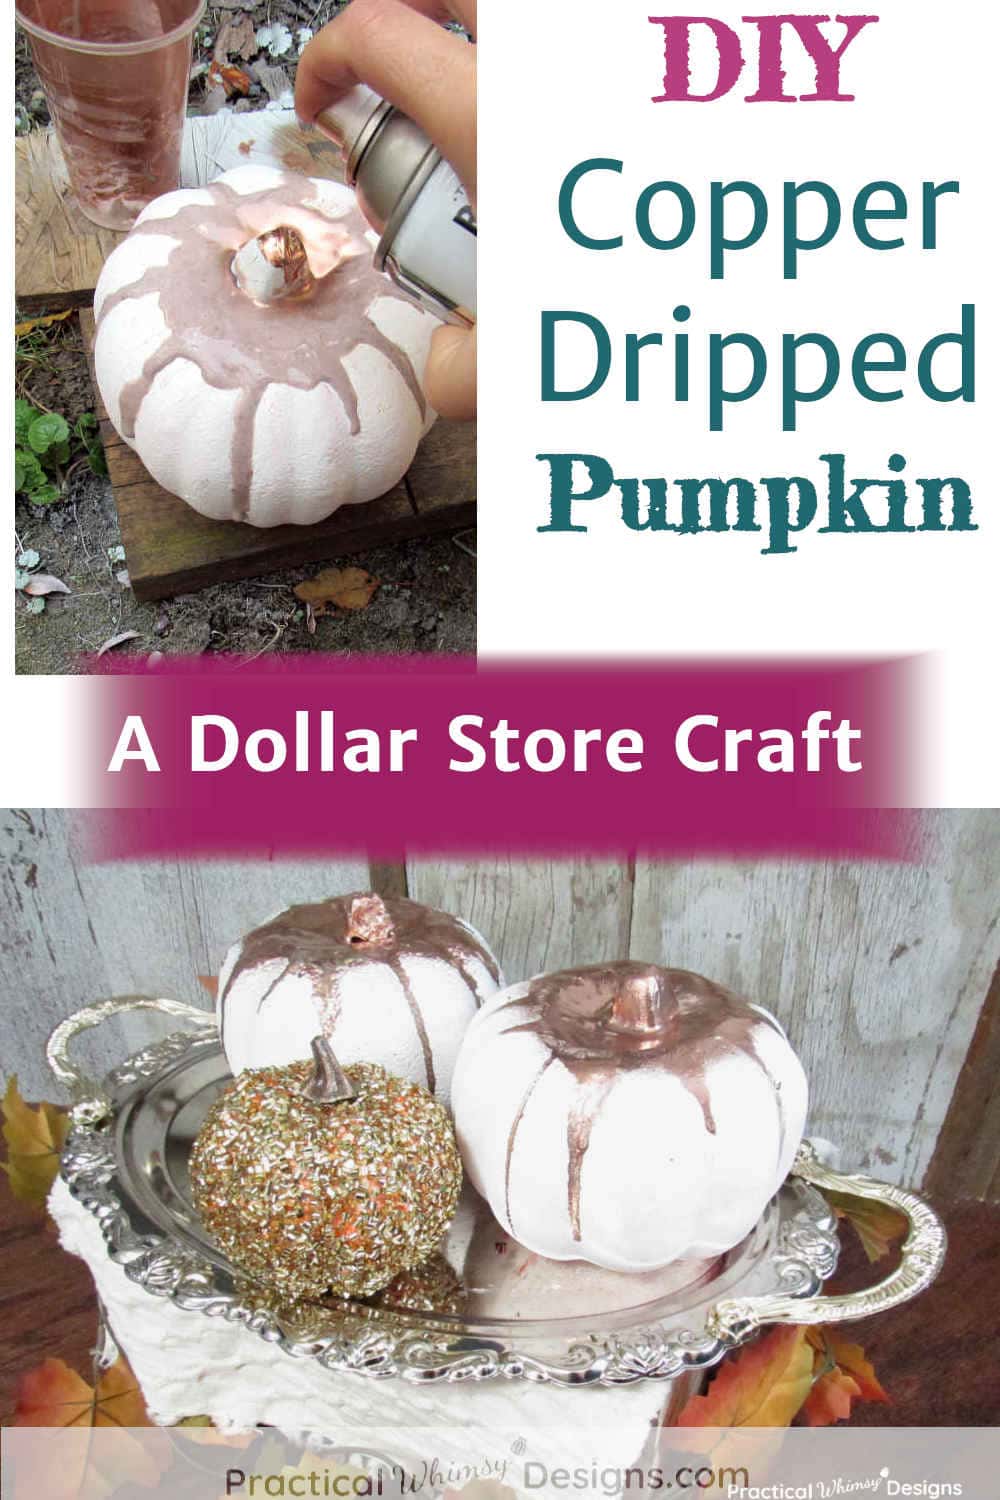
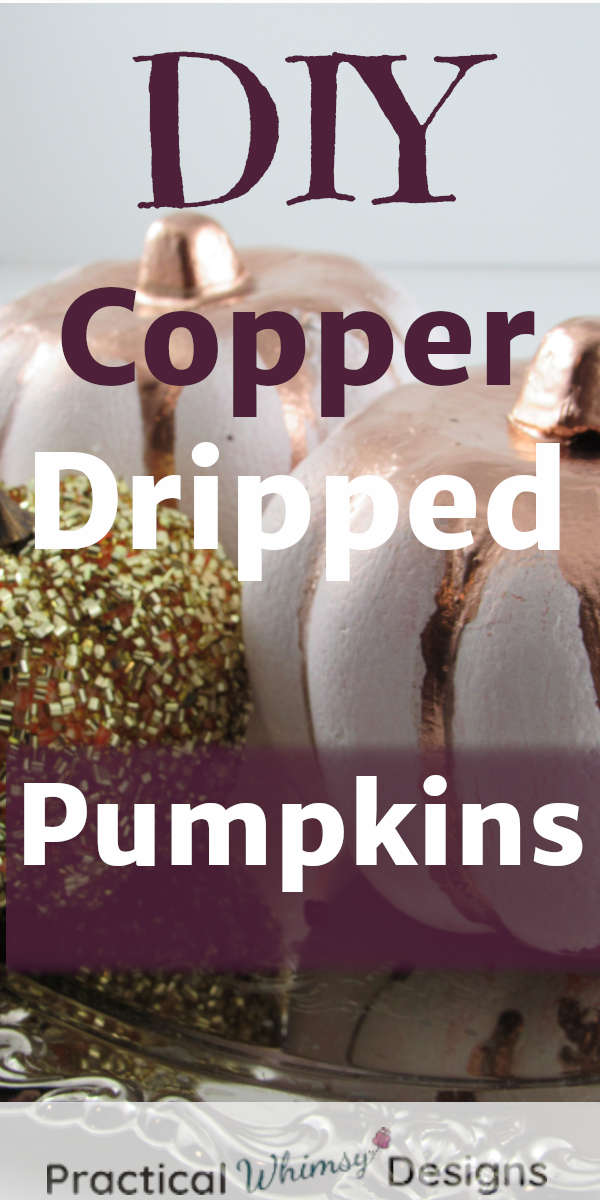
Add a little shine to your fall decor with this easy DIY. Make these thrifty DIY copper dripped pumpkins out of dollar store pumpkins.
There is something fun about fall.
In the Midwest the weather changes, the leaves change color and fall to the ground, everything is a mix of bright and cheerful colors mellowed out by warm and cozy browns. It’s a celebration of life before the long winter.
And that might be why I like decorating for fall. I’m not normally drawn to yellows and oranges in my decorating, but in fall I let that all go out the window. Bring on the orange!
This year, I wanted to try something new.
I wanted to mix different glam and fancy metallics with the rustic oranges and browns of fall.
So, to do this, I had to make a fun copper dripped pumpkin.
I purchased my foam pumpkins from the dollar store and the paint I had left over from painting this bronze vase. Even if you have to purchase the paint, this is a very thrifty decor project to make.

Speaking of thrifty, this post is part of the Thrifty Thursday Collaboration, where a group of DIY bloggers post about their thrifty decor projects. Check out the other great ideas at the bottom of this post.
This post contains some affiliate links for your convenience (which means if you click a link and make a purchase I will earn a small commission at no extra cost to you). Please see my disclaimer page for more information.
Materials You Need:
- Foam Pumpkins (I used a 5.5X 4.5 in pumpkin from the dollar store which you can buy in bulk here). You can also get foam pumpkins here or plastic craft pumpkins like these
- White acrylic paint
- Small paint brush
- Plastic cup
- Craft stick or something to spread glue with
- School glue
- Copper spray paint
Steps to Make DIY Copper Dripped Pumpkins
Step 1: Paint the Pumpkin
Note: If you found white foam pumpkins or are using plastic craft pumpkins you can skip this step.
If you have an orange foam pumpkin like me, then you need to paint it white. Use acrylic paint to paint several layers of white on your pumpkin. Let the paint dry in between coats.
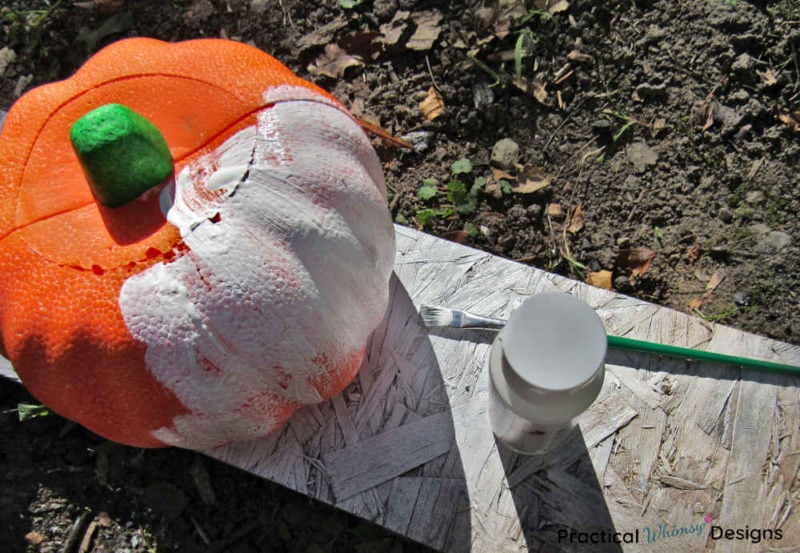
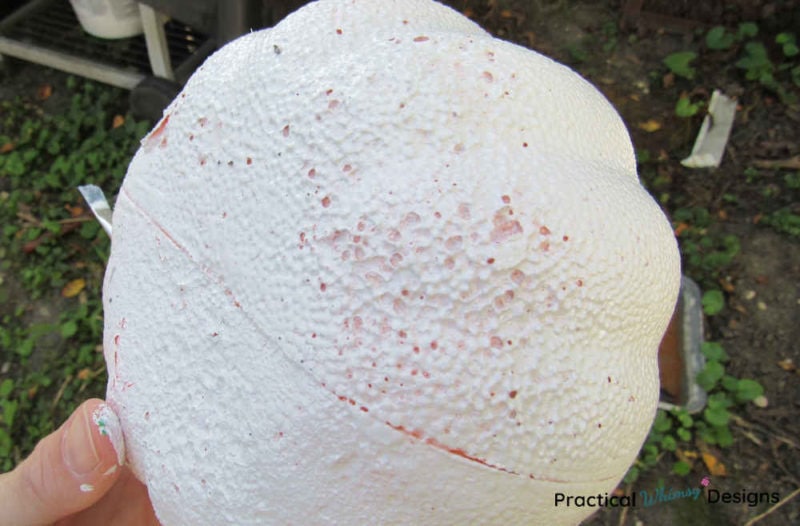
Note: Spray paint will eat away your foam pumpkin. (I learned this the hard way.) If you like the look of a slightly bumpy pumpkin, you can spray away, but if you are going for a smooth look, I would use acrylic paint.
Step 2: Mix the Glue
Now it’s time to make some drips on your pumpkin.
Take your school glue and dump 2-3 Tablespoons into the bottom of a plastic cup.
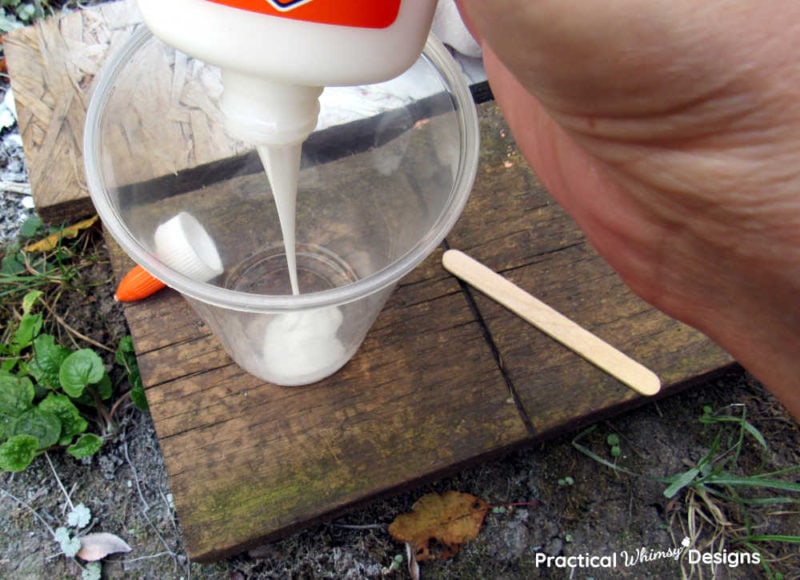
Grab your copper spray paint and spray a little paint on your glue.
Take a craft stick and mix it in.
Repeat this process 2-3 times until your glue looks like a muddy, creamy concoction.
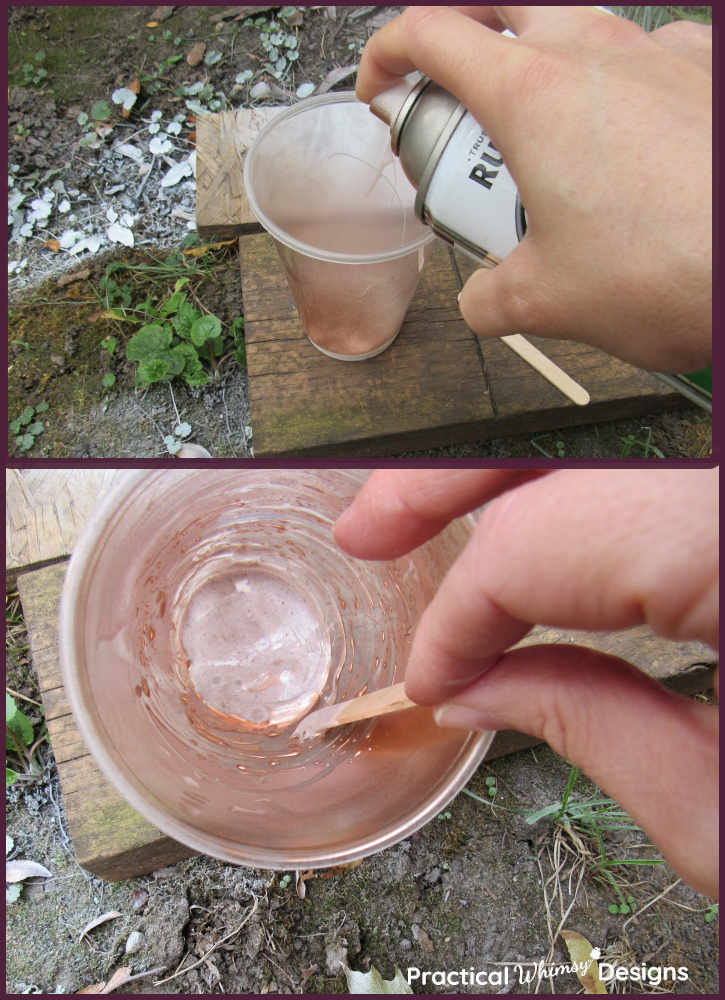
It will not be very dark, but when the glue dries, it will still have some color to it in case you miss coating some of the glue with paint later.
Step 3: Drip and Spray
Take your glue paint mixture and apply it to the top of your pumpkin.
Push the glue down some of the sides with your craft stick so that it drips down a few of the edges.

Don’t make it completely uniform! Having a variety makes it more fun.
Next, while your glue is still wet, spray copper paint on top of the glue. The acrylic paint and glue should protect your foam pumpkin from getting bumpy.
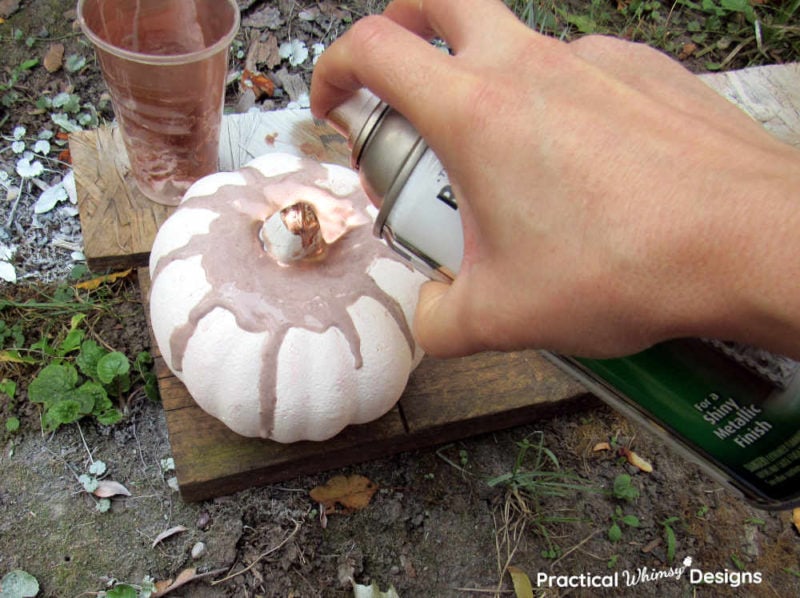
Tip the pumpkin from side to side after each spray, letting the spray paint run down the glue drops that you created earlier. Once the top of your pumpkin is fully coated with paint
Once the top of your pumpkin is fully coated with paint set the pumpkin somewhere safe to dry.
Note: It will take several days for the glue to dry underneath the paint you coated over it. If you are decorating with the pumpkin, make sure to place it somewhere where it won’t be bumped or touched until it is finished drying. (I also learned that from experience. 😂)
The Final Touches
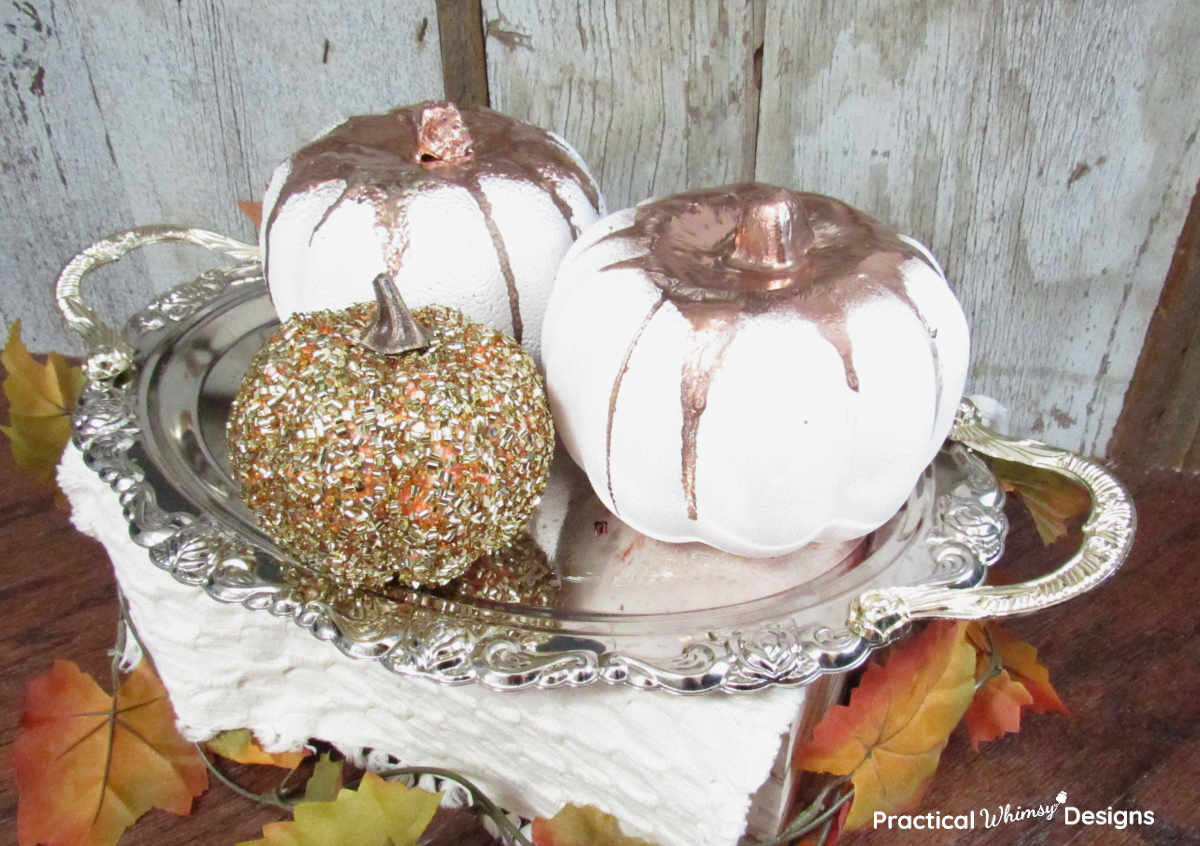
And here are the pumpkins after painting.
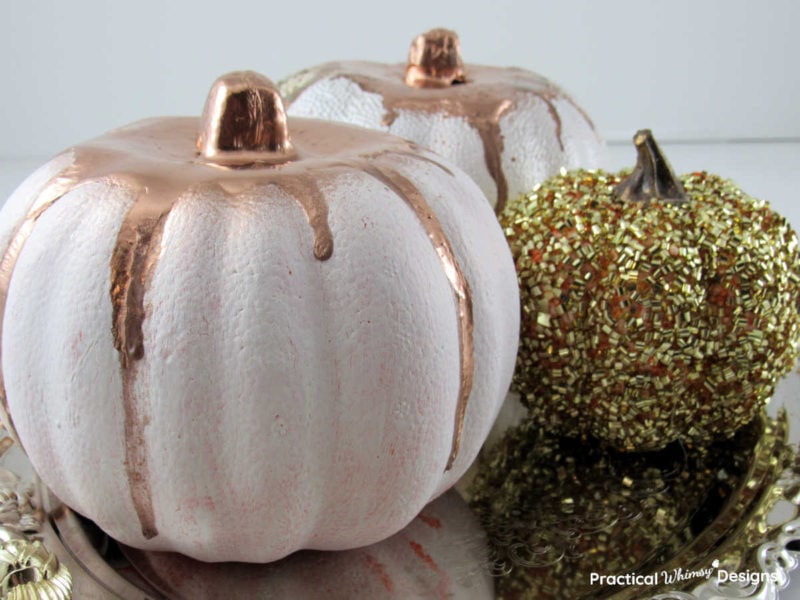
I set them on a fun tray and added them to the fall decorations around my hearth and mantel. I love how they shine. (If you’ve read some of my other fall posts (like the tutorial on making a DIY fall wreath) then you know I have a thing for glitter and anything shiny.
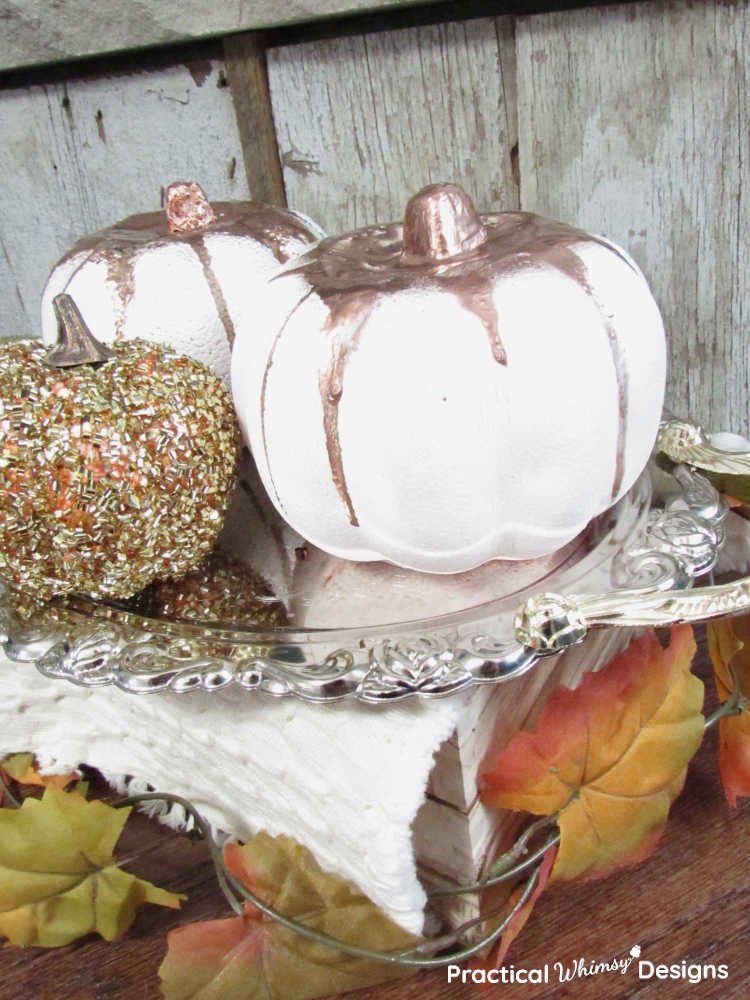
There is something fun about mixing the rustic with the fancy shine of the pumpkins. I love how these turned out, they were very easy to make, and they work great with the decorations I used on my mantel.
If you are looking for another way to display these copper pumpkins, try pairing them with a wreath and velvet pumpkins in this elegant velvet pumpkin centerpiece.
I’m excited to share that this DIY decor project was featured on the Redfin blog. Check out their post if you need a few more fall DIY ideas for your home. 20 Easy Fall DIY Decor Ideas That You Will Absolutely Love.
Want to remember this tutorial for later? Save it to your favorite DIY Pinterest board.
Before you head, don’t forget to check out the other great projects from the Thrifty Thursday Collaboration. Sara from The Inspired Decorator made this beautiful baking soda vase and Junette from Windmill & Protea created a beautiful ombre planter. Martina from The Lived in Look remade a vintage firewood holder.


Copper and white is so pretty for fall. I love these!
Thank you! I agree. I love copper and white. This is the first year I have added that mix to my fall decor and I am loving the result.
These are adorable! What a great way to add in a little glam to your fall decor
Thank you!
Very cool technique using the school glue too. I love how they turned out!
Thank you so much!
These pumpkins are adorable! Love the technique!
Thank you so much. They were so easy to make and I love how they add a little sparkle to my decor. 🙂