Need a trellis for your climbing plants? This easy garden trellis takes less than an hour to make so you can get back to gardening.

You would have laughed with me if you saw my attempt at putting together my first trellis for my beans.
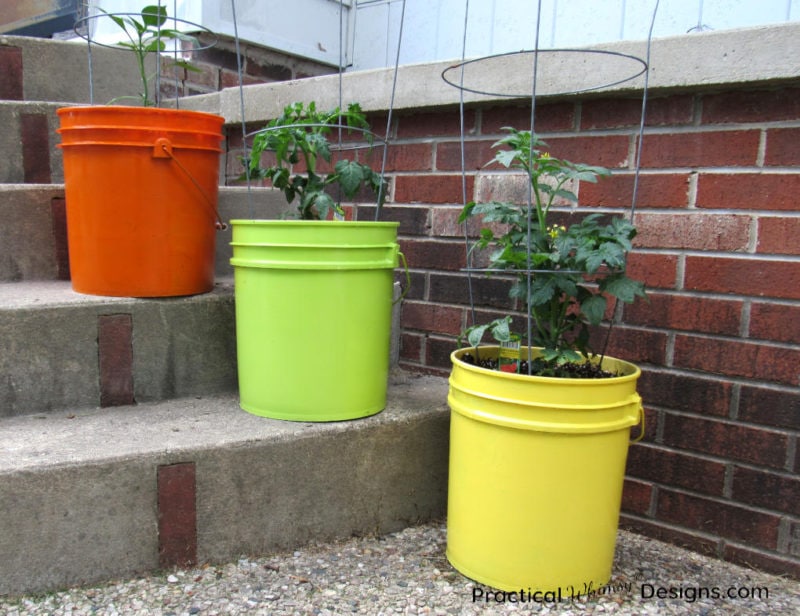
I had been given some vine beans to try in my garden, so I planted them in these fun 5 gallon bucket planters I had made and put a tomato cage around them. I dusted off my hands and waited for these beans to grow.
And boy did they grow.
They grew and grew, up and up, and up!
They quickly outgrew the tomato cage and started reaching up, looking for something to climb.
I had to do something.
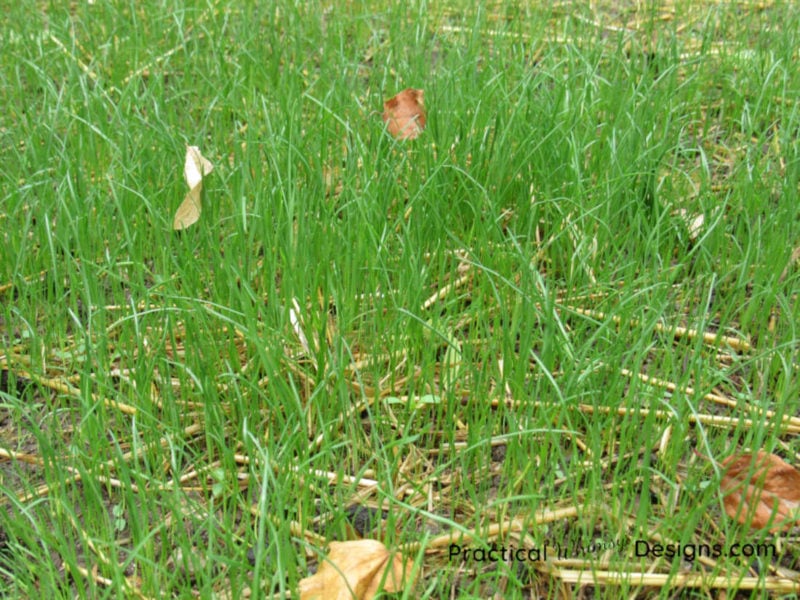
So I took a few garden poles (the kind you use to stake up tomatoes and floppy plants if you don’t have a cage) and tied three of them together in a cone shape to increase the height of my tomato cage.
It wasn’t pretty.
And it wasn’t very strong. It worked for a few short weeks and then the weight of the bean plants pulled the poles all wonky.
Luckily the leaves hid my sad structure so not many knew about my engineering failure. Just me, my husband, and my poor bean plants.
Luckily, my husband came to my rescue the following summer and helped me make these beautiful, simple, and sturdy garden trellises. These are so easy to make and took less than an hour to put together. Check out the tutorial below if your beans (or other climbing plants) need some help.
This post contains some affiliate links for your convenience (which means if you click a link and make a purchase I will earn a small commission at no extra cost to you). Please see my disclaimer page for more information.
Materials You Need:
- Cedar Board (if you don’t want to paint it) or any board (if you plan on painting it) You can create the size and design in our plans with a 8 foot 1″x8″ board.
- Tape Measure
- Table Saw or Circular Saw with Guide (We like this brand of circular saw)
- Pencil
- Electric Drill (We use this drill)
- Crown Stapler and staples (opt.)
- 1 1/4″ Coated Deck Screws (so they don’t rust)
- Drill bit (to pre-drill holes so the wood doesn’t split)
The form you have selected does not exist.
Steps to Make a Simple DIY Garden Trellis
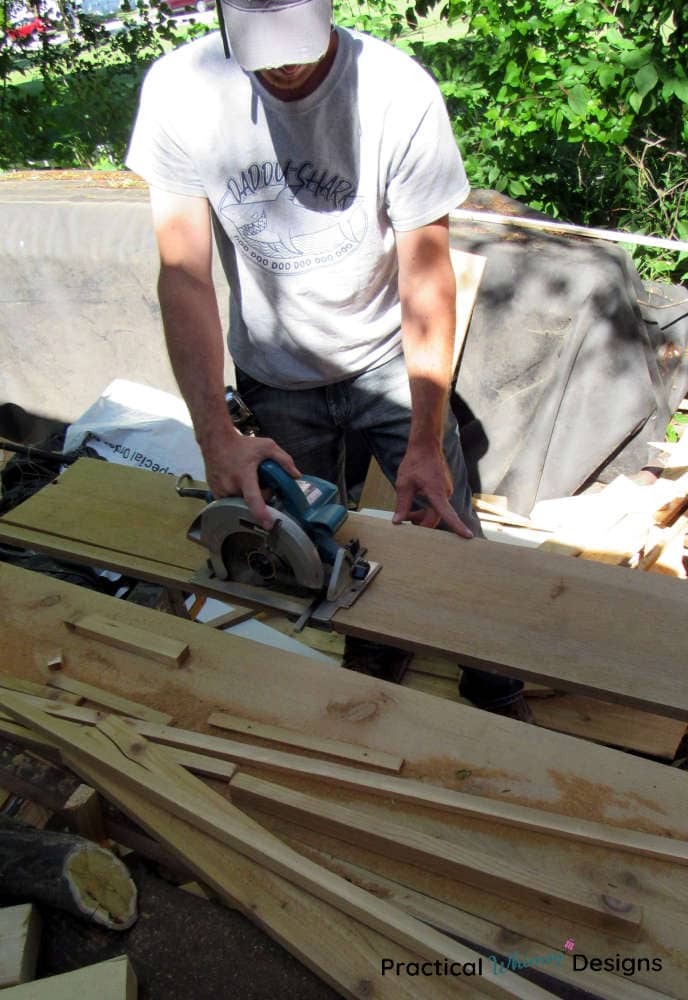
Step 1: Cut the Board
The first step is to cut your board into the correct pieces for your garden trellis. You can make this trellis out of an 8 foot piece of 1″x8″ board.
You will be cutting out:
- 72in (6ft) long and 1 1/4″ wide (Cut 4)
- 37in long and 1 1/4″ wide (Cut 1)
- 27in long and 1 1/4″ wide (Cut 1)
- 17in long and 1 1/4″ wide (Cut 1)
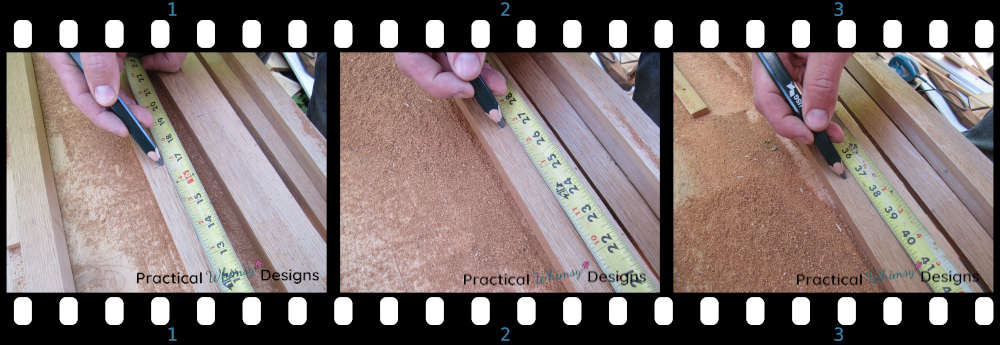
You will need to use a table saw or circular saw with a guide to cut out the pieces of your trellis. Measure out the length of the piece you are cutting out and use the guide on your circular saw or table saw and set it 1 1/4″.
If you don’t have a guide for your circular saw you will need to mark all of your pieces at 1 1/4″ width as well as marking the length and draw a line with a straight edge to keep your cuts straight.
After your cutting and measuring you should have 7 boards.
Note: These are the measurements that we used on our trellis. This gives you the basic idea of how to build it. You can always adjust the measurements to fit your situation or landscape if you want to. These measurements are provided if you want to create the exact look that we have and to give you the base line for your trellis.
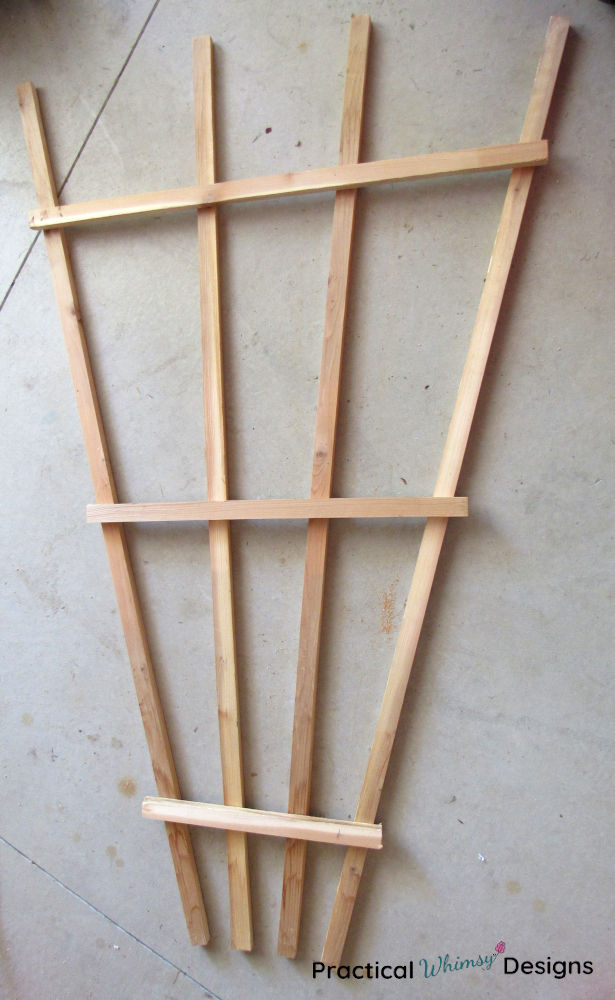
Step 2: Lay out your Trellis
Find a flat place to lay out your trellis. Lay the four 6 ft cuts next to each other in a parallel row. Measure about 12″ up from the bottom of your boards and place the shortest board (the one cut at 17″) across the four 6 ft boards.
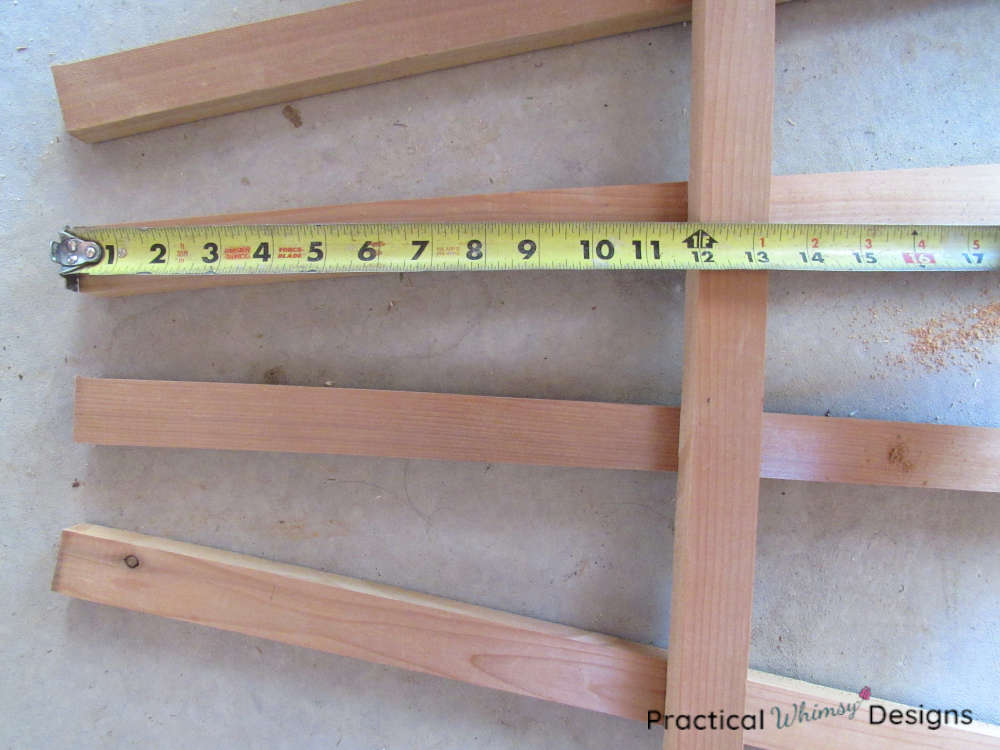
This 12″ space on the bottom should give you room to dig your trellis down into the ground if you want it to be free standing. You can also attach it to a fence or railing if you wish, but we made ours to stand in the soil.
Next, it’s time to place the last two horizontal spacer boards. We chose to place them 22.5″ apart from each other. This gave the trellis an even look.
Spread the outside 6 ft. boards to the ends of the short horizontal boards. This should give you a fanned trellis look. Evenly space the two center boards in between the two outer boards. Make sure to measure everything one more time to verify that nothing wiggled out of place.
Step 3: Attach the boards to make the garden trellis
Now that you have the basic shape of your trellis laid on the ground, you need to keep it that way.
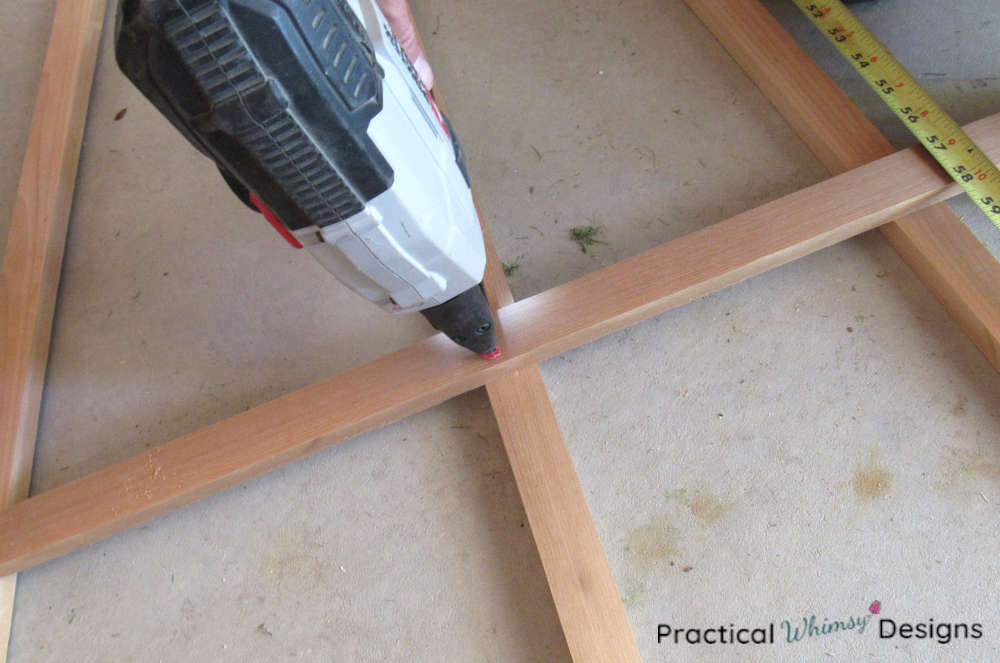
This step is optional, but we used a crown stapler to staple everything together. That way the trellis held its shape as we screwed everything in. You don’t have to do this, but it adds a little extra strength. I don’t recommend only stapling this trellis unless you don’t want it to last very long. Screwing it together will give it more strength.
Grab your drill and pre-drill a hole with a drill bit that is slightly narrower than the screws you plan to use. Drill a hole anywhere the horizontal spacer boards and upright boards overlap. Drill through the top board, but don’t drill all of the way through both boards.
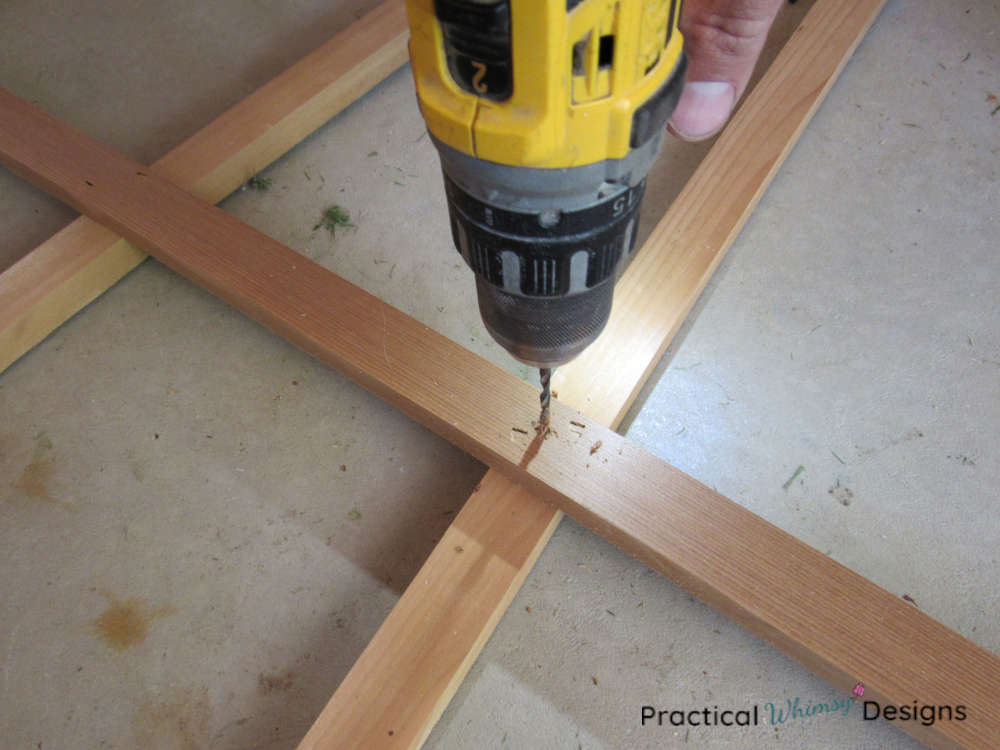
Because these boards are thin, pre-drilling a hole will help keep them from splitting when you actually add your screws.
Now use screws to attach all of the boards together. There should be a total of 12 screws for each trellis. We used 1 1/4″ coated deck screws to screw our trellis together. Use coated screws to keep them from rusting.

Install your Easy Garden Trellis
And that is all there is to it.
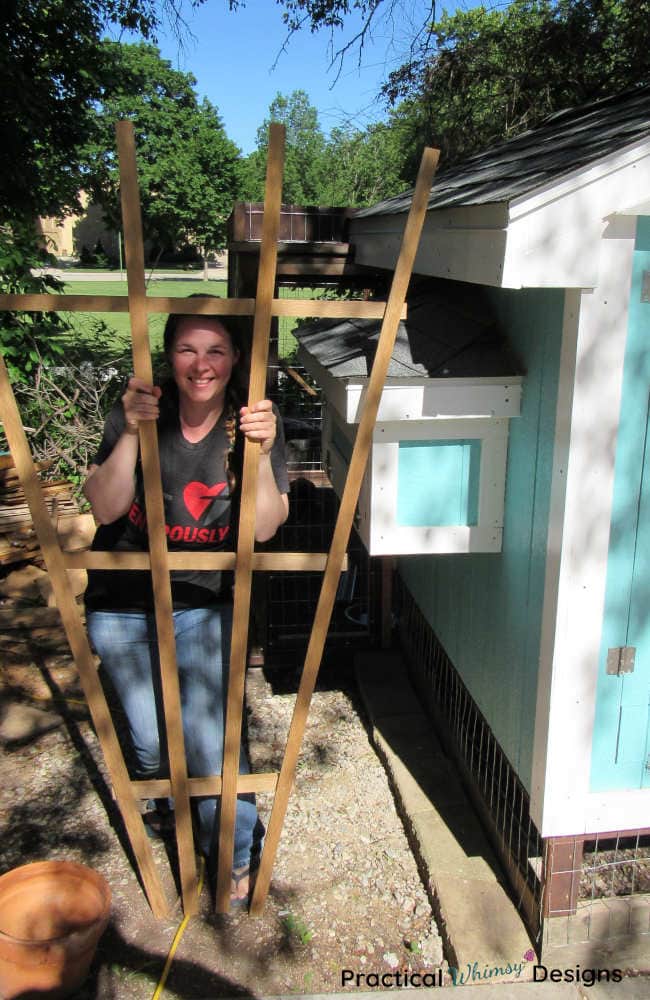
Now, you just need to dig your trellis down into your garden and plant your plants around it.
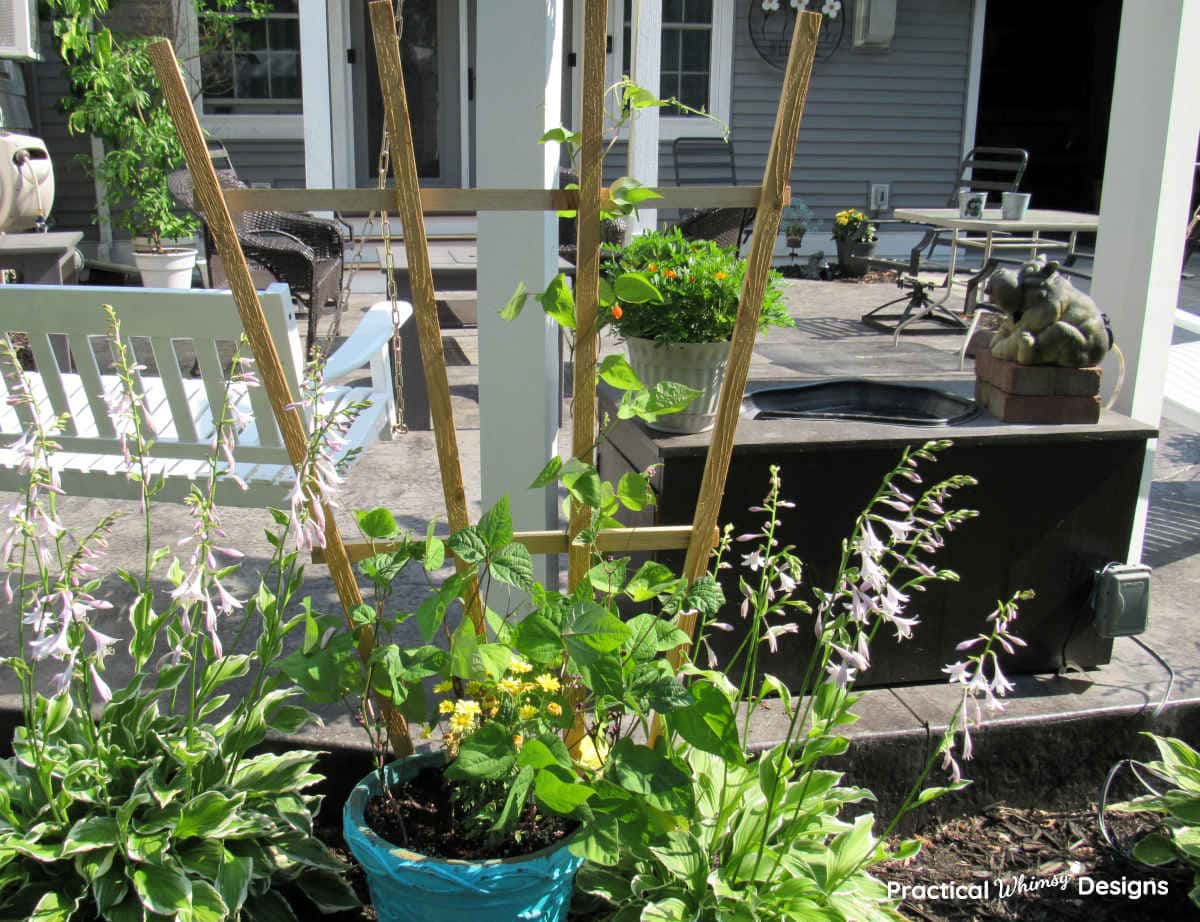
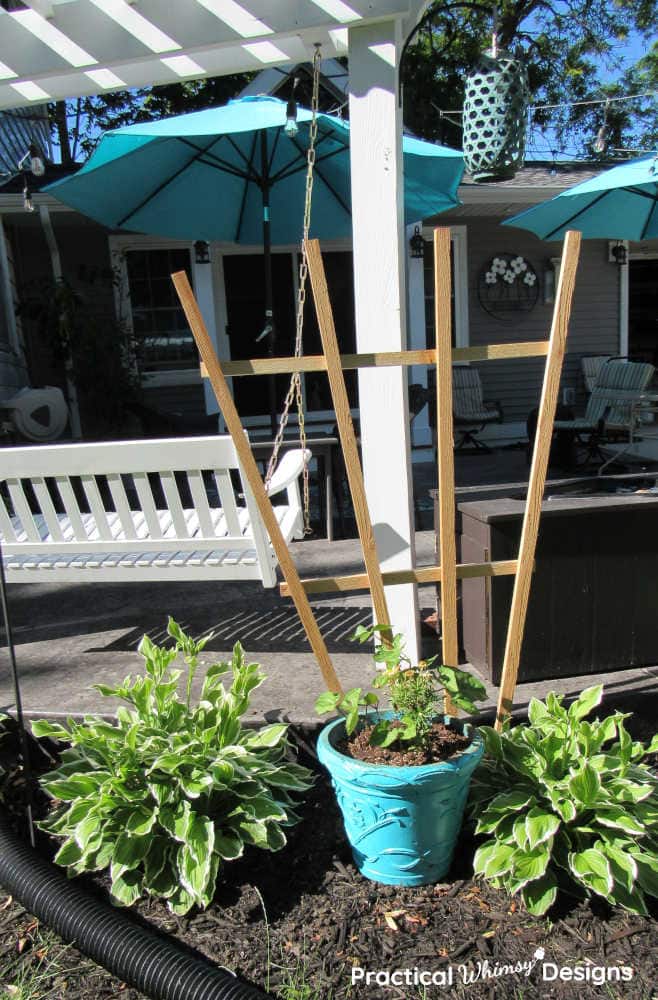
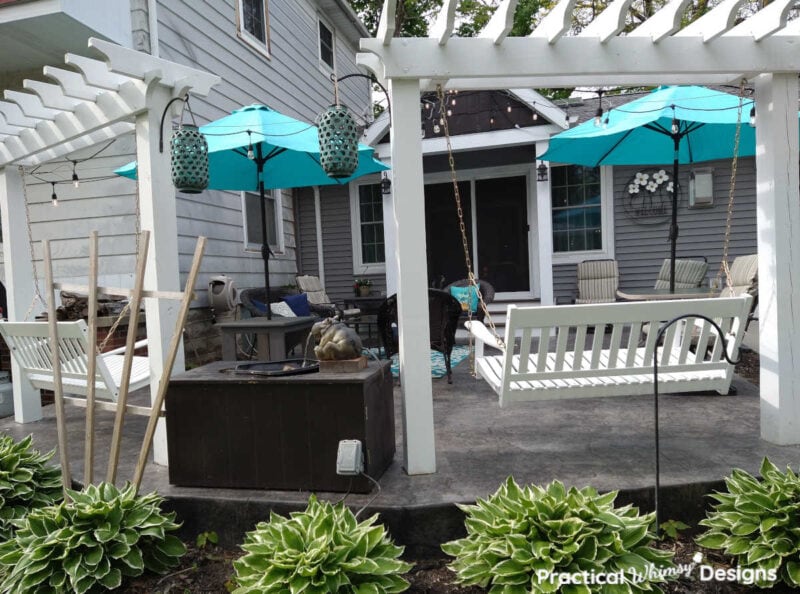
We used one trellis by our patio.
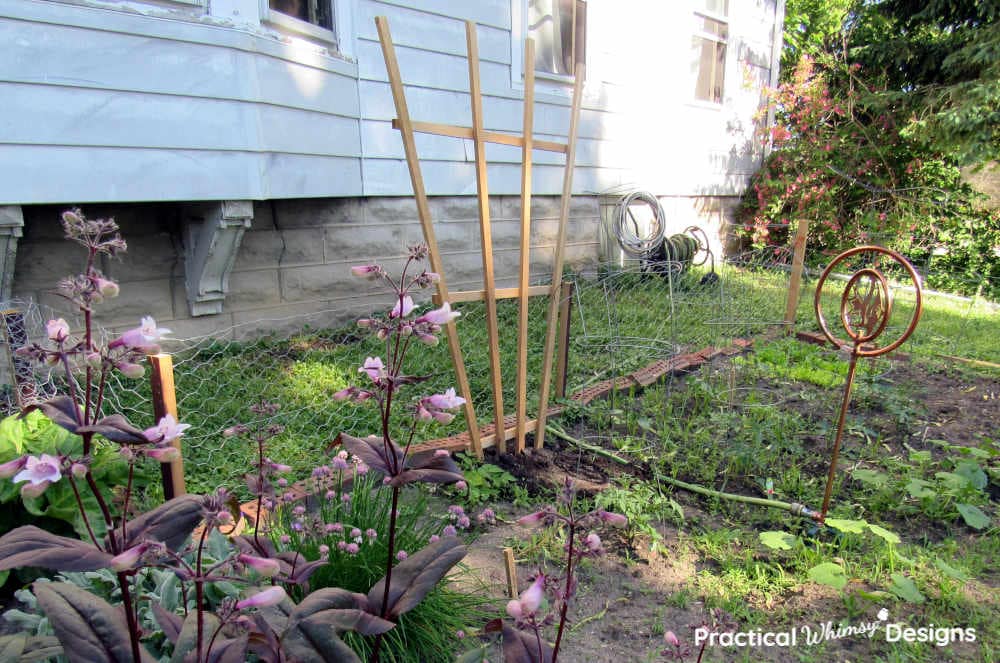
We also made another trellis for the garden.
I know my beans will be much happier each summer, now that they have a trellis to climb.
Want to remember this tutorial? Save it to your favorite DIY Pinterest board.

What about you? Are there any plants in your life that could use an easy diy garden trellis?
The form you have selected does not exist.
Want More Great Ideas? You Might Like These..


Are we friends on Instagram?
Follow @PracticalWhimsyDesigns to see more
behind the scenes projects
Great ideas, Thankyou!💕
I am so glad that you found the post helpful. 🙂