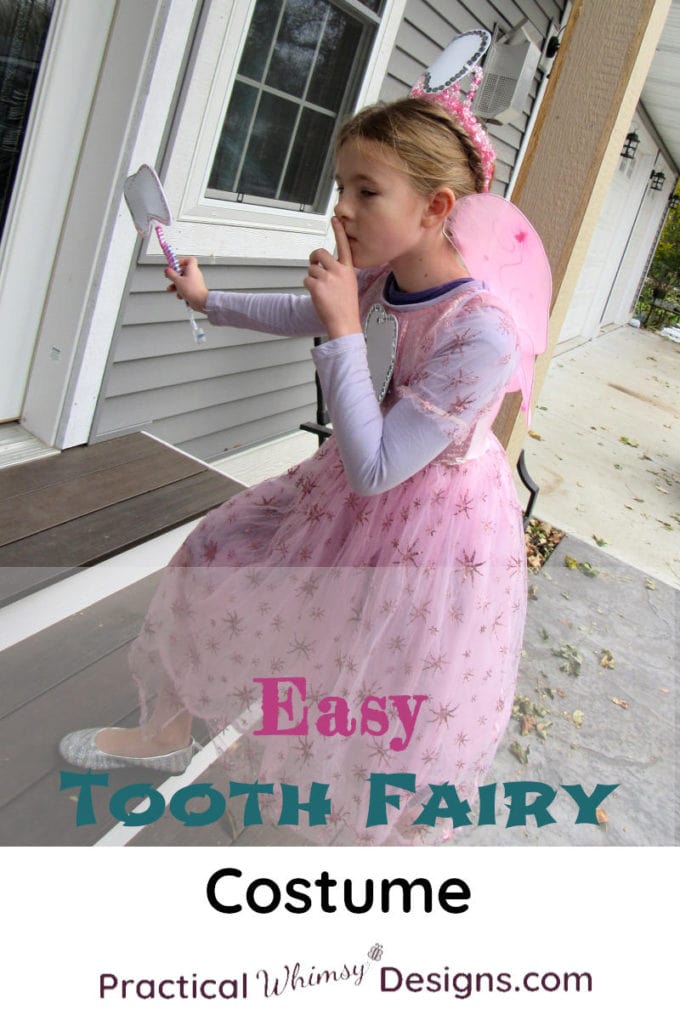
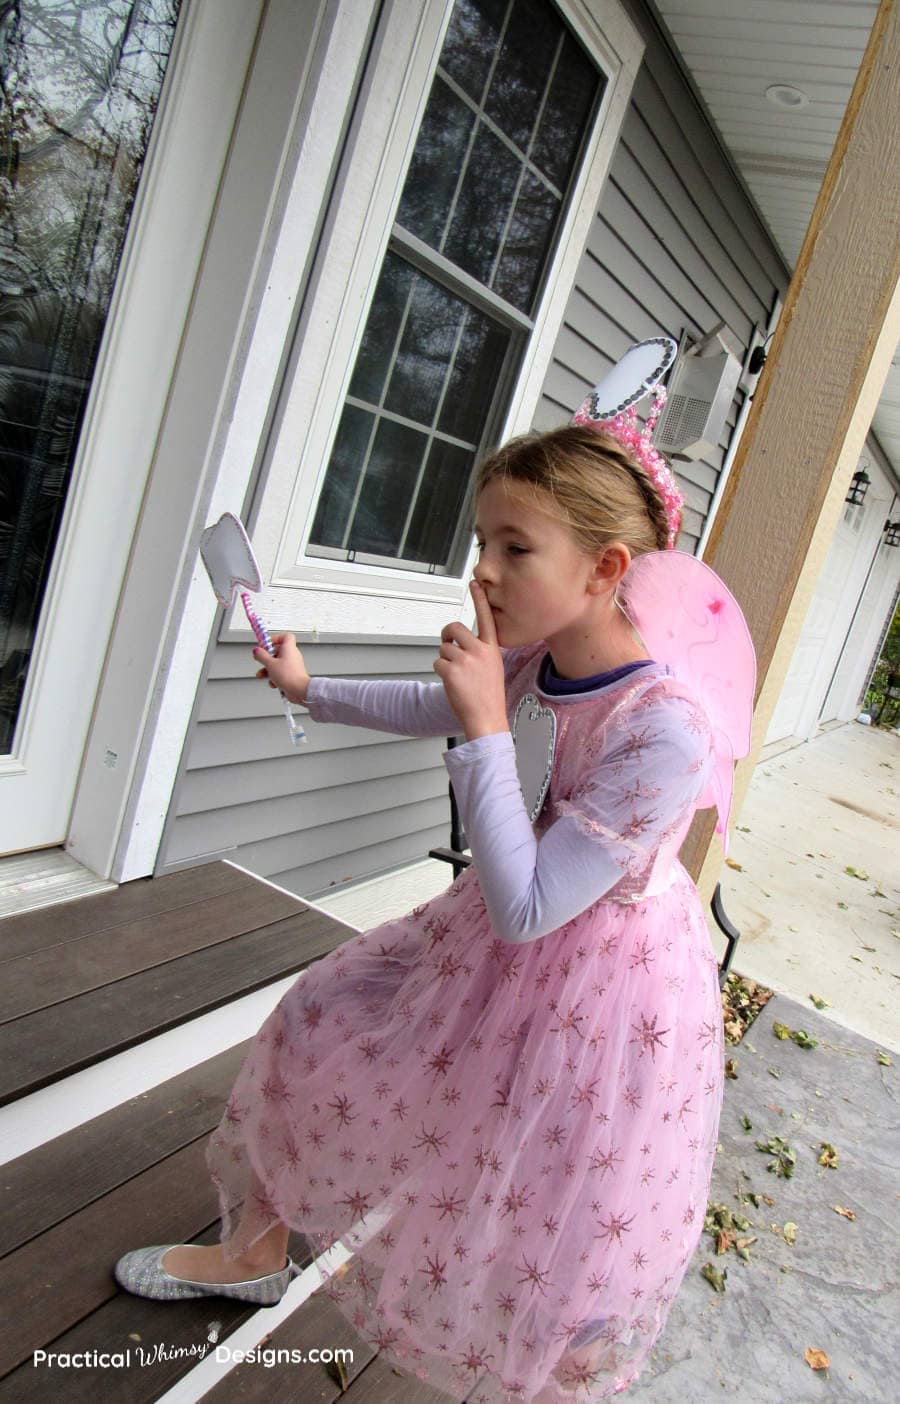
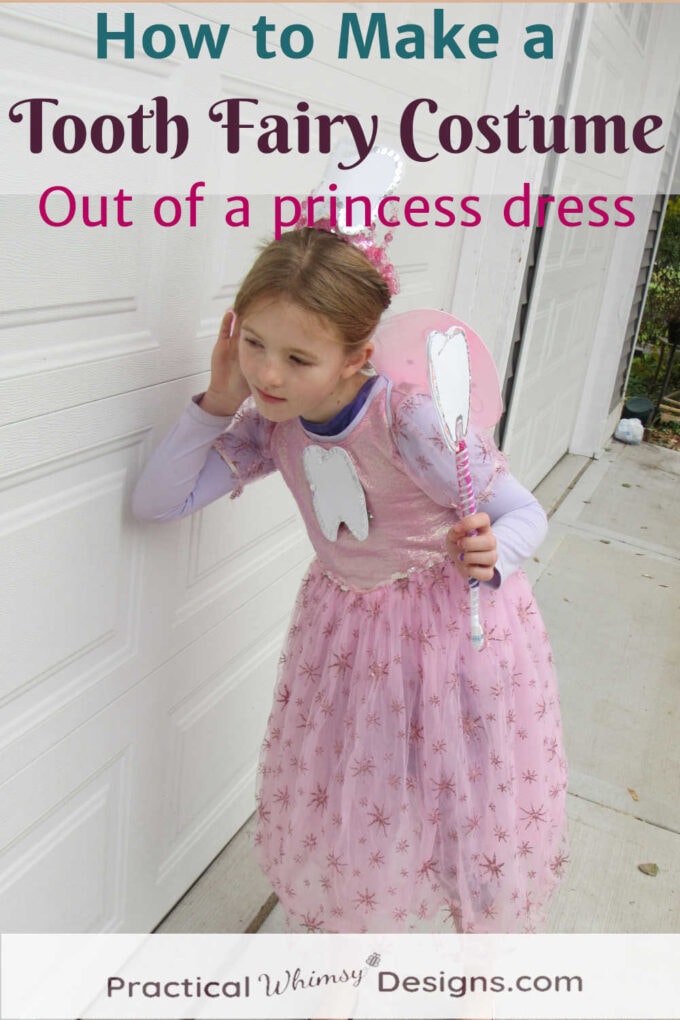
Transform any princess or ballerina dress into this easy tooth fairy costume. Great for re-purposing a costume dress for another year of use!
Are you looking for family themed costume ideas this year?
Why not try make-believe creatures?
Below is the tutorial to create an easy tooth fairy costume and if you want more ideas try the sock monster, dust bunny, and one eyed-one horned-flying-purple people eater tutorials for easy, last minute DIY costumes for your whole family.
This post contains some affiliate links for your convenience (which means if you click a link and make a purchase I will earn a small commission at no extra cost to you). Please see my disclaimer page for more information.
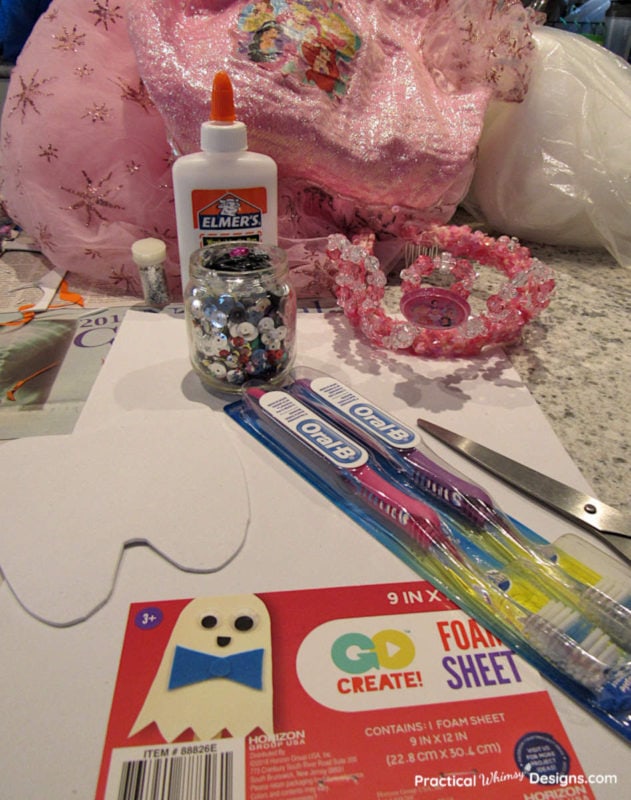
Materials You Need:
- A princess dress (This is the third time we were able to use this same dress. I love re-purposing costumes!)
- Fairy wings
- A crown
- White craft foam sheets
- 2 new toothbrushes
- Sequins
- Glitter
- Ribbon
- Glitter glue
- Any other items you wish to decorate your costume with.
- A hot glue gun
- School glue
- 2 White twisty ties
- Safety pins
4 Steps to Create This Easy Tooth Fairy Costume
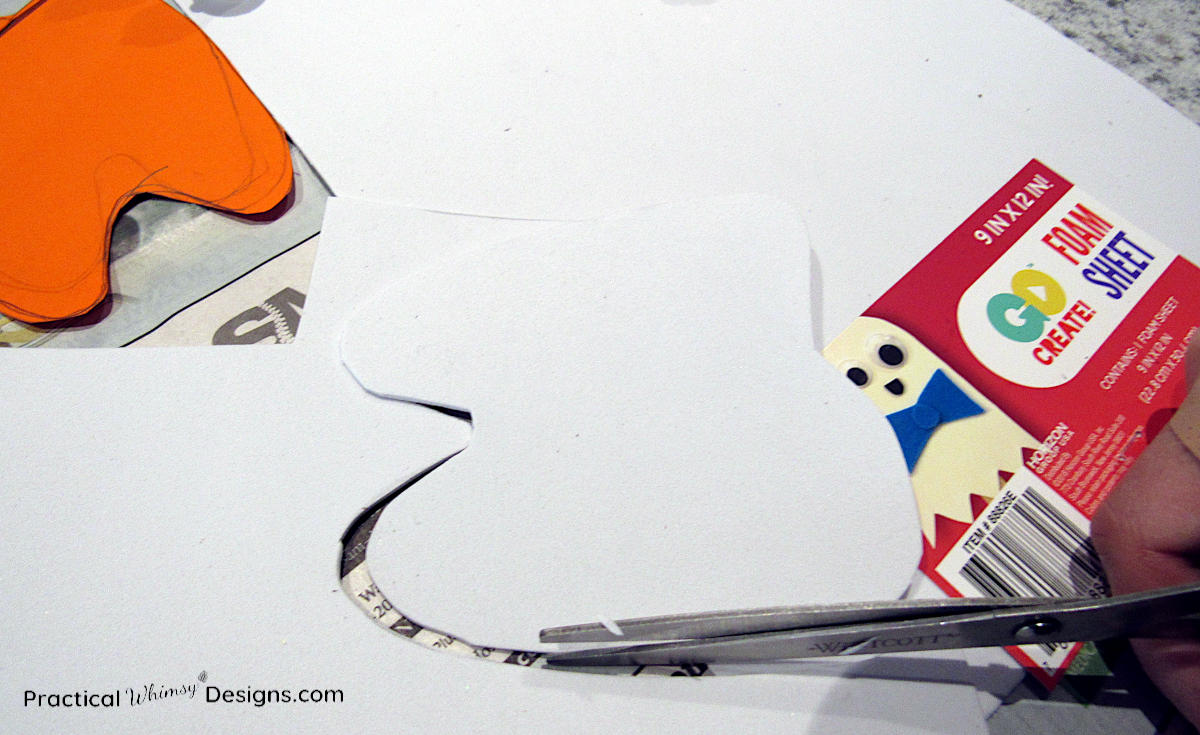
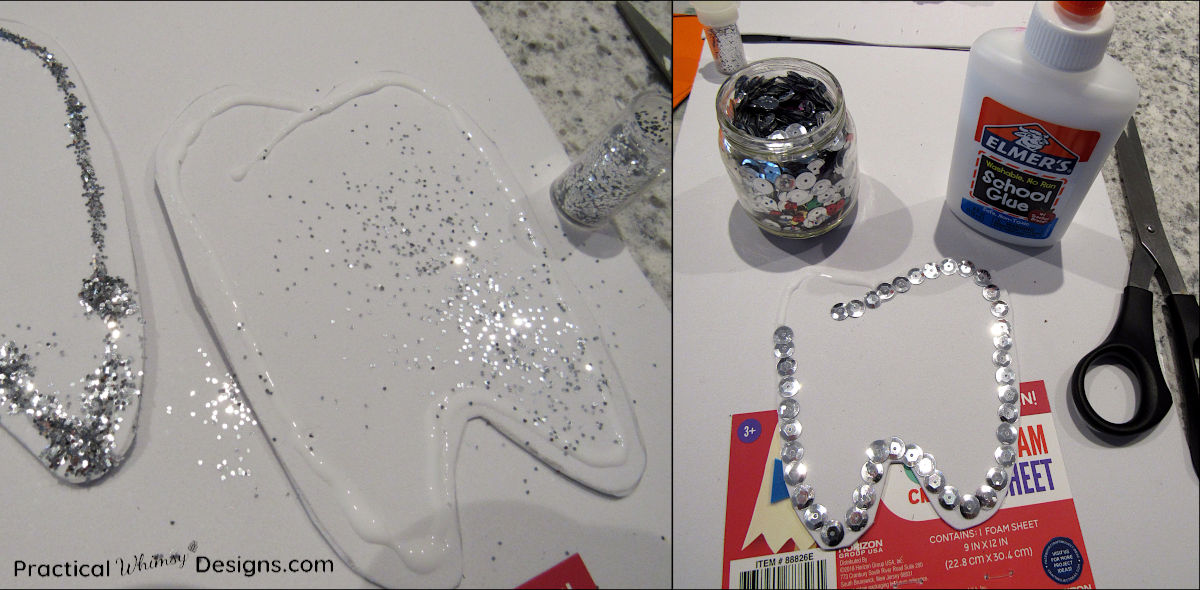
Step 1: Create removable tooth decals.
You will need four of these. One for the front of your dress, one for the crown, and two to sandwich over your toothbrush wand. If there are any decals or pictures on the front of your princess dress you will want to make your foam tooth big enough to cover them.
Trace a tooth on a piece of paper and then cut it out as a template. Use the paper template to mark and cut out the four teeth out of white craft foam.

Step 2: Decorate the tooth decals.
This is the fun part! Use school glue to decorate the teeth. I used silver sequins as a border on the dress and crown tooth and used glitter and glitter glue to decorate the teeth on the wand. This is the part where you can let your creative juices flow.
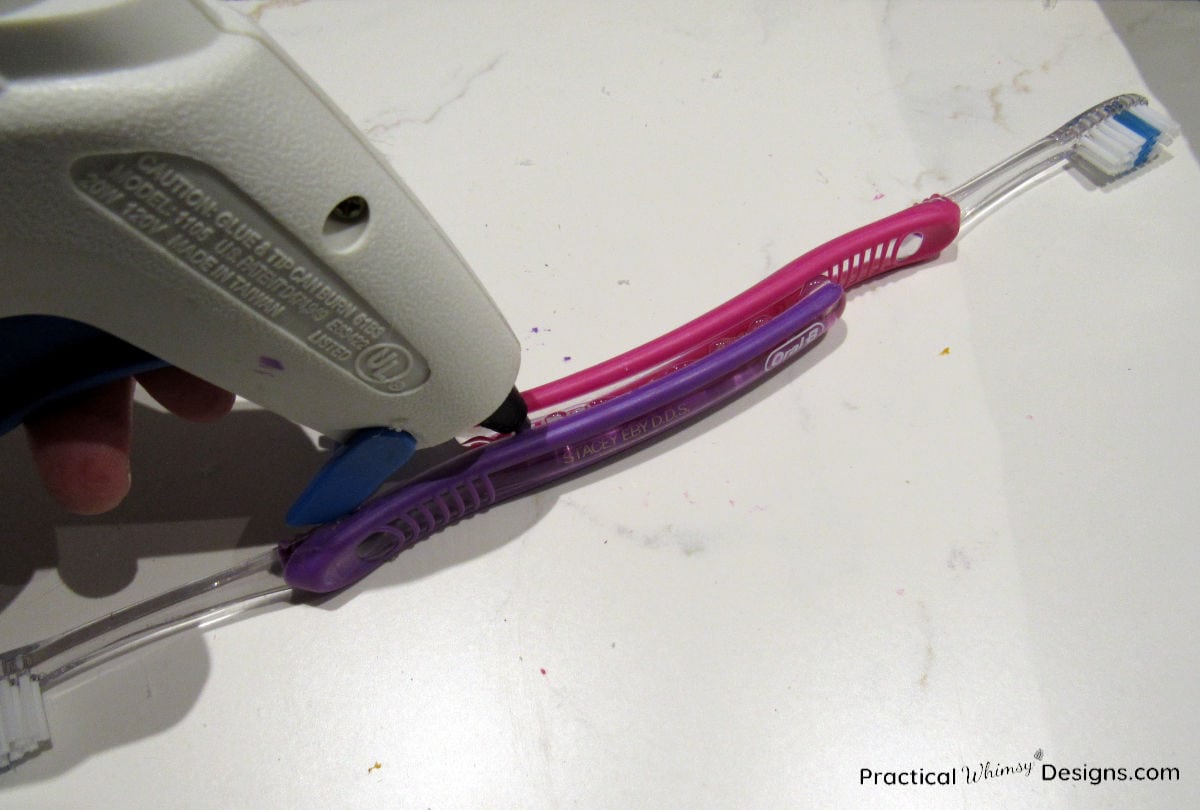
Step 3: Make the wand.
Use a hot glue gun to glue the two toothbrushes together. Depending on the shape of your toothbrush you may need to change the design a little. I wanted the handle of the wand to be fairly long, so I glued the two handles of the toothbrush together about half way down, leaving the bristles on either end.
Glue the two wand foam teeth decals together over one end of your toothbrush using the hot glue gun again. Just be careful not to melt your foam teeth.
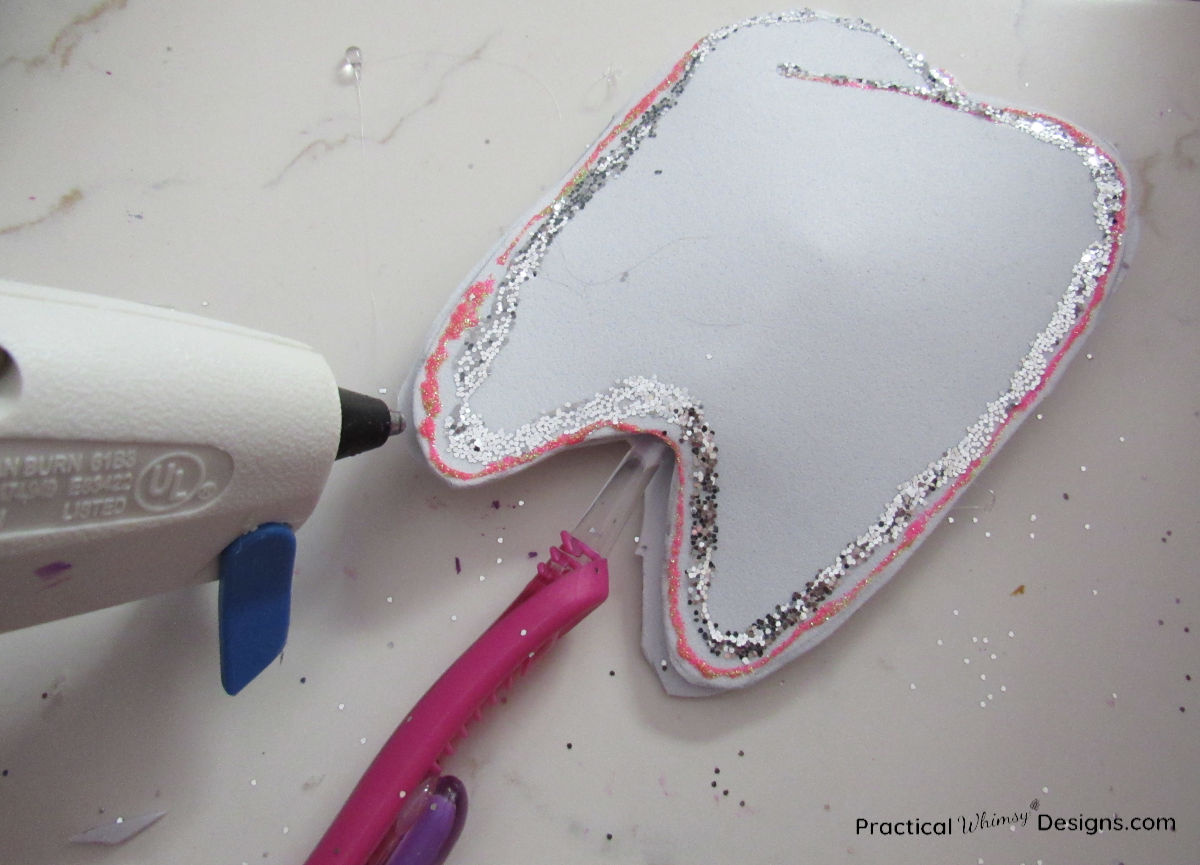
Then decorate your fairy wand!
I used a piece of ribbon to wrap around the toothbrush handle and applied it with hot glue.
Step 4: Apply tooth decals to costume and crown.
Use safety pins to pin the tooth onto the front of your costume. That way you can remove it and return the dress to its former state.
Tip: If you pin from the inside of the costume it is easier to hide the pin on the front of the tooth. Try to get the pin as close to your decoration as possible so the eye isn’t drawn to it.
I used 3 safety pins on mine, but the amount you need will depend on the size of the tooth you made and the dress you are pinning to.
Attach the tooth to the crown using twisty ties or pins, depending on the crown type. I used twisty ties to wrap onto the crown. To do this, poke a hole in the side of the tooth to insert the twisty through. Use white if at all possible!
The great thing about these methods of attaching the teeth is that you can remove the teeth when you are done and the dress can easily convert back into a princess dress.
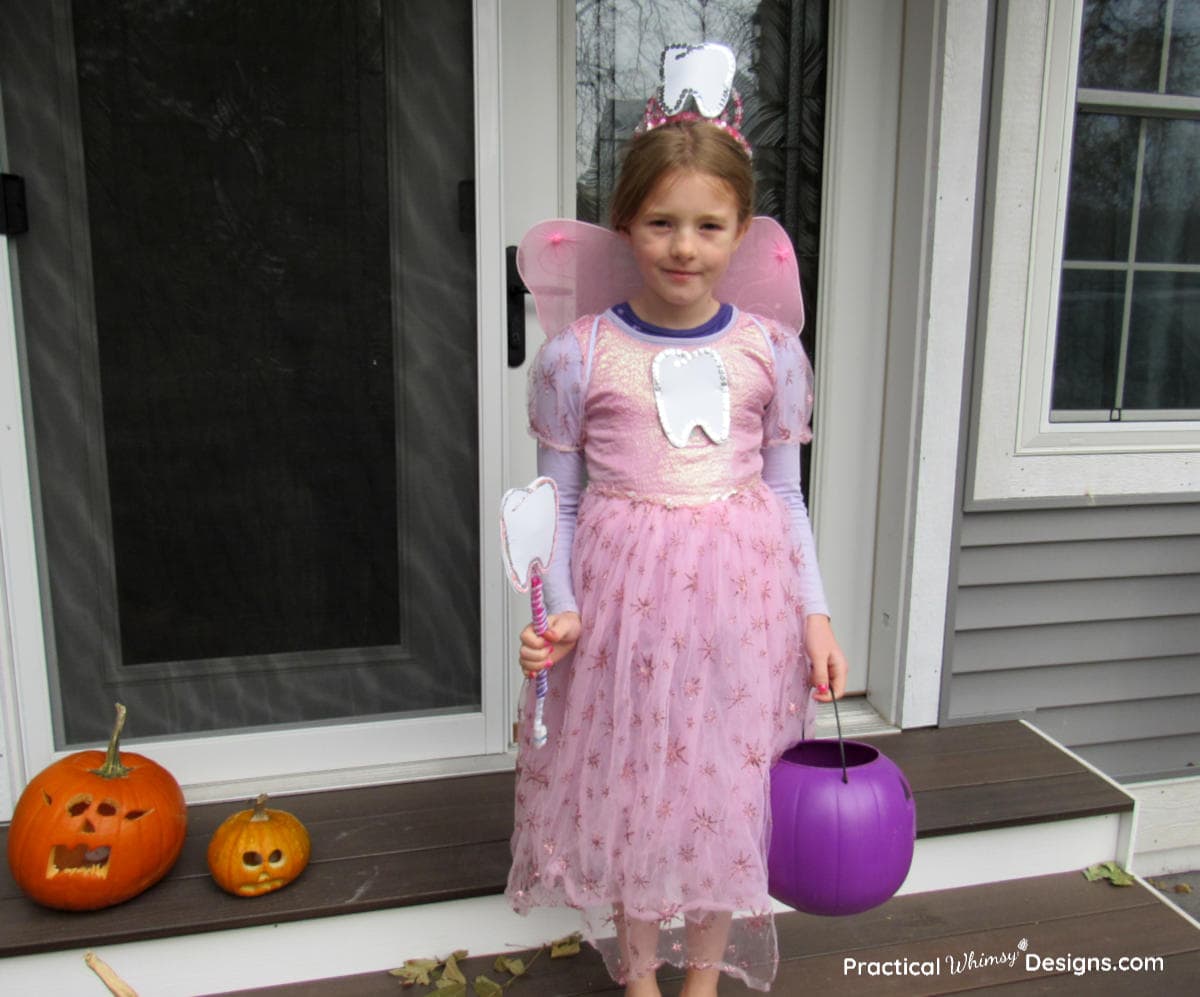
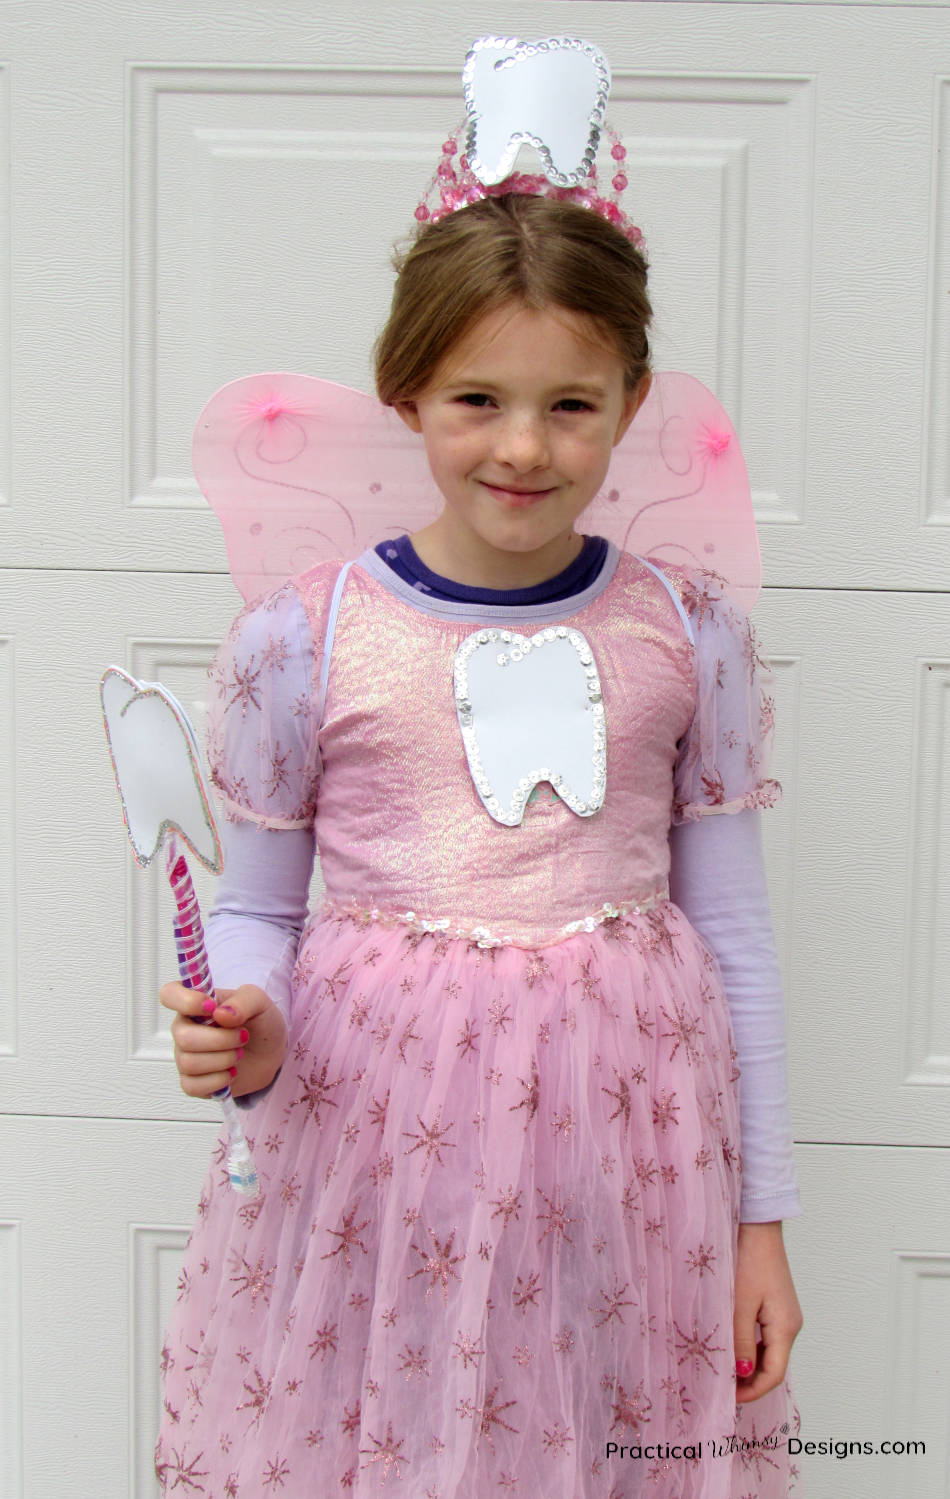
Tooth Fairy Costume
Here are the fun results of this easy tooth fairy costume. It was a great way to re-purpose this dress for another use and it fit right with my make believe creature theme.
Don’t forget to check out the other themed costumes:
What have been your favorite costume themes that you have done? Have you re-purposed any costumes for another use?
Want to remember this idea? Save it to your favorite DIY board on Pinterest.
Want More Great Ideas? You Might Like These..


Are we friends on Instagram?
Follow @PracticalWhimsyDesigns to see more
behind the scenes projects