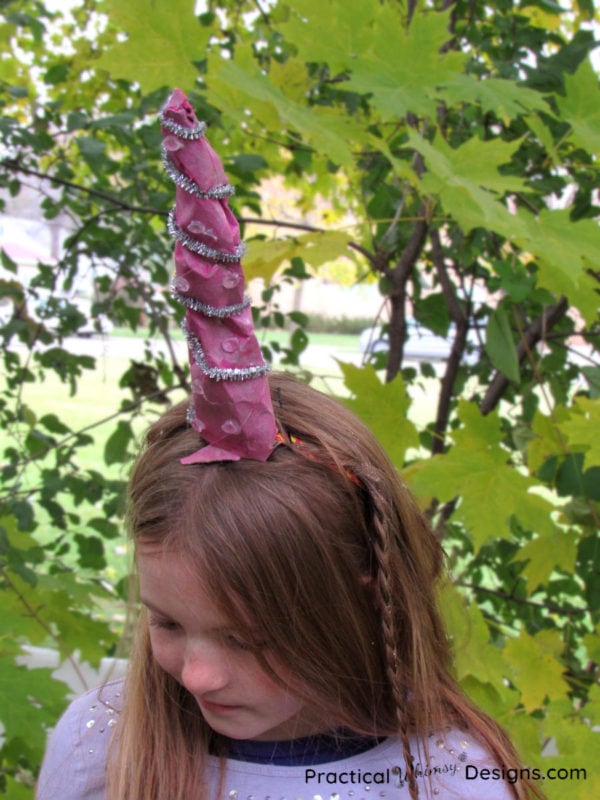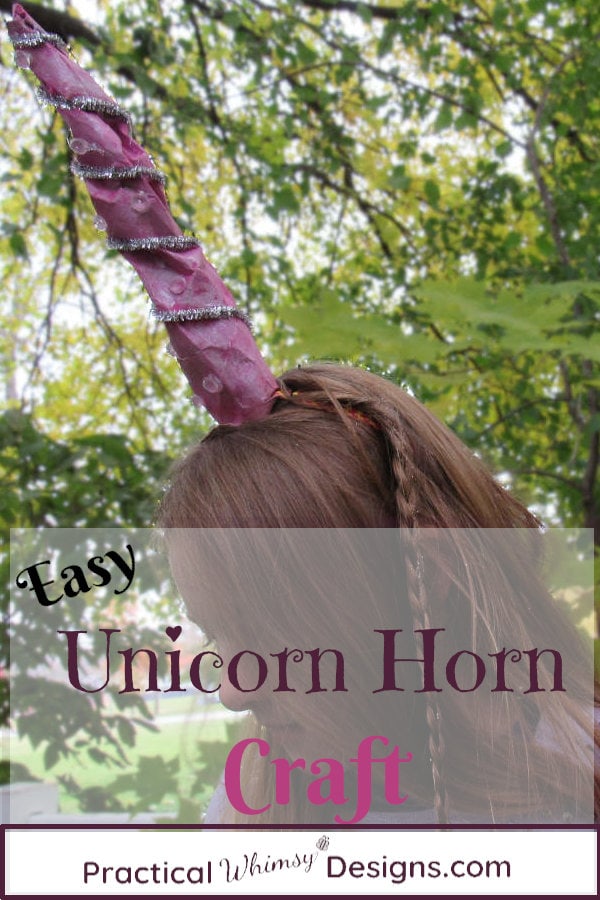
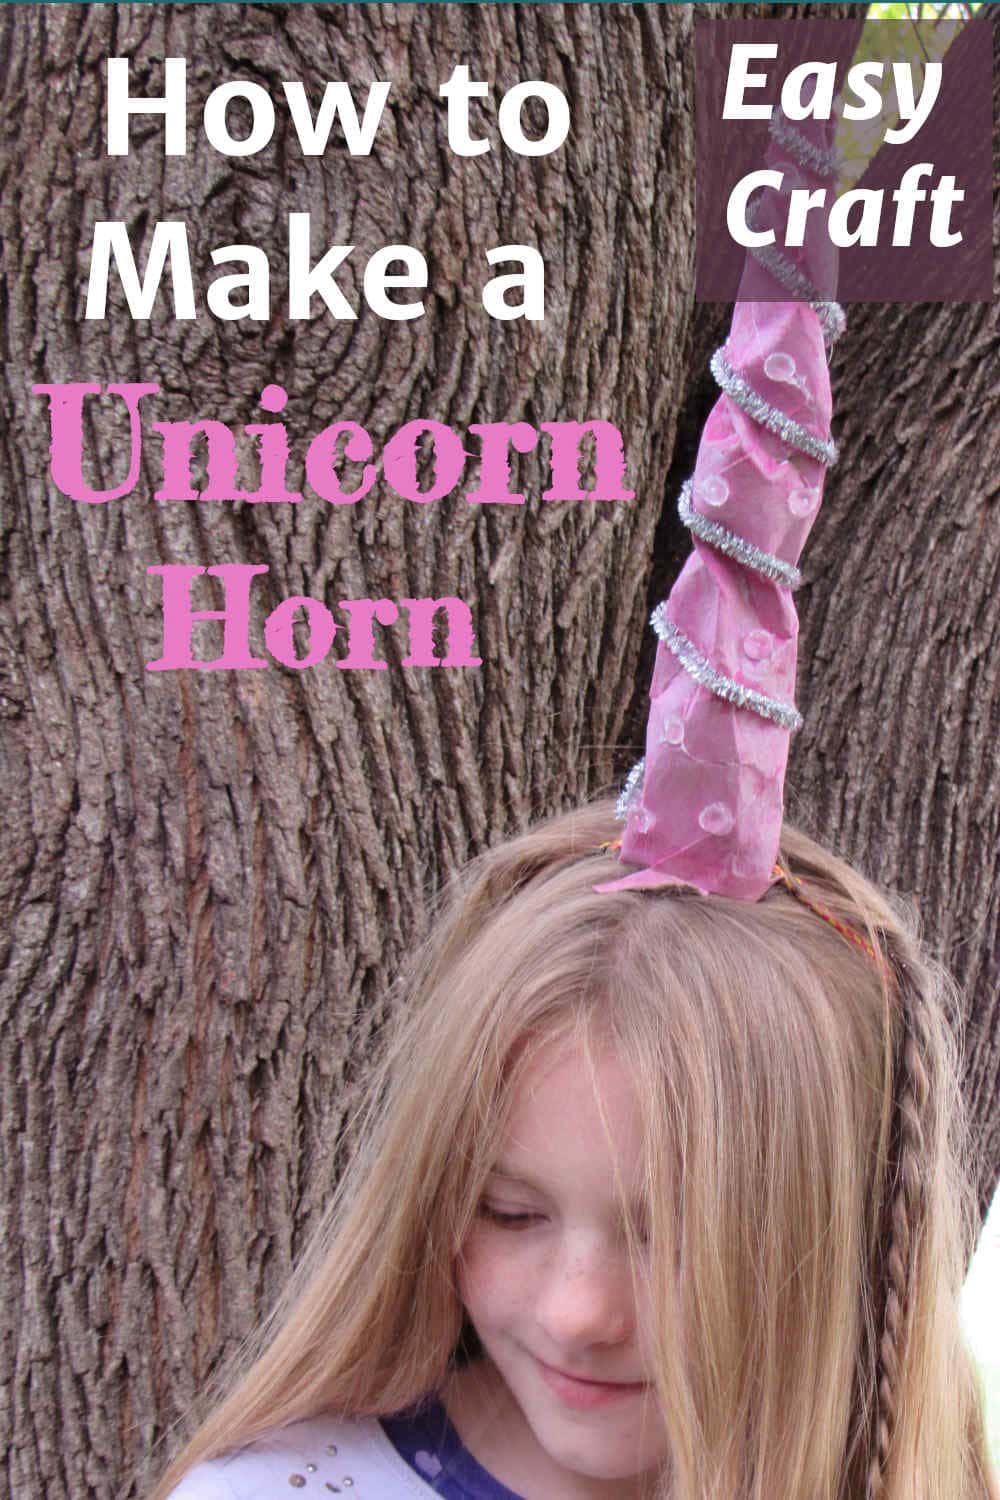
Make this easy unicorn horn craft with items you have laying around the house. It is a great birthday party favor, craft or accessory for a costume!
I wasn’t necessarily planning on making a unicorn horn. I actually needed a horn for a one-eyed, one-horned, flying purple people eater costume.
Yet, one thing turned into another, and I found myself making a unicorn horn for my daughter. This would be a fun craft to do at a party (with help from an adult when using the hot glue gun!)
And the best part! You can use almost any supplies you have around the house, plus upcycle an old paper towel roll. It is a fun and easy craft for the unicorn lover in your life.
Boys can make a dragon horn version too. Just use different colors and decorations.
This post contains some affiliate links for your convenience (which means if you click a link and make a purchase I will earn a small commission at no extra cost to you). Please see my disclaimer page for more information.
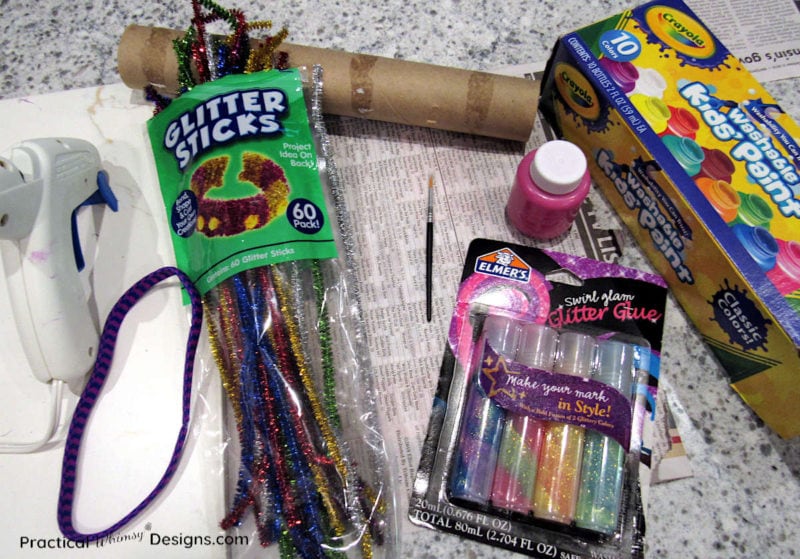
Materials You Need:
- A paper towel roll
- Liquid water color or acrylic paint
- Small paint brush
- Hot glue gun
- Sparkly pipe cleaners
- Sequins, jewels, glitter glue, etc. for decorating
- A large rubber band or stretchy head band
- Newspaper
Easy Unicorn Horn Craft
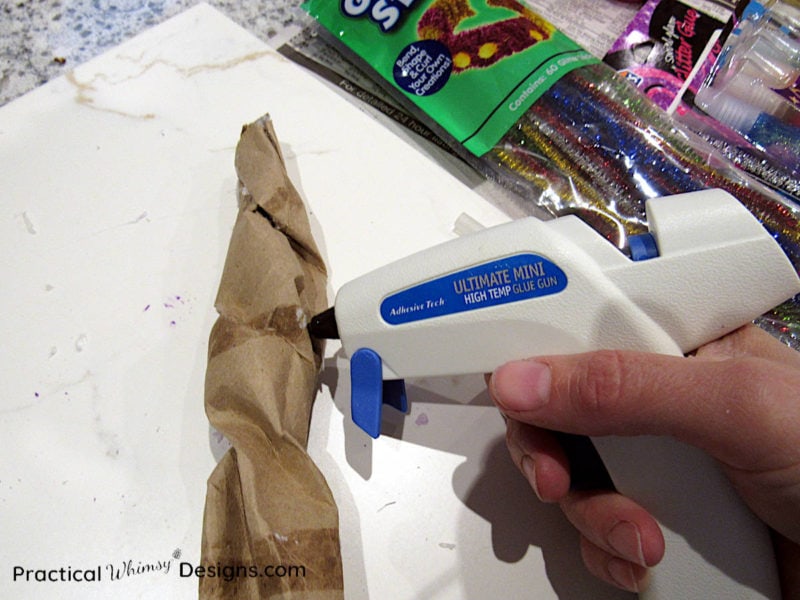
Step 1: Make the horn.
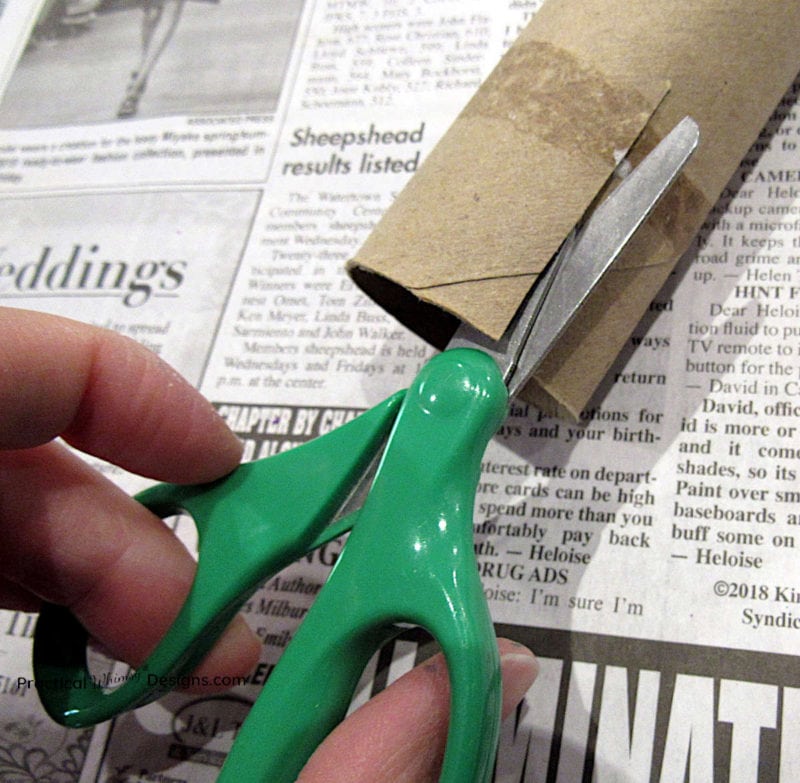
The first step is to cut three one inch slits at equal intervals on one side of the paper towel. This will allow your paper towel to twist tightly on the top to create your unicorn’s horn point.
Next, twist the paper towel roll in opposite directions like you are gently wringing out a wet rag. Don’t over do it. This is to create the wrinkles in the horn, but you don’t want the horn to be squashed either.
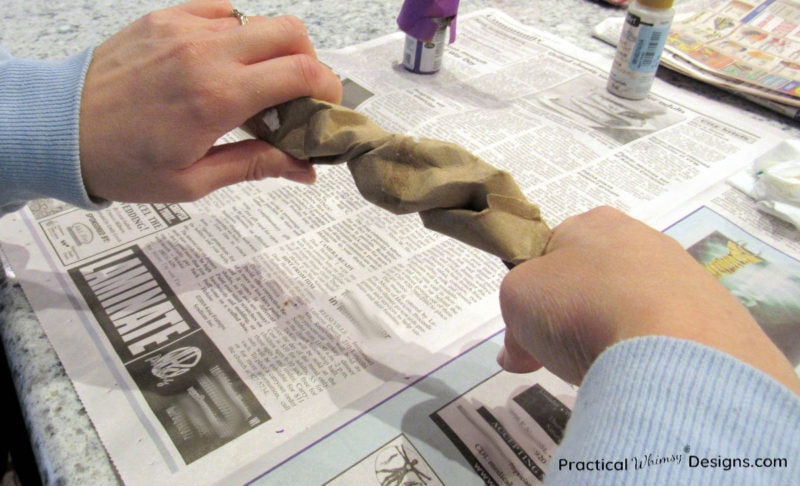
Wrap the side of the roll with the slits tightly to form the point. Remember, you want your horn to resemble a cone when you are done, so one end should be tight and the other loose.
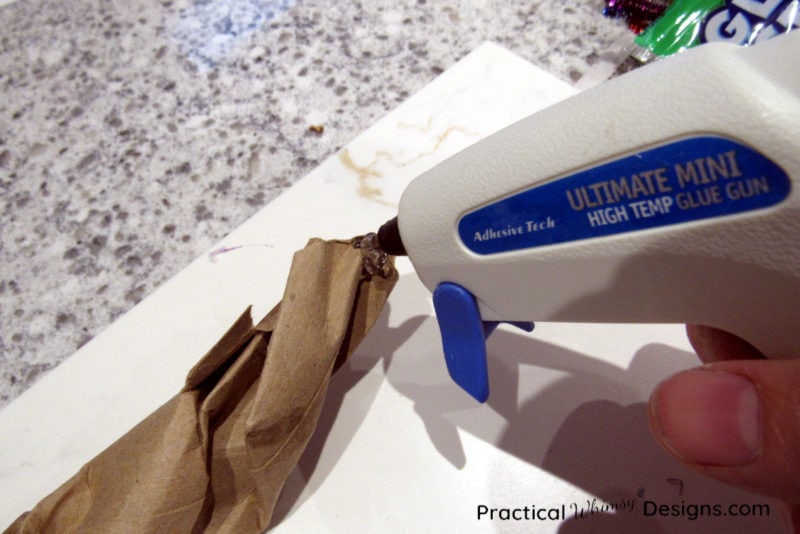
Use a hot glue gun to glue the point in position. Also, use the glue gun to glue along the horn in any dips or crevices. This will help hold the horn in place.
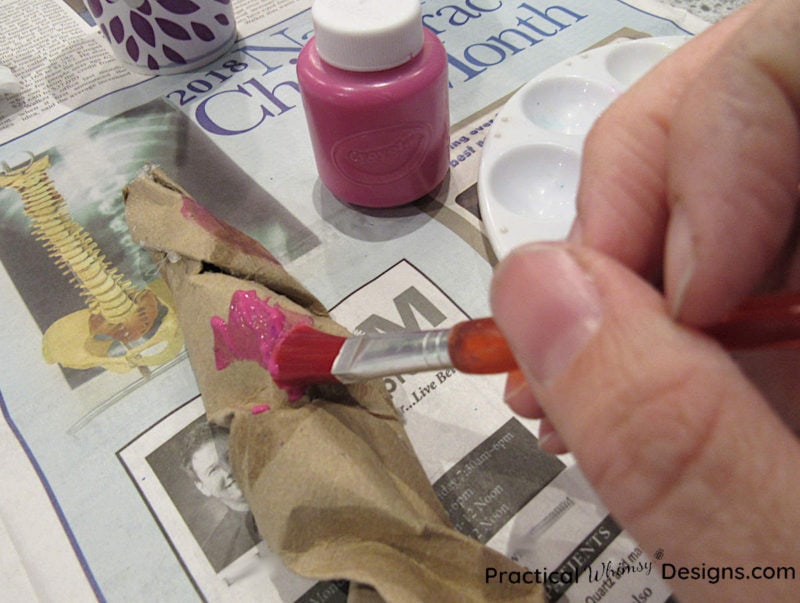
Step 2: Decorate.
Paint the horn whatever color you want and let it dry.
Once the paint dries, use the hot glue gun to glue sparkly pipe cleaners in a spiral around the horn. I used 2 per horn. This hides any imperfections and gives the horn a more symmetrical look.

Glue any other decorations on. I used glitter glue to decorate one horn and metallic paint and jewels to decorate another. This is the time to let the creative juices flow. Note: If children are participating, use school glue or glitter glue and allow for time to dry.
Step 3: Attach horn to band.
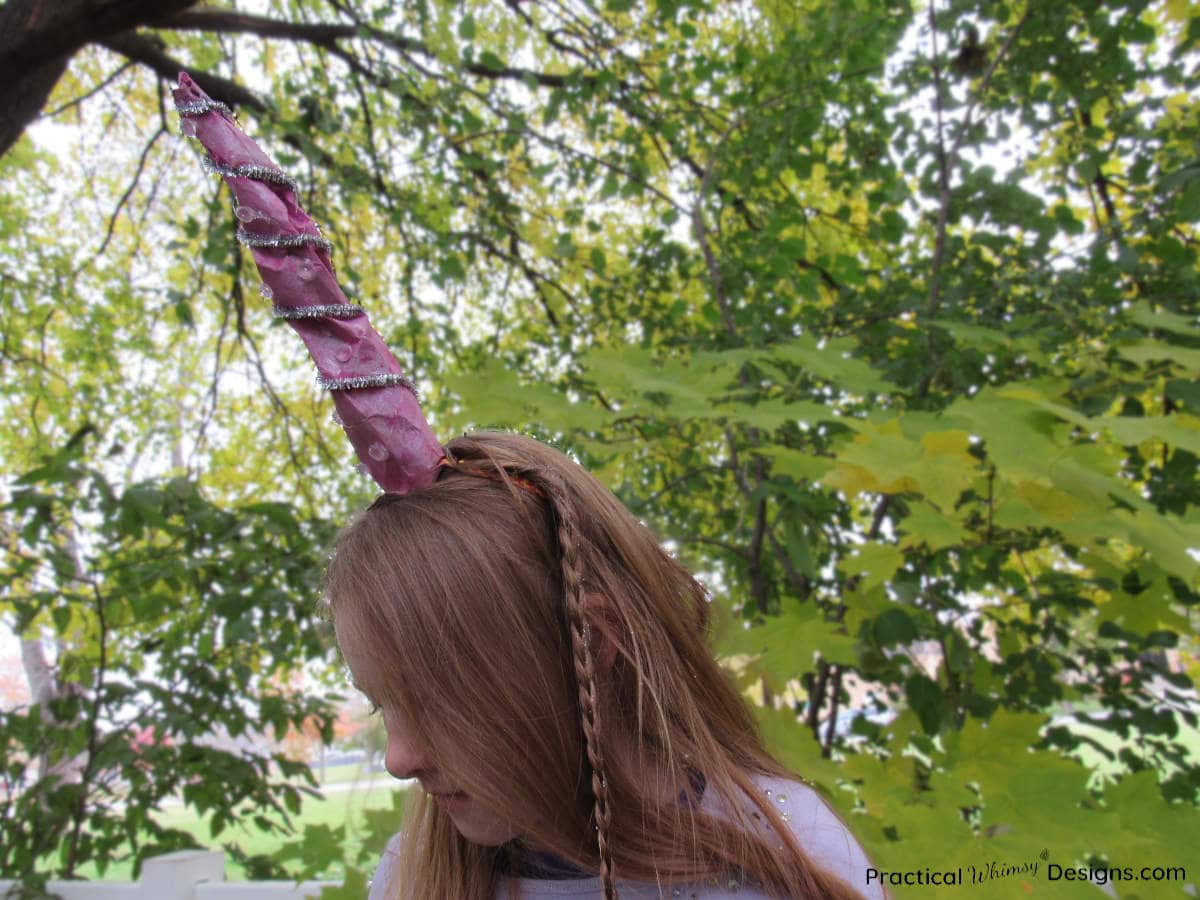
After the horn has a chance to dry, it is time to attach it to the head band. I recommend using a stretchy hair band because it won’t pull the hair, but if you have a large rubber or elastic band it will also work.
Make 4 slits on the large end of the horn to create 2 flaps to balance the horn on the head. Initially, I left these out and the horn flopped over a lot easier. Leave a little paper towel roll on either end to glue over the head bands.

Stuff a chunk of newspaper in the end of the horn to give the horn more stability and strength.
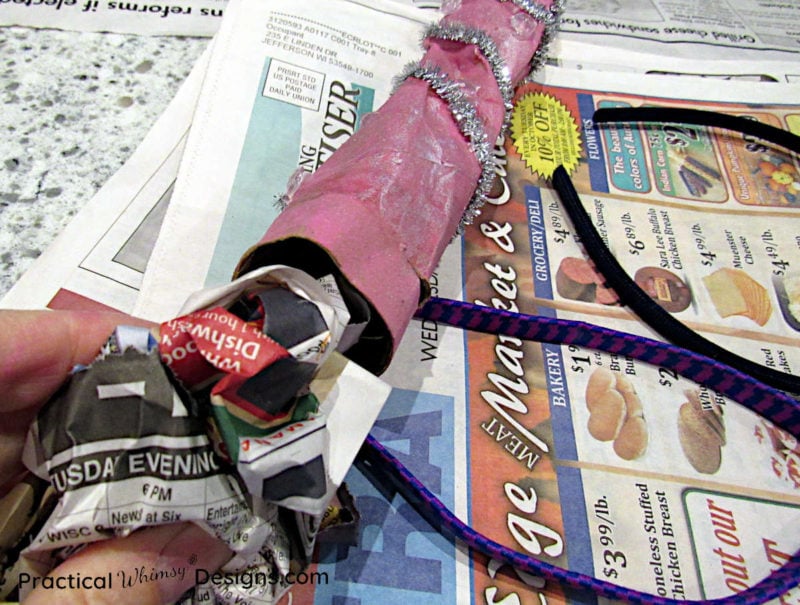
Use the hot glue gun to wrap the edge of the paper towel roll over the head band. I didn’t want the head band to be permanently glued to the horn, so I glued the paper towel roll onto itself. This way it could be removed eventually if the need arose.
There you have it! A beautiful, easy unicorn horn craft that can compliment any party or costume. (Well, at least any one that needs a horn.) 🙂