An Engineered Hardwood Floor is a beautiful and versatile alternative to Hardwood Flooring. Here are a few tips to make your next purchase a success.
I have a love/hate relationship with our engineered hardwood floor. Plain and simple.
There are so many things that I really appreciate about them and there are many reasons that we chose to install them. Now, however, I am possibly regretting our choice.
Here are a few tips I wish I had known before I made my purchase. I hope they will help you make a wiser choice and keep you from singing the flooring blues.
3 Things to Consider when buying An Engineered Hardwood Floor
1. Know what width and height you want before you go hunting for your floors.
Engineered hardwood floors come in all shapes, sizes, and colors. Having an idea of your color preference and floor thickness and width needs before you go into the store can help you remain focused and not be overwhelmed by the vast array of choices.
For instance, we knew before going into the store that we wanted to purchase a thinner flooring.
Shortly before we moved into our house, we ended up having to rip our kitchen out because of water damage from a burst pipe. As a result, we had to tear everything down to the studs and plywood. We now faced the challenge of matching the new flooring to the old hardwood floors in the dinning room.
To add to this challenge, we decided to run in floor heat through our kitchen and new family room. We had to take into account the height of the pex tubing that carried the hot water from our boiler through our floors. As a result, we needed a thin flooring.
We really didn’t want to go with laminate flooring because we wanted the look of real hardwoods. So we began to look at various engineered hardwood floor options because it had a thinner option than hardwood, but gave us the same look.
One thing to note is that a thinner engineered hardwood floor will have a thinner layer of veneer and composite. This is important because it can result in a less durable flooring depending on the manufacturer. This is where doing some research on manufacturers and quality of flooring would come in handy.
2. Determine your installation preference.
One of the joys of an engineered hardwood floor is the versatility of its installation. Depending on the type you buy, you can install it by gluing it down, as a floating floor, or by nailing or stapling it down. It can also be installed over multiple sub-floor surfaces, (wood, concrete, tile, etc.) and is more moisture resistant than hardwood flooring.
Many of the brands are now designed as interlocking flooring. Each piece clicks into one another for easy installation. The engineered hardwood floor we purchased had this feature which was another reason we were drawn to it.
This appealed to us for a couple of reasons:
- It is so much easier to install than having to nail each board down. It took only a day to lay the flooring in two large rooms.
- We installed boiler runs for our in floor heat underneath this flooring. Nails + Water Pipes= Leaks if you aren’t careful! Let’s just say, we wanted to avoid any chances of accidentally nailing into our water lines.
Knowing your desired method of installation will help you determine the type of flooring that will best meet your needs.
3. Do Your Research: AKA Not all Engineered hardwood floors are created equal!
This is probably the biggest lesson I have learned from our experience with our floors. Oh, how I wish I had known the truth of this before we purchased our flooring! The old adage “You get what you paid for” seems to ring true in this case.
That box of clearance flooring that seems too good to be true, probably is. (I am speaking from experience here.)
Don’t settle for the first product you see when you walk down the flooring aisle. Make sure to do some research before you take the plunge to purchase several rooms worth of it.
Besides jumping on the internet and looking up reviews here are a couple of things I wish I would have known/done before making our purchase.
a. Do a Scratch Test
We had barely finished installing our floor when it showed the first signs of wear. I was setting up the artificial Christmas tree and set one of the boughs down gently. When I picked it up, an ugly scratch marred the shiny brown floor!
Ugh!
I wasn’t even being a crazy lady with the branches. But there it was. A long white line in my floor board.
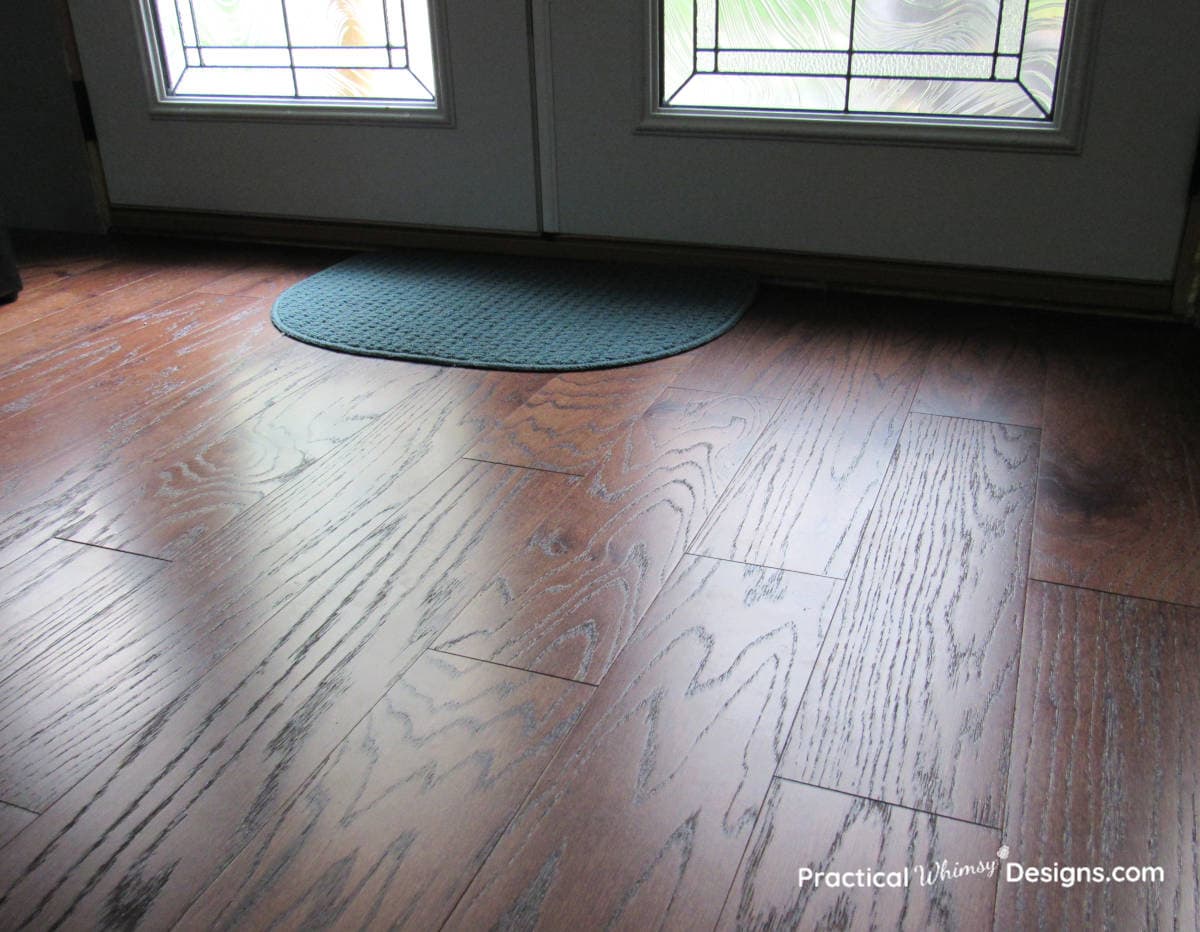
That scratch was quickly joined by many more friends. Between the dogs that came to visit a few times and our kids that play on it all of the time, the marks and gouges multiplied in drastic succession.
If I could do it over again, I would have purchased a few boards and put them through a series of tests to see how scratch resistant they were.
b. Lay a Test Floor
This may not be practical for everyone, because it takes time to accurately test this, but I wish we would have bought enough flooring to lay a small section of floor to see how it did over time before we laid the flooring on two large rooms.
Like any wood flooring, an engineered hardwood floor expands and contracts with the dry air of winter and the humid air of summer. However, how much may depend again on the quality of your flooring.
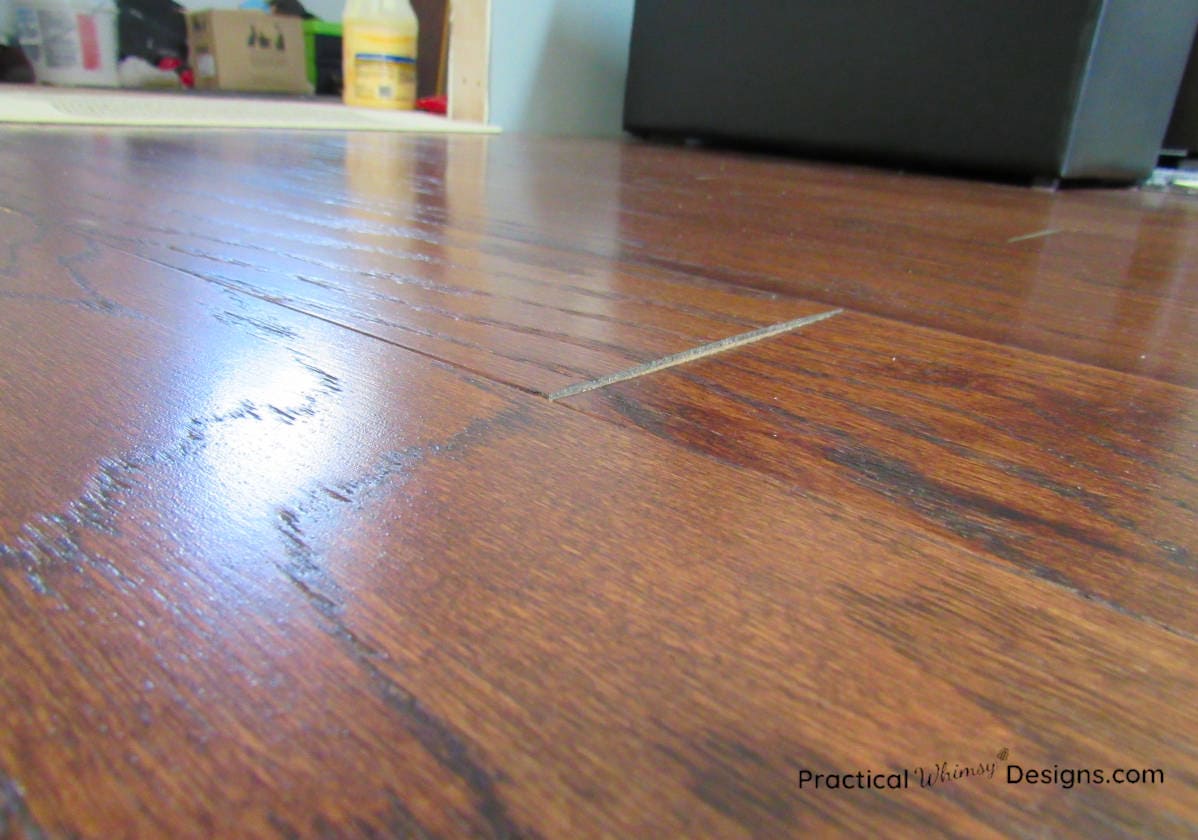
We also noticed that after only a couple of months, our floors have developed a few noticeable bumps at the edge of the boards. They aren’t “tripping hazards” or anything to that extreme, but when you step on them the raised edge digs into the bottom of your foot.

c. Figure out how many times you can refinish the floors before purchasing.
One of the reasons we liked the idea of an engineered hardwood floor is because we had heard you can re-finish them at least once. The boards are made up of a layer of hardwood veneered onto a composite bottom so the top hardwood layer can, in theory, be sanded and refinished.
I have since found out that the amount of refinishing each floor can handle also varies greatly from product to product. Doing research on the exact flooring you are considering can give you an idea of how long each flooring will last and how many times you can sand and stain it.
I am pretty skeptical about what the the results would be if we refinished our particular flooring. It contains some beautiful wood grain lines that I am not sure will survive if we refinish. Plus the depths of some of our scratches may be too deep to buff out without sanding through the top layer of veneer.
d. Do not add a clear coat to your floors.
Do not attempt this at home! Don’t do it!
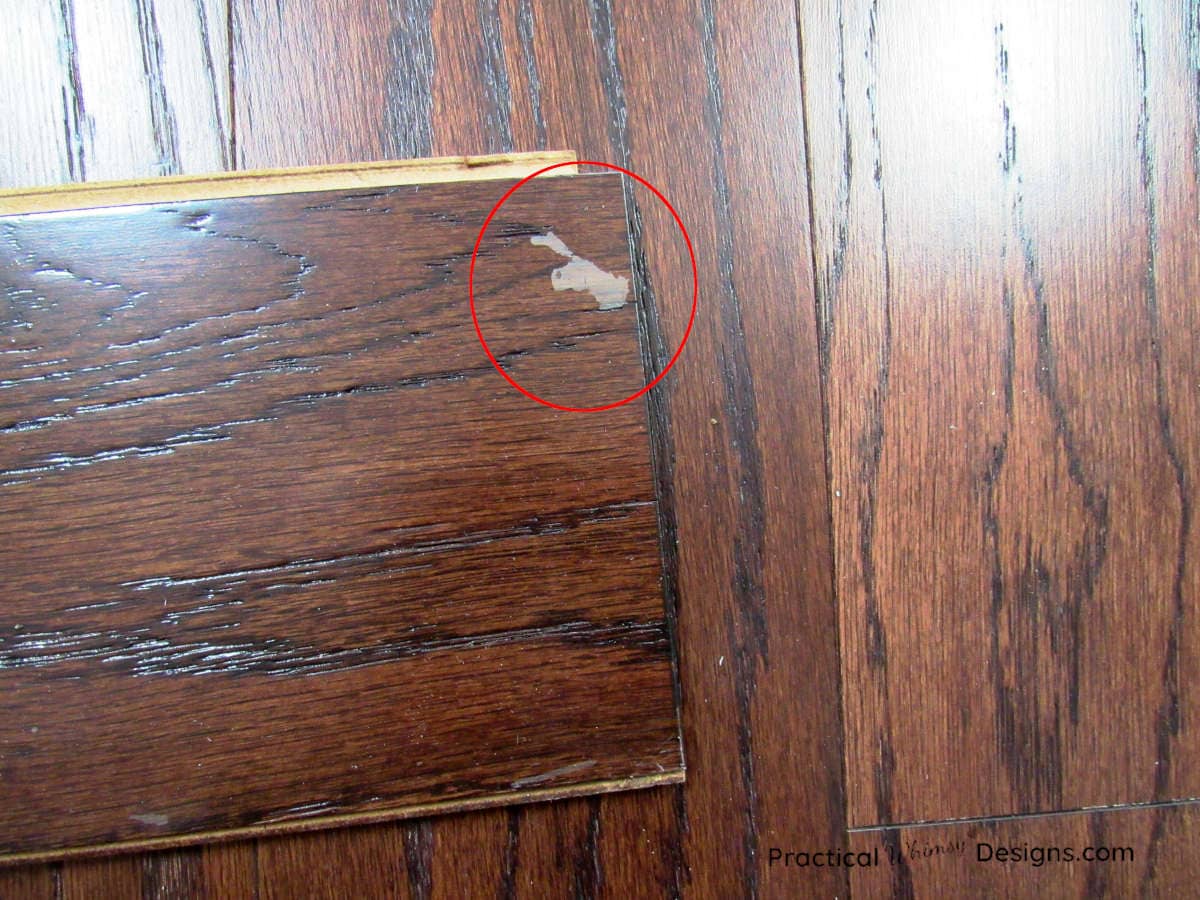
Since we weren’t happy with the stamina of our flooring, we came up with the brilliant not so brilliant plan to add an extra clear coat to our floors to protect them. Luckily we were smart enough to try it on a small scrap piece of flooring before attempting this on the rest of it.

So, if you don’t do your research and end up with a floor that scratches easily, there is not a whole lot you can do.
Lesson Learned
The best tip I can give you when you pick out your next floor? You guessed it.
Do Your Research!!!
Don’t just buy the cheapest floor that looks pretty and call it good. I know. It’s tempting and it has worked for us in the past. But there are too many variables to consider with this type of flooring. I hope you learn from our mistake and spend a little time researching the pros and cons of your flooring before purchasing it. You will be happy you did.
What has your experience with Engineered Hardwood Flooring been? What tips have you picked up?
If you enjoyed these tips, you may also like to read my post on How to tile: tiling basics for the beginner.
Want to remember these tips for later? Save them to your favorite DIY Pinterest Board.


