If you think learning how to grout tile is boring, think again. Grouting gives you the opportunity to make a mess…on purpose.
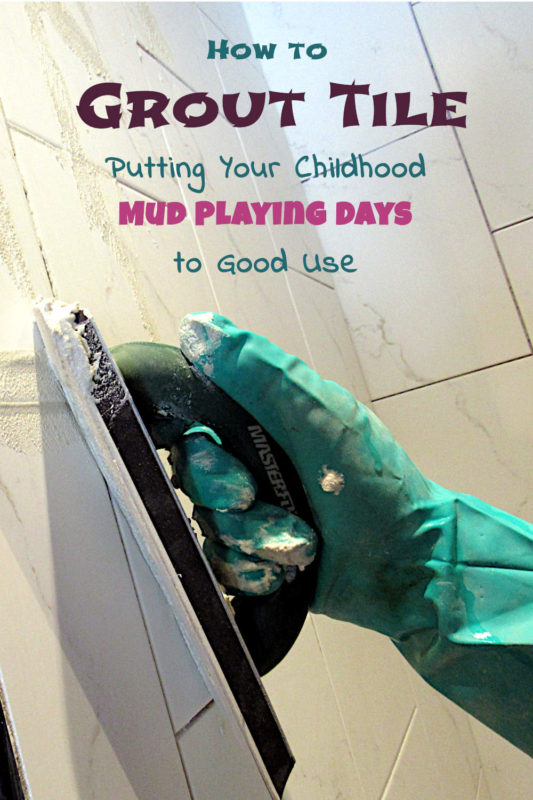
You know how when you were a kid your parents were always nagging you to not get the floor dirty? “Take your shoes off at the door.” “Wipe your feet on the rug.” You know what I mean? (Hey, I do it to my kids too.)
Well, I want to give you the opportunity to throw all of that childhood training out the window. Now, before you can experience this unbridled dirt fest, there are a couple of prerequisites.
First, you need to have completed a tile project in your house. (Don’t have a tiling project completed, but want to tile something? Jump over here for a basic tiling tutorial).
Second, you need to be a DIYer who loves to get their hands a little dirty.
If you match these criteria, then you are ready for some fun! (Hey, it’s all about your mentality, right?)
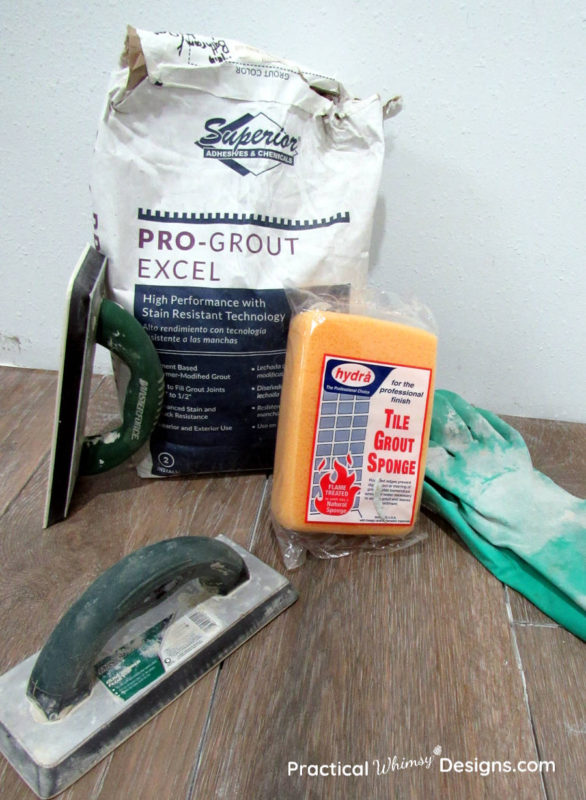
What you will need:
- Grout (This comes in many colors, so you will need to determine the color that complements your tile)
- Grout Float
- Water
- Grout Sponge
- Gloves
- Grout Sealer
How to Grout Tile
Step 1: Choose your grout
First, you will need to choose a grout color based off of the design style you are going for. Do you want your grout to stand out or blend in? Do you want it to be dark or light? etc.
The two types of grout you need to choose from are Sanded and Unsanded.
Sanded grout is used for tile that has at least an 1/8″ gap. The sand is used to hold the tile together so larger grout lines need sanded grout. This is the kind of grout that usually comes in powdered bags.
If you choose to purchase the powder for your grout, follow the package directions. It will tell you the ratio of water to powder to mix to create the desired texture. Make sure to follow all safety regulations when mixing grout.
Unsanded grout is used with tile that have small gaps, especially if your tile has glass. The sanded could scratch your glass tile, so unsanded is better. It is usually applied to your back splash. You can often purchase this kind in a premixed container.
Step 2: Apply the grout
This is the part where you get everything dirty, you rebel!
I actually struggled with this to start with. Partly because it went against my childhood training and partly because it seemed counter intuitive to cover my new tile with sandy mud.
But, this is the moment you can let all of your rebellious tendencies and childhood fantasies of trashing the place go.
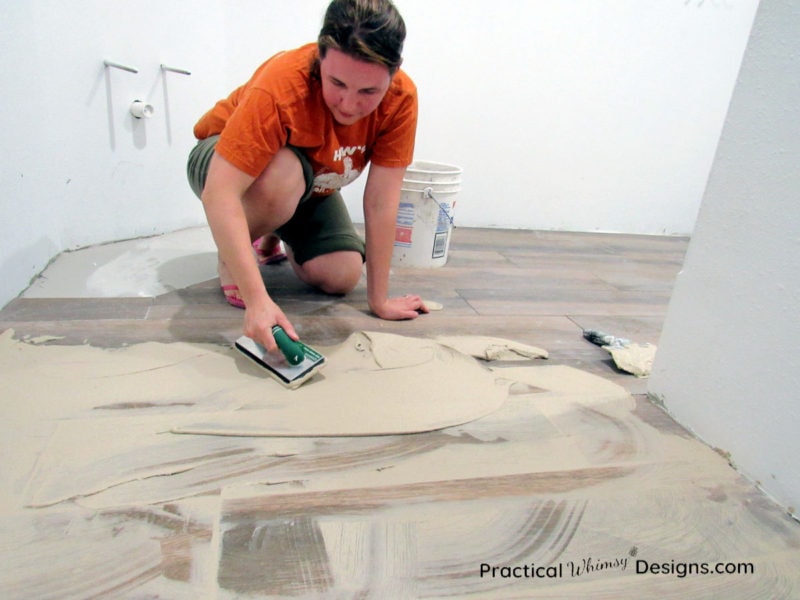
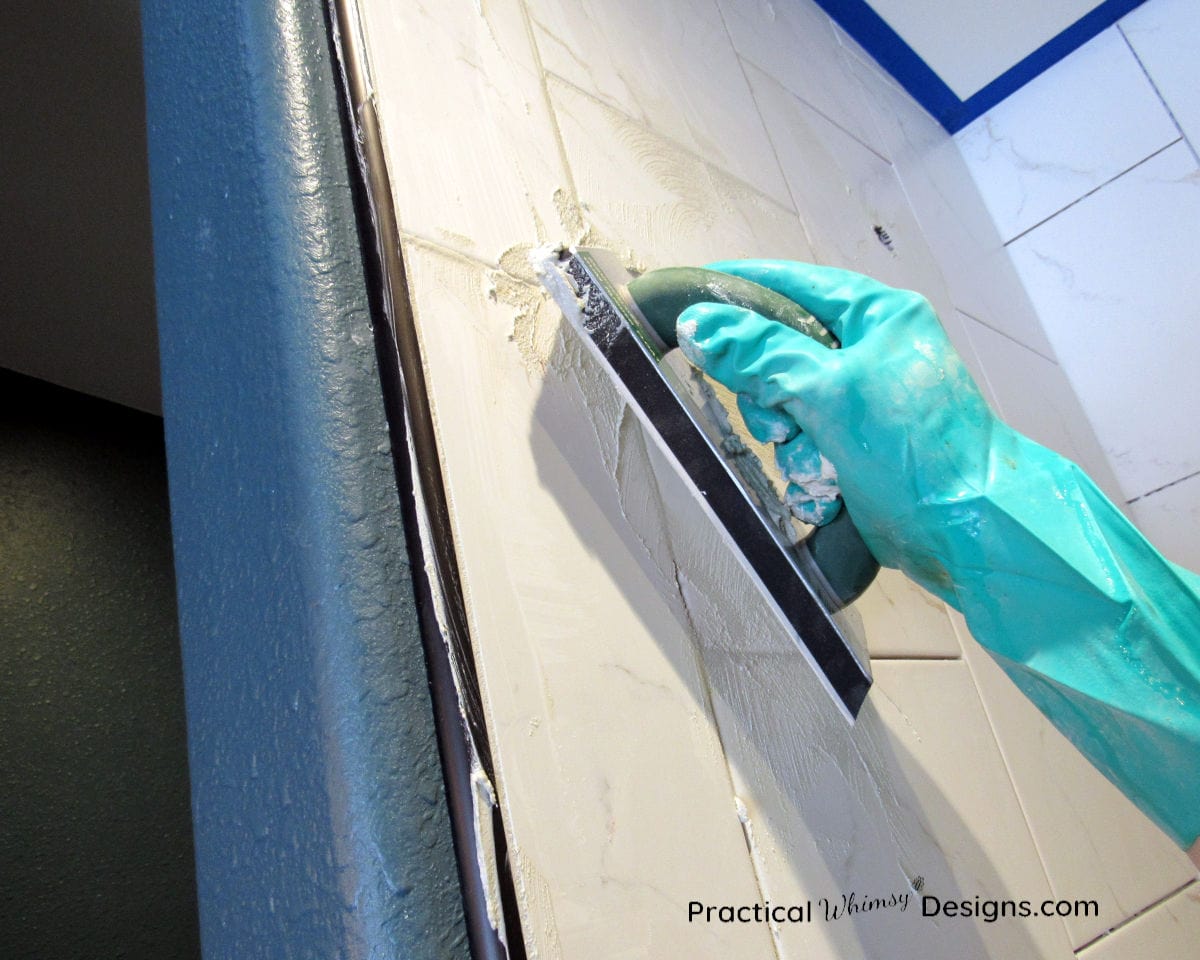
Grab your grout float (not a root beer float, but maybe treat yourself afterwards?!!!) Glob a pile of grout onto your tile.
Hold your grout float at a 30-45 degree angle and push the grout into the cracks between the tiles.
Then run your float along the grout lines to scoop up any excess.
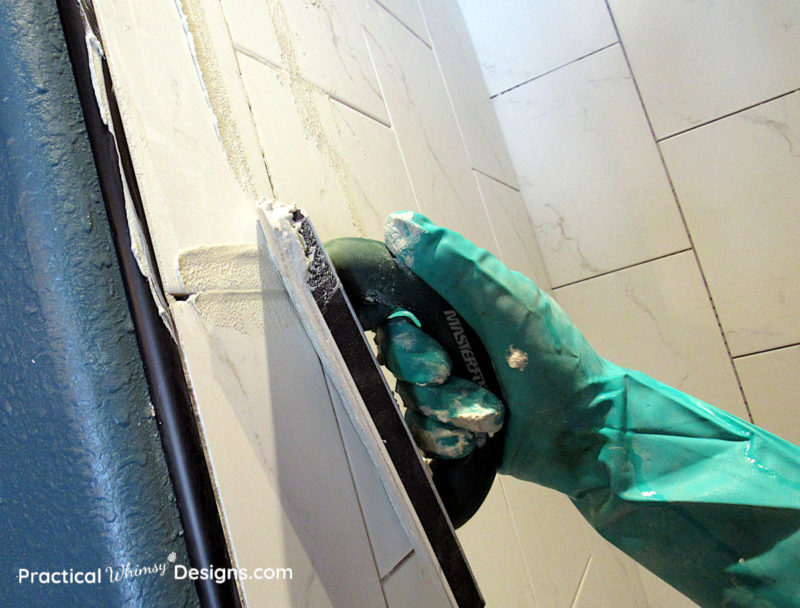
Note: Make sure to keep your float at a 30-45 degree angle and slide it in the same direction as the crack you are filling. This will keep you from accidentally gouging the grout out of your newly filled tile line.
When you are done, there should be a little grout left on the tile, but not large mounds. (You are an adult, after all, and unfortunately you have to clean up after yourself after you are done with this project. So don’t get too carried away).
Note: It is VERY IMPORTANT that you only grout a small area at a time. 40 square feet should be a good base point. You need to wash the grout off before it hardens onto your tile, so keep your grouting area manageable.
Step 3: Clean the grout off of the floor
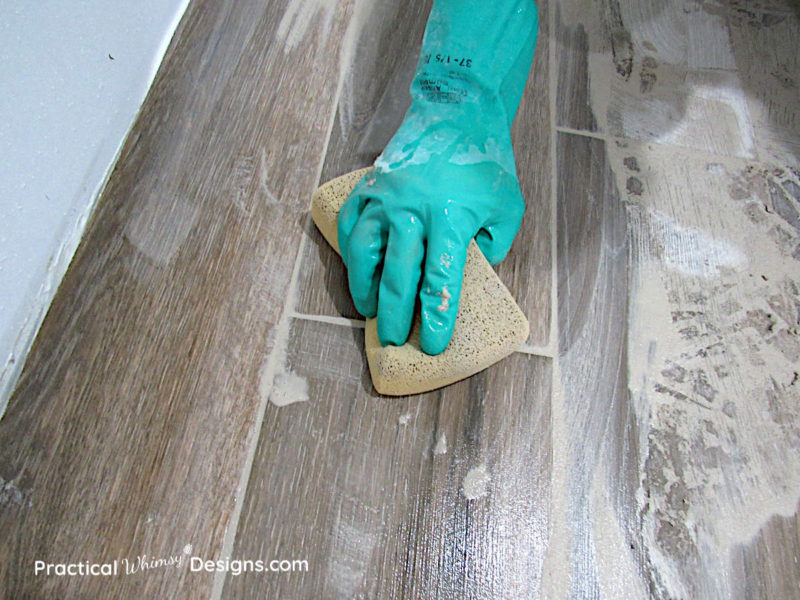
After applying the grout, you will need to wash the grout off of the tiles. You need to get the grout line smoothed out and the chunks off of your tile before they harden. Grab your tile sponge and some water in a bucket.
Note: Grout is very drying on your skin, so make sure to wear gloves to protect yourself.
Use the sponge to wash the tiles with the water. You want to wash the grout off of the tile, leaving the grout line in tact.
Once again, hold your sponge at a 30-45 degree angle to keep it from gouging out your grout lines. Scrub at the chunks of grout on the tile until they are cleaned off, but be careful not to wash the grout out of your cracks. You want the straight line of grout left (as long as you tiled straight, ha ha) when you are done washing.
The key thing to this process is rinsing your sponge off frequently. The cleaner the sponge, the cleaner the floor.
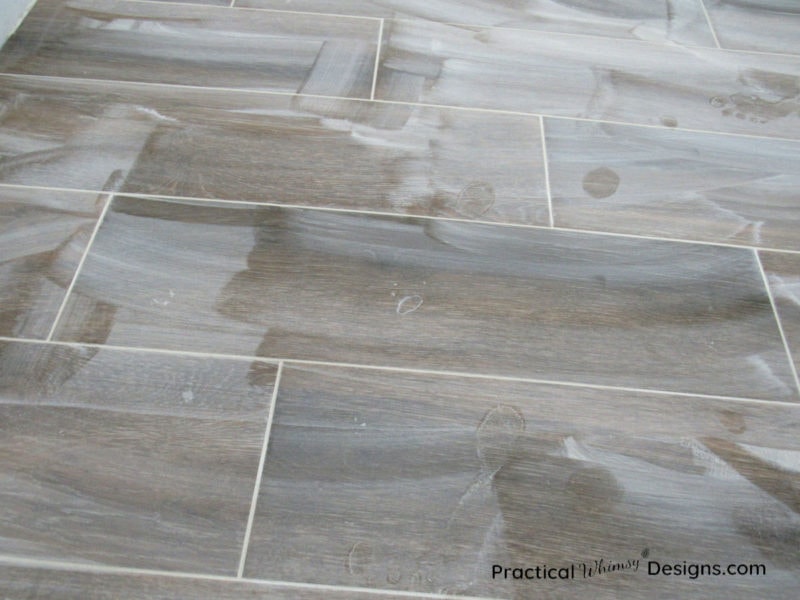
Let the grout dry over night and come back to wash the tile off again.
It will take several washes for the tile to look clean. There will be a haze after the first wash, but don’t worry. Subsequent washes should remove this.
Make sure to fill your bucket with fresh water frequently to get the most cleaning power.
Step 4: Seal the grout
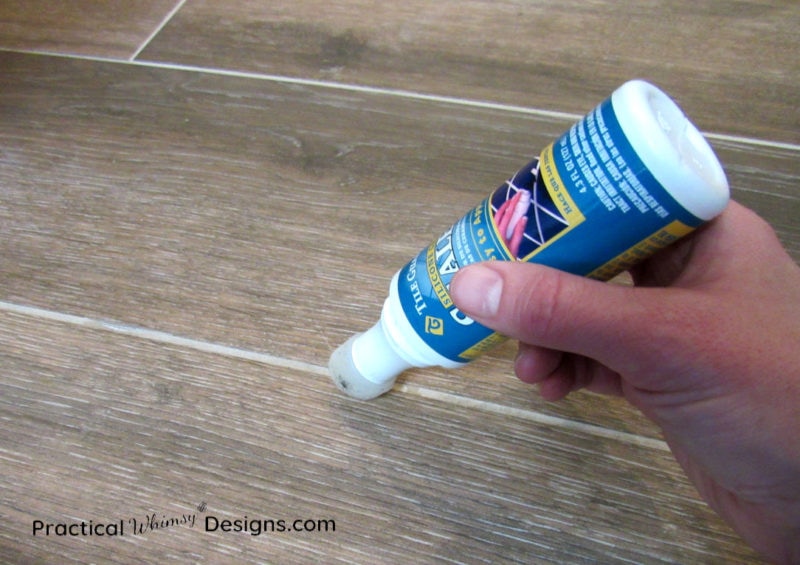
Don’t skip this step!
Even if you have a grout that says it contains a sealer, you still should seal your grout!
When my husband was picking up tile, the salesman said that he used to install tile full time. The biggest reason homeowners replaced their tile, was not because they hated the tile. It was because the grout had turned nasty and they couldn’t get it clean.
Now, I don’t know if that is true, but I do know we had grout that said it contained sealer in our shower. We were a little slow to seal it, because we thought the sealer in the grout would protect it. Less than a year after we had installed it, it was starting to discolor in a few areas. We were able to clean and seal it before it was too bad.
Please learn from our story and seal that grout.
Another thing: this needs to be done yearly!
Just like sealing the driveway, (yes, you are supposed to seal your concrete driveways too) grout needs to be re-sealed to prevent the coating from wearing off and causing the grout to stain.
The sealer bottle will have directions, so make sure you follow them. You may have to wait a couple of days before sealing to make sure the grout has completely dried.
Now You Know How to Grout Tile
Now that you know how to grout tile, I hope you have some fun with it. It’s not every day that smearing sandy mud across your floor or wall, is not only acceptable, but desirable.

Interested in more home improvement tutorials? Check out how to replace hardwood floor boards and how to fix a hole in painted trim.

