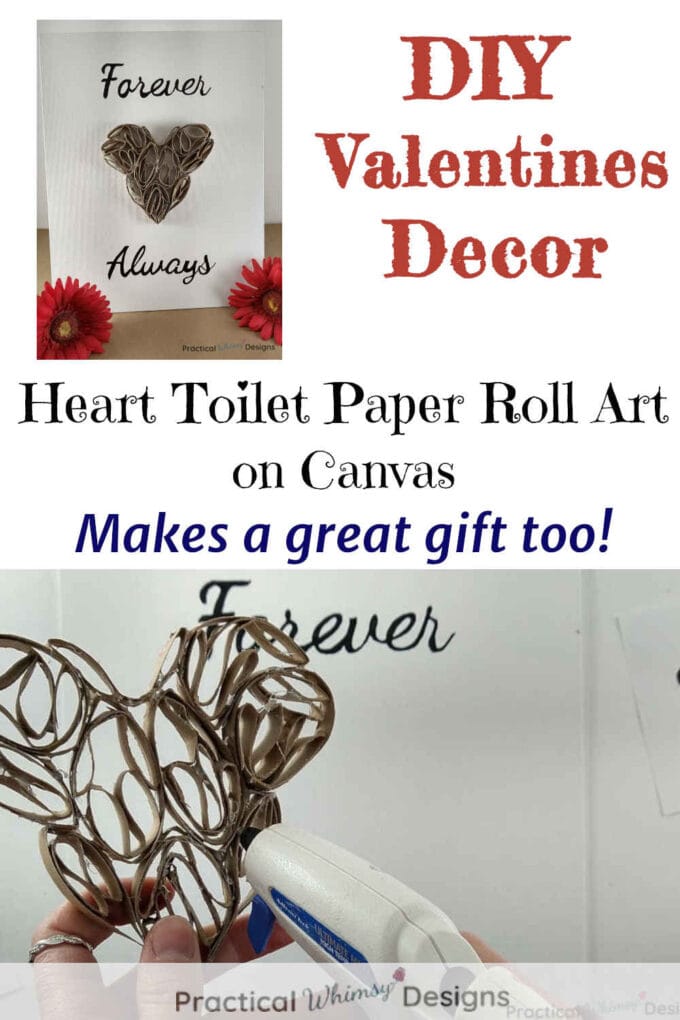
Want to try your hand at an easy toilet paper roll art project? Make this heart canvas 3D art with this simple tutorial.
Struggling with finding the perfect paint color for your home? My design guides are available for free to my newsletter subscribers. Grab my Free Paint Guide and FINALLY pick a wall color that you love!
Elegant decor doesn’t have to be expensive or complicated.
Sometimes using simple things from home can make the most beautiful statement.
If you need some decor for Valentine’s day, a Valentine’s day gift for that special someone, or an idea for a DIY gift for a wedding, this easy canvas 3d art is the perfect solution.
No one has to know that the heart is made from toilet paper rolls. 😉
This post contains some affiliate links for your convenience (which means if you click a link and make a purchase I will earn a small commission at no extra cost to you). Please see my disclaimer page for more information.
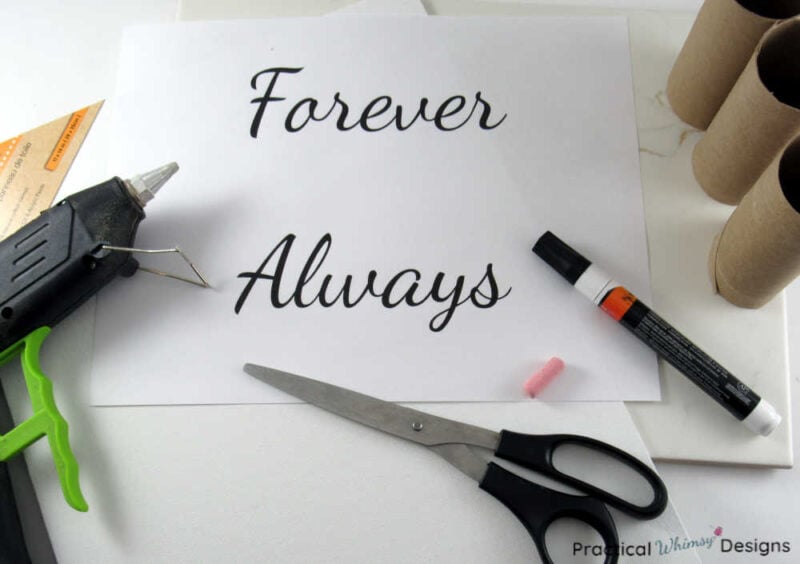
Materials You Need:
- 3 Toilet Paper Rolls
- Scissors
- Hot glue gun
- Canvas (I used a flat 11×14 I found at the Dollar Tree)
- Colored Chalk
- Stencil or print out for the words
- Tape
- Black Permanent Marker (opt.)
- Pencil
- Black Acrylic paint pen (if you use fine tipped paint pens, you can skip the permanent marker step.)
Note: I purchased a lot of my supplies at the Dollar Tree. They have a lot of bulk craft and storage supplies that you can purchase online if you don’t have a local store close by.

How To Make Heart Toilet Paper Roll Art on Canvas
The first step is to make the 3d Toilet Paper Roll Heart. You will need your toilet paper rolls, scissors, and hot glue gun. I started out with a large hot glue gun, but it was almost too hot so I moved to my mini glue gun. That is the one I would recommend on this project.
How to Make a 3D Paper Heart out of a Toilet Paper Roll
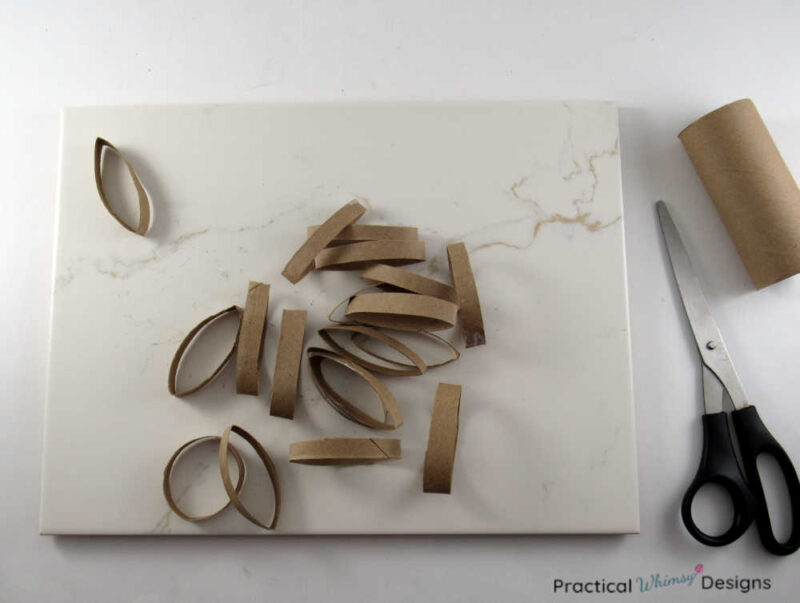
Step 1: Cut the Roll
Use your scissors to cut your 3 toilet paper roll cores into 1/4 inch (or so) segments. You can also use a paper towel roll or two. I didn’t measure. I just cut them to an approximate width. It doesn’t have to be perfect.
Step 2: Create a Heart Shape
Grab the toilet paper circles you cut and glue them into a heart shape. The heart I made is about 5 inches from the point to the top of the heart. This was the size I wanted for my 11″x14″ canvas.
If it helps, you can draw a basic heart outline and fit your loops onto the heart. I just started gluing loops together, and created the heart shape as I went.
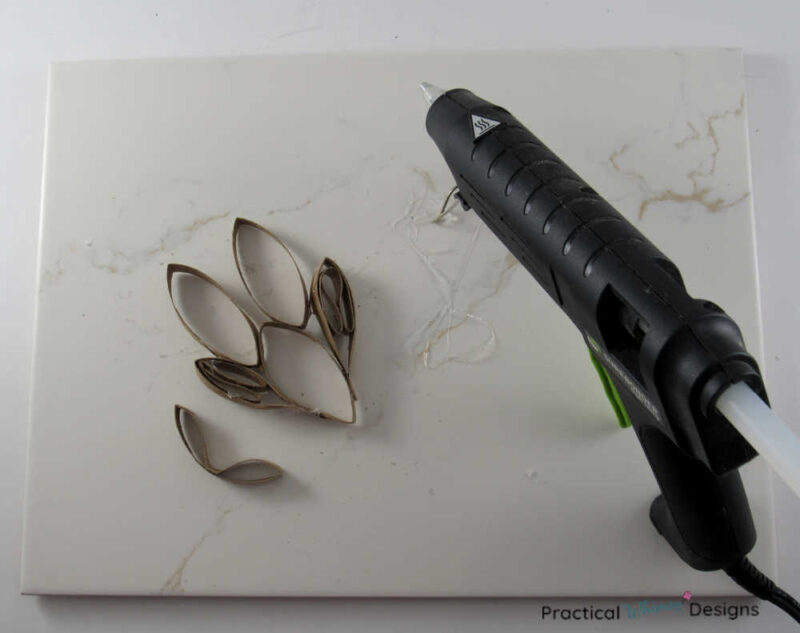
Tip: Use the natural curves of the toilet paper rolls to fit the outline of your heart and bend them to fit your heart shape.
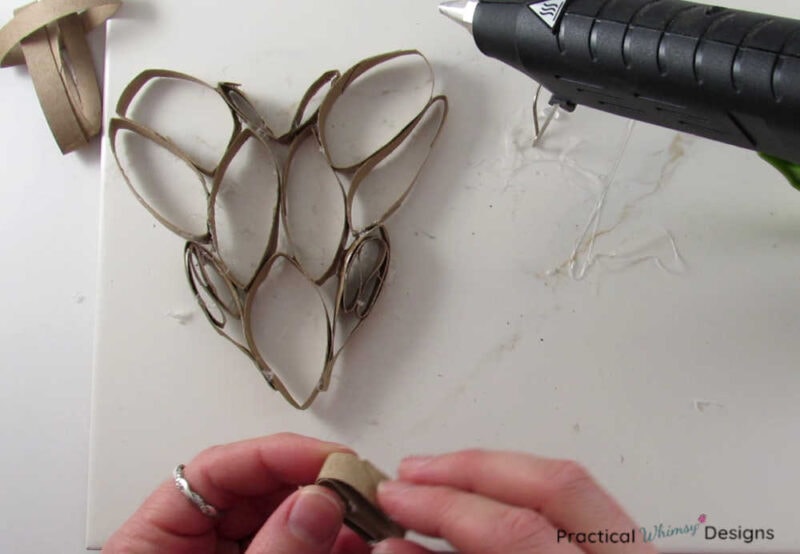
Glue them in place with your hot glue gun.
Step 3: Fill in the Heart
Now that you have your heart outline, it is time to fill it in.
Grab a toilet paper roll circle and bend it in half. Fill in the heart shape you created with these folded toilet paper roll circles. You will need to bend them and fit them together, kind of like a puzzle.
The easiest way to do this is:
Fold the toilet paper roll in half and crease it to create kind of a mini heart shape.
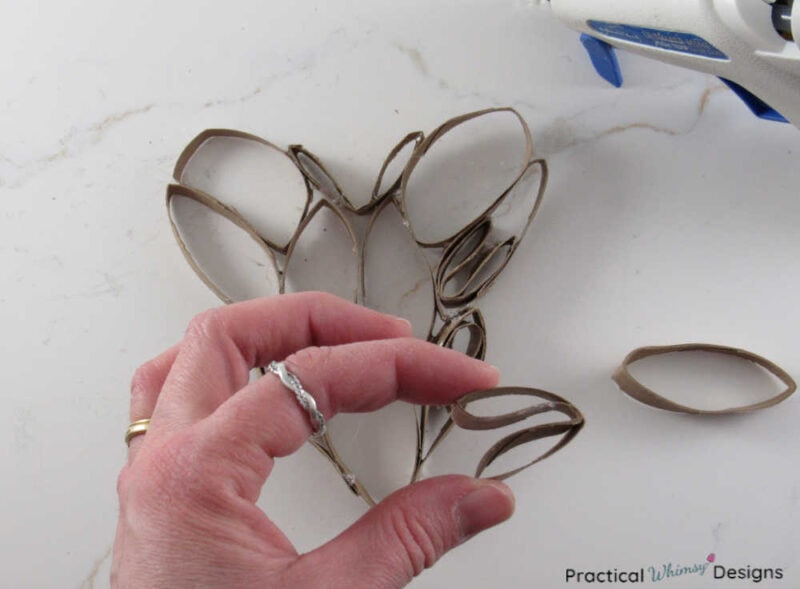
Put hot glue on the outside of the creased roll and then fit it into a open space on the heart. Try to fill in any large blank areas on the heart.
Use a little more hot glue to keep the creased roll in place. If you need to use a pencil to tuck the pieces of roll into your heart, it might save your fingers from the hot glue.
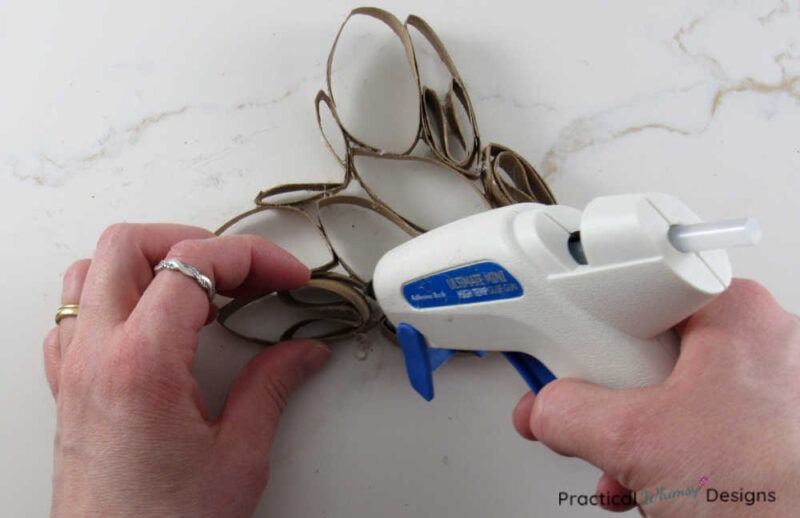
Step 4: Finish the Heart
Once you have filled in all of the open spaces on your heart with more folded toilet paper roll pieces, clean up your heart.
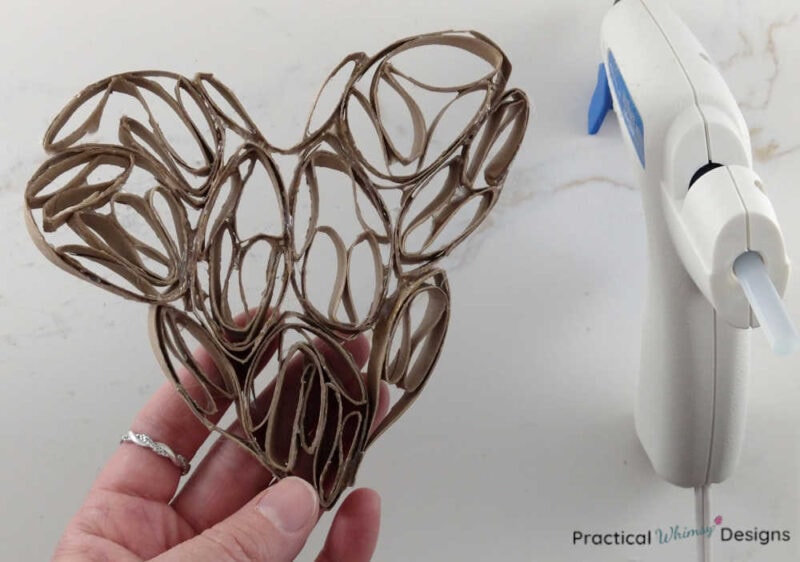
Glue down any loose pieces or areas that look funny.
Then clean up your glue.
I am notorious for getting hot glue strings everywhere. If you have that problem too, you can take this time to pick them off.
Tip: Another fast method for cleaning up your glue mess on your paper project is to run the hot tip of the glue gun across any glue clumps or strings. This will re-melt the glue so you can blend it into your project better.
How to Create the Canvas 3D Art
Now that we have our 3D toilet paper roll art piece made, we have to create the canvas art portion. Grab your canvas, the words you printed, and the chalk, permanent marker, and paint marker.
(If you are using a stencil, you can skip the chalk transfer portion of this tutorial and just trace your letters onto your canvas with a light pencil marking. Make sure to measure a straight line first so your words are level.)
Step 1: Transfer the words to your canvas.
Place your printed words onto your canvas. I wanted my heart in the center of the two words so I placed my words towards the top and bottom of my canvas.
(If you want your canvas to look like mine, I typed the words using the free Google Dancing Script font and printed it at size 150 on a basic word program on my computer.)
I used the chalk transfer method to make the outline of the words show up on my canvas.
To transfer your words using this method:
Color on the back of your word with a piece of chalk. Use a darker piece of chalk if you have it. I had to switch to a pink colored piece of chalk because the light green I started with was too hard to see.
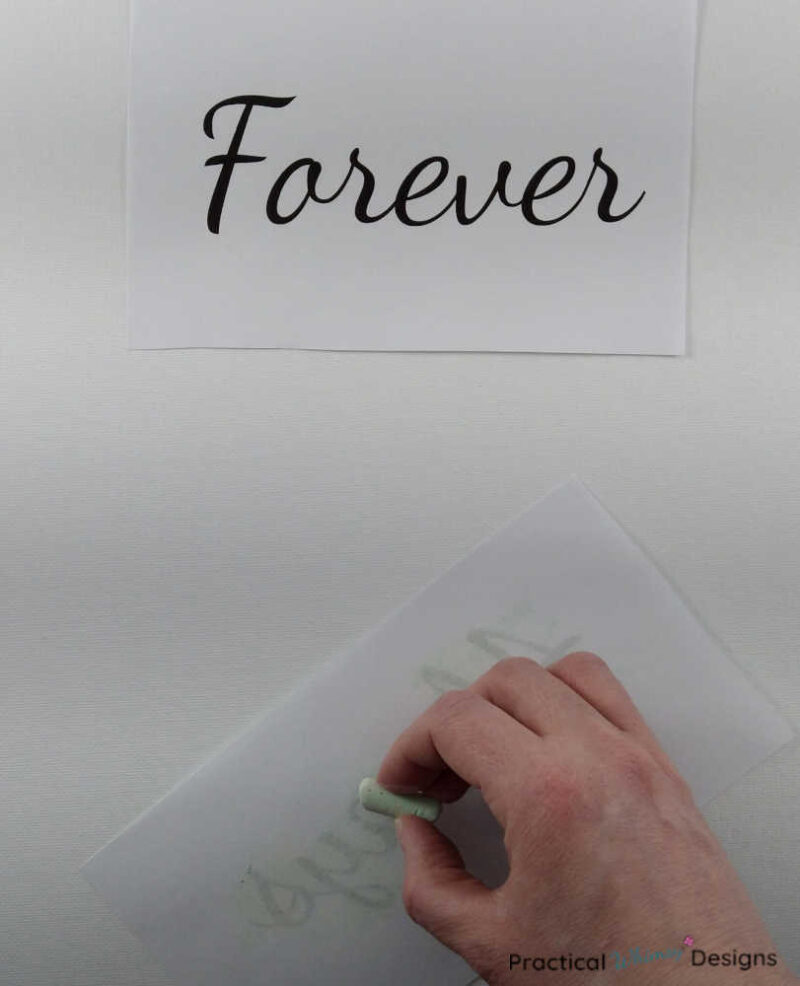
Flip your piece of paper over and place it on the canvas where you want your word to go. Make sure it is straight and centered. Use a piece of tape to keep it steady if you need to. This is so important! You don’t want your words to be crooked!
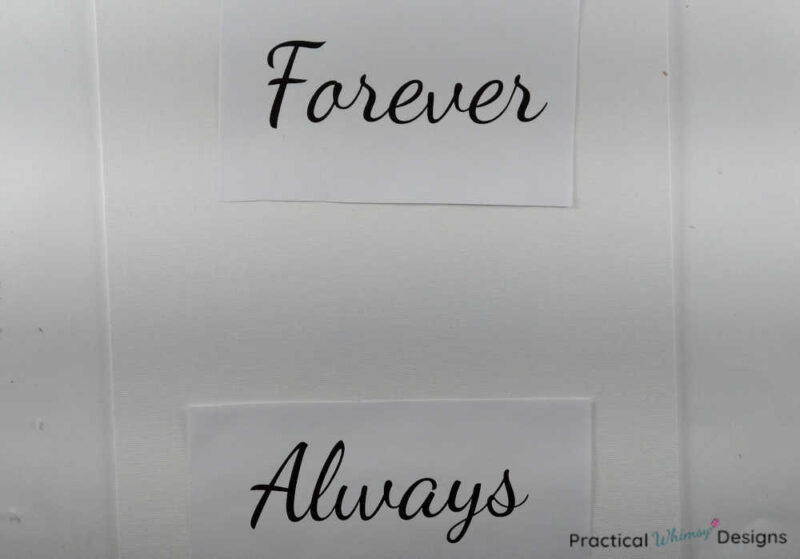
Use a pencil to trace around the outline of your word. This should leave a faint tracing of the word on your canvas in chalk. Make sure you put enough pressure on your outline so that you can see the chalk on your canvas.
Step 2: Paint the Words
Now is the time to make your words permament.
I used a permanent marker to draw the outline of the words onto my canvas. It was easier to get a clean edge this way. If you have a fine tipped acrylic paint pen like these ones, you can skip the permanent marker outline.
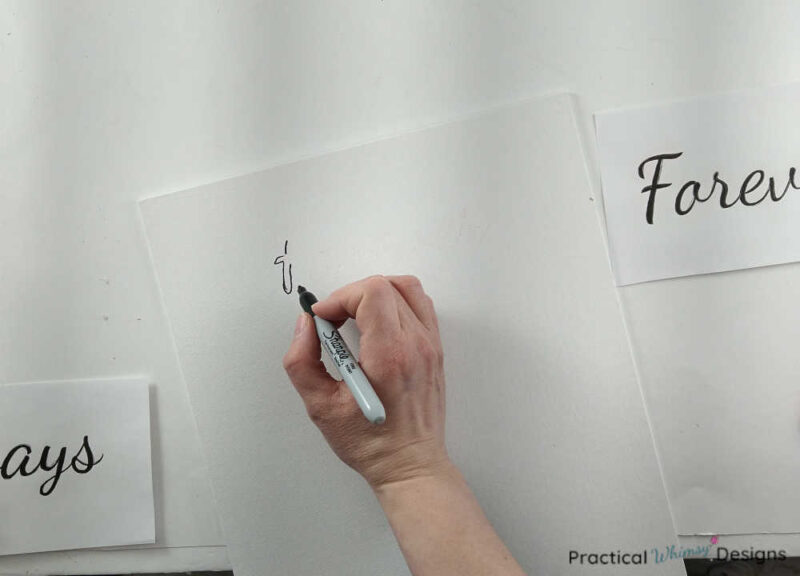
My acrylic paint pen was too thick to get the nice lines I wanted so I outlined the word with a permanent marker first. Then I filled in the letters with my paint pen.
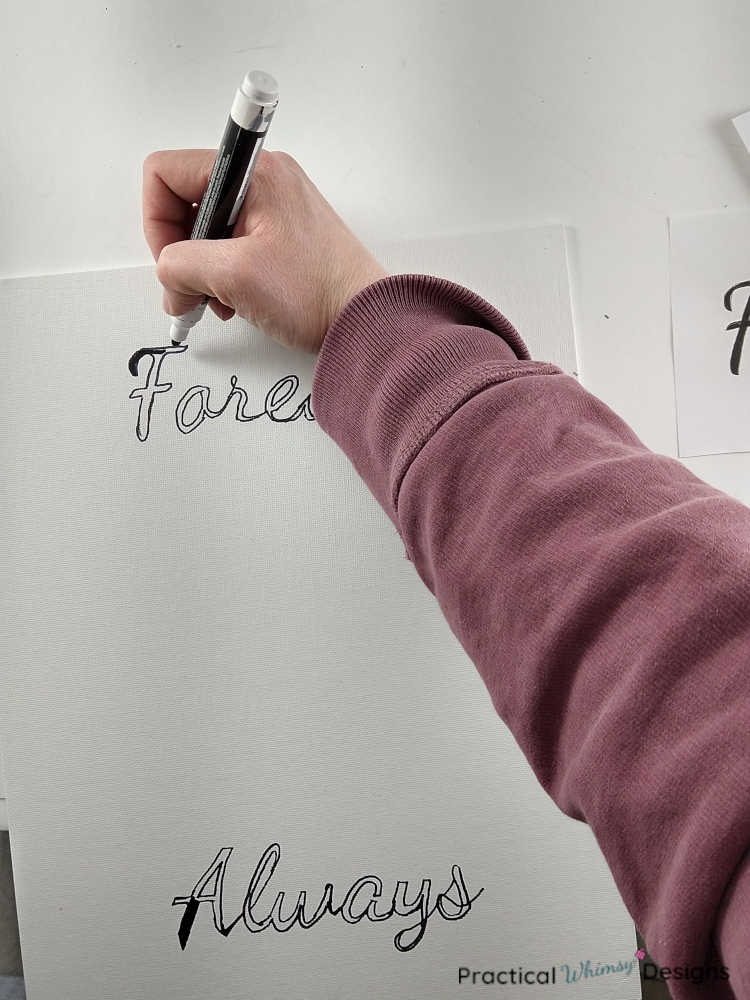
Step 3: Attach the Toilet Paper Roll Heart Onto Your Canvas
Once your words are dry, use the hot glue gun to glue the heart onto the canvas. I started out by putting a few dabs of glue on the back of my heart.
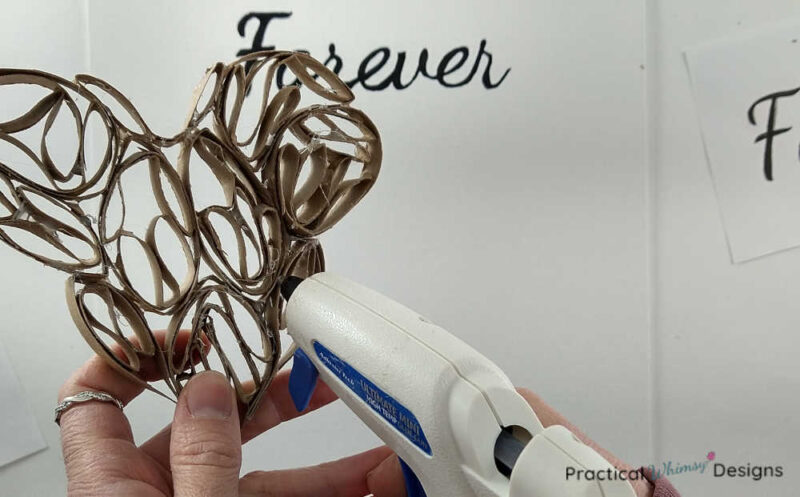
Then I carefully set my heart down centered between my words on the canvas.
Once I was satisfied with where I wanted my heart to go, I used the glue gun to ‘caulk’ a line of glue around the base of the whole heart. This gave it a cleaner look and kept my heart firmly in place.
Ways to Use This Heart Toilet Paper Roll Art
This toilet paper roll art is super budget friendly and so easy to make. It is a fun 3D canvas art project that is perfect for home decor or gift giving. Here are a few ideas of how you can use this canvas art project.
DIY Valentines Gift or Valentine Canvas Sign for Home Decor
Make this for a DIY Valentines gift or as part of your home decor for Valentines day. It is such a simple DIY project and it is a great beginning toilet paper roll craft for adults to make. Have some fun creating this easy DIY sign for your Valentines this year.
Canvas Wedding Sign or DIY Wedding Gift
You can create this sign for your wedding or as a DIY wedding gift for someone you love.
Create This Sign for Your Master Bedroom
Want a reminder of your love for each other? Need some art for your master bedroom? Create this heart canvas art as a daily reminder.
Heart Toilet Paper Roll Art
However you want to use this canvas art idea, I hope that you have fun making it.
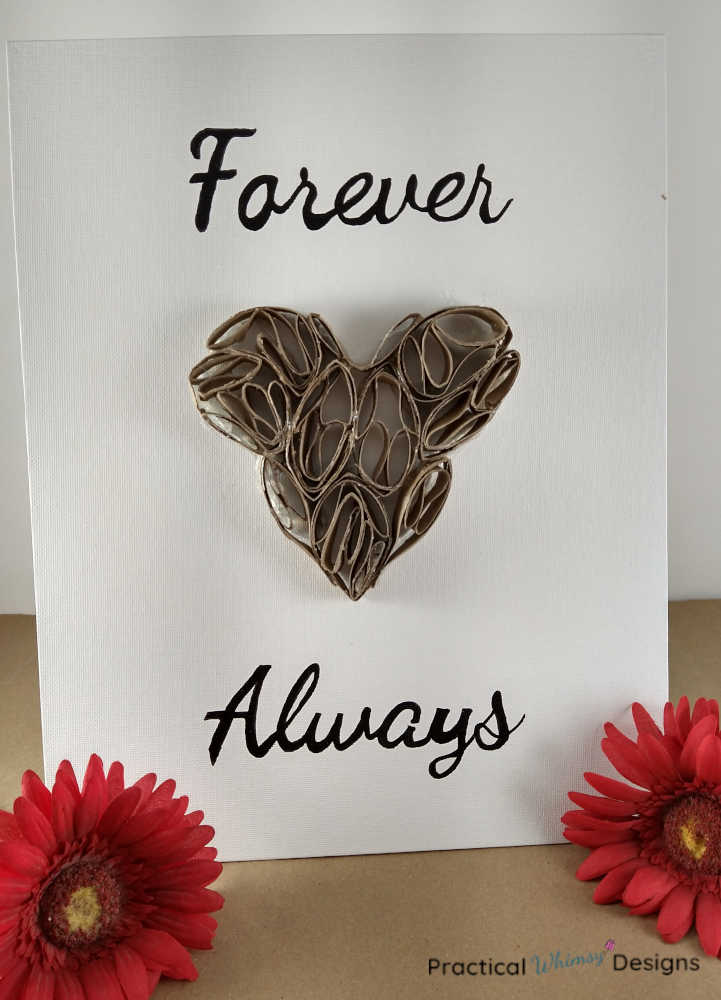
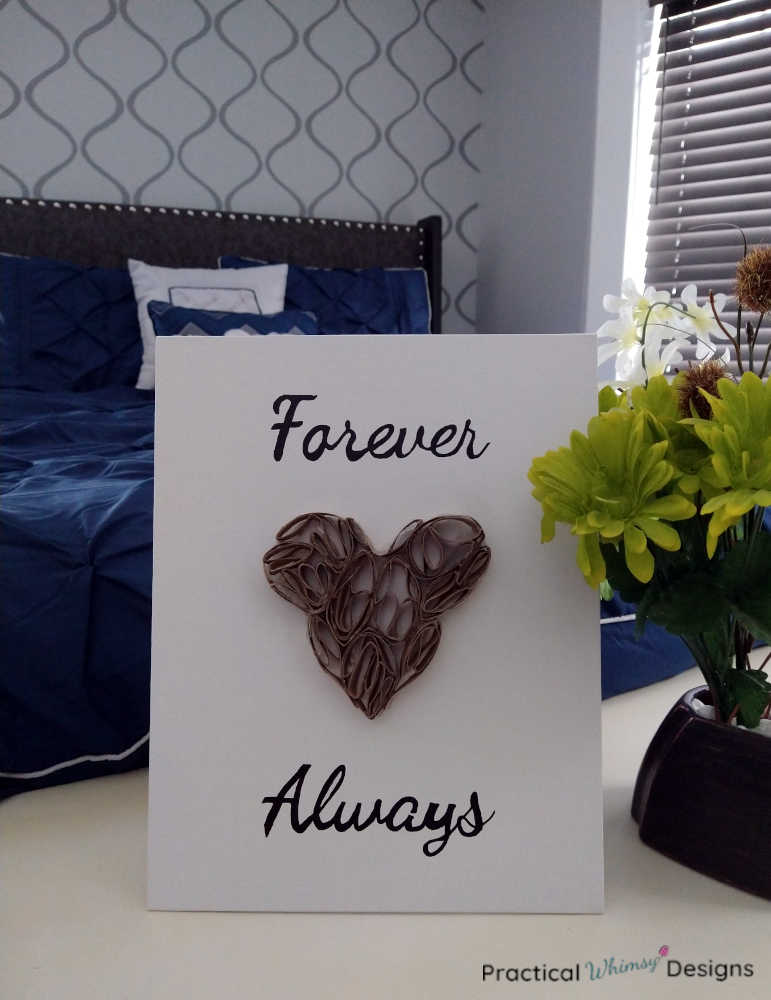
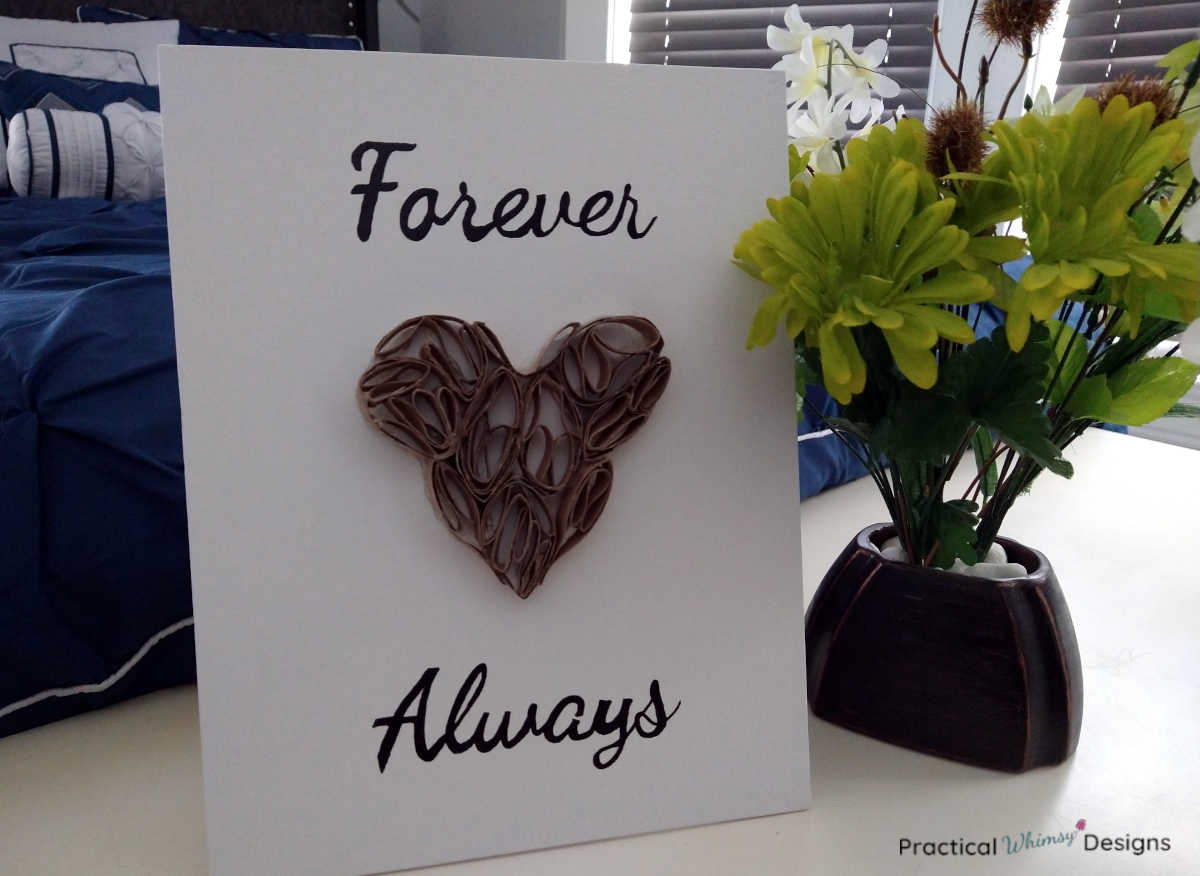
I plan to use the one I made as Valentines decor and possibly as art in our master bedroom. Our master bedroom still needs a little art in it after our major remodeling project.
If you are looking for another Valentine’s decoration that uses toilet paper roll tubes, make this DIY Valentines garland with small hearts. Or head to this post if you are looking for more easy Valentine’s canvas ideas.
If you need an easy heart decoration, head to this post on the printable heart pictures I made to find out how to get yours.


Are we friends on Instagram?
Follow @PracticalWhimsyDesigns to see more
behind the scenes projects


This is great DIY Valentine’s decor! I would never have thought of using a toilet paper roll to make hearts but this is beautiful! I can’t wait to have a go at this project myself!
Thank you! I was surprised at how beautiful it turned out. It really is a great material for making paper art.