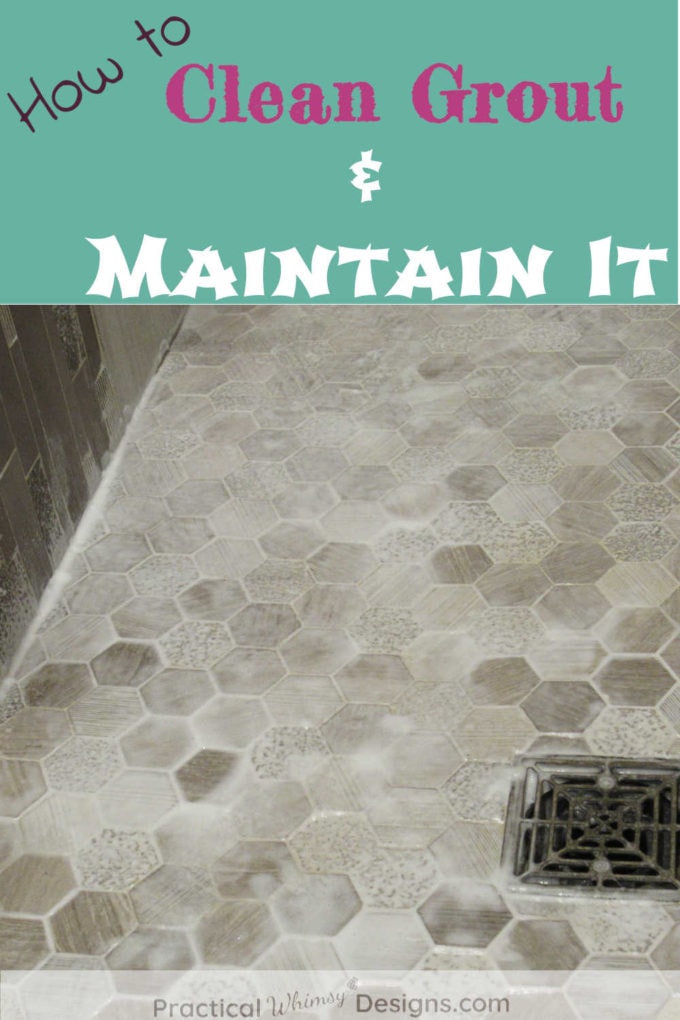
You want your new tile to last a long time. Learning how to clean grout and maintain it is the best way to keep your tile project in top condition.
You did it!
You finished your big DIY tile project. It is beautifully grouted and, most importantly, it’s done! Now you can breath easy, rest, and enjoy your tile work for years to come.
But wait! Before you kick back and relax, you need to set up a plan to maintain your grout.
Your grout needs to be cleaned regularly and sealed yearly in order to keep it from staining and discoloring.
Yep.
You heard me.
Yearly.
So, if you have grouted tile, set up a time in your year to go around and re-seal the grout. Otherwise your grout will not look very nice for very long.
How to Clean Grout
Now, before you start sealing the grout, you will want to make sure that it is clean. Otherwise you will be sealing all of the dirt and grim into your grout permanently.
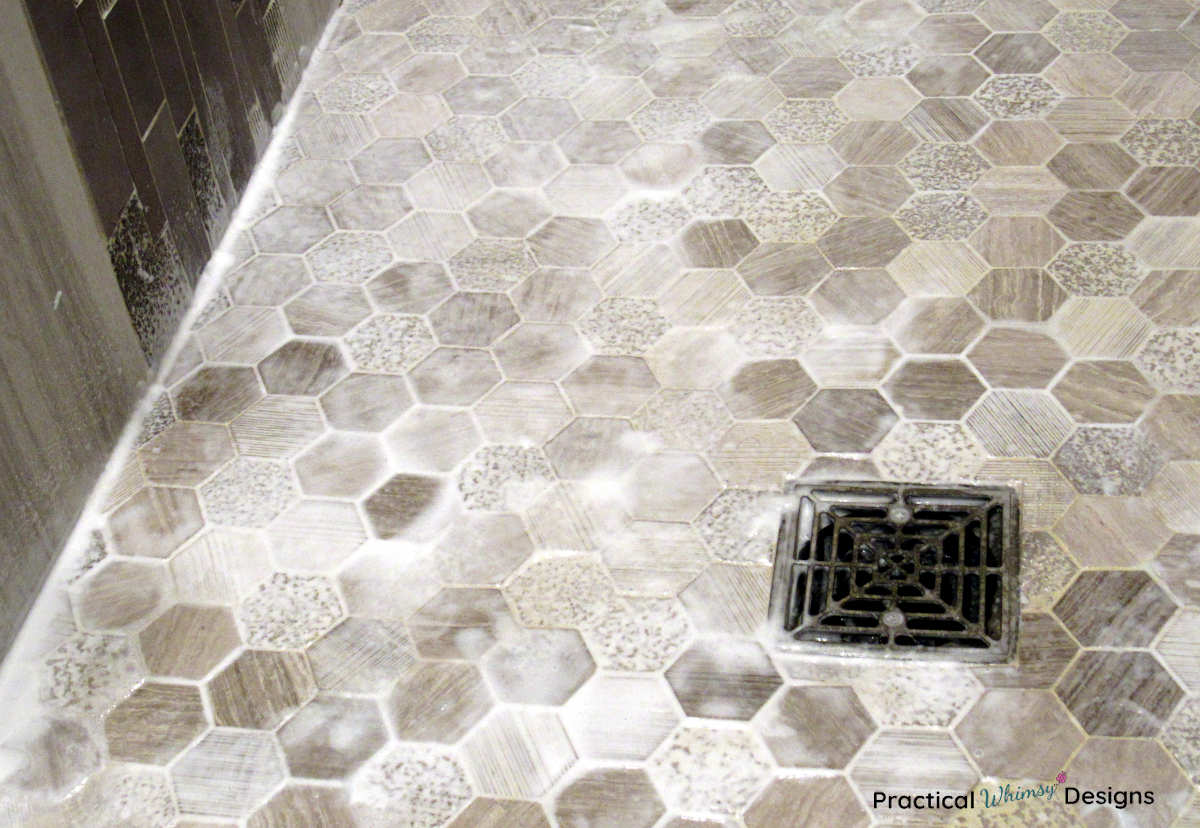
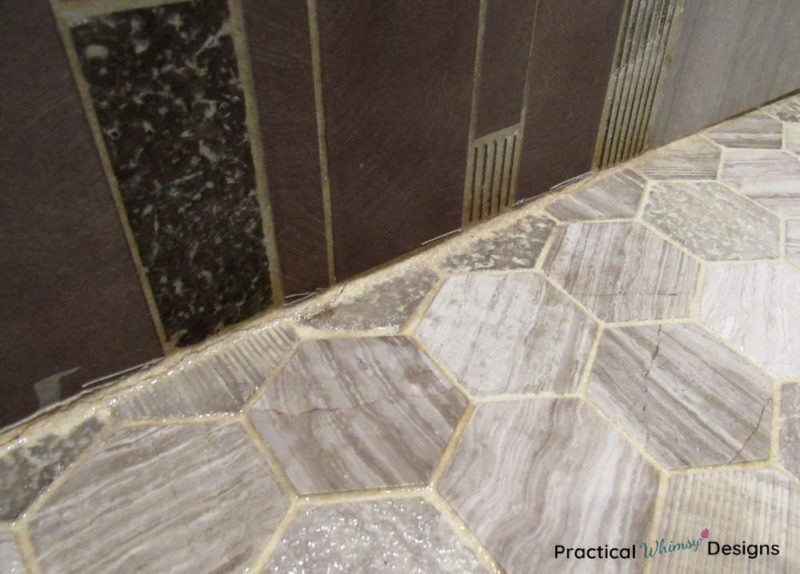
In this picture, you can see the areas that my grout sealer was no longer working. That scary orange layer of scum had to go!
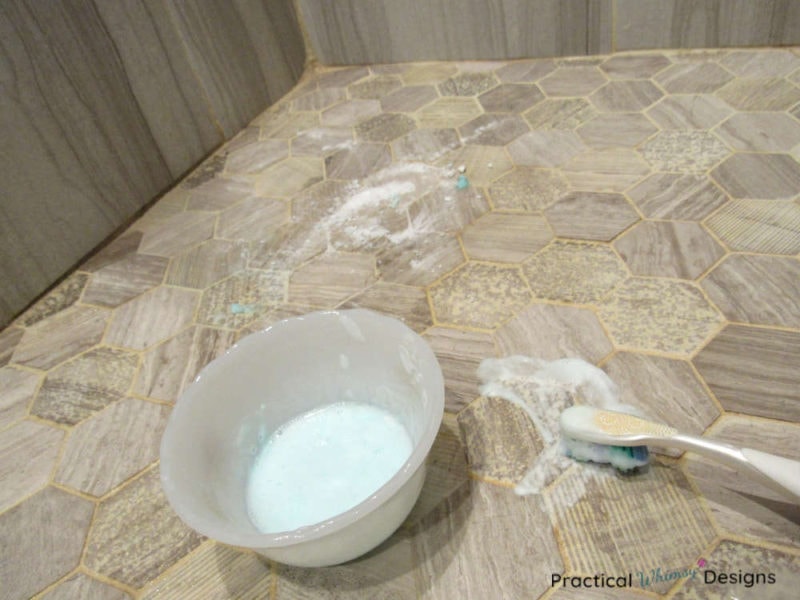
There are grout cleaners available, but I use a homemade solution. This solution has baking soda to help scrub out the grout, hydrogen peroxide that works as a whitener, and dish soap to add some more cleaning power.
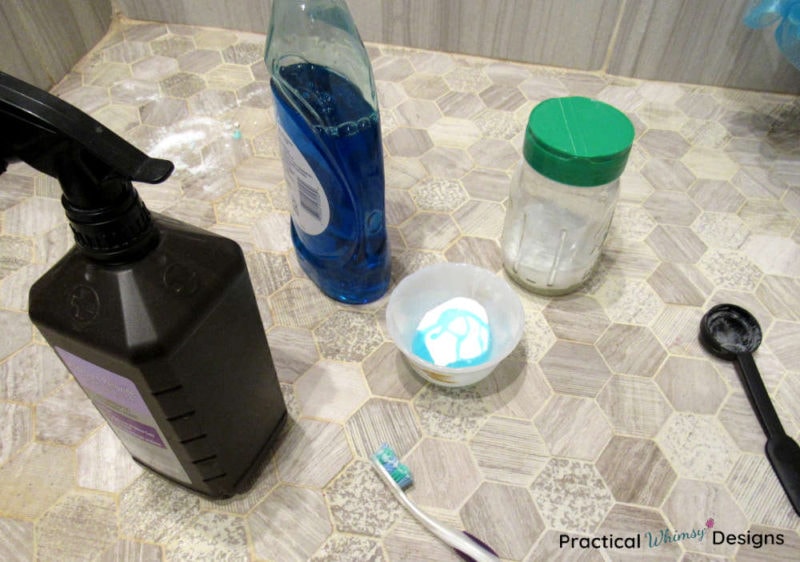
Grout Cleaner Recipe
- Put about 1/2 cup of baking soda in a small dish.
- Add a drizzle of dish soap.
- Mix in enough hydrogen peroxide to make a paste.
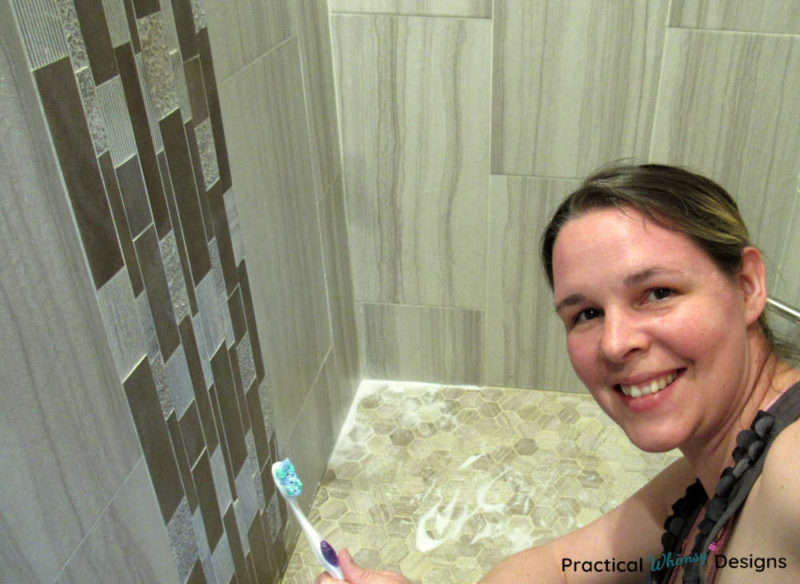
Use a toothbrush to apply it to the grout lines on your shower. Then let it sit for a couple of hours to overnight, depending on how bad your stain is.
As an extra whitening power boost, I sprayed hydrogen peroxide over the grout lines after I applied the paste and let it foam up and sit.
Disclaimer: Before using any cleaning product, you should always test it first in a small area to make sure it doesn’t discolor the tile.
After a couple of hours, I rinsed it all off with water and a clean rag and then dried down the grout lines and tile with a towel.
Reapply again if the stain is not completely gone.
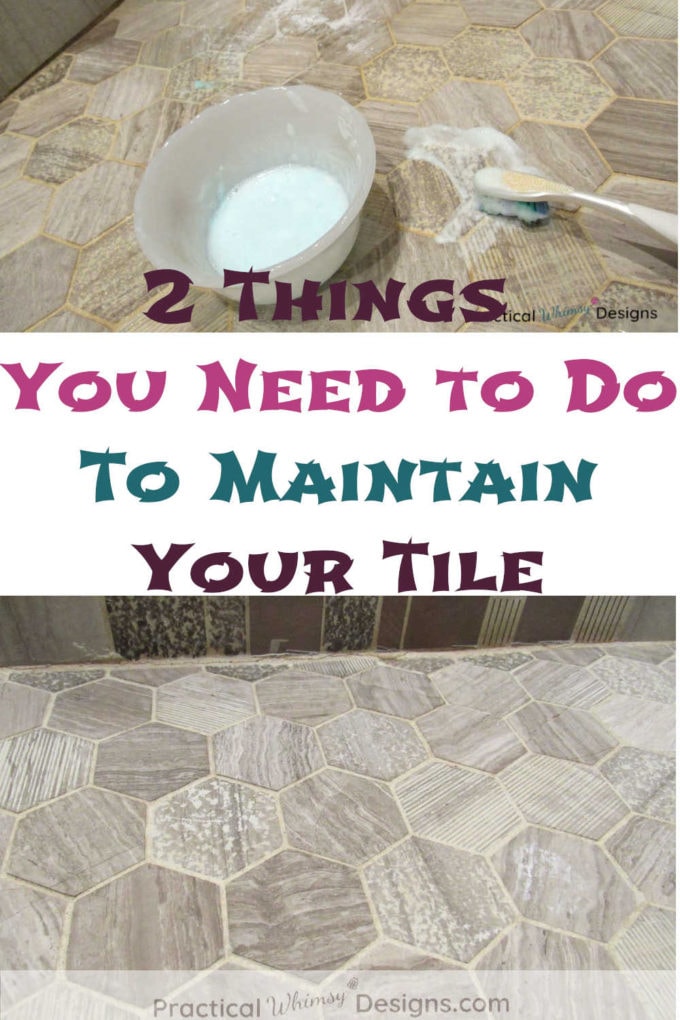
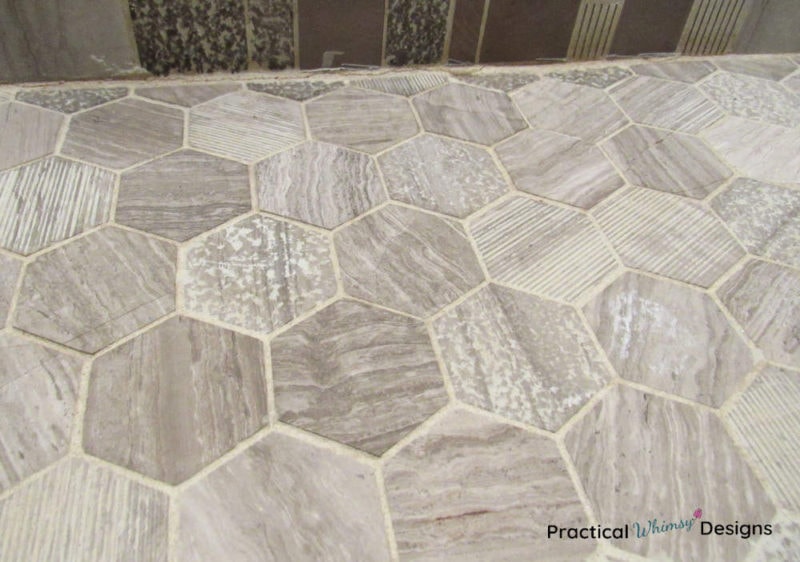
Here are the before and after pictures.
How to Seal Your Grout
This post contains some affiliate links for your convenience (which means if you click a link and make a purchase I will earn a small commission at no extra cost to you). Please see my disclaimer page for more information.
What you will need:
- Grout sealer (I used this brand)
- Disposable gloves I really like vinyl gloves like these.
- Toothbrush and lint free, light colored rags (cut up t-shirts work great)
The form you have selected does not exist.
Once your grout is clean and dry, it is time to seal it. Once again, it is always wise to test your sealer on a small area to make sure that your grout and tile work well with it.
Read the directions on your particular grout sealer to find out how long you need to stay off of it.
Your tile will most likely have to sit for a few days without getting wet, so plan accordingly!
I recommend sealing your grout in warmer months when you can open windows. Grout sealer can be strong smelling and you should work in a well-ventilated area.
Always wear disposable gloves when sealing your grout as the sealer can irritate your skin.
Use a toothbrush or rag to apply the sealer along the grout lines. Let it sit for a couple of minutes and then wipe it off with another rag.
Use light colored rags that won’t stain your tile and grout if they get wet.
If your floor sees high traffic or a lot of water saturation (such as a shower floor) it is a good idea to apply two coats of sealer. (Confession: I may have skipped the second coat of sealer on my shower floor last year and it definitely took more work to clean out my grout. Learn from my mistake and add that second coat.)
Enjoy Your Clean and Sealed Grout for Another Year
And now your grout is clean and ready for another years worth of water and dirt.

I know it seems like a pain to have to keep up with your grout each year, but the alternative is dingy grout lines that make you hate your tile.
A salesman told my husband that he used to install tile. The biggest reason, he said, that homeowners replaced their tile, was not because they hated the tile. It was because the grout had turned nasty and they couldn’t get it clean.
So, save yourself the hassle of replacing your tile and keep that grout clean and sealed.
Want to remember this idea for later? Save it to your favorite DIY board on Pinterest.
Read this post if you are looking for a basic tutorial on how to tile. Or hop over to here if you want to learn how to grout.


Good tips! Thanks for the recipe for the grout cleaner. You have a beautiful bathroom!
Thank you so much!