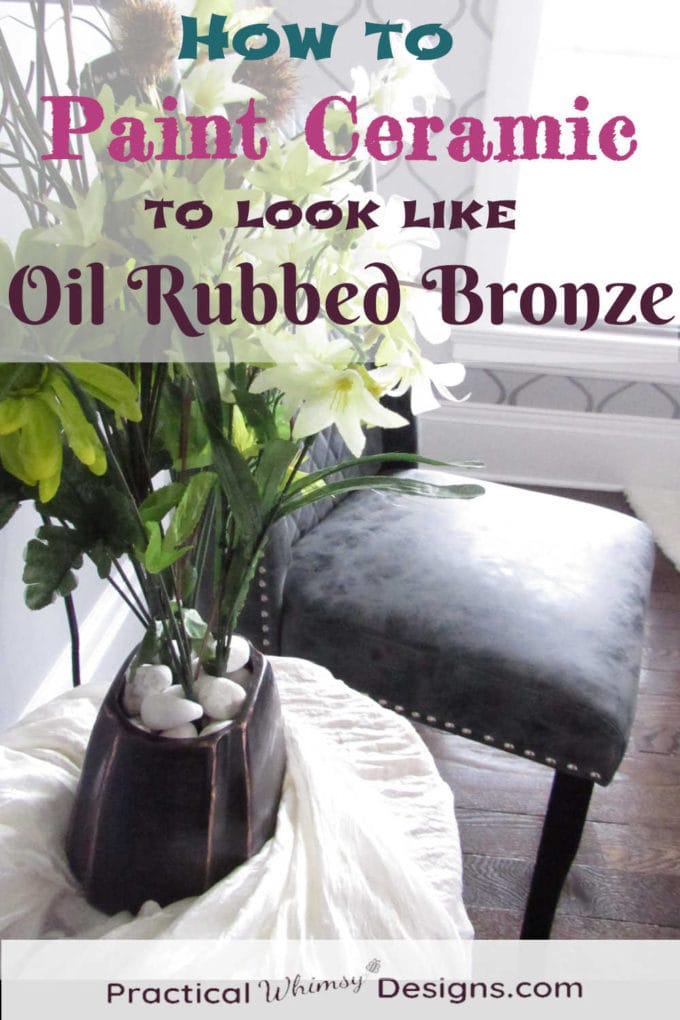
Transform your thrift store ceramic finds with paint. In this tutorial I teach you how to paint ceramic to look like oil rubbed bronze.
Struggling with finding the perfect paint color for your home? My design guides are available for free to my newsletter subscribers. Grab my Free Paint Guide and FINALLY pick a wall color that you love!
There is something satisfying about taking an item from a thrift store and recapturing its beauty again. Not only does it save me money, but it gives a cast off object a new life.
Recently I found myself in need of a vase for flowers in our master bedroom. Thus the quest began for a new thrifted item to re-purpose.
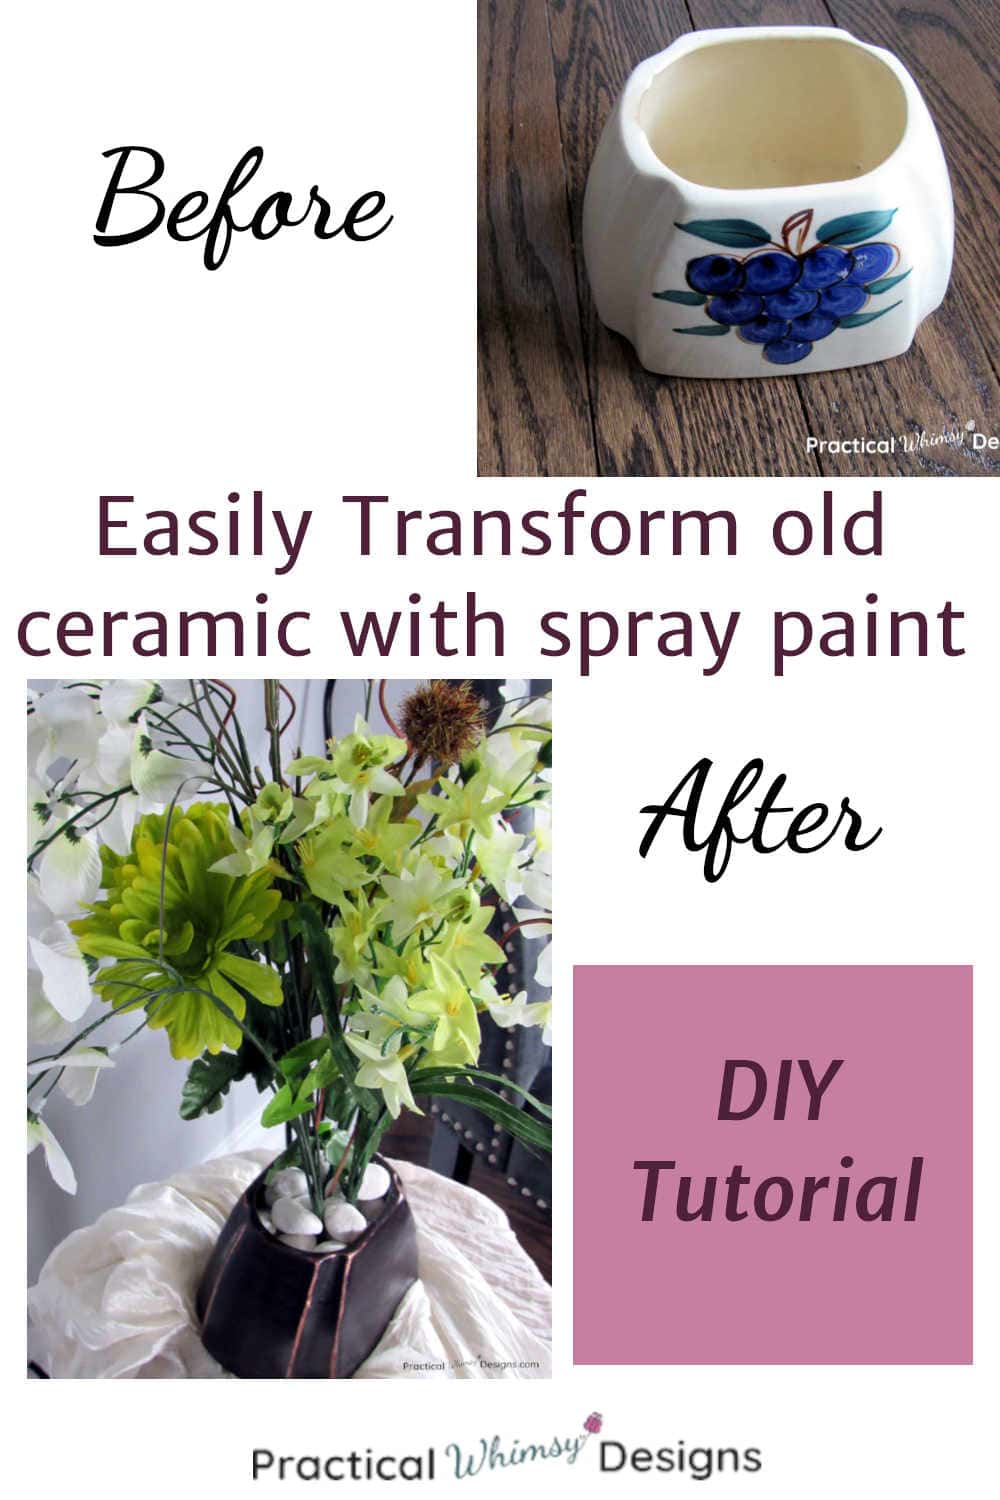
As I walked down the aisle of the thrift store, I spotted this vase.
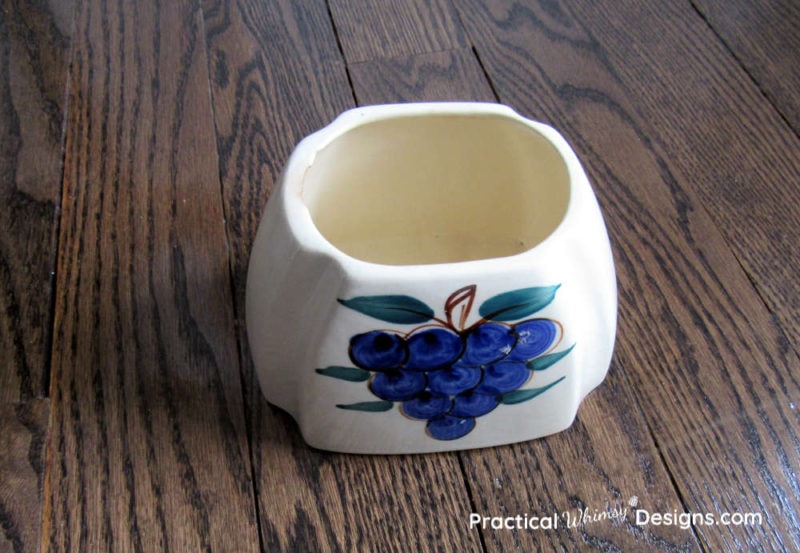
I loved the shape, but not the grape pattern. Since our bedroom has a lot of oil rubbed bronze, I wanted to recreate that look with this vase.
I remade this vase as part of the Thrifty Thursday Collaboration, where a group of other bloggers join me to re-purpose thrift store items, things from the dollar store, or other old things lying around the house into something useful. These will hopefully inspire you and encourage you to look at thrifty things with a new eye for re-purposing and decorating for less.

This post contains some affiliate links for your convenience (which means if you click a link and make a purchase I will earn a small commission at no extra cost to you). Please see my disclaimer page for more information.
Materials You Need:
- Old Ceramic Item
- Spray Primer and Spray Paint (I used this brown spray paint and metallic copper spray paint)
- Sand Paper
- Paint Brush
How to Paint Ceramic Thrift Store Finds to Look Like Oil Rubbed Bronze
Step 1: Clean the Ceramic
The first thing you want to do with anything from the thrift store is to wash it. You don’t want to paint on grime and filth.
I wasn’t sure if my ceramic vase was dishwasher safe so I scrubbed mine with warm water, dish soap, and a rag.
Make sure to remove any stickers and any other sticky residue.
Step 2: Prime and Paint
I like to prime my items before I paint them. I find that it helps the paint adhere to the ceramic better.
On this project, I used spray paint primer and coated my vase twice, letting it dry in between. It is always better to use multiple thin coats when using spray paint, rather than one thick coat. Also, don’t hold the spray can too close to the item being painted. Those are the two main reasons your spray paint will run.
Check drying times on the spray paint you use. I let my primer dry overnight and then sprayed two coats of metallic copper spray paint and two coats of dark walnut spray paint in satin.
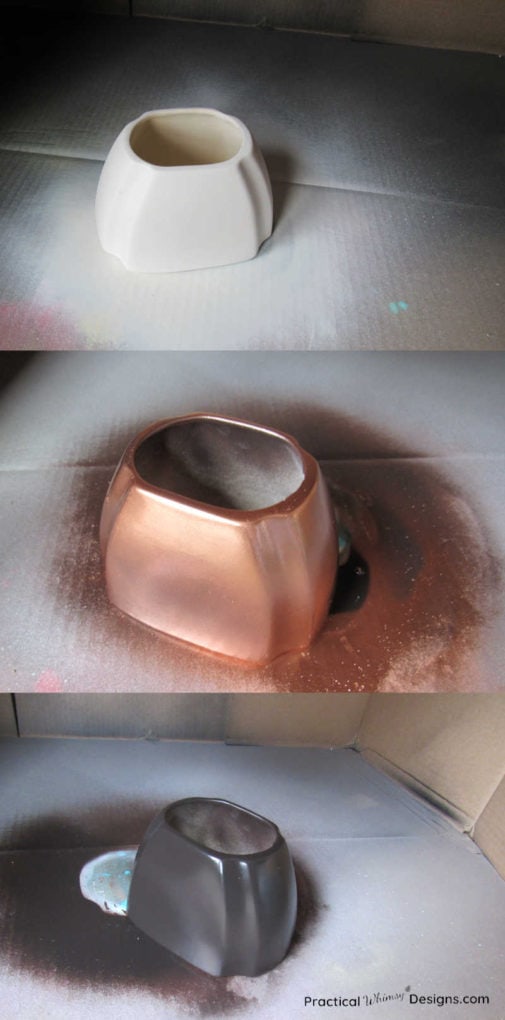
Note: Work in a well ventilated area and set up something you can use to contain the over spray. (I used a large box)
Step 3: Sand and touch up
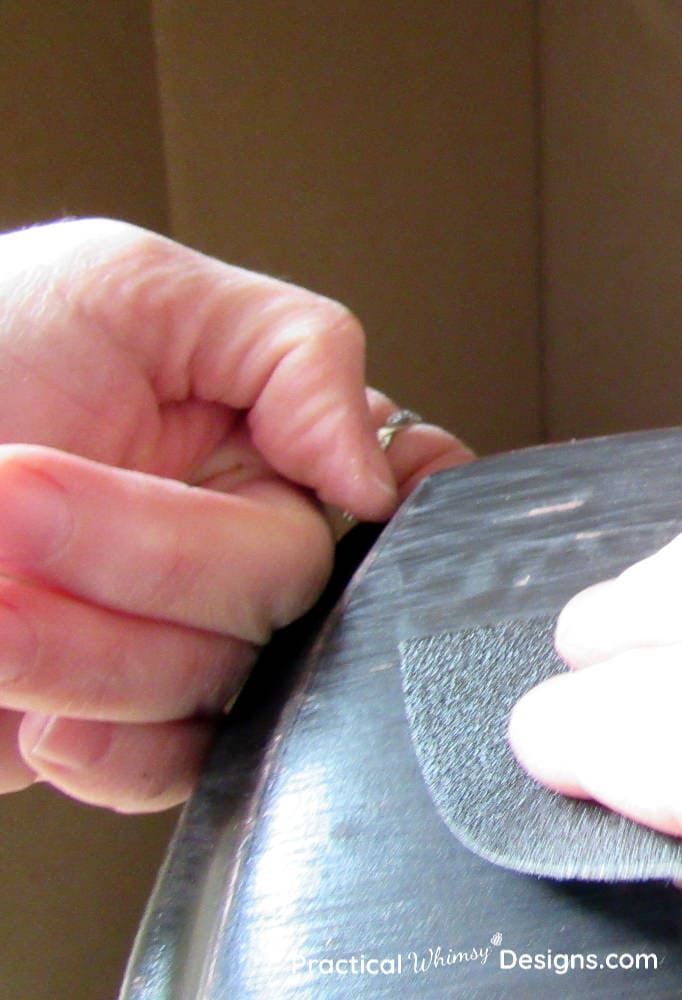
After I let the paint dry, I used 120 grit sand paper to sand lines into the walnut paint. Sand from left to right in one direction to create the brushed bronze looking lines. Don’t rub back and forth. I used a flicking motion, as if I was wiping dirt off my hands. Be careful not to sand too much or you will sand all of your paint off. You want the copper paint to just peek through your bronze layer.
I sprayed a little bit of copper spray paint into a plastic cup and used a small paint brush to paint a line of copper along the edges of the vase. This gives the illusion of wear, as if the dark paint rubbed off on the corners.
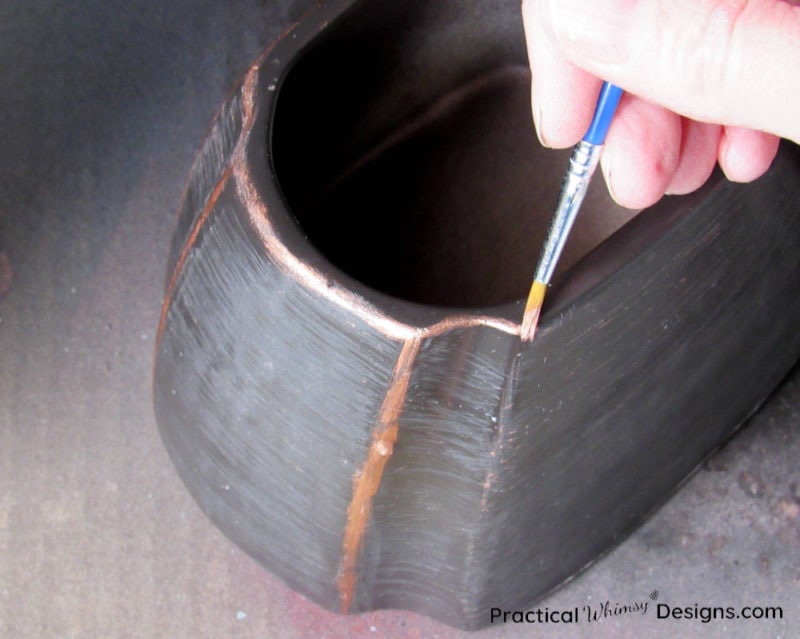
I then came back with the dark walnut to smooth out my copper line. I only wanted a thin line of copper to show through.
Note: The spray paint will dry fast, so make sure that you only spray a little at a time and use it right away.
Let your vase dry.
Decorate and Enjoy
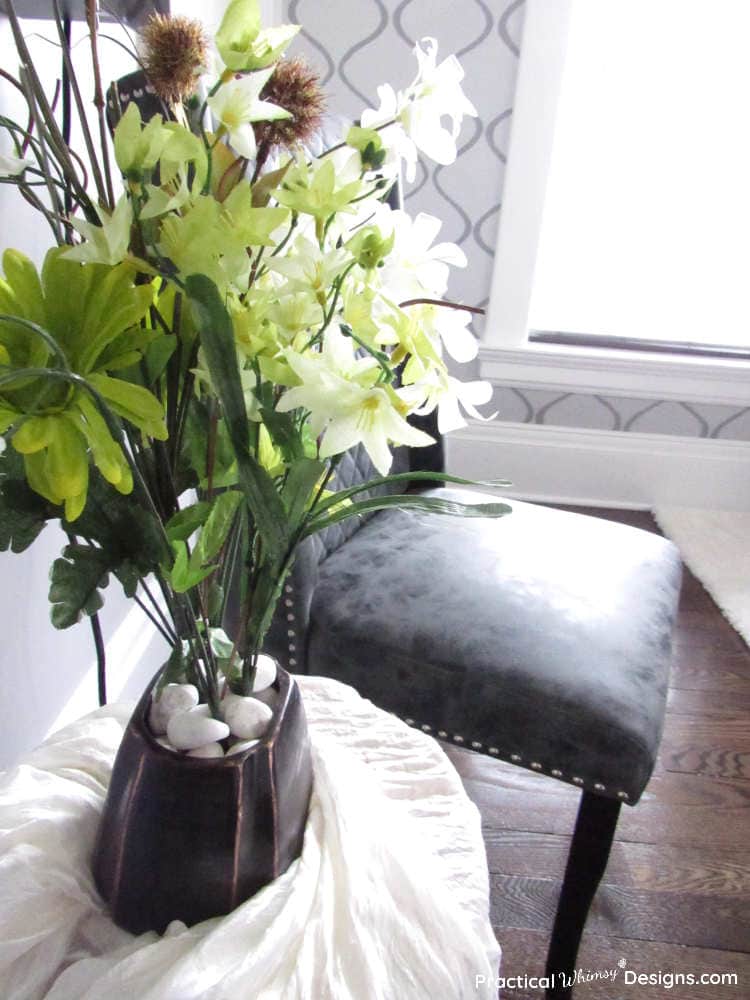
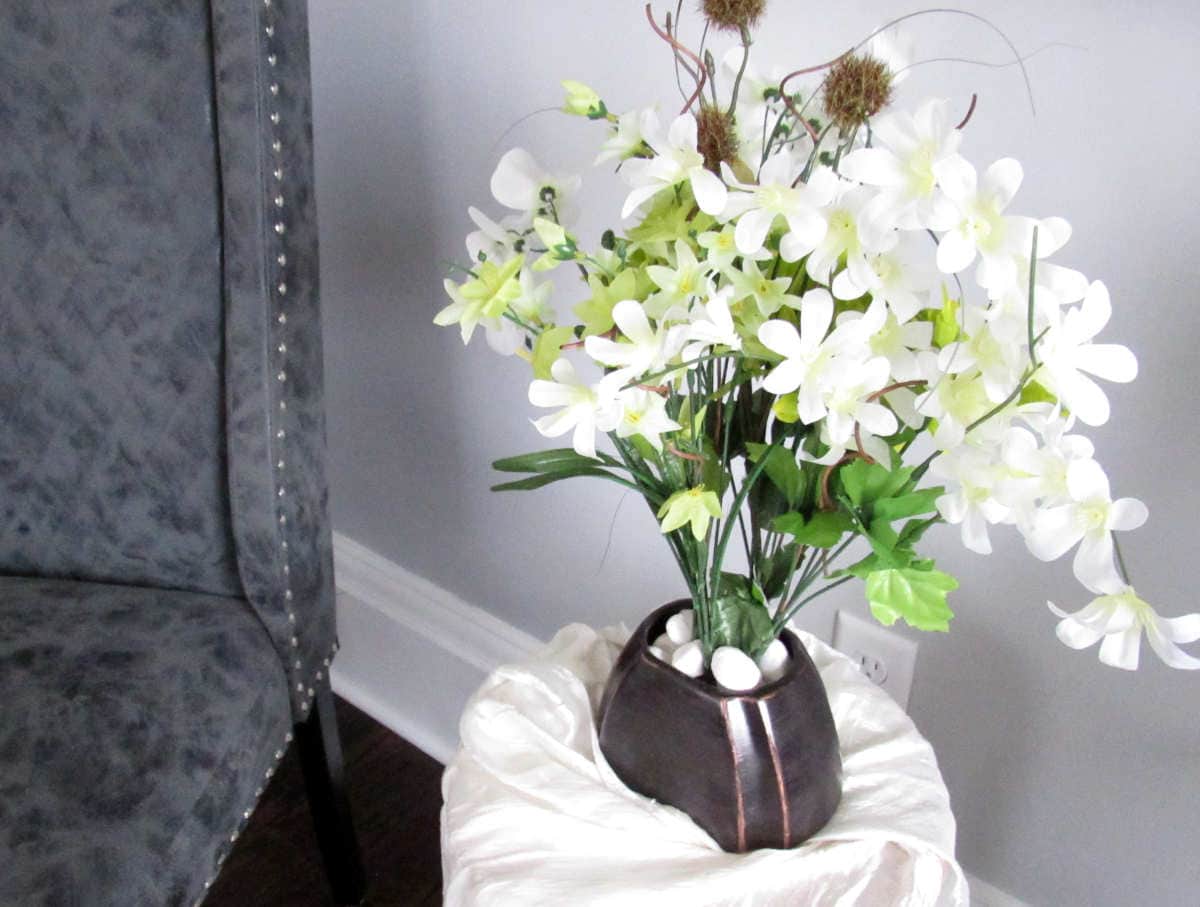
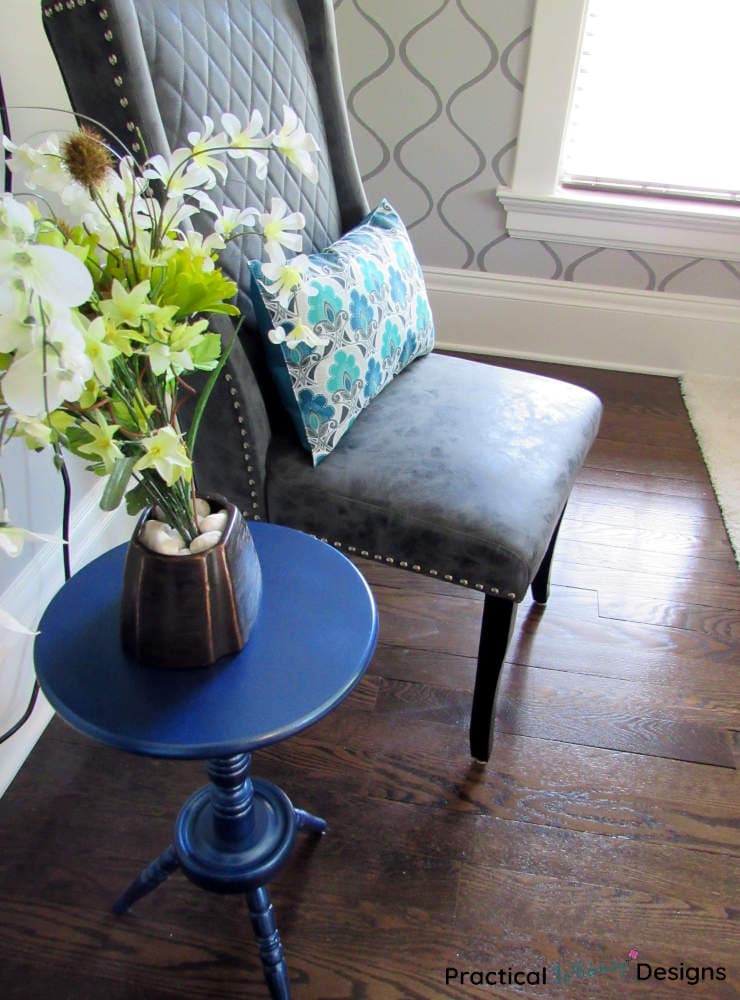
Here is what the vase looks like after I added some dollar store flowers. Because I still had bronze spray paint left over from refinishing my outdoor patio furniture, this was a very cheap project. It might get a little expensive if you have to buy all of the spray paint, but it helps if you have other projects to use the paint for.
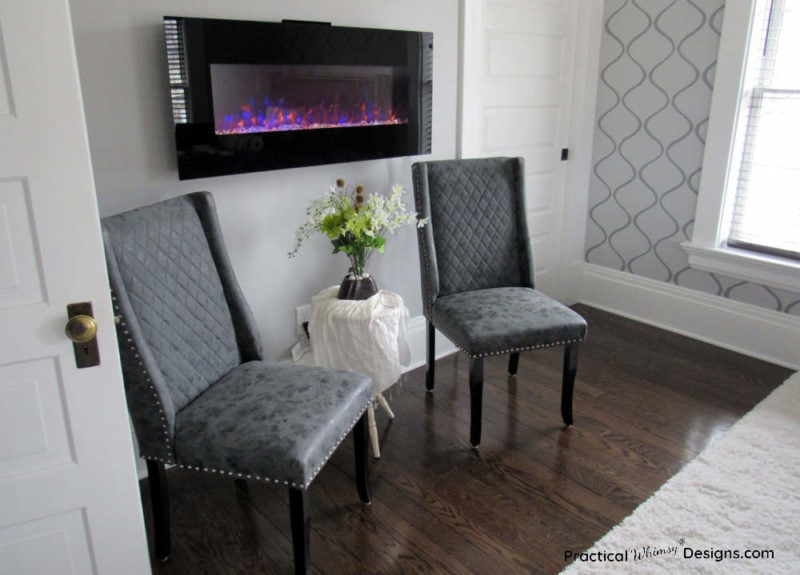
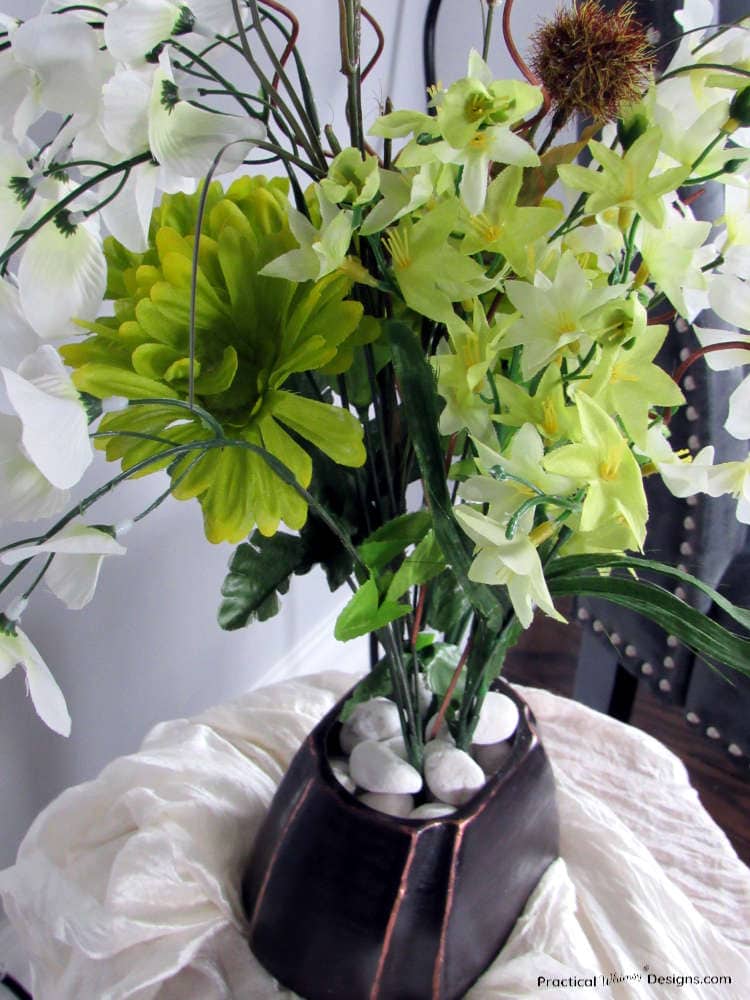
I love the way it turned out. It matches the other oil rubbed bronze fixtures in our room which is just what I was going for. I hope that you find some inspiration to make something look new in your home too.
The form you have selected does not exist.
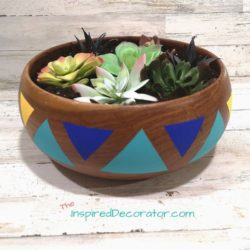
Take a moment to check out these thrifty projects from the other talented bloggers in this group. Elizabeth at A Well Purposed Woman teaches how to make Easter bunnies out of socks, Junette from Windmill & Protea made a fun boho terracotta planter, Sara at The Inspired Decorator created succulent planters out of wooden bowls, and Martina at The Lived In Look made a one minute dollar tree Easter decoration.
Want to remember this project for later? Save it to your favorite DIY board on Pinterest.
Want More Great Ideas? You Might Like These..


Are we friends on Instagram?
Follow @PracticalWhimsyDesigns to see more
behind the scenes projects



It turned out so nice! I shared it to pinterest. Great idea!
Thank you!
This is such a cool technique! Can’t wait to try this. Pinned!
I’m so glad that you found the tutorial helpful. Thank you so much!
What a transformation! You would never guessed that you started with a grape vase. I love this idea and didn’t know you could create a rubbed bronze look so easily. Thanks for sharing!
Thank you so much!
I love how this turned out! Your bronze finish looks so real!
Thank you!
I love the detail on this planter Erin! I never would’ve thought to use copper. Thanks for the inspo!
Thank you! I love how it turned out and how it matches our other bronze fixtures. Thank you for reading.
I Erin! This vase looks great, ceramics are my favourite thrift store finds too! Great tip on the quick horizontal sanding method!
Thank you! I am so happy with the way it turned out. Ceramics may no longer be safe at thrift stores because I may buy them all. 😁