
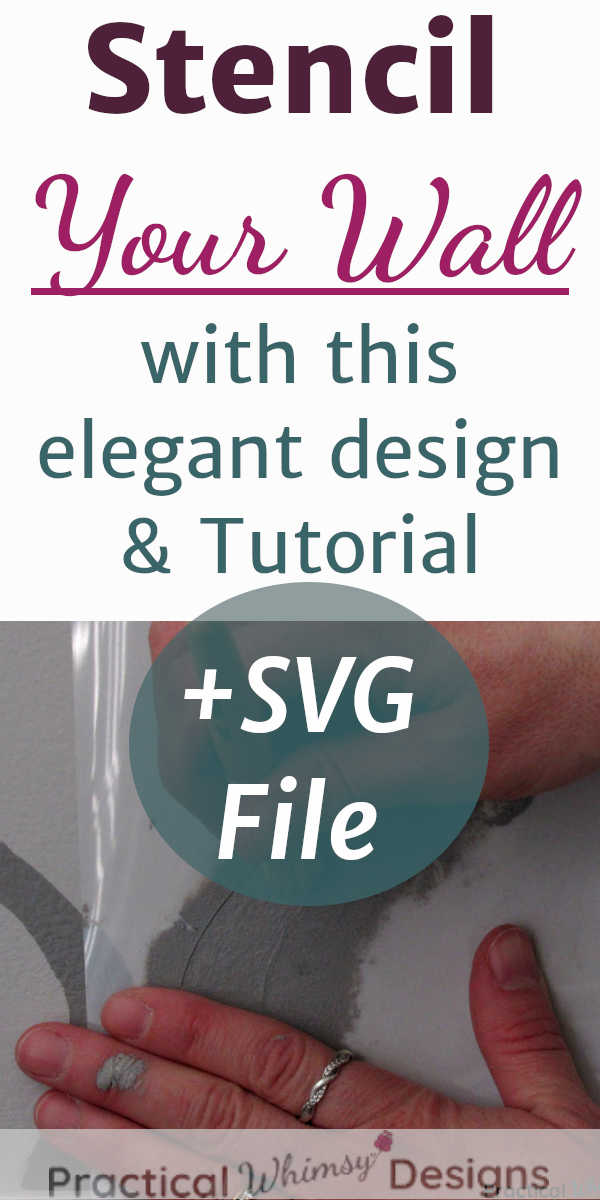
Learn to make a wall stencil and stencil your walls with this easy tutorial. Plus get the SVG file for the wall stencil used on this master bedroom wall.
Struggling with finding the perfect paint color for your home? My design guides are available for free to my newsletter subscribers. Grab my Free Paint Guide and FINALLY pick a wall color that you love!
The house we moved into is definitely a fixer upper. Every room needs extensive work to make it beautiful again. Our master bedroom was no exception.
When we came up with our bedroom design plan I really wanted to stencil one of the walls. I didn’t want to add wall paper since we had just pulled down ragged and stained wall paper in the majority of the rooms in our home.
But a painted wall stencil that looks like wall paper!
That was definitely a design element I could get behind.
If you have been wanting to stencil an accent wall, but are afraid to jump in and try it, check out this tutorial to see if it might be for you.
This post contains some affiliate links for your convenience (which means if you click a link and make a purchase I will earn a small commission at no extra cost to you). Please see my disclaimer page for more information.
Materials you will need:
- Paint
- Wall Stencil (You can get my free SVG file to make the same stencil I used (available in my free resource library – get the password at the bottom of this page)
- Cutting machine, such as a Cricut Maker, to cut out stencil or Xacto knife to cut out by hand.
- Mylar (I used 6mil 12×12 sheets) or heavy duty card stock
- Strong grip mat if using a Cricut cutting machine or Craft Cutting mat if cutting out by hand
- Painters Tape
- Spray Adhesive
- Small foam roller and/or stencil brush
- Small tray or plate
- Paper towel
- Small paint brush
How to Make a Wall Stencil
Step 1: Download the stencil files from my free Resource Library (learn how at the end of this post). They are available in either SVG or PDF.
Note: If you don’t want to make your own stencil and just want to buy it, the two other stencils I was considering when designing my master bedroom wall were:
If you don’t have a cutting machine, you can print the PDF on paper and trace and cut the stencil pattern onto Mylar (I used 6mil 12×12 sheets). It does take a little more measuring, but the instructions are on the PDF. Use an Xacto knife to cut out the stencil.
How to Upload the SVG file:
If you need help uploading your SVG file to Cricut Design Space check out the tutorial I made here. The file should be the correct size for a 12×12 piece of mylar on Cricut Design Space, but if it does need to be resized the tutorial teaches you how to do this as well.
Here is what the pattern looks like on Cricut Design Space.
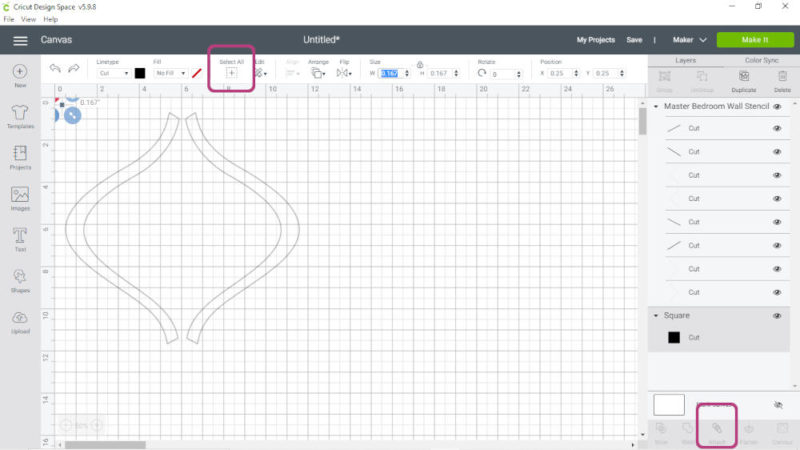
Click select all on the top menu bar and then hit attach to tell Cricut Design Space to keep your project organized or “attached” the way you designed it.
Select “Make It” on the top right menu bar.
If you need to move your stencil around to center it better, click on the image of the stencil and drag it around until you are happy with the placement.
Select your material type. Cricut Design space has most material programmed in and all you have to do is select the right one. You can use the search bar and type in your material if you don’t see it listed.
I used the Mylar setting – Strong grip mat – Fine point blade.
The cricket is such an easy way to make a wall stencil.
How to Stencil Your Walls
Step 1: Prepare the Room
Tape off any trim, windows, and wall edges with painter’s tape.
Lay a tarp or paper off the floor under the wall you are stenciling. Drips happen even to the best painters, so it will save you a lot of clean up and hassle if you protect the floor where you are working.
Step 2: Figure Out Your Starting Line
Figure out where you want to start your stencil. I wanted the two edges of my room to look similar and be balanced, so I figured out the center of the wall and marked it with a piece of painter’s tape. (You can remove the center tape line after you have started your first row of stencils).
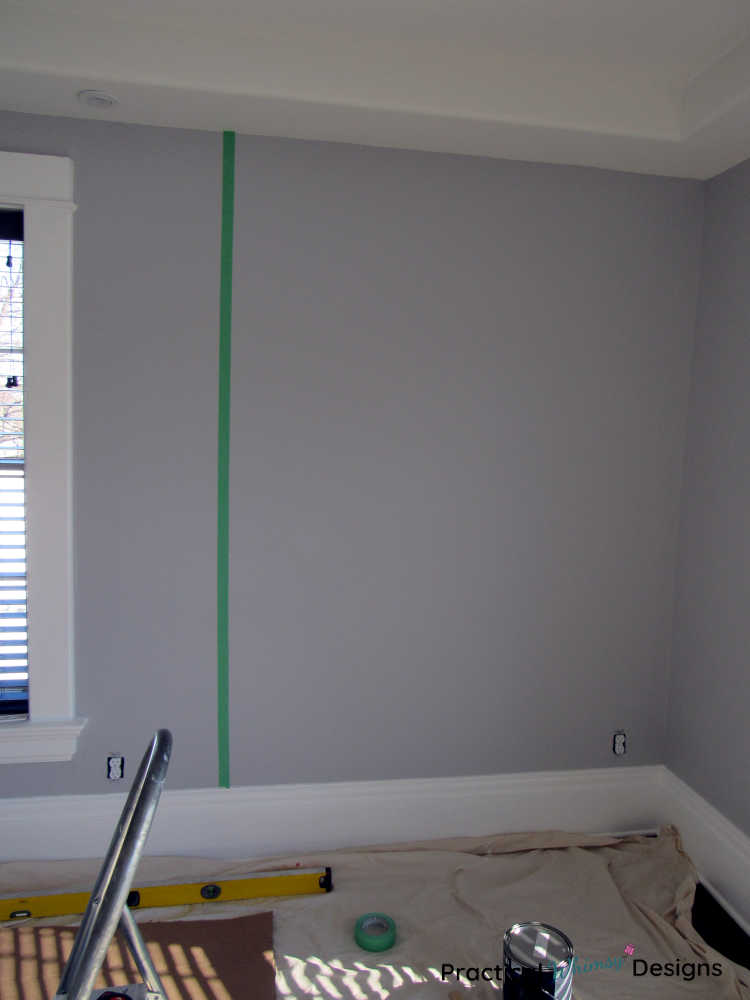
Starting from the center of the room guaranteed that the two wall edges, where the stencil wall meets the other walls, would have an equal “half” stencil and wouldn’t draw my eyes.
Note: It is very important that your center line is level.
Check it with a level or straight edge. You would hate to start your stencil crooked and have to paint over it and start all over again.
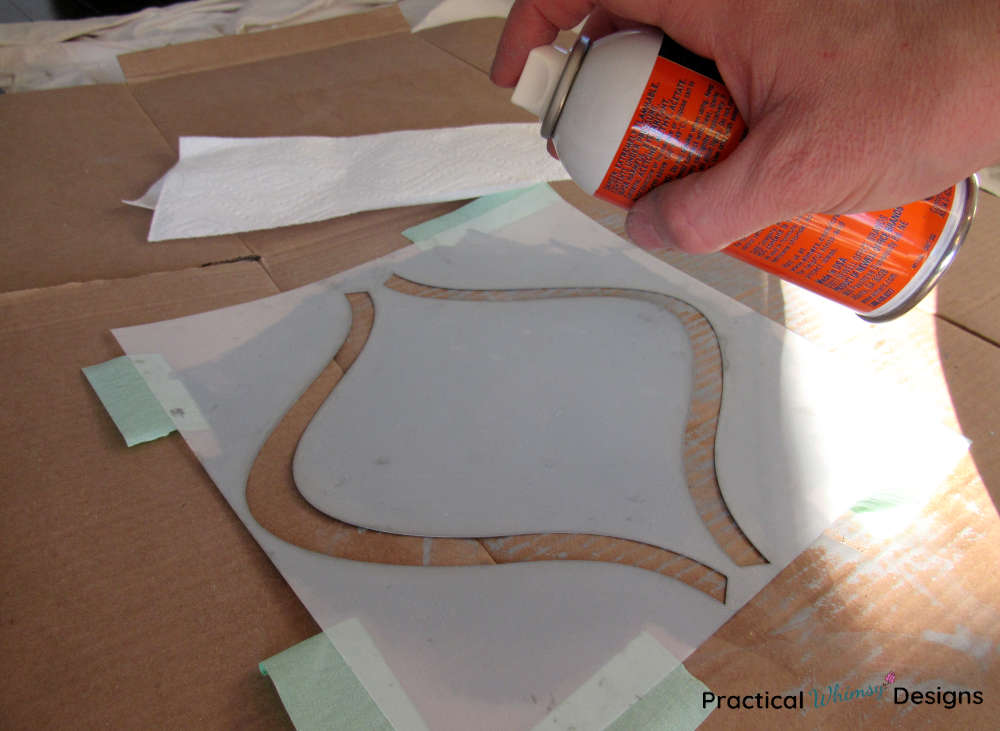
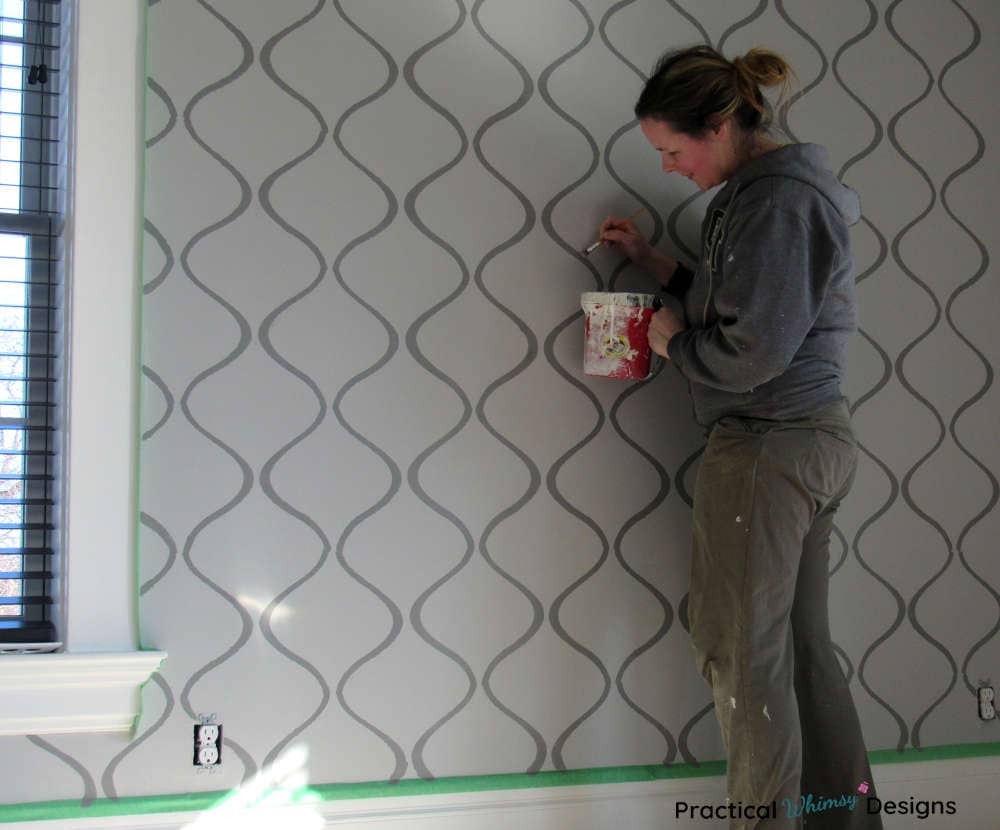
Step 3: Start Stenciling
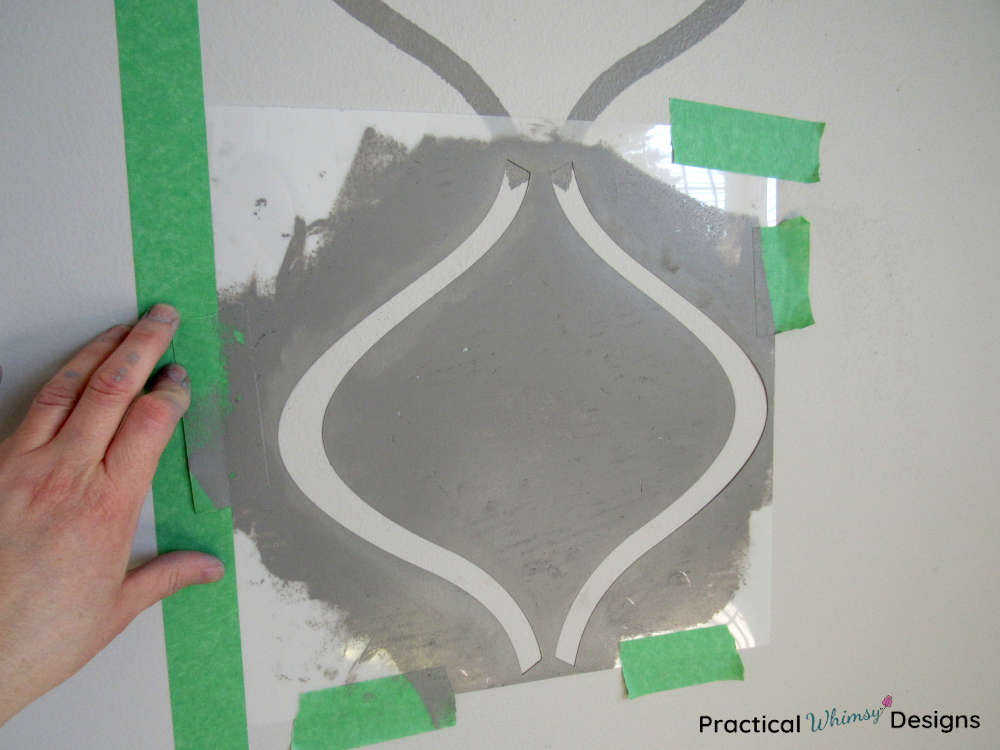
Use spray adhesive to spray the back of your stencil. This helps the stencil stick to the wall so it doesn’t shift as you are painting. It also prevents some of the paint from bleeding under the stencil (though it is pretty hard not to have at least a little bit of paint seep under the stencil). You will have to reapply your adhesive every couple of times you move your stencil to a new position on the wall. This will keep the stencil sticky and provide a better seal.
Use painter’s tape to attach the stencil to the wall as well to keep it in place.
I started my stencil next to the ceiling and worked down. This gave me the straight line of the ceiling and the straight tape line to work off of. (I need all of the help I can get to keep myself straight! Lol!)
When you move on to the next stencil area, make sure the ends of your stencil overlap underneath with the painted stencil on the wall. This will provide a smoother transition between each stencil.
When you start your next row, decide how far apart you want your next stencil row to be from the first. With the stencil I made, I only wanted a thin space between the two rows.
Tricks for stenciling:
1.Less is more……. when it comes to paint, that is. Dip your paint brush or roller in the paint and then dab most of it off in a paper towel. Use a pie tin or small container to keep from dipping too much paint onto your brush. I started with a foam roller, but I couldn’t get enough of the paint off so I switched to dabbing the stencil with the end of the roller and with a brush.
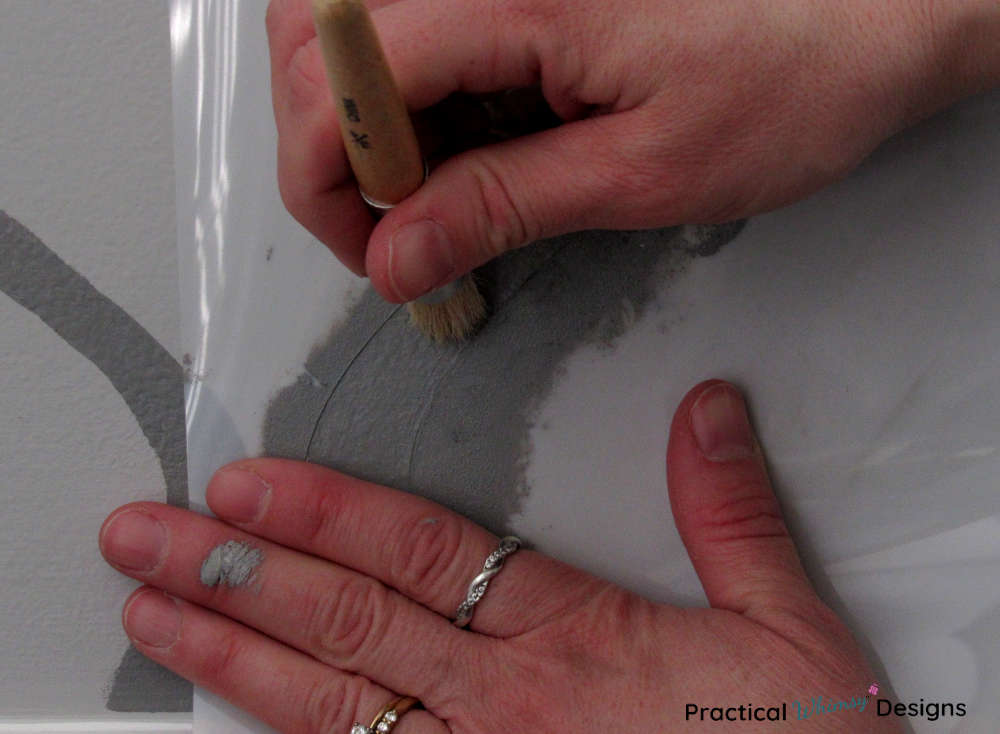
2. Dabbing works the best. Use small dab motions on the stencil so that your paint doesn’t find its way under the stencil. Remember to dab off the extra paint. You may have to dab the stencil a second time to get the best coverage of paint on your walls.
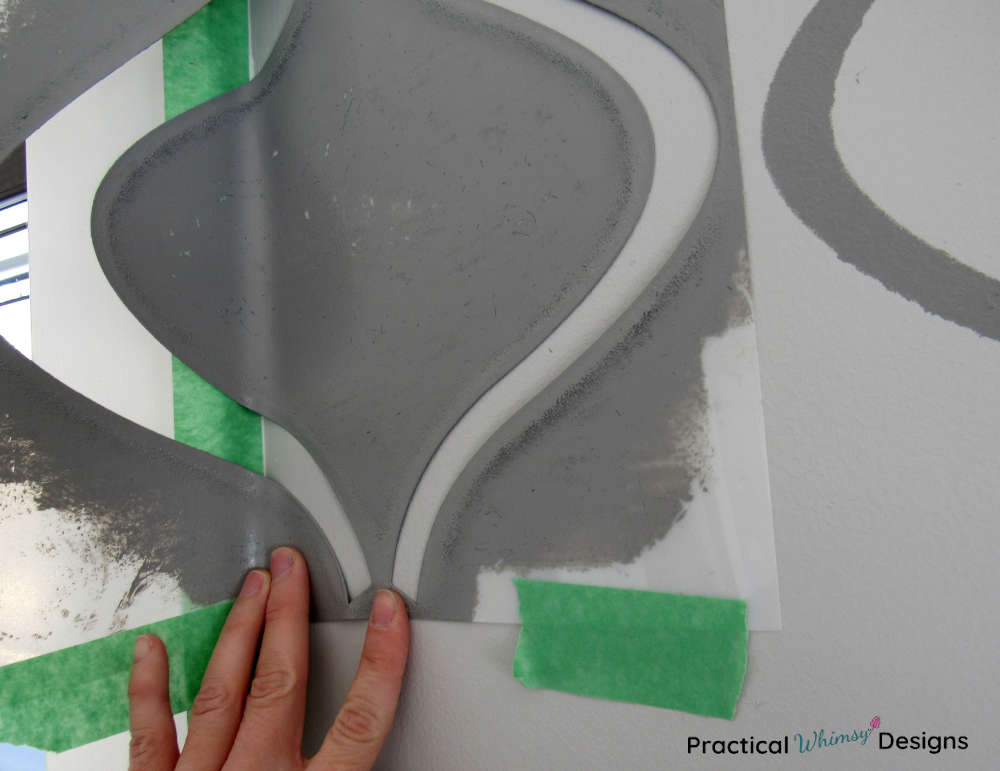
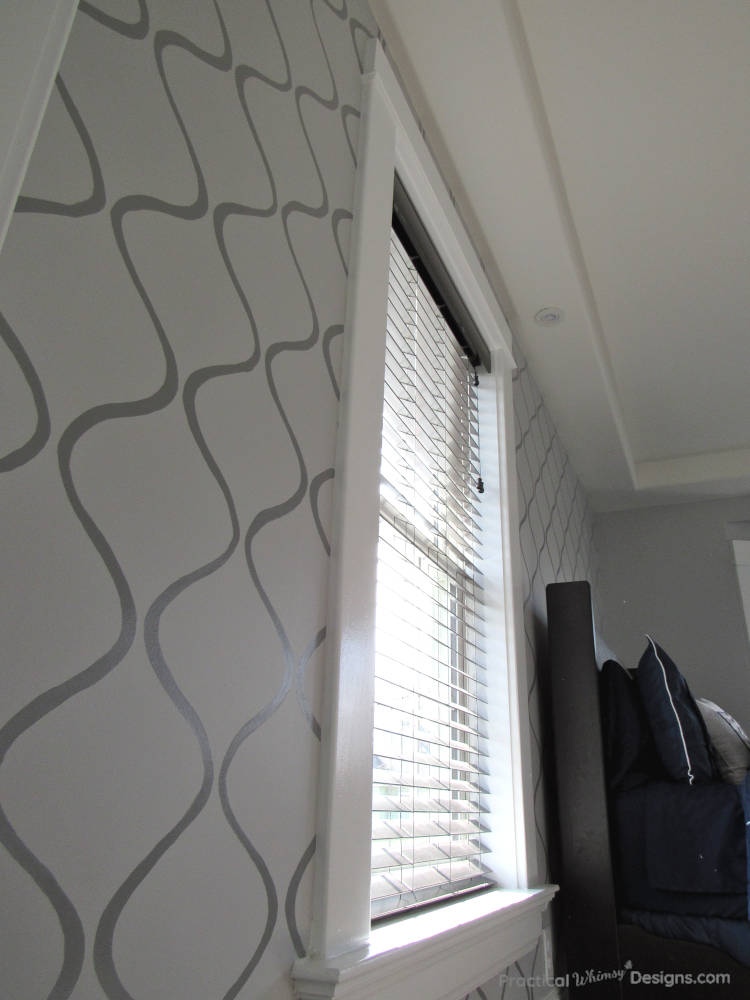
3. Bend the stencil at the edges. If you get to the edge of the wall or trim around a window or door and can only fit a partial stencil shape at the edge, leave the stencil loose where the stencil meets the edge. Only stick the stencil on to the area you are stenciling. This gives you the flexibility to bend the stencil to get the best fit at the edge of the wall or trim.
4. Use a small paint brush to get close to the edges of the trim. Use a small craft paint brush to paint next to the trim so you can get enough paint close to the trim without making a mess.
Step 4: Clean up the stencil edges.
Once you have stenciled your wall, it’s time to clean up.
You will need both the original wall paint and the stencil paint to do the clean up. There will inevitably be a few smudges and paint marks that made its way under your stencil, so cleaning up the wall is part of the process.
First, take the original wall paint and clean up any smudges on the wall. Then take a paint brush and paint along the edges of your stencils. I spent a bit of time on this because I really wanted mine to look crisp and have that elegant wall paper look.
How to Get That Wall Paper Look
It’s all in the paint.
Use a flat paint as your base wall coat and use a semi gloss or gloss paint for your stencil. This adds dimension to your stencil and gives it that appearance of wall paper.
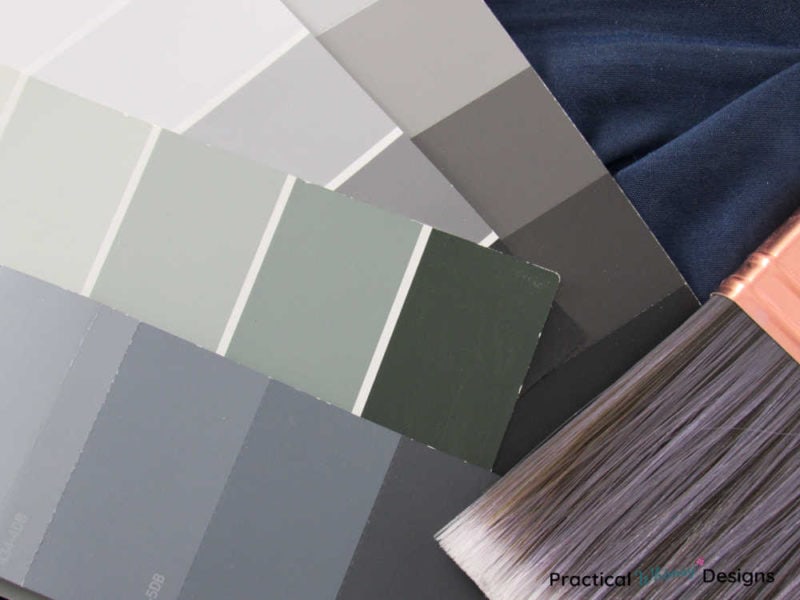
We picked paint on the same paint strip so that the colors would have the same underlying base. The stencil color is two shades darker than the wall color. This again helps create the illusion of wall paper.
The paint we used:
Wall Paint – Dutch Boy Moon Beam (Flat)
Stencil Paint – Dutch Boy Padlock Gray (Semi-Gloss)
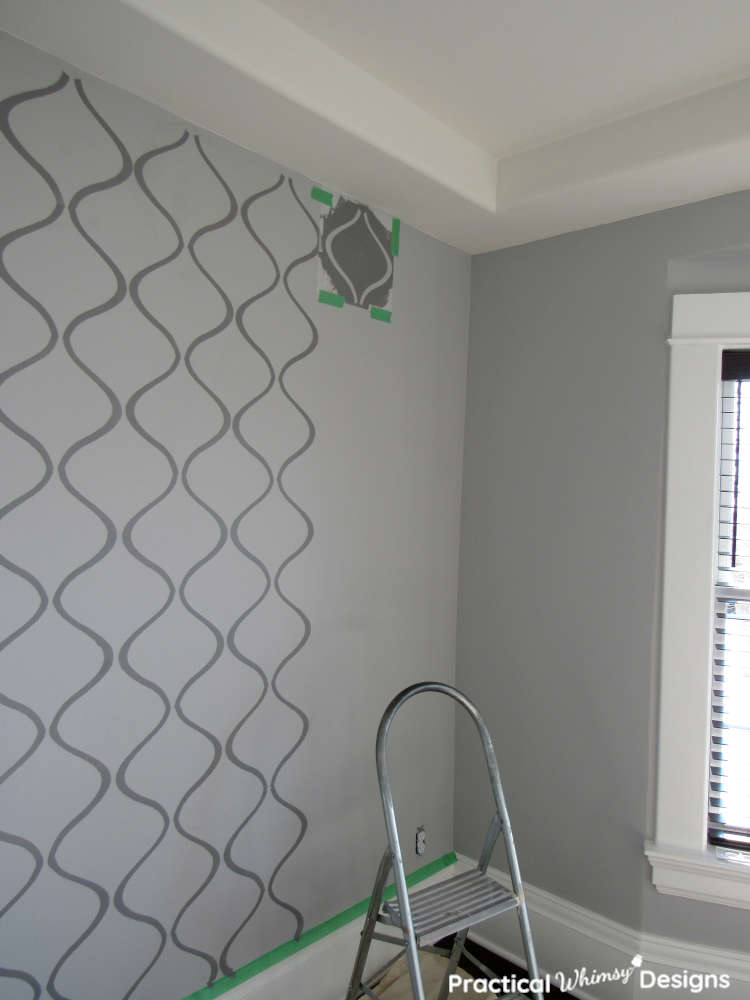
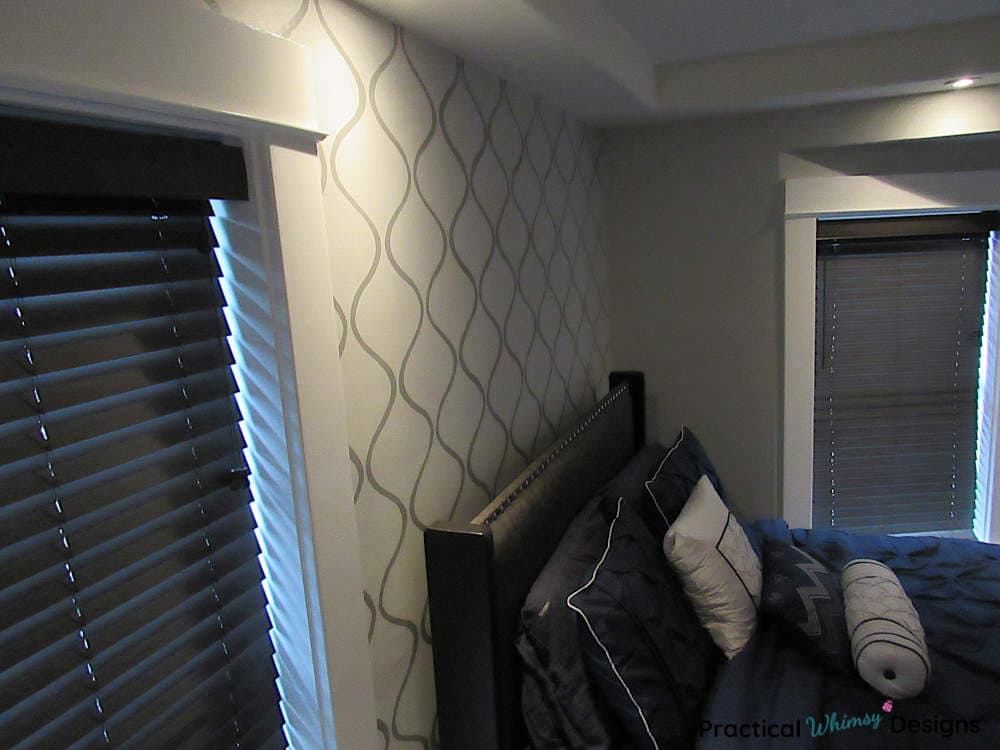
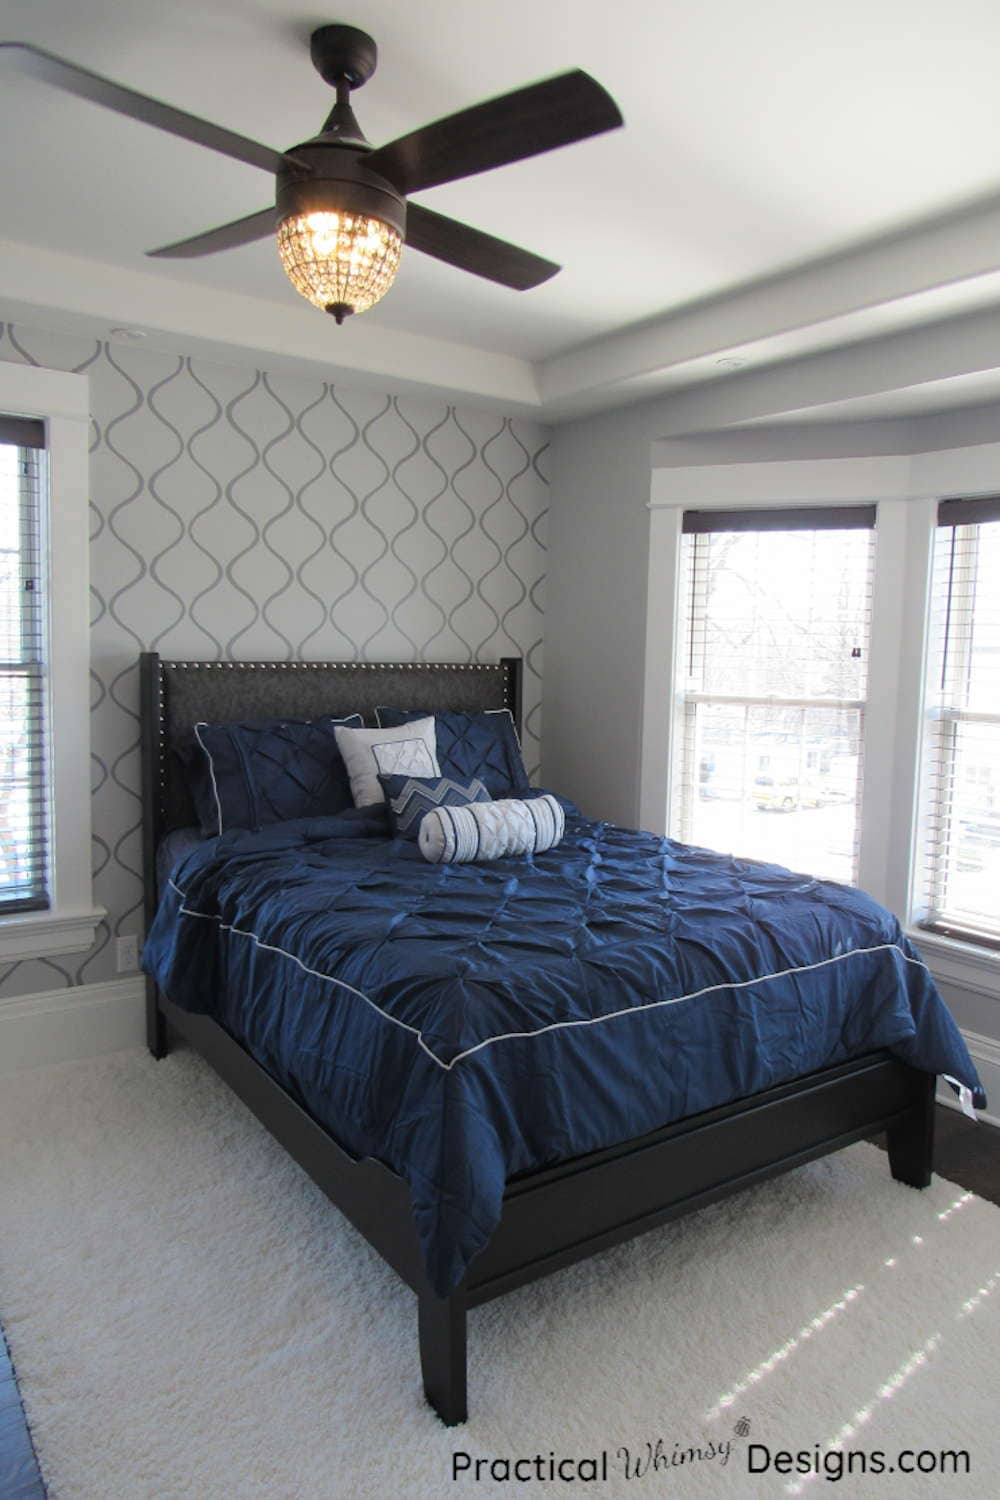
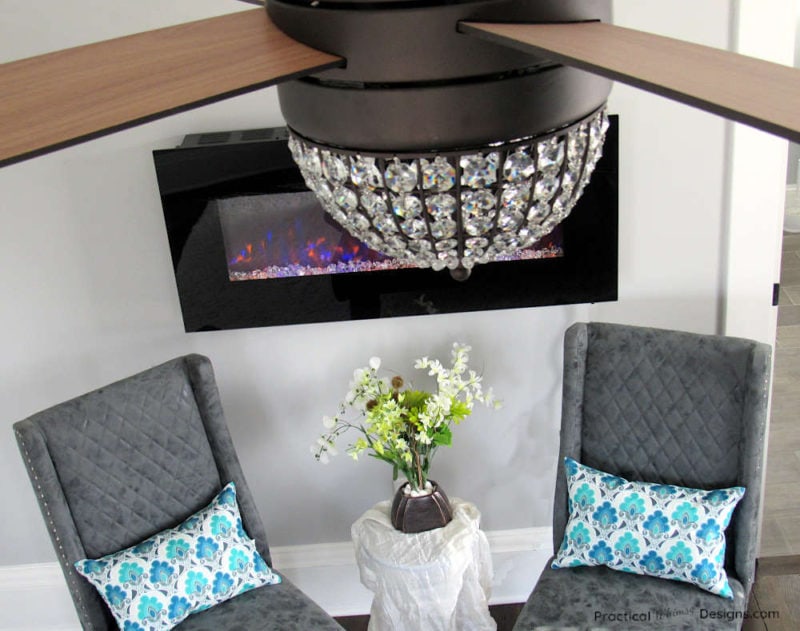
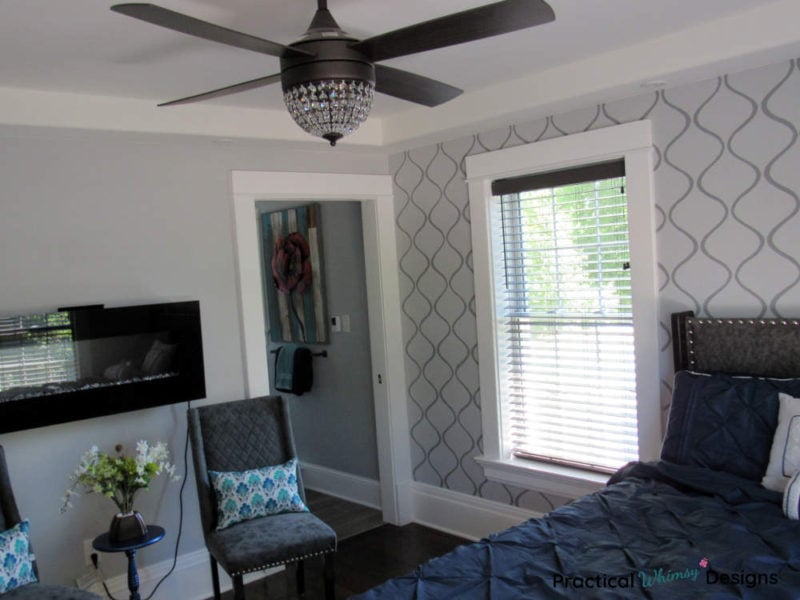
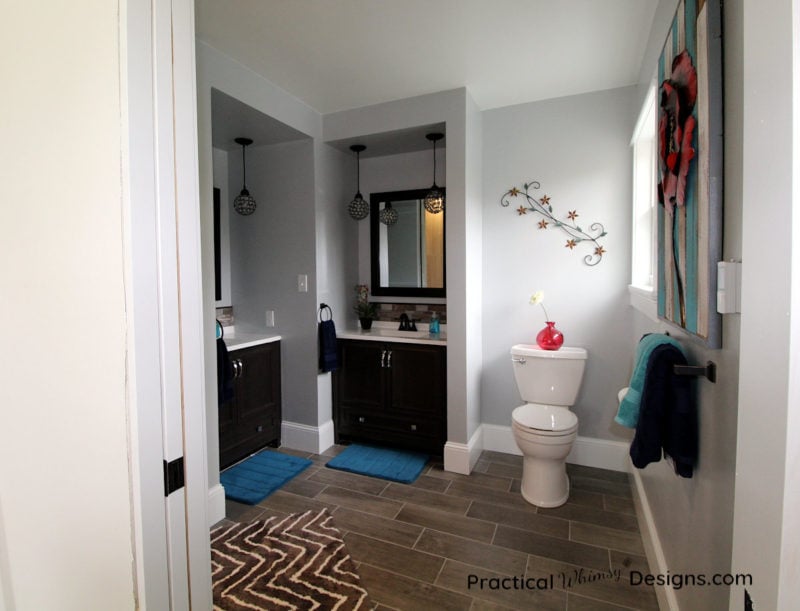
The Final Results
Here are the pictures of our bedroom after stenciling the walls. It is not too hard to learn how to make a wall stencil if you are willing to take the time to create a stenciled wall in your room. The results can be beautiful.
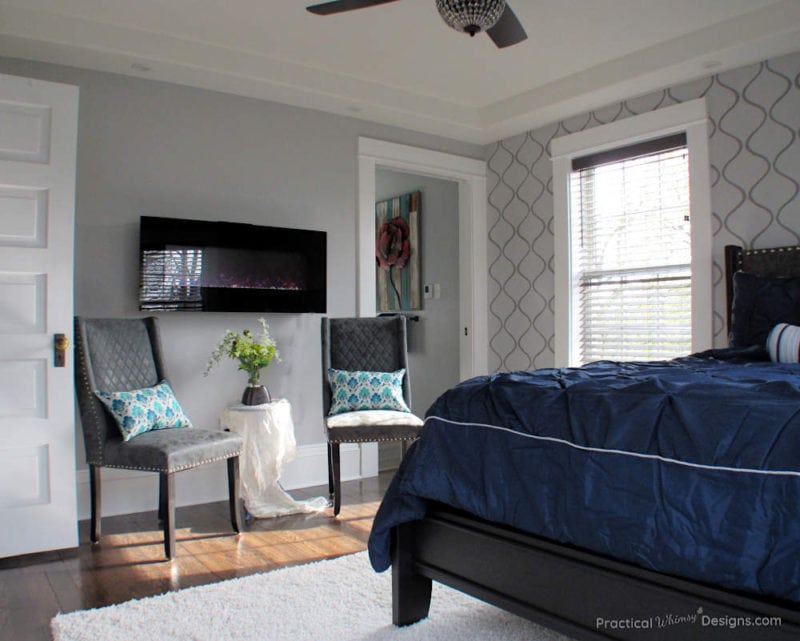
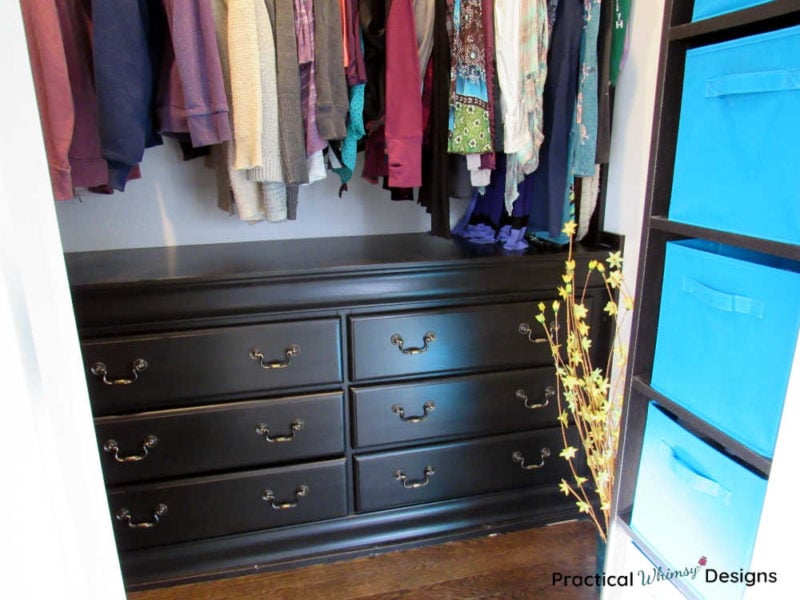
If you are interested in the before and after pictures of our master suite you can check out the master bedroom reveal, master closet, and master bathroom reveal.
Want to remember this tutorial? Save it to your favorite DIY board on Pinterest.
Want More Great Ideas? You Might Like These..


Are we friends on Instagram?
Follow @PracticalWhimsyDesigns to see more
behind the scenes projects