We are excited to share our master bedroom progress report as we continue the remodeling process. Check out what we have been doing!
I know I just posted our design plans for our master bedroom not all that long ago, but it has actually been in the remodeling stages for a while now. We have been so busy with other projects, it has taken a while for us to complete this room.
So, here’s a little of what we have been doing on our master bedroom remodel.
If you need a reminder of where we started, check out, this post.
Our Master Bedroom Progress from Spring
Last spring we had completed a few tasks on our master bedroom to-do-list. We had remodeled our master bathroom in the spring. As part of that remodel we had to complete a few changes.
In Spring we:
- Added the existing closet into the new master bathroom to make the bathroom bigger
- Created a walk-in closet on the other half of the room, using half of the old adjoining office
- Added a tray ceiling to put soffit lighting in
- Added wiring for the lighting
- Skim coated the walls with new mud
Our Master Bedroom Progress Fall & Winter
After a crazy busy summer, we had a chance to start work on our master bedroom again.
My husband installed doors on the new closet.
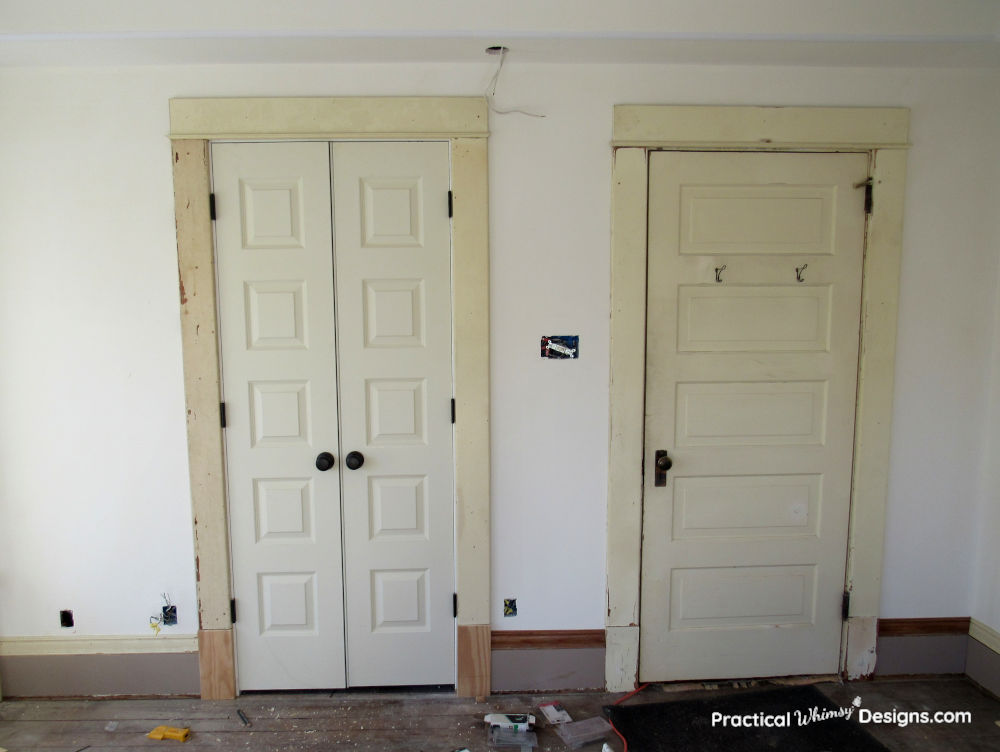
He also leveled the doorway and trim on the main door. The middle of the house had sunk from the weight of the staircase that goes up the center of our house. The stairs weren’t supported the way they should be. My husband had to jack the middle section of the house up and put more support beams in the basement to strengthen that area.
When we repaired the house, all of the doors wouldn’t close and the trim was angled. It appears that the last time the house had been remodeled, the trim was ‘fixed’ to be level with the sag.
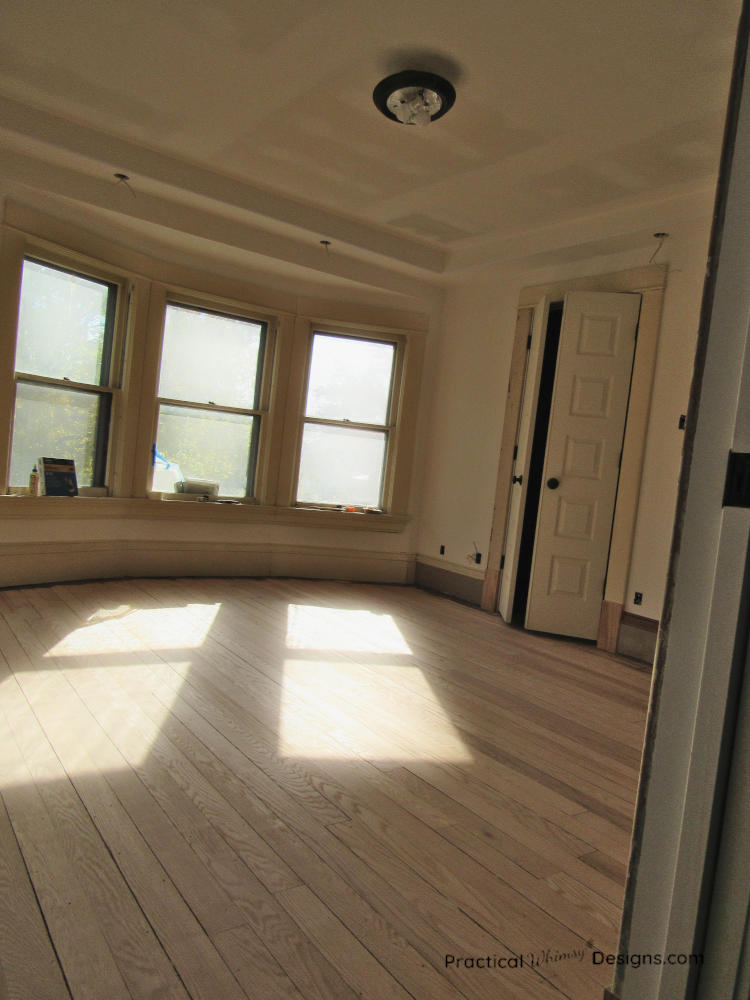
We finished the floors.
We are keeping the wood floors, but some of the floor boards had holes in them.
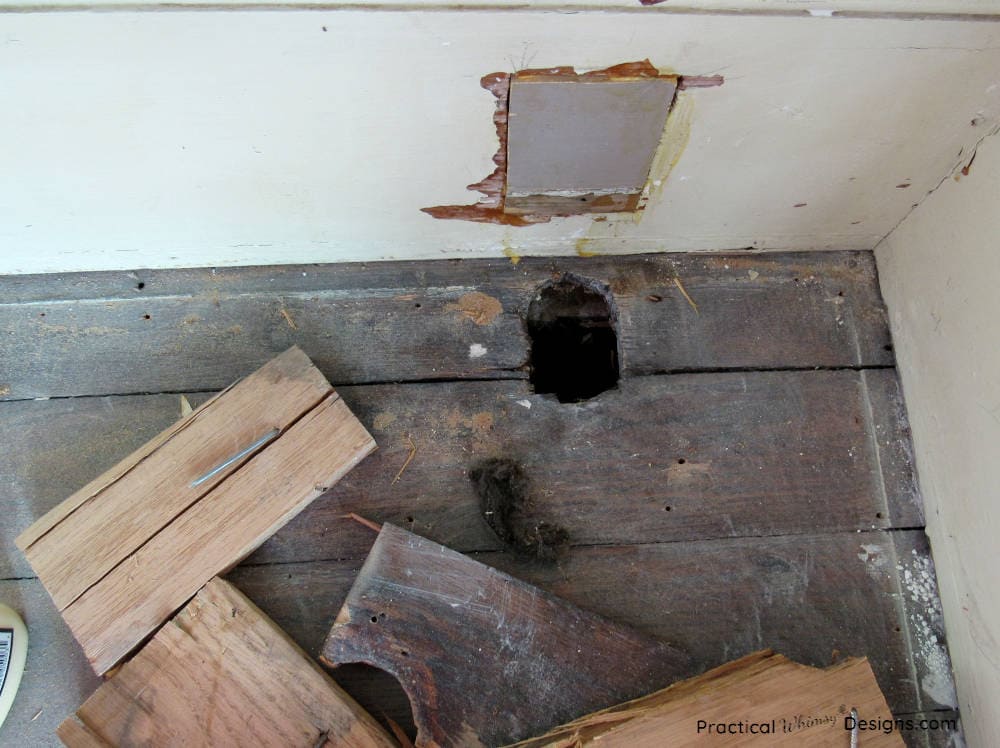
My husband had to replace them by cutting through any nails holding the floor board down, pulling out the old board, and replacing it with a new one.
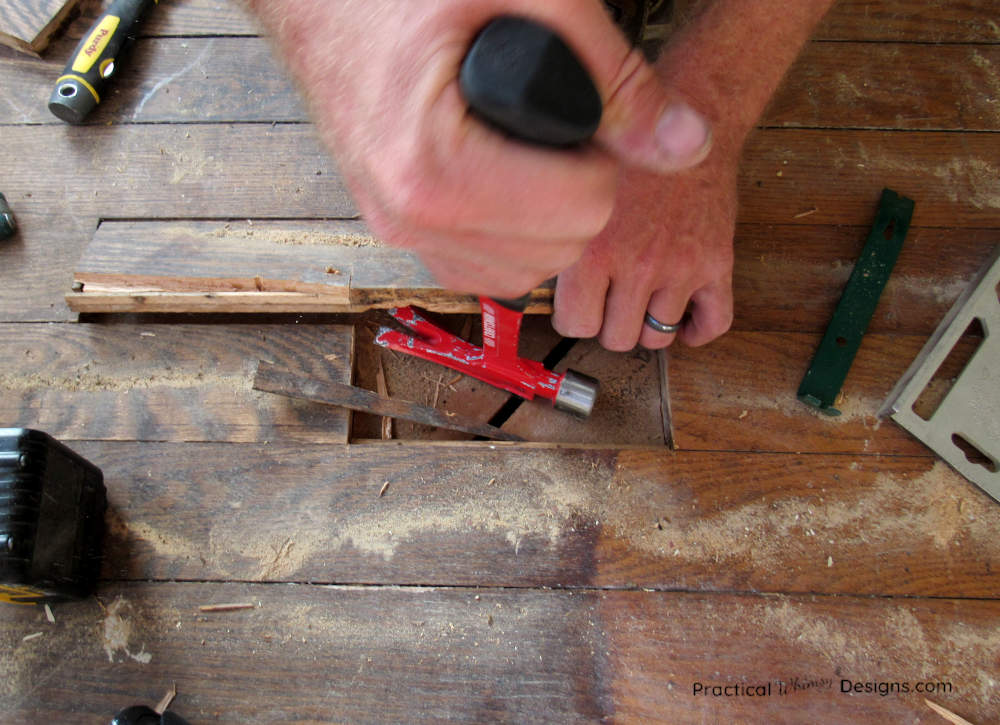
We luckily had a few that we had pulled out of the master closet when we added it to our bathroom. It is never ideal to add new boards in with old because they will take the stain differently than the old, weathered boards.
Tip: If you ever have to pull out old trim or flooring, try to keep it in tact for any patch work you have to do during a remodel.
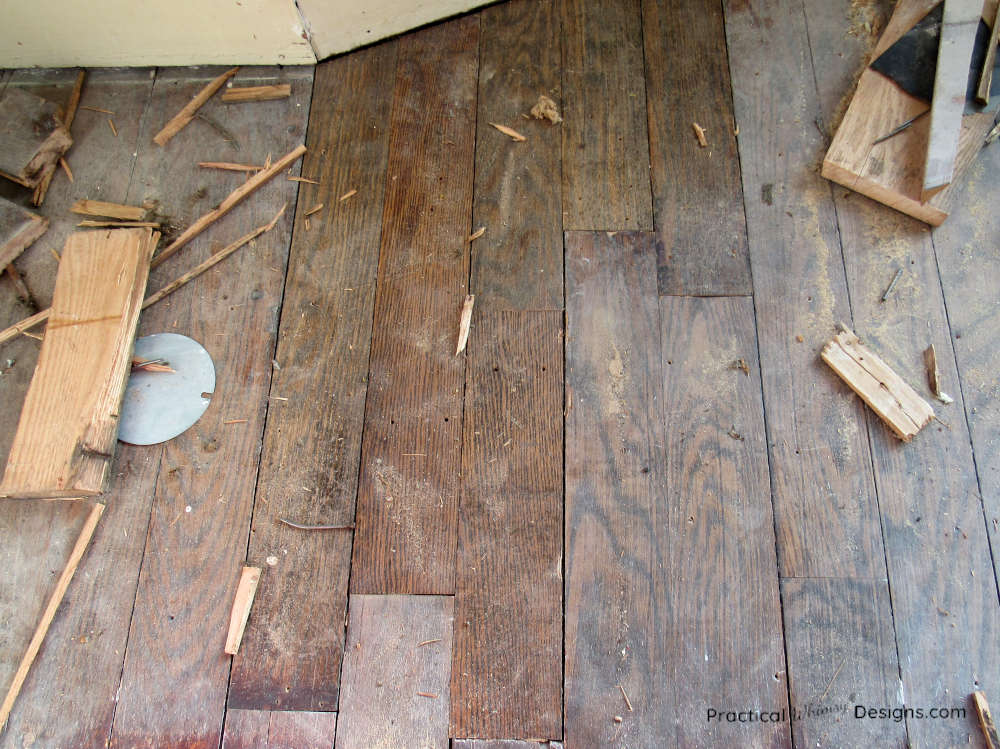
My husband inserted the new boards and nailed them down. Now these boards will take the stain like the others.
Next, he patched in a few holes in the trim work.
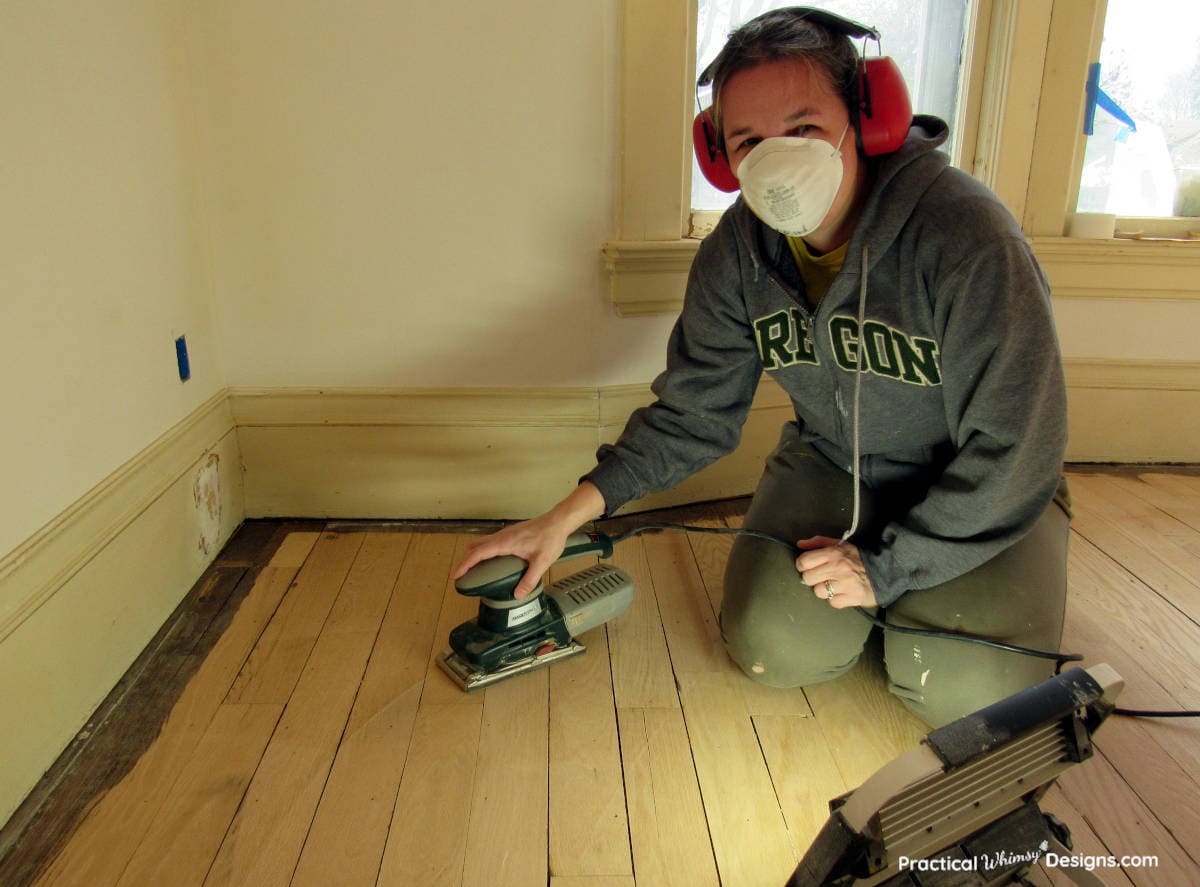
Then we rented an industrial drum sander and sanded off all of the old stain and polyurethane. This did a great job on the center of the room.
Then we went back through and sanded the edges and any discrepancies with a hand sander. I also filled all of the small carpet tack holes in the floor with wood putty mixed with the wood particles we got from sanding. Mixing the two together helps the putty take the stain and causes the filled holes to blend in better with the new floor.
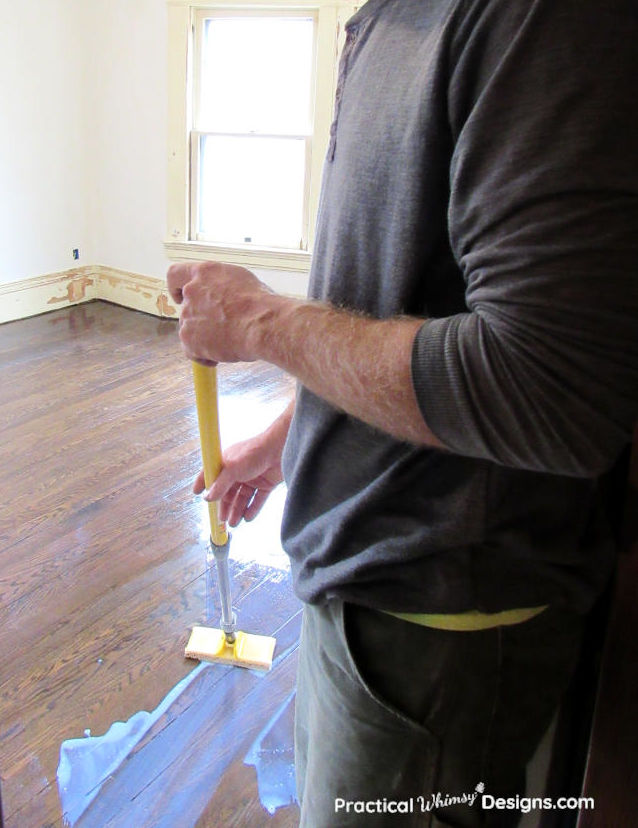
We stained and put polyurethane on the floor.
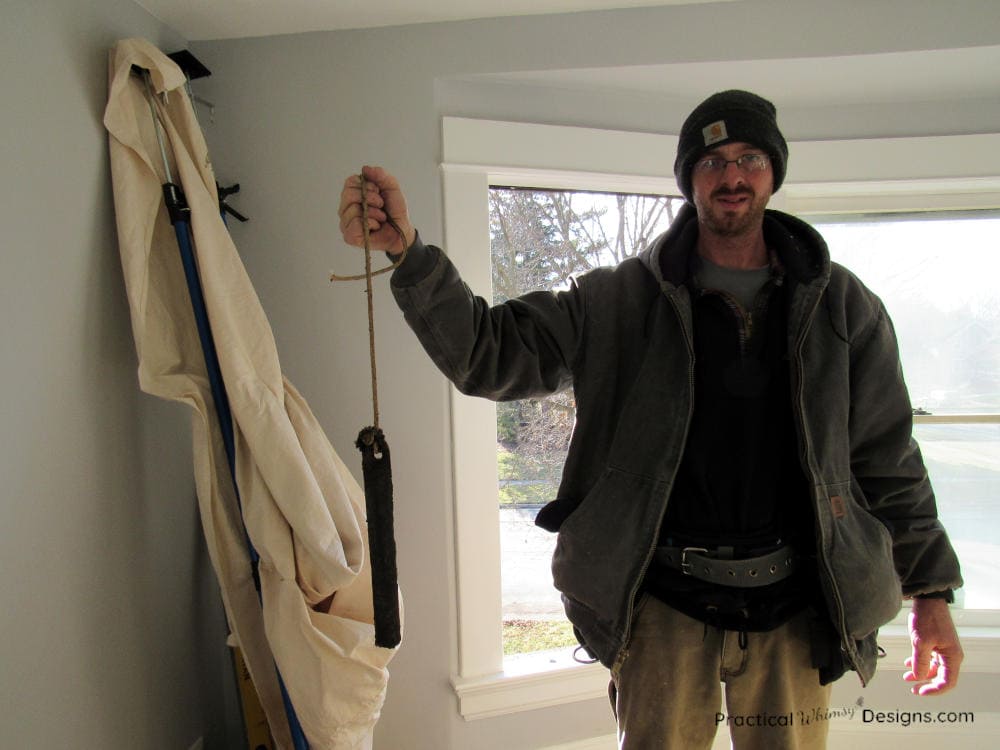
We also replaced the cracked windows.
The windows had the old counter weights in them. Look at those monsters!
Next Steps:
Our master bedroom is done and we are moved in to our new digs. Check out the master bedroom reveal here to see the before and after pictures of our diy adventure.

