Overwhelmed by all of the papers you have to keep track of during a remodel? Use these 3 steps to organize your remodeling papers and keep your sanity.
You’ve figured out the hard stuff. You picked out the room color, furniture, decorations, tile, grout, etc. Your items are purchased. You are ready to go!
But wait! You can’t just rush into your remodeling adventures without a plan.
A plan for all of that paperwork, that is.
- Paint color
- Grout color
- Lighting
- Fans
- Receipts
- Installation and Warranty Information
- The list seems endless!!!
Here are 3 easy steps to organize your remodeling projects and help you keep track of all of the details.
Step 1: Organize Your Remodeling Papers in a Binder or File
Now, this might feel like straight forward information, but it is so important to pick your organizational method Right Away!!!
In the first house we remodeled, I kept papers EVERYWHERE. I did have basic ideas of where things were, but if I wanted to find something I had to search multiple locations to find the details I was looking for.
With our new house, I am much more organized. I have a binder that I keep all important papers in. This gives me the flexibility to expand as we remodel each room. Each room has one or two plastic sheet protectors filled with any information that I think we may need to look up some day in the future.
Things I keep in my binder for each room we remodel:
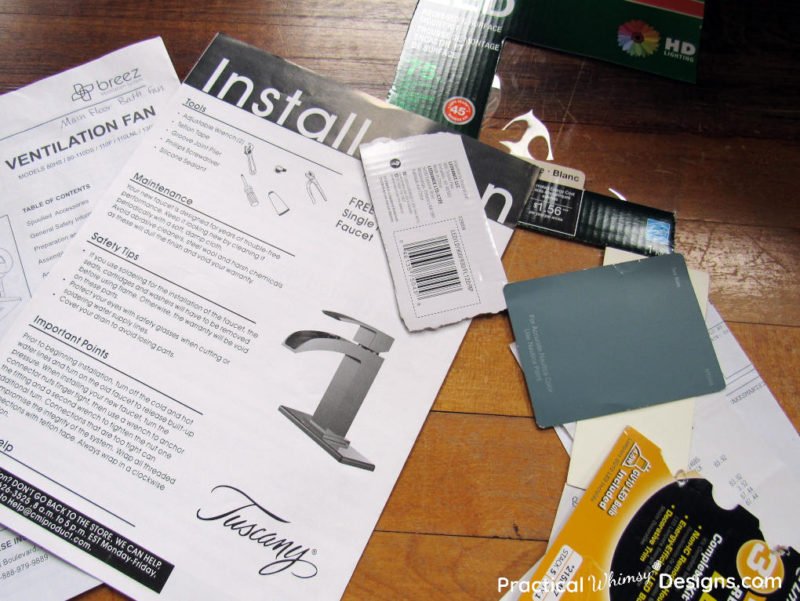
- Paint Swatches
- Copies of tiling, lighting, faucet, etc. box details (basically the information on the box that would help me if I ever needed to find the item again. Note: I used to cut out the box panel with any important information on it and keep it, but it was bulky and took up a lot of space. Now I make a paper copy on my printer copier. I can usually fit more than one box info. on a sheet of paper which saves even more space.)
- Manuals for anything we install
- Warranty Information
- Any expenses or papers we accrued with details about anything in that room
Using a filing cabinet with a hanging folder for each room can also work, but I like the portability of the binder.
Step 2: Keep Track of the Details
Now I know that you have been sleeping, breathing, and living your current remodeling project and you are thinking,
“There is NO WAY I will forget any details about the paint color that I spent hours picking out and painting onto the walls.”
I hate to be the bearer of bad news, but I’m here to tell you that you will. Especially if you are planning on remodeling more than one room of your house.
We have been running into this problem a lot lately. We had purchased the tiling for more than one room at the same time. When it came time to grout we looked at the different grout colors and were like, “Wait, did this tile go with the dessert sand grout or the ivory?”
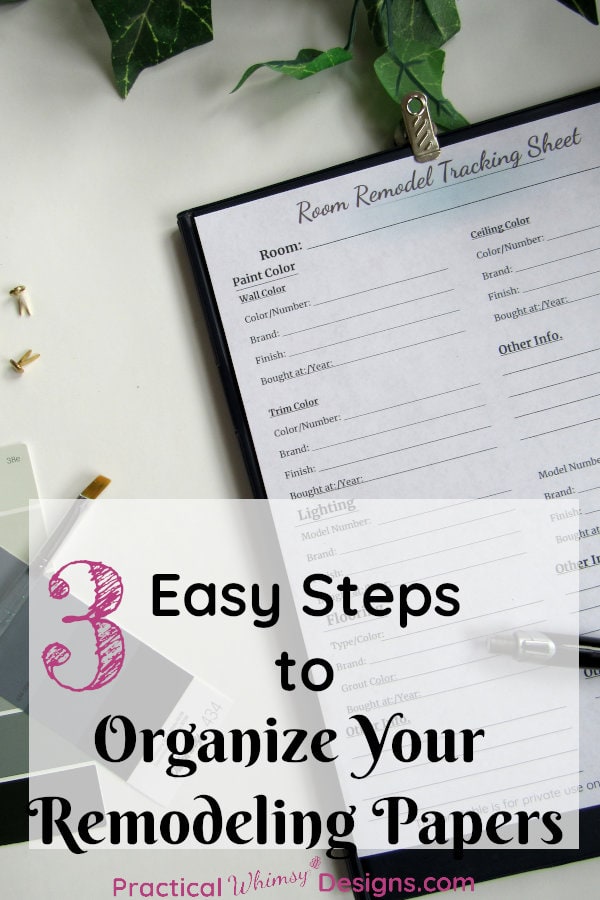
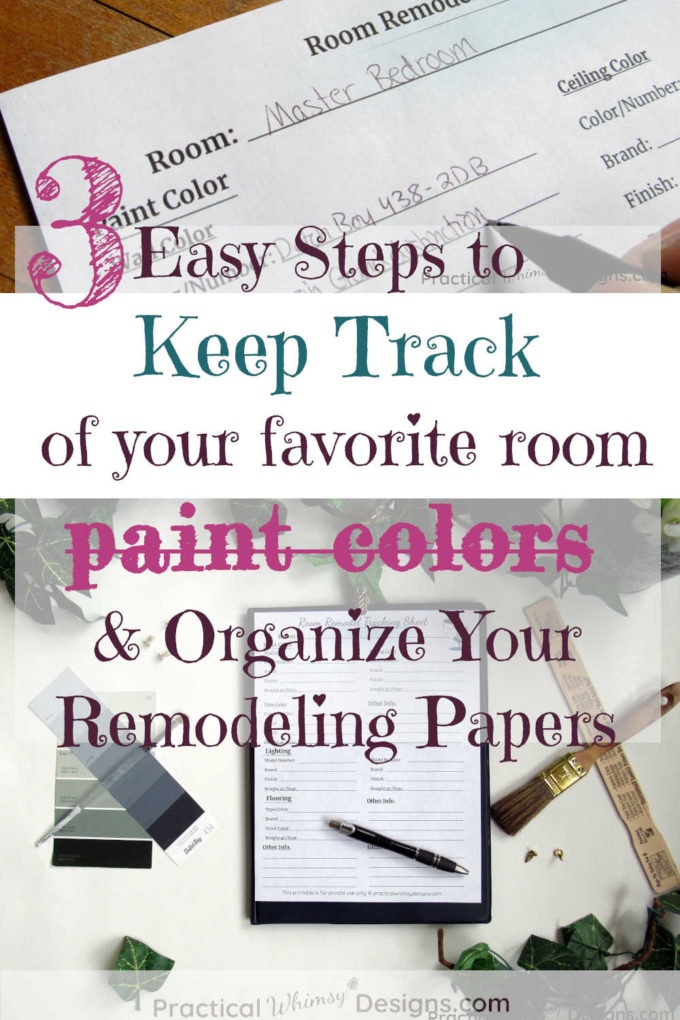
Because we were struggling with this, I created a Room Remodeling Tracking Sheet to help us keep track of all of the details.
The Room Remodeling Tracking Sheet helps you organize:
- Paint colors
- Lighting
- Flooring
- And gives extra space for other details (such as fixtures, fans, etc.)
You will be so happy you kept track of these things whey you ding up the wall and need to go get replacement paint. It also helps you keep track of brands you like or dislike. As we have kept track of our paint brands, we have noticed over time that a certain brand tends to fade as it stays on the wall. Now we know not to purchase that brand anymore.
If you want a copy of the Room Remodel Tracking Sheet, it is in my free resource library. The free resource library is part of the benefits of being a newsletter subscriber. If you aren’t already a subscriber, you can sign up for my newsletter at the bottom of the page.
Step 3: Organize Right Away
It is so tempting to make a pile of papers and wait until later to put the details down on paper.
DON’T DO IT!
If you don’t keep up with the details as you remodel, it is too easy to misplace, throw out, or forget some of the information that you may want to know in the future.
Make an effort to keep up and you will be able to keep your stress level down when you need to find that important warranty information for the sink that broke a month after you installed it.
Things happen, and I want you to be able to have a great system in place to help you organize your remodeling papers and manage some of the bumps on your next diy journey.
Having a good organizing system, keeping track of the details, and staying on top of the records can help you keep your remodeling project on track.
Need the password for my free resource library? The free resource library is a benefit of being a newsletter subscriber. Sign up on the form below if you want to receive emails from me plus gain access to my free printables, which includes the room remodel tracking sheet.
The form you have selected does not exist.
Want to save these tips for later? Save this to your favorite DIY Pinterest Board.