Make this easy diy branch centerpiece with a few items from the dollar store. Making beautiful dollar store decor is rewarding and easy.
Finding a tall centerpiece that is beautiful and inexpensive can be a challenge. Most store bought arrangements cost a ton.
However, making beautiful branch centerpieces is a relatively easy project.

It only requires a few simple and inexpensive materials to create a realistic looking branch diy centerpiece. I purchased everything for this project at the Dollar Tree except for the glue gun and branches.
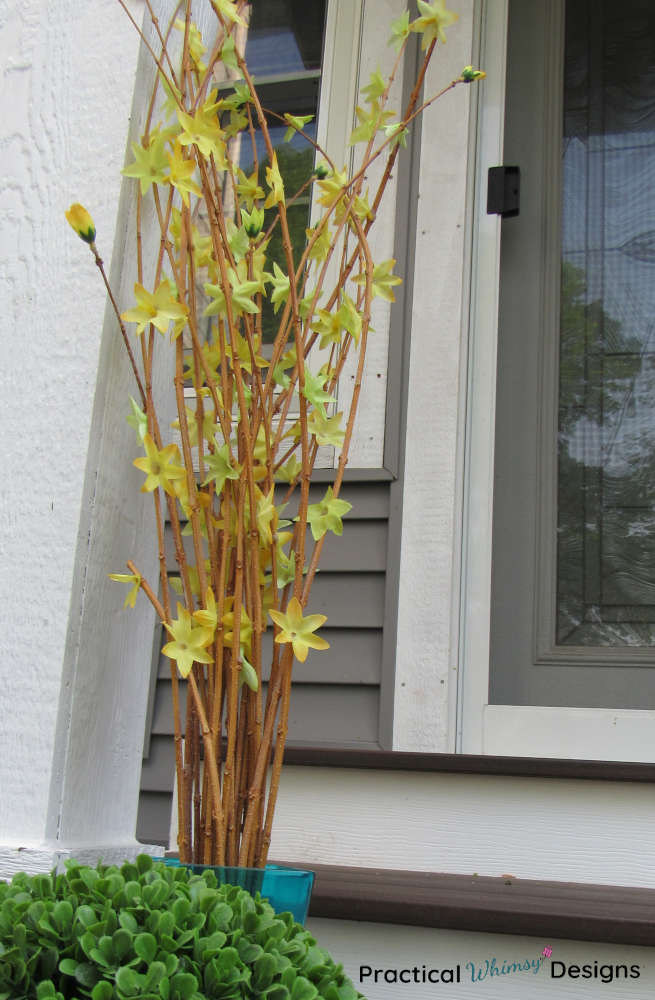
This project was inspired by my father-in-law, who cut some Forsythia branches for us to put in a vase one spring. They have little yellow flowers when they bloom and I loved how they brightened up a little corner of my family room. I loved the look of them so much, I decided to save the branches and try to recreate it for a permanent decoration.
It ended up being a super simple and cheap diy decoration and I am excited to share it with you.
This is part of the Thrifty Thursday Collaboration, where a group of other bloggers join me to re-purpose thrift store items, things from the dollar store, or other old stuff lying around the house into something useful. Check out the end of the post for thrifty makeover ideas from other talented bloggers in our group.
This post contains some affiliate links for your convenience (which means if you click a link and make a purchase I will earn a small commission at no extra cost to you). Please see my disclaimer page for more information.
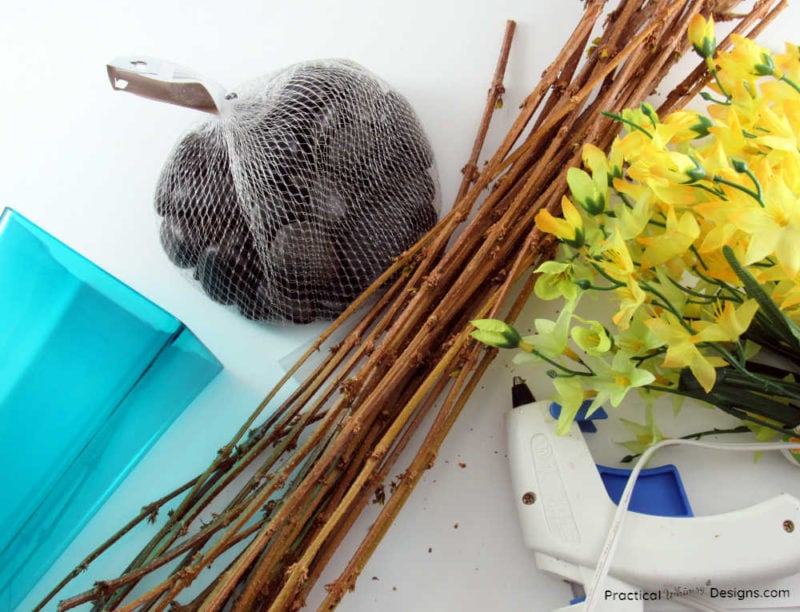
Materials You Need:
- Thin, tall branches (cut fresh and hung to dry for a couple of weeks) I used 22 total
- Fake small yellow flowers (I used fake tweedia)
- Glue gun and glue
- String
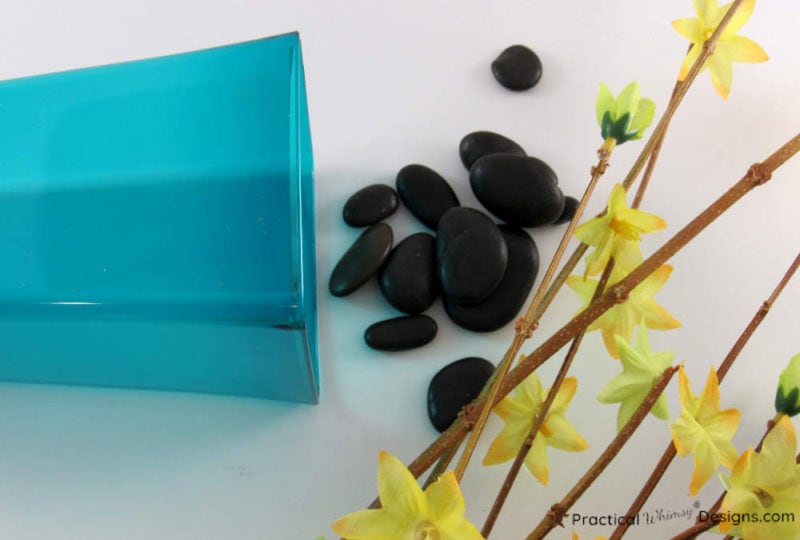
- Vase
- Stones (I used these black river rocks or you can find similar black river rock here)
Easy Steps to Make a Branch Centerpiece Using Dollar Tree Decor
Step 1: Find, cut, and dry branches.
I used Forsythia branches, but you can use any bush or tree branches that are whip like and somewhat thin. You want a branch that isn’t brittle so that it will hold up. (You could also try curly willow branches, manzanita branches, etc.)
Pull off any green vegetation and hang the bare branches upside down for a week or so to dry them out. This prevents them from molding.
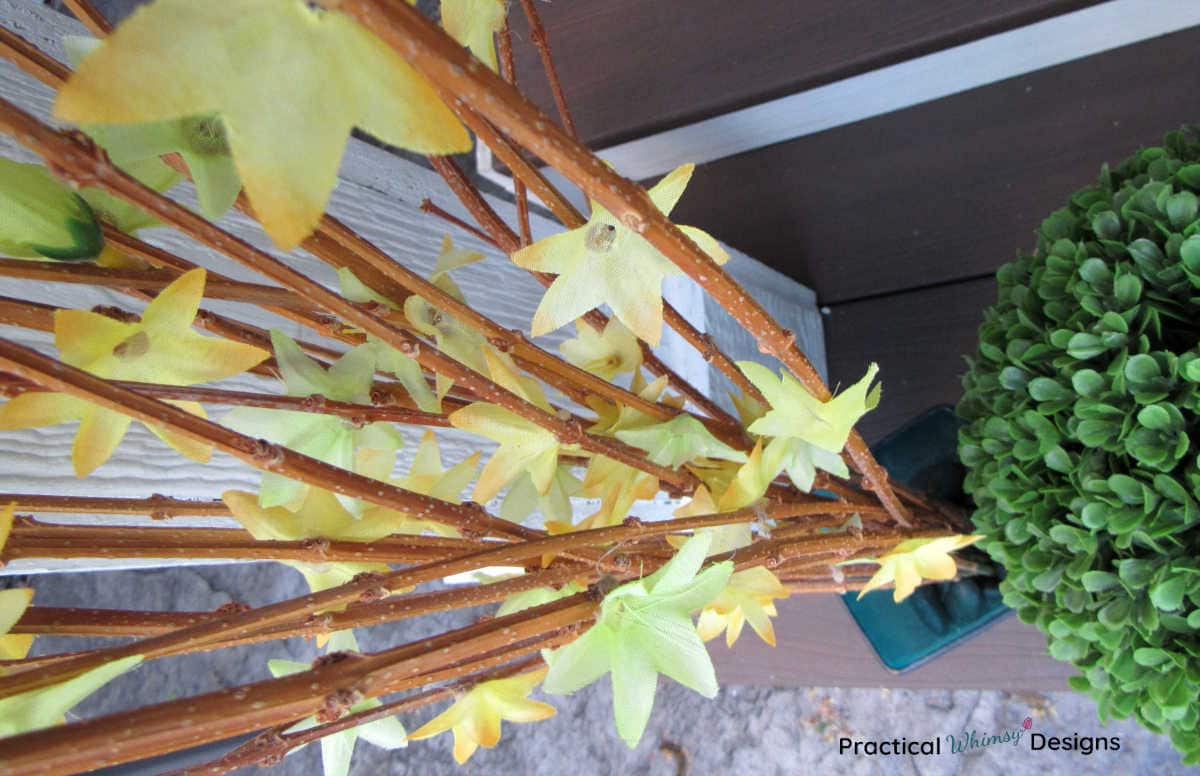
Having the live branches gives your diy branch centerpiece a more realistic look.
I used 22 branches for my centerpiece, however, you can use as many or few as you want. It all depends on the size of your vase and the look you are trying to create.
Step 2: Glue on the artificial flowers
Once your branches have had a chance to dry you are ready to add flowers.
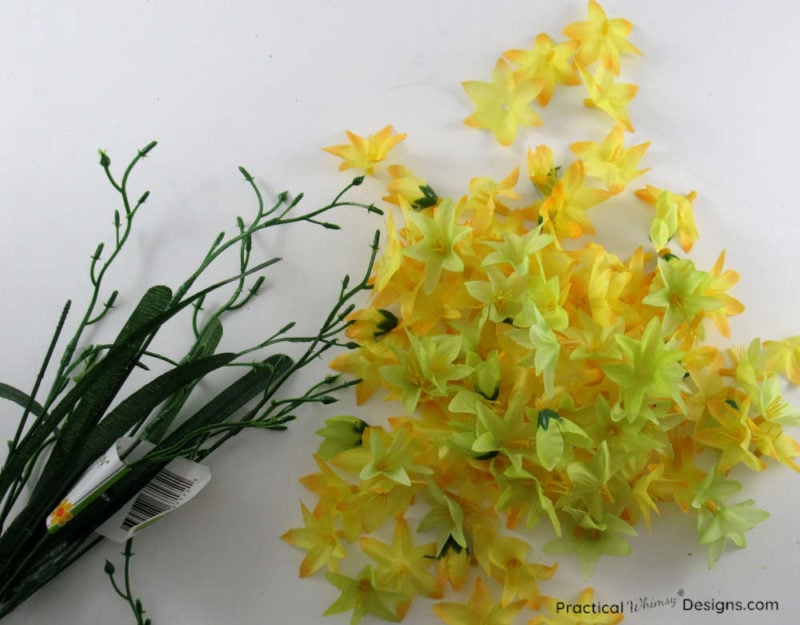
Since fresh flowers only last a short time, using fake flowers is a good alternative to create a spring feel. You can buy them from a craft store, but my favorite place is the dollar store. You can use any desired color of flower, but since I was mimicking the forsythia, I chose yellow.
To prepare the flowers, pull all of the fake blossoms off of their stems. I ended up pulling most of the plastic middles out of my cloth flowers as well so that they would stay flat when I glued them onto my branches.
Count your branches and divide your flowers between them so that you don’t end up with flowerless branches at the end.
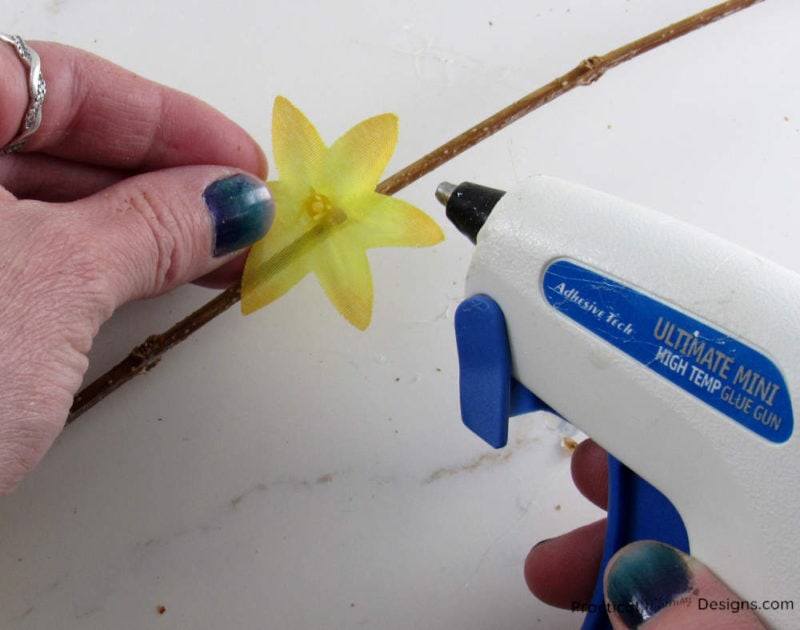
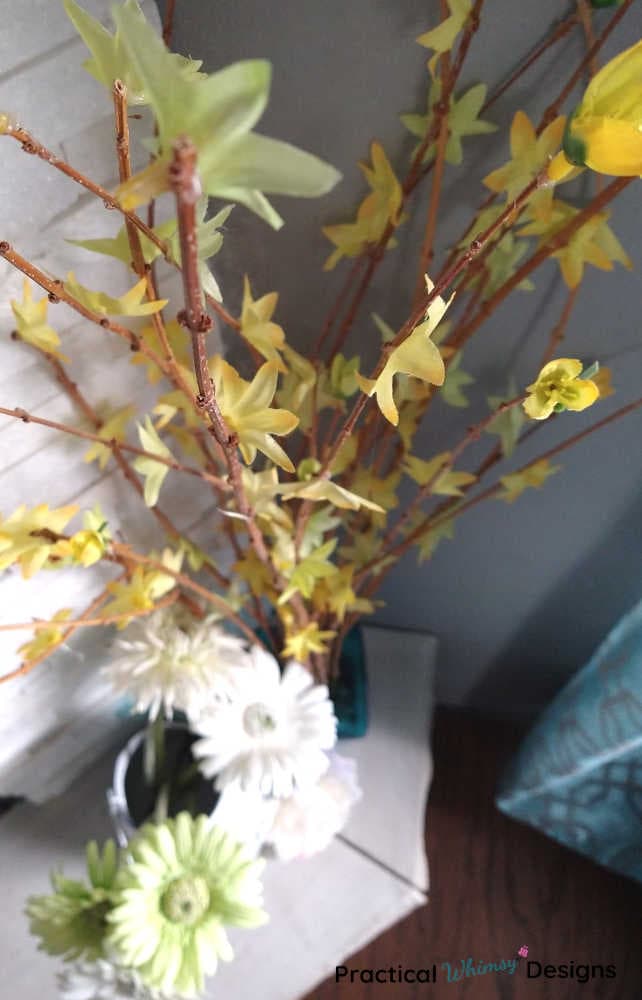
Take your hot glue gun and glue the flowers onto your branches.
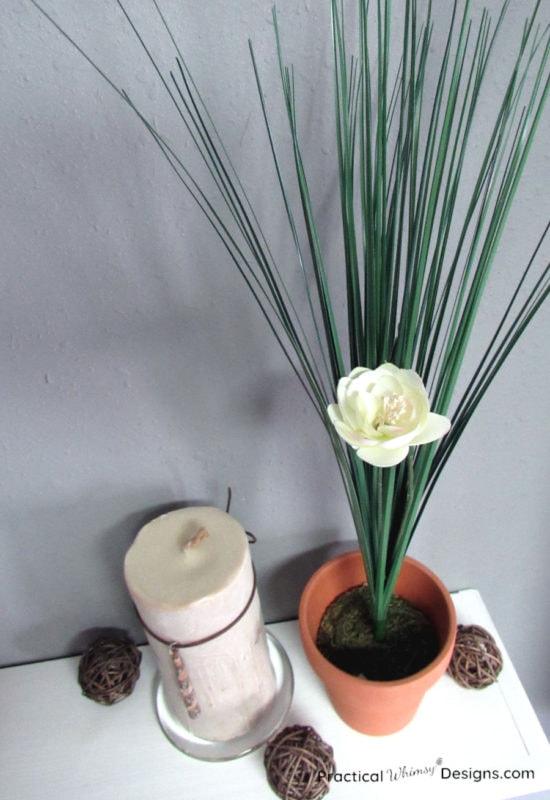
Step 3: Assemble your new DIY Branch Centerpiece
Now it is time to assemble your centerpiece.
There are a lot of great dollar tree vases available to choose from, though any tall vases will work to hold your branches.
Grab your vase, branches, and rock and get ready to put everything together.
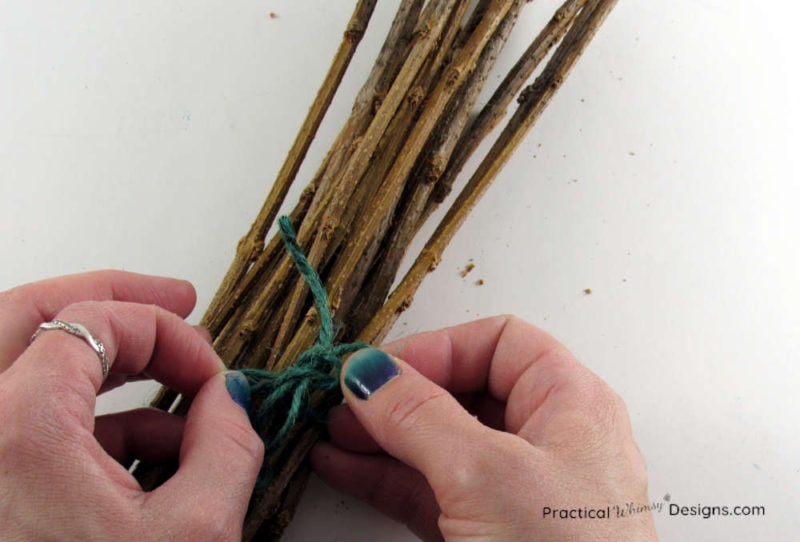
Tie the clump of branches into a bunch. This makes them more manageable and keeps them from flopping around. Make sure that the string is low enough on the stems so that the rocks will hide the string when you put it in the vase.
Place the branches in the center of the vase and add the river rocks around it to support the branches and keep them straight, leaving a little room at the top of the vase so it doesn’t get too top heavy.

Display Your New Decor
And that is it!
This project took only a few minutes to make (after drying the branches) with $6 in supplies.
It is such a versatile piece.
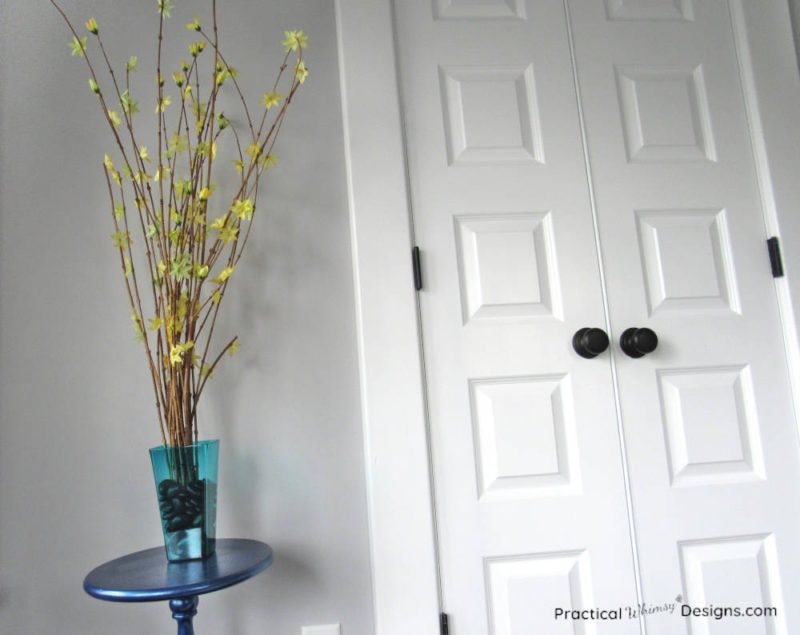
I love the look of it in my remodeled master bedroom.
I have also used it as part of my spring decor around my fireplace.
How to Customize Your DIY Branch Centerpiece
There are many ways to use and customize your DIY branch centerpiece.
- Add a cute bird’s nest or make a butterfly tree by adding fake butterflies to the branches and use the centerpiece as baby shower decor or in a kid’s room.
- Turn it into a wish tree and write encouraging sayings, tie them to the branches, and let each guest take one home.
- Create a beautiful diy wedding centerpiece using flowers in your wedding colors to add an elegant display on a tight budget.
- Spray paint branches and add silver accents and glitter to create a diy branch centerpiece for the winter season to decorate your dinning room table. Wrap fairy lights on the branches to add extra shine.
Don’t have time to make your own branches, but love the look? Browse these items for sale.

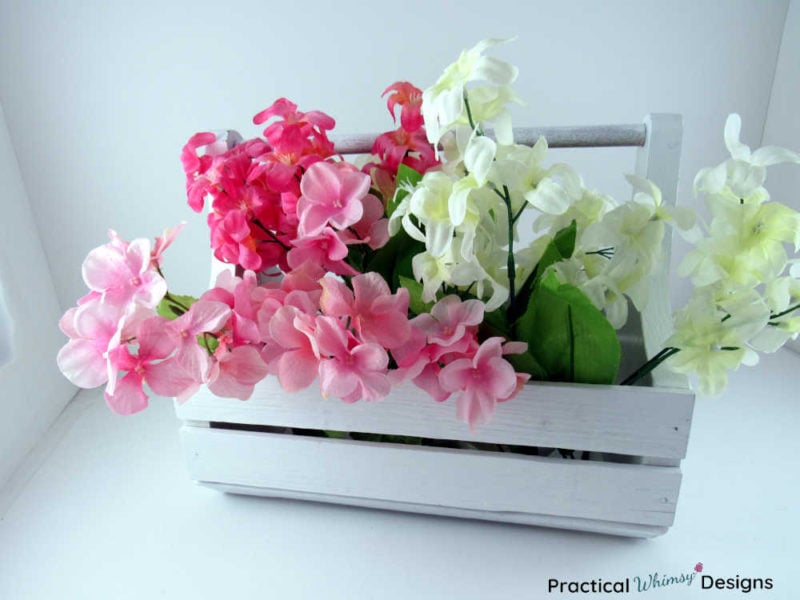
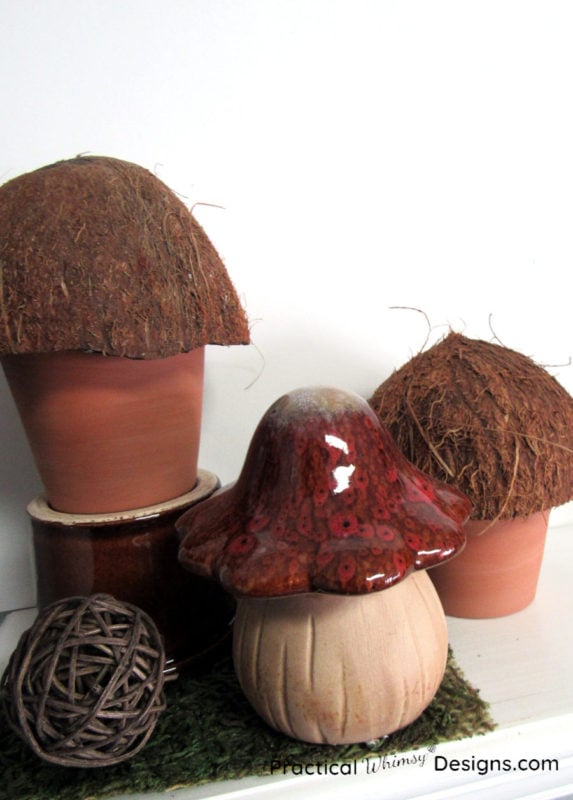
Looking for another spring tablescape idea? Take a look at this vintage spring flower and moss table centerpiece idea. Or check out these tips for decorating with artificial flowers in your home for more great spring flower ideas.
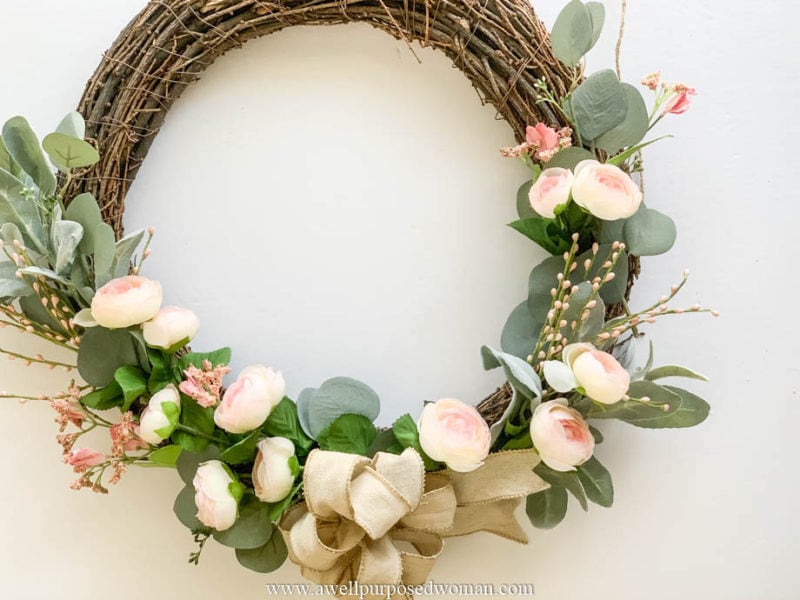
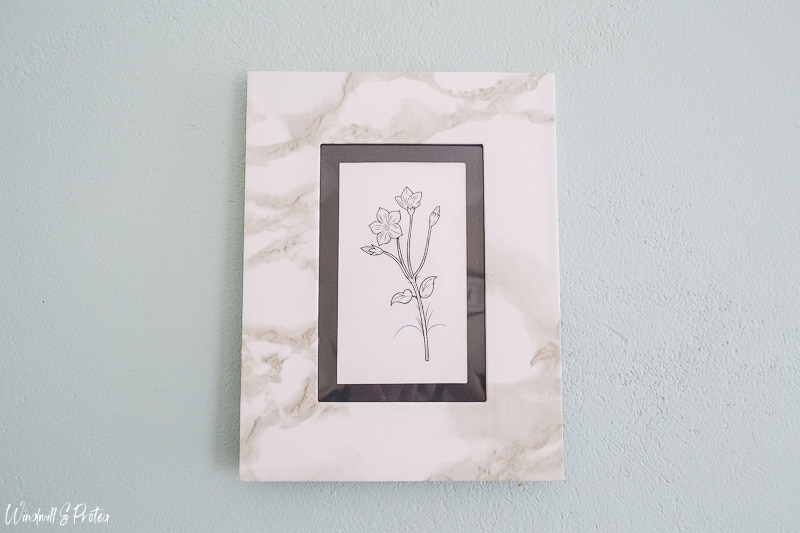
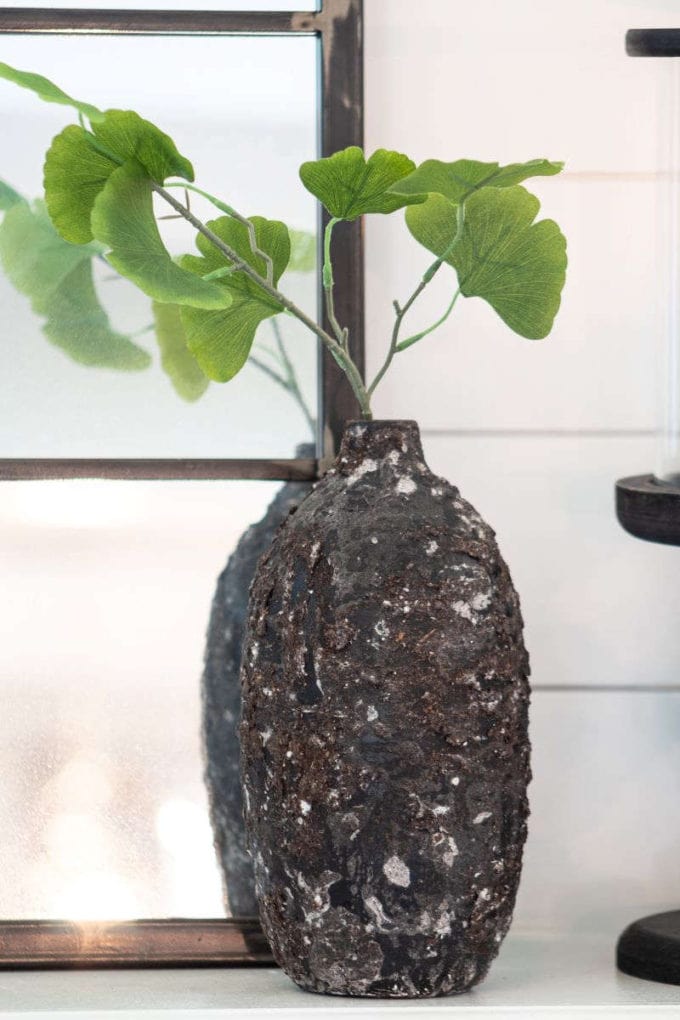
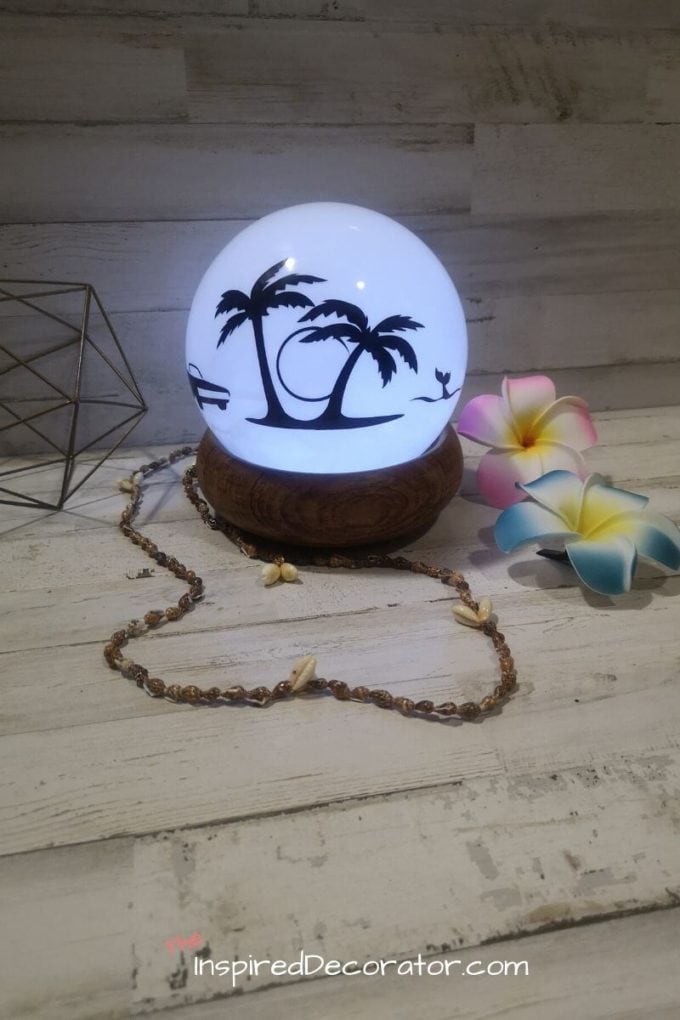
Needing more inspiration? Take a look at these other great projects from the other bloggers from the group. Martina at The Lived in Look made a diy restoration hardware stone vase, Sara at The Inspired Decorator made this beautiful upcycled night light, Junette from Windmill & Protea created fun marble frames, and Elizabeth at A Well Purposed Woman re-did a grape vine wreath.
Looking for other diy projects for spring? Check out the options below.


Are we friends on Instagram?
Follow @PracticalWhimsyDesigns to see more
behind the scenes projects
How clever! I love these thrift ideas for home decor. Nice work! Elizabeth
Thank you!
I love the simplicity Erin – we all need simpler with all the overwhelm at the moment. I love that you combined the flowers with real branches!
Yes! Simple is so good right now. And just because it is simple, doesn’t mean it can’t be beautiful. Thank you!
Those turned out so great! I love the look of Forsythia in the spring time! The yellow just pops against everything around here because most of the time everything else is still dead. lol Thanks for the inspiration!
Yes! I agree! Maybe that is why I chose it for my inspiration because everything was still blah outside. Thank you so much.
Great idea to make your own floral branches!
It saves so much money and it is fun to be able to pick out my own colors and look. Thank you!
This is so creative Erin! I love the pop of yellow. I never thought of making my own floral branches until now.
Thank you! You totally should make some. They are so easy to make and I love how much they add to a room.