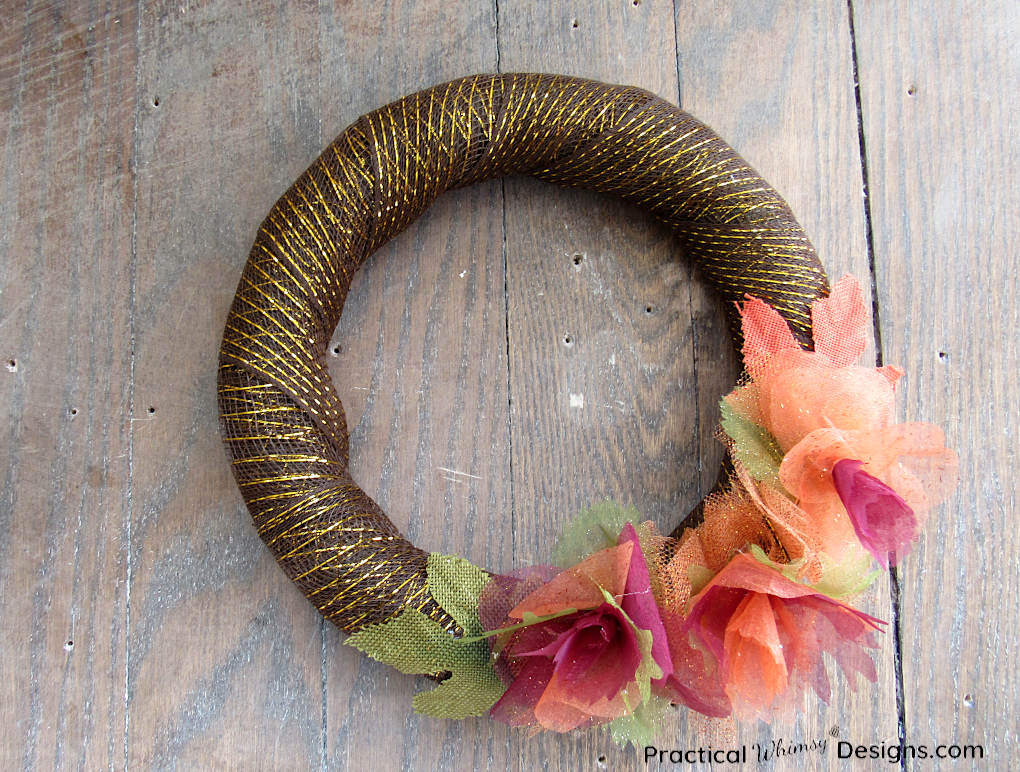
This simple DIY fall wreath adds a beautiful splash of color to fall decor. If you’ve always wondered how to make a wreath this is an easy fall wreath to attempt.

Something simple, yet shiny! (My husband and I have differing opinions on glitter, so it had to be a relatively glitter free craft. It’s probably because I LOVED glitter on my clothing when we were in college and it always seemed to rub off on the furniture and car seats. Whoops!)
What’s wrong with a little glitter in one’s life, am I right? Ok, I digress…. back to my wreath tutorial.
A small, simple wreath is what was required on my mantel to compliment my Fall decor. Criteria: It had to not dominate my other decorations and not cost an arm and a leg. (I only have two of each after all.)
Challenge accepted.
This simple DIY fall wreath costs less than $5 to make because you can find most of the supplies at the dollar store.
If you are looking to create a bigger wreath, it will cost extra.
This post contains some affiliate links for your convenience (which means if you click a link and make a purchase I will earn a small commission at no extra cost to you). Please see my disclaimer page for more information.
Note: I found all of my supplies at the Dollar Tree, so that is the cheapest place to get all of your supplies. If you can’t find the items you need, I have linked to a few below, though the prices aren’t always quite as good.
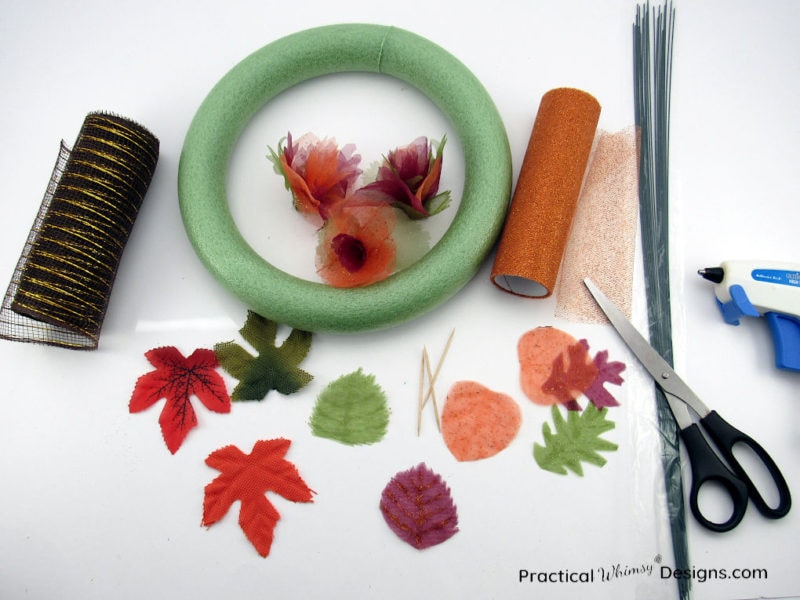
Materials You Need:
- 10-12 inch foam wreath ring (You can buy the same wreaths I used in bulk here or get a single 12″ wreath here.
- Fall colored tulle Ribbon like this.
- Fall colored Mesh ribbon mine was 6 in x 5 yd (I found a similar, 10 yd tulle ribbon here if you can’t get to the dollar store.)
- Push pins or wreath pins
- Fall flowers (Learn how to make some fun ones in my tutorial on how to Make Fabric Flowers from Fall Leaves)
- Fall fabric leaves (If you don’t have fabric leaves you can get my fall leaf printable from my resource library and make your own. Find out how at the bottom of this page.)
- Hot glue gun

Steps to Make a DIY Fall Wreath
Step 1: Wrap the wreath with mesh
I found some brown mesh ribbon with gold shiny ribbons running through it. (Shiny √ check)
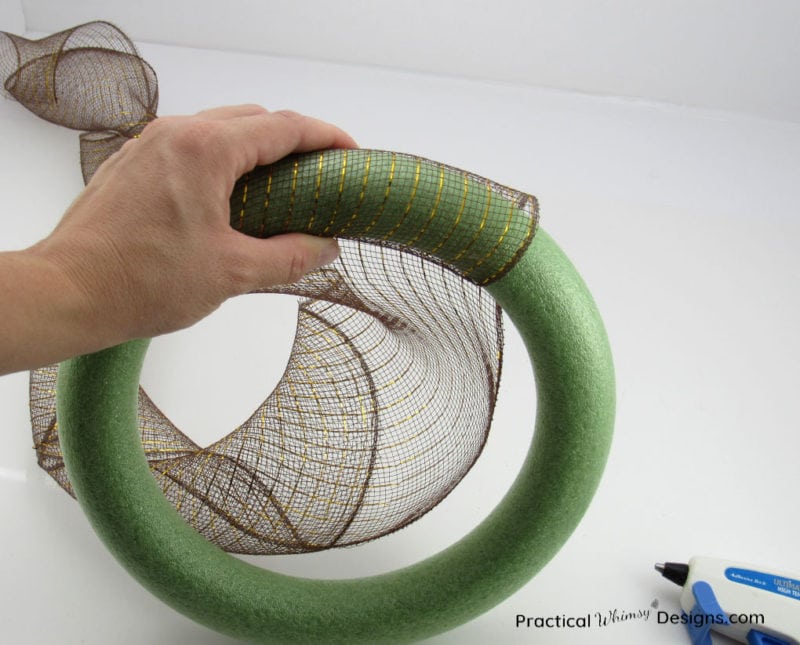
First, take the end of your mesh ribbon and hold it onto your wreath with your hand. You could glue it down if you want to, but it should get wrapped with your mesh enough times so that it stays secure.
Next, wrap your mesh around the foam wreath, overlapping to the right by 1-2 inches each time. Try to keep it as tight as you can.
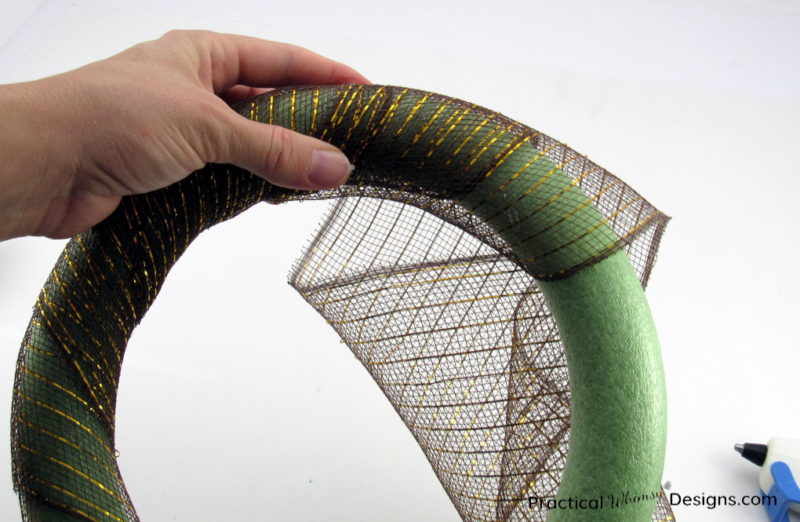
Keep wrapping your wreath until you have 2 to 3 layers of mesh in each section on the wreath. I used my entire 5 yards of ribbon. If you want you can glue and/or pin your mesh layers in between.
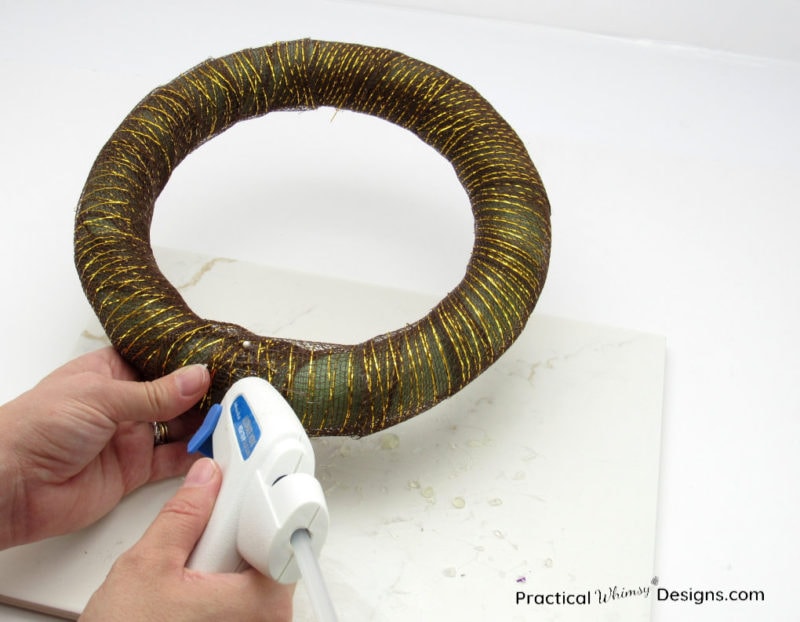
Finally, to end your wreath, secure the end of your mesh at the back of your wreath with a hot glue gun and/or pins. I used a little of both.
Step 2: Glue and pin on the decorations
Here comes the fun and creative part. Decorating the wreath!
I pinned 3 flowers onto the bottom right side of my wreath. I actually made my fabric flowers out of fall leaves and if you want that look you can learn how with this tutorial.
If you would prefer to just use fabric flowers from the store you can glue or pin them to the wreath.
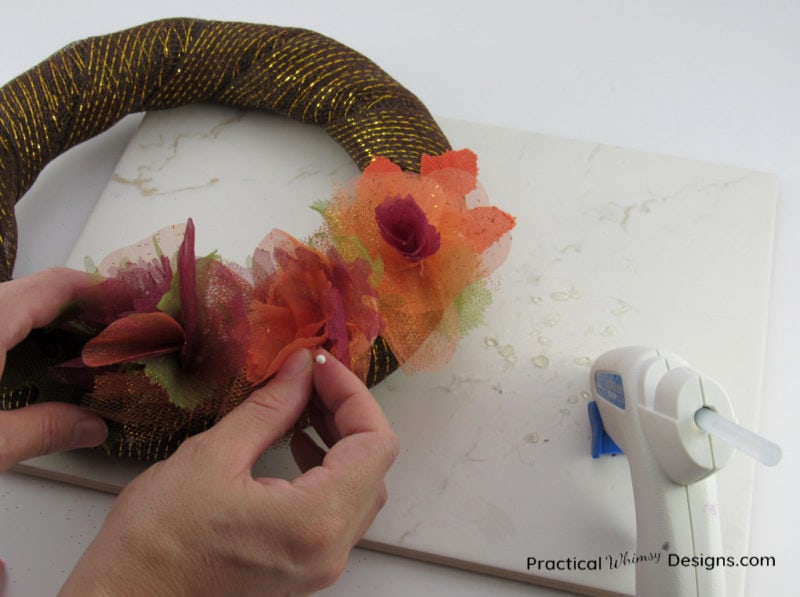
I also clumped a little orange sparkly tulle (I couldn’t resist adding a little more glitter) underneath the flowers as filler and pinned that fabric onto the wreath before pinning on my flowers.
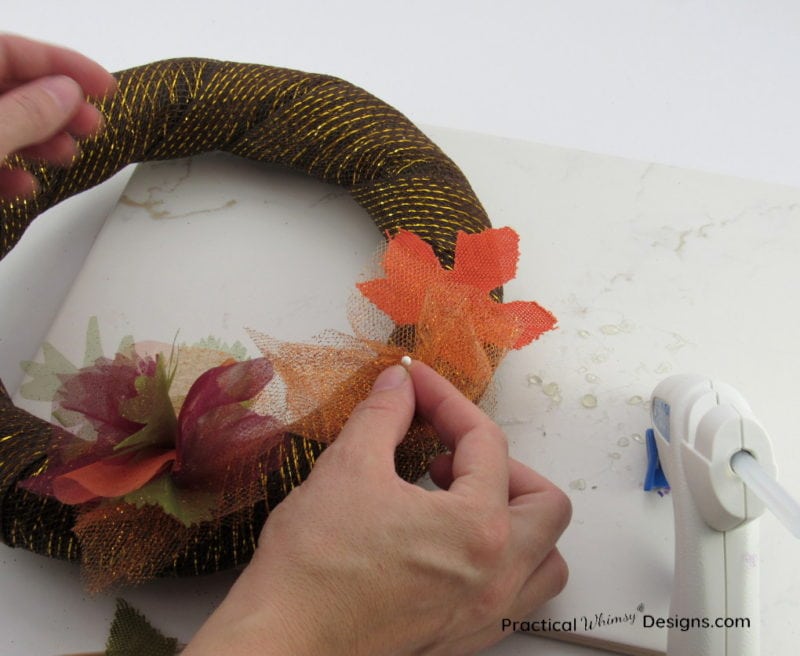
Hot glue two maple leaves onto the wreath, one on either side of your three flowers. I started by gluing one leaf on. Then I pinned on my tulle and flowers. Finally I glued the second leaf on.
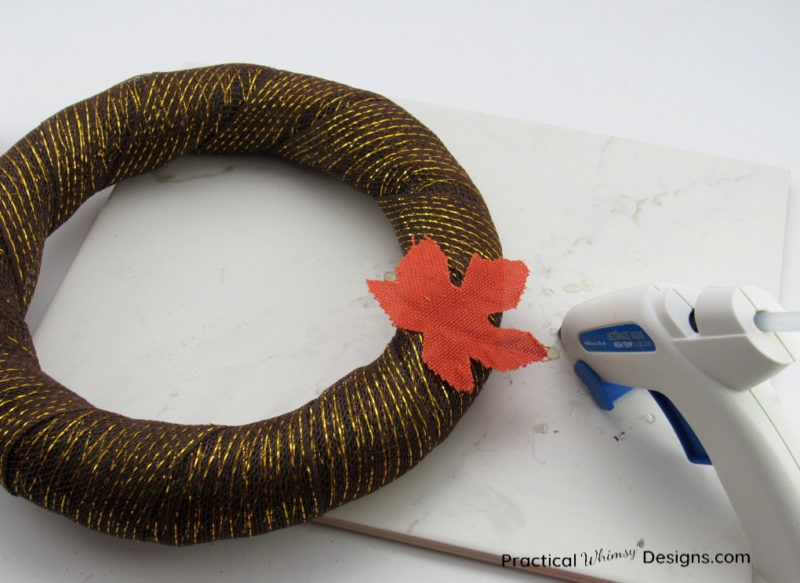
If you want to make your own fabric leaves, I have a fall leaf printable available in my resource library that is free to my e-mail subscriber. I also have a tutorial and ideas for using your fabric leaves in your fall decorating. Not an email subscriber yet? Sign up below.
Your DIY Fall Wreath is Done!
That is it! You finished your DIY fall wreath! Not too bad for a dollar tree wreath.
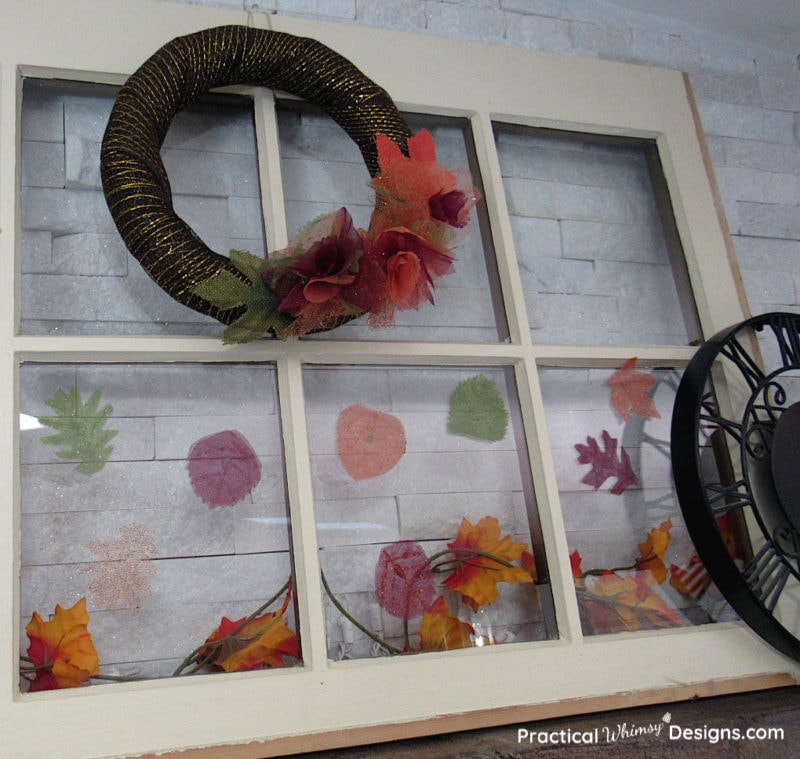
Now comes the easy part: adding it to your decor. I used a piece of twine that I stuck behind some of the mesh. I looped the twine and used it to hang the wreath off the window displayed on my mantel.
This fall wreath looked great with my rustic and glam mantel decorations as well.

If making a DIY wreath is just not in the cards for this year, I have compiled the best sources to get fall wreaths if you are trying to still stay under budget.
Interested in making more DIY fall decor? Check out this tutorial on how to make a DIY Copper Dripped Pumpkin.
If you are looking for another DIY mesh wreath tutorial, try your hand at this ruffled wreath DIY.
Want to try this project later? Save it to your favorite DIY board on Pinterest.

What about you? What areas of your home are in need of a simple DIY Fall Wreath?


This is super cute, love the flowers, great job!
Thank you so much!