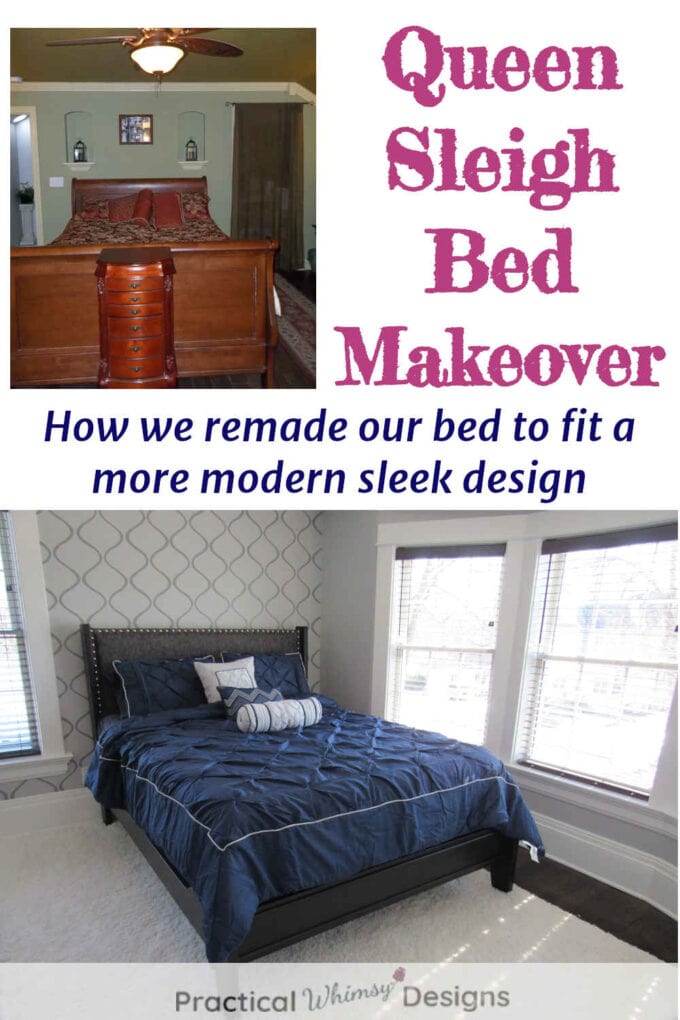
We flipped our queen sleigh bed and gave it a face lift to match our new bedroom’s style. Check out our queen sleigh bed makeover.
Struggling with finding the perfect paint color for your home? My design guides are available for free to my newsletter subscribers. Grab my Free Paint Guide and FINALLY pick a wall color that you love!
One of my favorite parts of our primary bedroom makeover was the makeover of our queen-sized bed. And this one seems to be a popular one for you too. That is why I updated it and tried to add a few more details about the process.
Our gorgeous sleigh bed came with the primary bedroom furniture set we purchased when we were married over 15 years ago. Let’s just say that our tastes have changed and styles have changed since then. Also, as we have remodeled our primary bedroom and primary bathroom, we have worked hard to mix modern elements with the old character of our house. Furniture and decorations are a great way to change the look of a room.
Additionally, our color palate has changed a lot. We have moved away from cherry wood, red, gold and greens to the more neutral colors of bronze, blue, and grey.
With all of these factors coming into play we were left with a challenge: How to update a cherry sleigh bed to make it work in our new room and save the money on a new bed frame.
Queen Sleigh Bed: Before
Here are a few pictures of what our traditional sleigh bed looked like in the primary bedroom of our old house. That bedroom was quite a bit larger. Our current house has a much smaller primary bedroom.
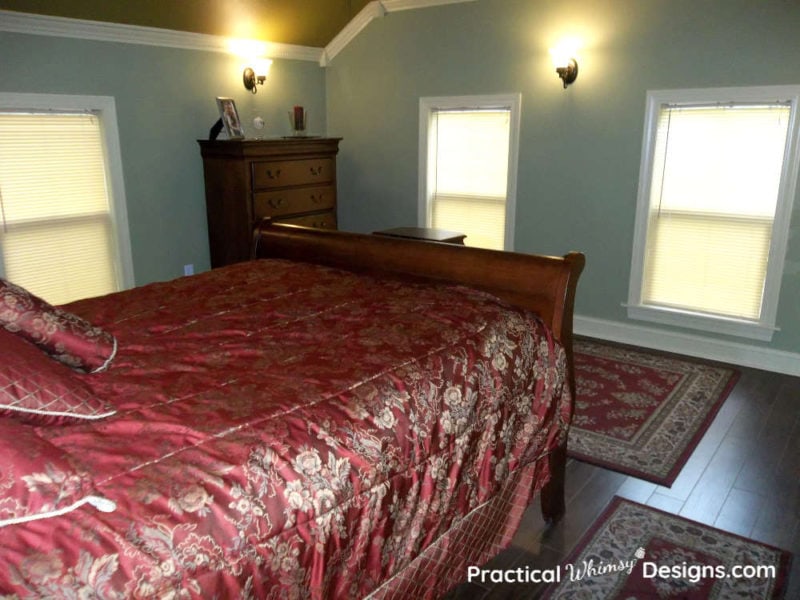
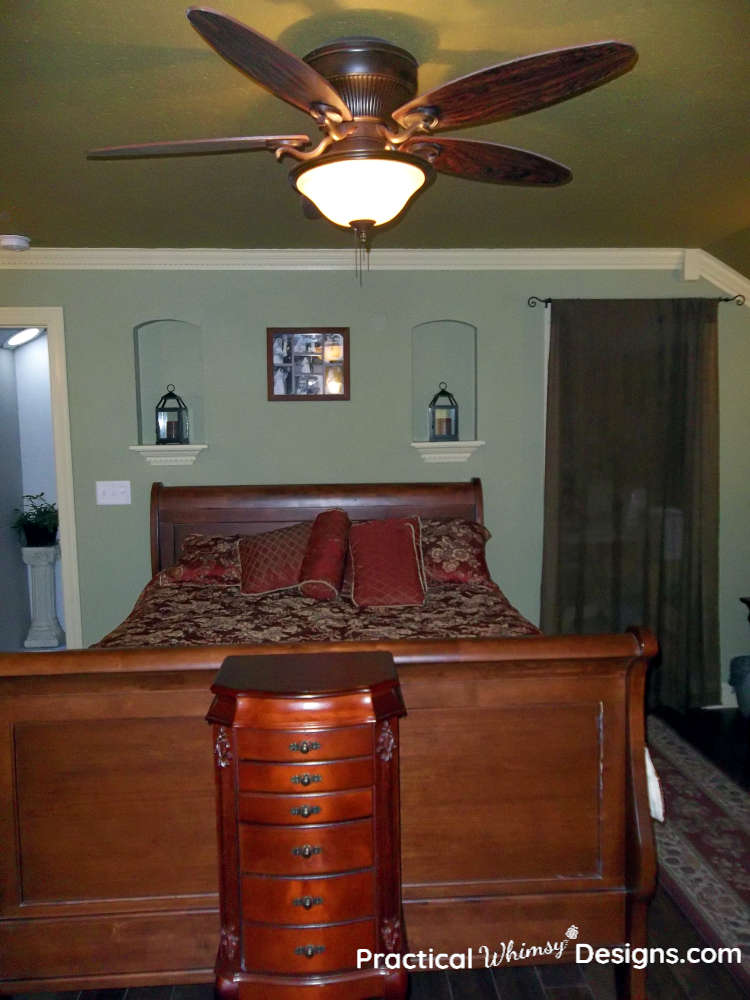
The size of our bedroom eliminated the possibility of just changing the color scheme of our furniture and turning our bed into a dark wood sleigh bed.
We needed to re-think the design to allow our queen bed to fit into the space.
Queen Sleigh Bed Makeover Challenge
There were three things that needed to change about our bed in order for us to use it in our new space.
- Design/Style
- Size
- Color
Changing the Design/Style
We knew we needed to remove the sleigh bed portion of our bed. Because of the size of our bedroom it was essential to gain back that extra foot or so lost by the swoop of the sleigh shape on our foot board and head board.
This post contains some affiliate links for your convenience (which means if you click a link and make a purchase I will earn a small commission at no extra cost to you). Please see my disclaimer page for more information.
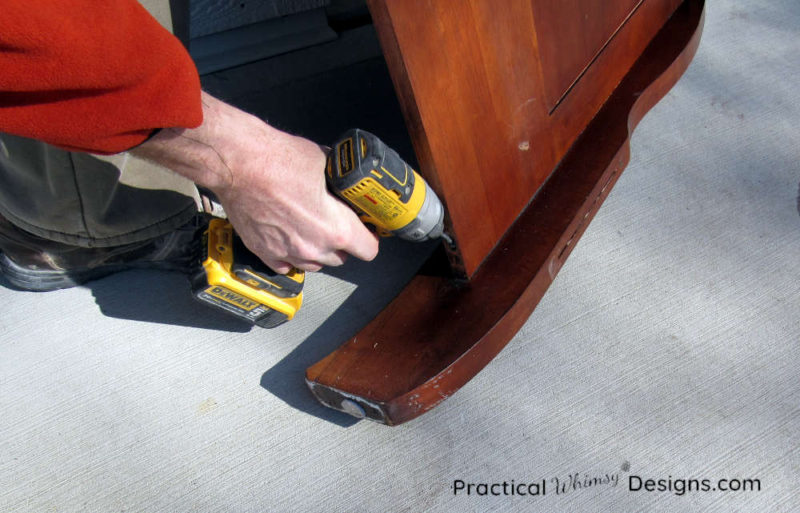
Our bed had several screws and dowels that attached the legs to the headboard and footboard. After we removed the screws with a cordless drill we used a hammer to tap gently on the legs of the footboard and headboard to separate the sides from the center.
This gave us flat pieces to work with.
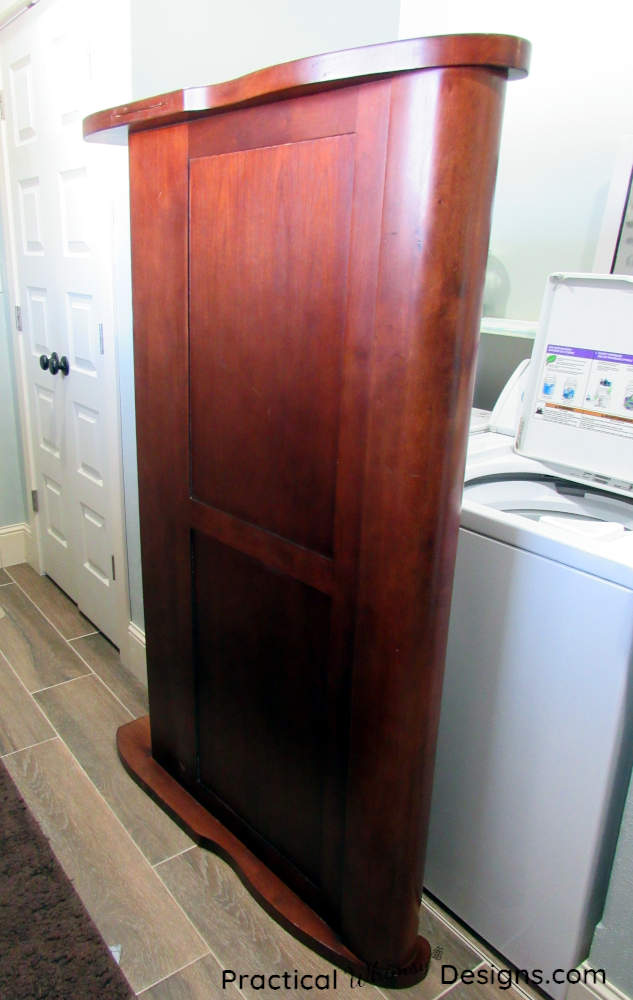
We cut the sleigh portion off with a circular saw after marking a straight line right where the sleigh bed began to curve.
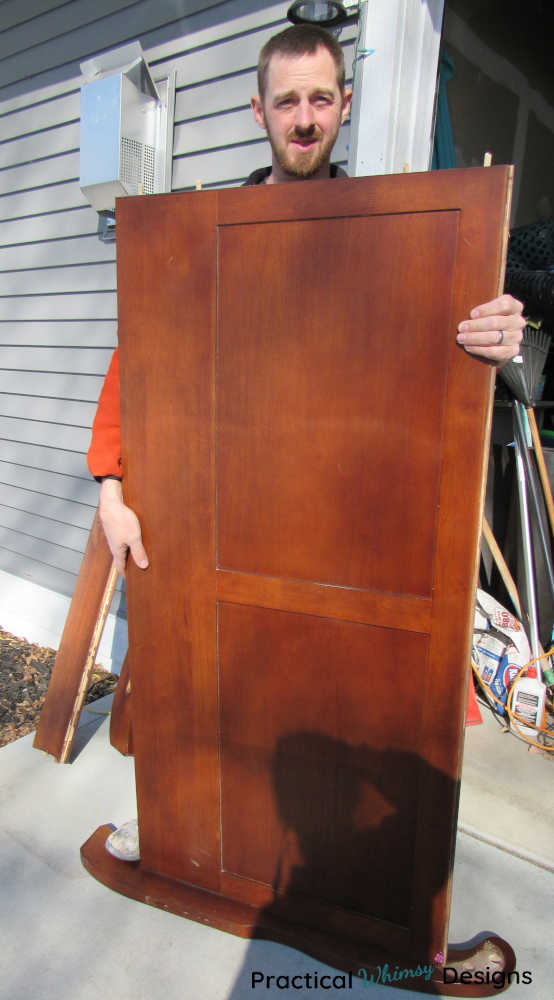
In the above picture you can see the dowels sticking out of the top of the headboard. You can also see at the bottom where the sleigh portion of the bed curved out before we cut it down.
Disclaimer: This post is for informational purposes. There is always a risk when using power tools and certain safety recommendations to follow. Get help from an expert if you need it.
Removing the sleigh portion of the footboard and headboard was the first step to our process.
Changing the Size
Our next step was to change the size of our bed. Since or bedroom doesn’t have very much square footage, we wanted our bed to feel smaller too.
Not only did we remove the sleigh portion of our bed. We also cut some of the height off.
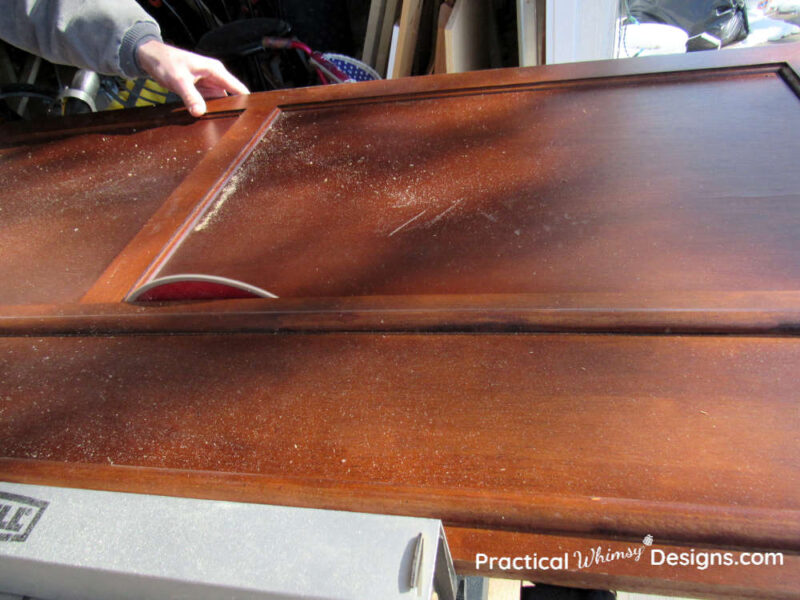
First we used a table saw to cut the headboard down to a smaller size.
We also completely removed the headboard legs and replaced them with solid wood pine boards. The original legs curved too much and we wanted a straighter look for the sides of the headboard.
Adding the new boards on the side of the headboard created the challenge of inserting the groove for the side boards of the bed to hook into which I was unable to take any pictures of. My husband finished that portion of the project when I wasn’t there. Obviously using the original legs is a lot easier, so if you attempt a similar project you will have to determine your skill and problem solving and decide what you will reuse.
To give the bed a more modern feel, we removed the footboard from the sleigh bed and cut it down a lot. Sleigh bed footboards tend to be very large so we shortened ours to just under the top of the box spring. The top of the side rails matched the height of our new footboard as well.
We then measured and cut the top of the footboard legs down to match the height of our footboard.
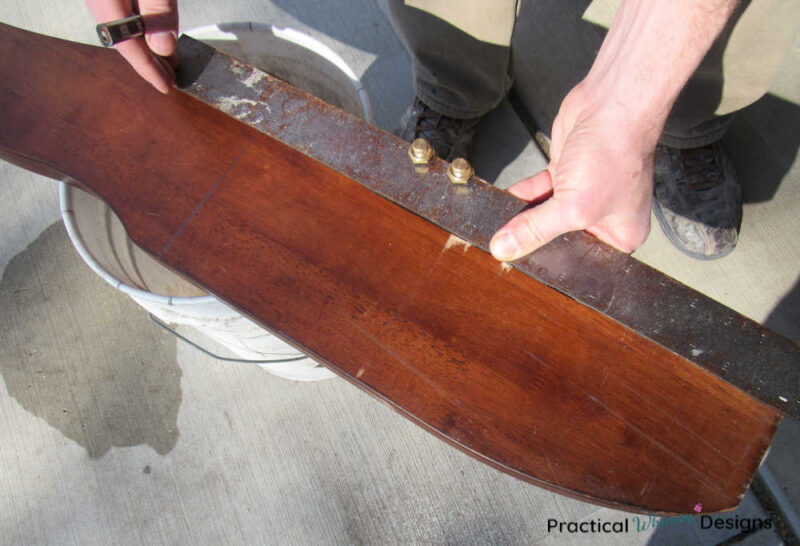
Finally, we sanded any rough edges with an orbital sander to prepare the bed for a coat of paint.
Changing the height of our bed was an important part of our sleigh bed makeover since we had to place our furniture piece on the side of the room in front of the window.
Changing the Color
Our final challenge was changing the color of the old bed.
We primed and painted the sides and footboard of the bed a bronze color to match the dark tone of the fixtures in our room. The paint we used was Pittsburgh Paints & Stains Fast Dry (The Color we used= Pittsburgh Black Magic) and I am loving it.
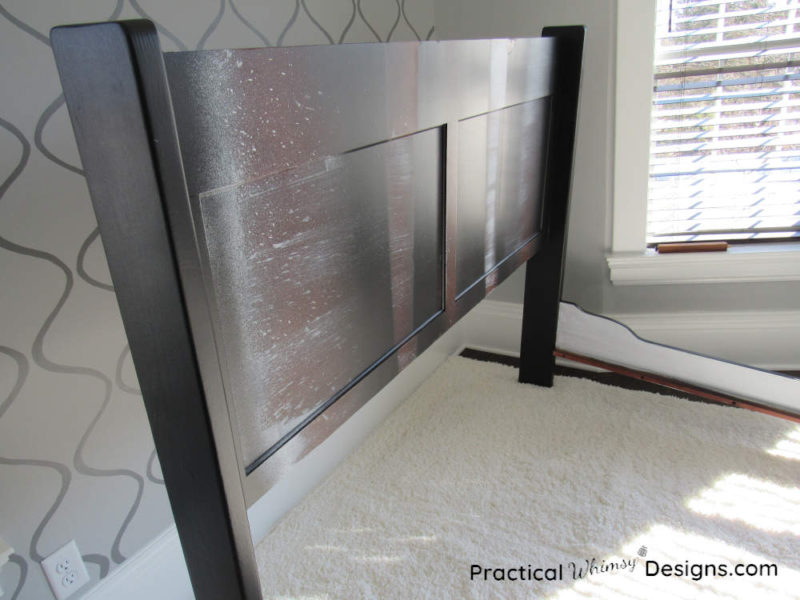
We also used the same paint on the dresser from this set, which we installed in our primary closet. This paint glides on beautifully and with the right painting technique you can apply it with a brush without leaving brush strokes on your furniture.
Then we upholstered the headboard. We were able to find fabric for the headboard that was almost identical to the chairs that we had purchased for our bedroom. (Check out our bedroom reveal to see what the chairs look like.) We used metal tacks to match the look of our chairs as well.
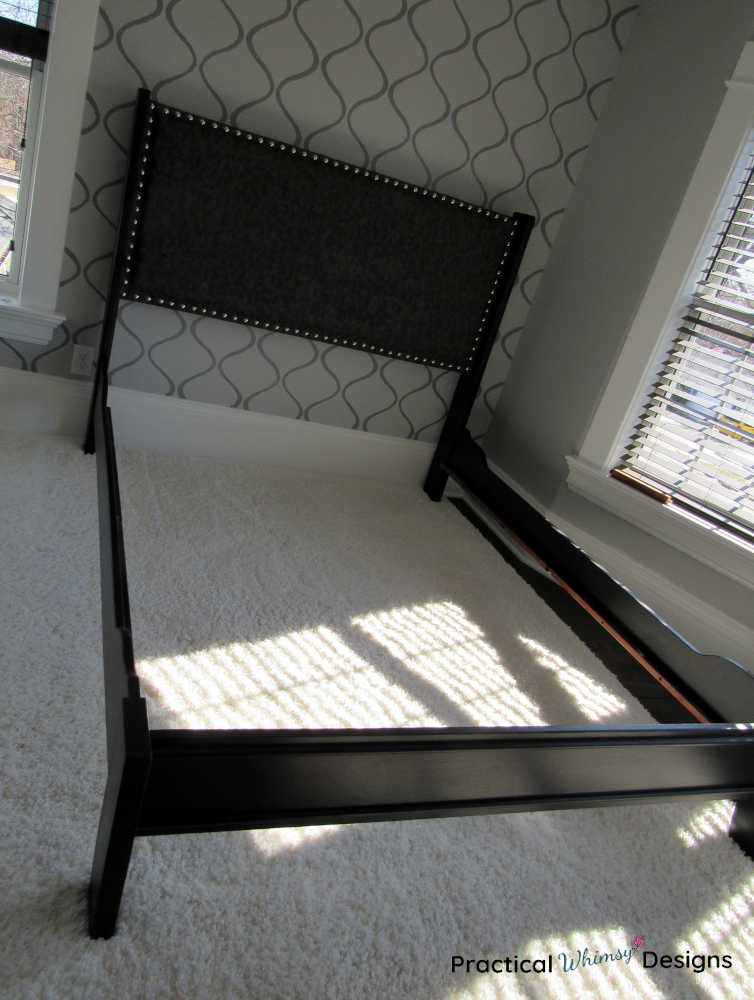
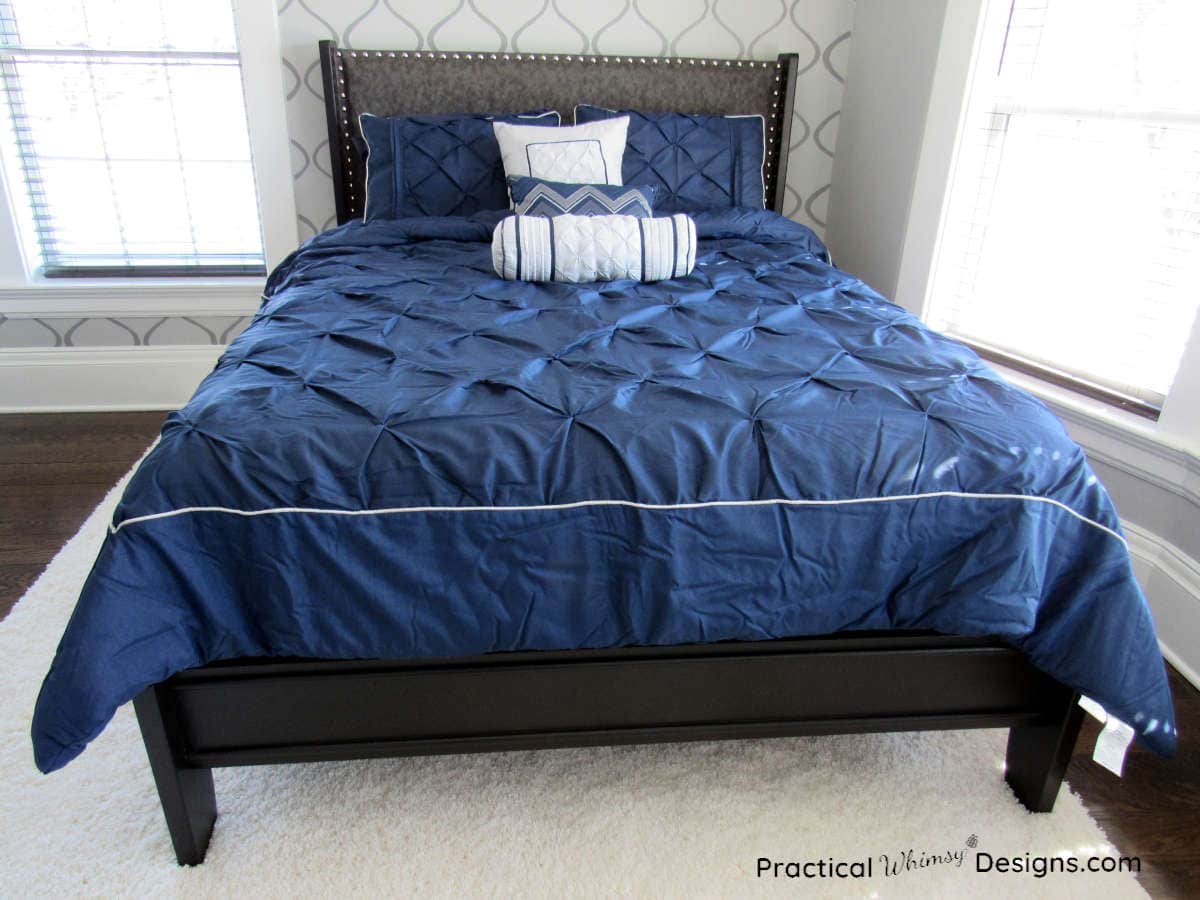
The above picture shows what the bed looked like before we added on the box spring and mattress.
The form you have selected does not exist.
Queen Sleigh Bed Makeover Results
This diy project was a little harder for me to come up with step-by-step instructions for. Because each bed is built differently, I have designed this post as more of an inspirational piece to give sleigh bed makeover ideas of what can be done with your furniture.
Hopefully this sleigh bed makeover diy will inspire you to explore the possibilities of flipping your furniture as well.
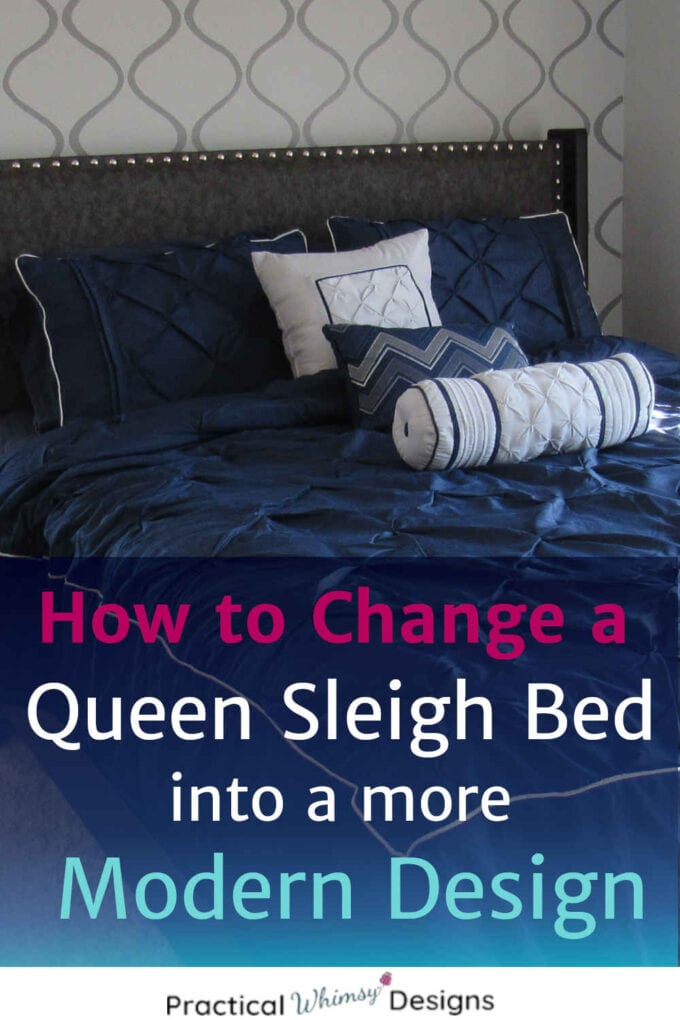
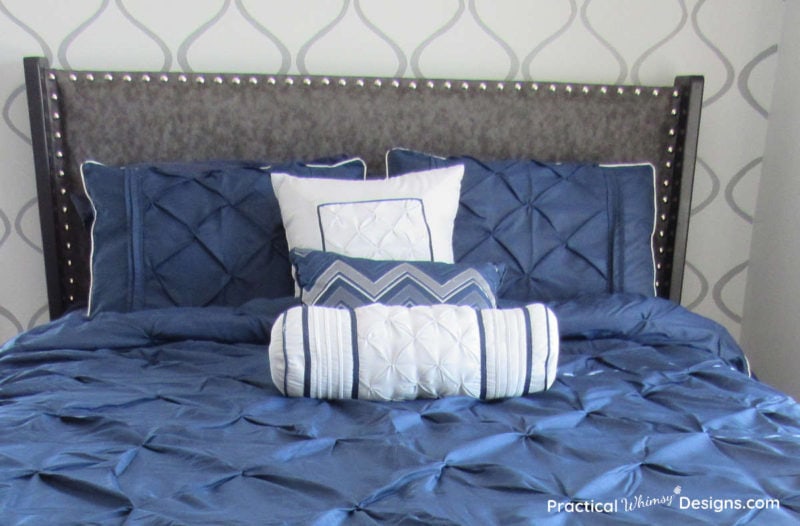
So here is what the bed looks like after the makeover. It came a long way from the traditional sleigh beds’ overall feel. I love the modern look of this piece of furniture and the entire bed is the perfect addition to our bedroom design.
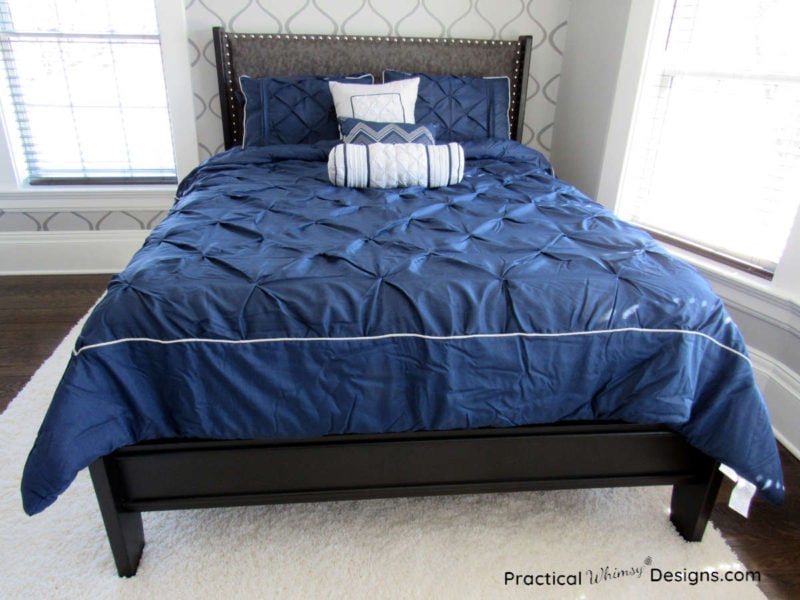
We purchased this new bedding set for our comforter, pillow shams, throw pillows, and dust ruffle. The dark blue and bronze are a good contrast to the light color of the white rug and wall color.
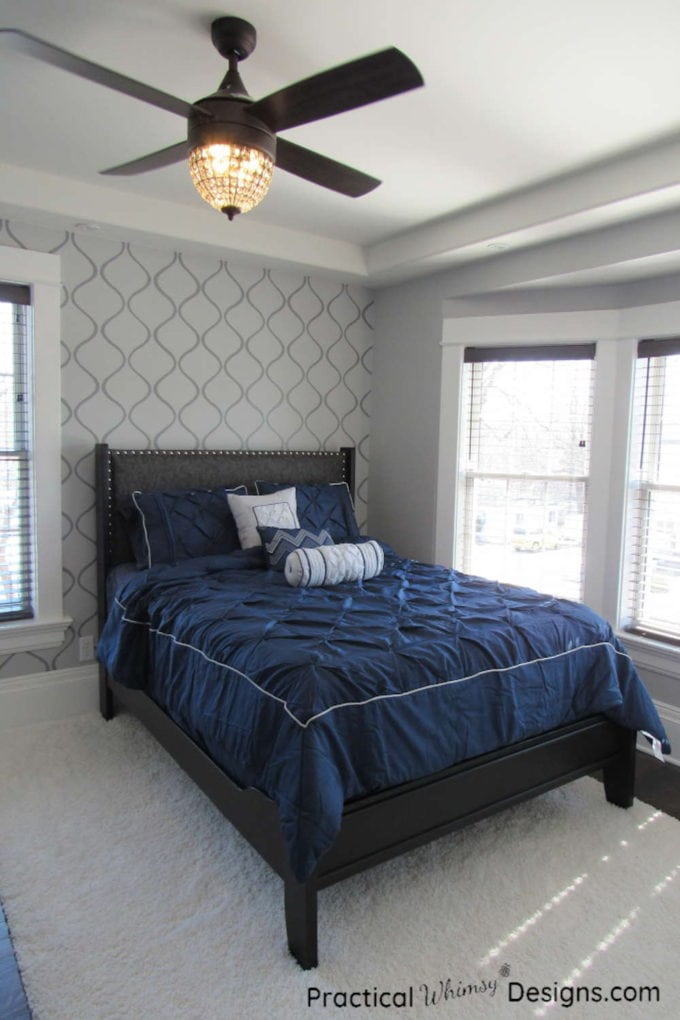
I am so happy with the results. It ties the room together perfectly and keeps a cohesive look to our furniture. We also didn’t have to buy a new bed!
I love to be able to reuse pieces in our house. However, if after this tutorial you love the look, but can’t quite accomplish this furniture flip, click on the images below to find out more details about these other options with a similar look:
Want to remember this upcycled project? Save it to your favorite DIY Pinterest board.

Want More Great Ideas? You Might Like These..


Are we friends on Instagram?
Follow @PracticalWhimsyDesigns to see more
behind the scenes projects



This sleigh bed makeover is stunning. The updated look brings a fresh and stylish vibe to the bedroom. A great inspiration for anyone looking to revamp their space with flair.
I love the way your totally changed your sleigh bed I had no idea it was even possible!
Also note it is no longer master bedroom, but primary bedroom. The whole master/slave concept.
Good point. I am working on changing my site yet. Thank you.
do you happen to have pictures of the steps? like after you cut the sleigh part off, after you separated the headboard from the straight piece? Just a little hard to follow. It came out great!
I would love more details on how you pulled off top and legs and cut down. We are amateurs!
I will try to give you a few more details. Unfortunately, every bed is built differently so I can only tell you what we did on our bed. Our bed had several screws and dowels that attached the legs to the headboard. After we removed the screws we used a hammer to loosen the dowels from the headboard by lightly tapping the two pieces apart. This gave us flat pieces to work with.
Once the pieces were separated, we cut the sleigh portion of the headboard off with a handheld circular saw, making sure to mark a straight line before cutting. My husband used new boards for the sides of the headboard which we were able to cut to the height we wanted the headboard at.
Our foot board came apart in a similar fashion. After we took the legs off of the foot board, we cut off the top sleigh portion of the bed with a circular saw to just above some decorative molding that we wanted to keep. We also cut the top of the foot board sides off to match the new height.
Our bed was pretty tall so we were able to cut some height off of the bottom of the feet of the bed as well.
We sanded all of the rough edges before painting the bed.
I hope this helps a little. I wish I could give you a straight how-to tutorial, but every bed is different so it is hard to give step-by-step instructions on a furniture flip.
You did a great job of remaking your bed. I would not have guessed it was the same bed.
Thanks. I love the way it turned out too.