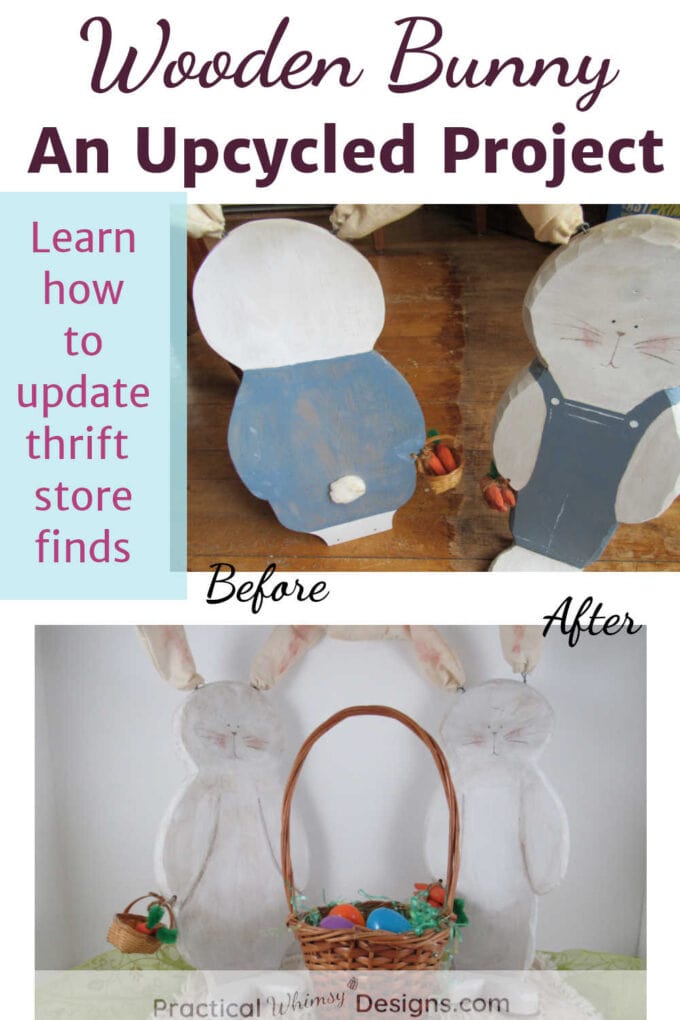
Wooden thrift store decor is very easy to update. Check out the remake of this wooden bunny decor for some inspiration to create a decor flip of your own.
Struggling with finding the perfect paint color for your home? My design guides are available for free to my newsletter subscribers. Grab my Free Paint Guide and FINALLY pick a wall color that you love!
Every once in a while I like to show you an upcycled project that I have done. My hope is that these will inspire you to keep your eyes open for some thrifty decor that may just need a little face lift and some TLC.
My wooden caddy remake and my ceramic thrift store vase transformation are two of my favorites.
Today I am bringing you another upcycled project inspiration, just in time for Easter.
These cute wooden bunnies were passed on to me and though I already thought they were fun, the paint was a little dated. I decided to give them a face lift.
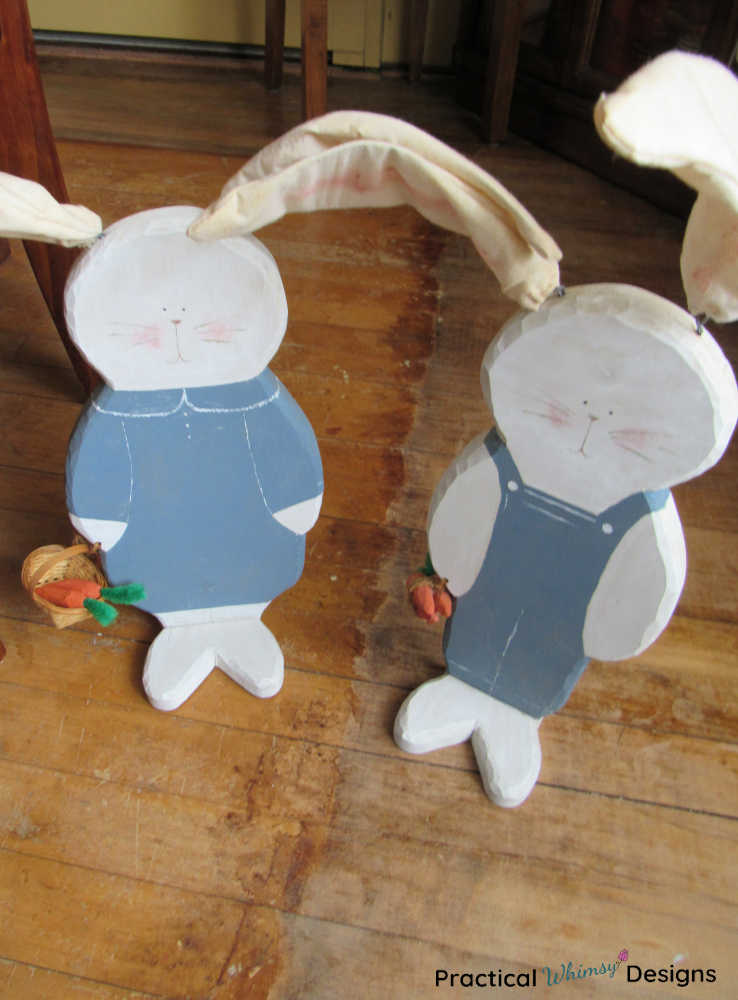
I want you to see how easy it is to update painted wooden decor so that the next time you are at a thrift store, you might just be inspired to upcycle something of your own.
This post is part of the Thrifty Thursday collab, where other DIY bloggers come up with thrifty decor tutorials to share. Check out more ideas at the end of this post.

This post contains some affiliate links for your convenience (which means if you click a link and make a purchase I will earn a small commission at no extra cost to you). Please see my disclaimer page for more information.
Materials You Need:
- Wooden decor from thrift store
- Damp cloth
- Sandpaper (120 grit), opt.
- Painters Tape
- White primer spray paint
- Acrylic paint (I used white acrylic paint and this brown acrylic paint)
- Small paint brush
- Shop cloth
- Hot glue gun to glue on pieces (if necessary)
How To Update Wooden Decor
Step 1: Prep your wood
Use a rag to wash off any dirt and grim.
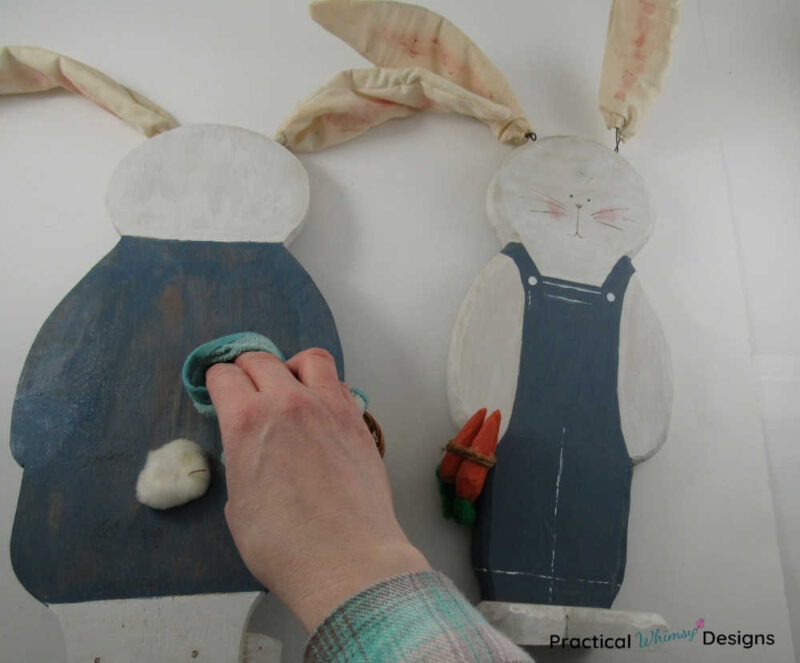
If you need to, you can use sand paper to sand off any uneven spots or heavily painted areas. You want things to be smooth so you don’t see any designs through the freshly painted area.
If there are any loose items that you don’t want to paint, remove them. For example, I took the carrots and basket off of my bunnies, removed their tails, and took the loose ear off.
Step 2: Spray paint it with primer
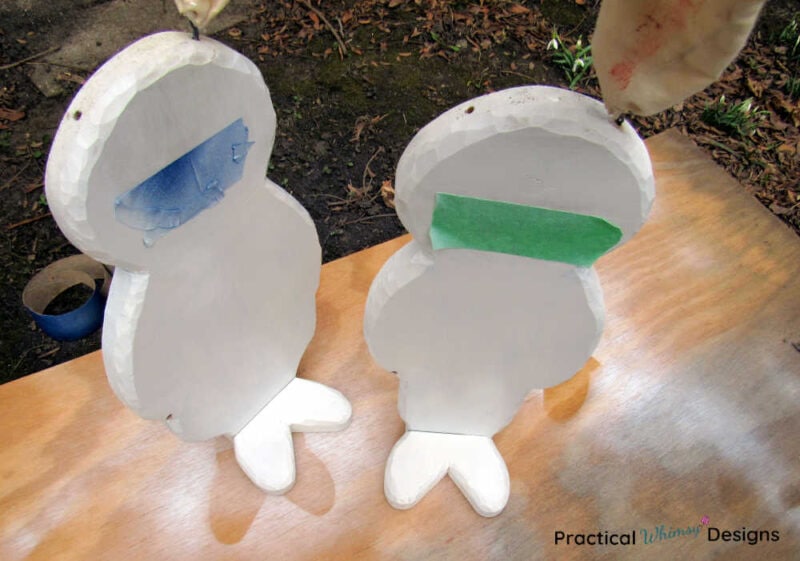
Cover any areas you want to keep with painters tape. I wanted to keep the wooden bunny faces because I thought the painting was cute, so I covered them with a strip of tape. You want to use painters tape because it removes easily and is not overly sticky.
Spray your wooden object with spray paint primer. It is better to do multiple thin coats of spray paint than one thick coat as this prevents runs.
In the case of my wooden bunnies, I sprayed them twice, letting it dry in between.
Step 3: Paint with acrylic paint
After you spray paint primer on your wood, use acrylic craft paint to paint it the color you want. I painted over the entire surface of my wooden bunny decor with white acrylic paint.
I had to feather in the white colors around the painted face since the tape left kind of a square of old paint underneath.
Let the acrylic base coat dry. Acrylic paint dries quickly, so I only waited about 10 minutes before I was able to add details.
Since I actually really liked the off white look that the original bunnies had, I decided to recreate it.
To achieve my own version of this weathered, glazed look, I used brown acrylic paint and watered it down until it looked like dirty water. I used approximately one drop of paint to one teaspoon of water.
I then painted it over the white paint on the wooden bunnies.
Next, I wiped off the extra water paint. I used a kleenex, but I had a little bit of trouble with particles coming off, so if you try this method, I would recommend using a shop cloth or other disposable rag to wipe off the watered down paint. A small amount of brown should be left behind, giving it that off-white look.
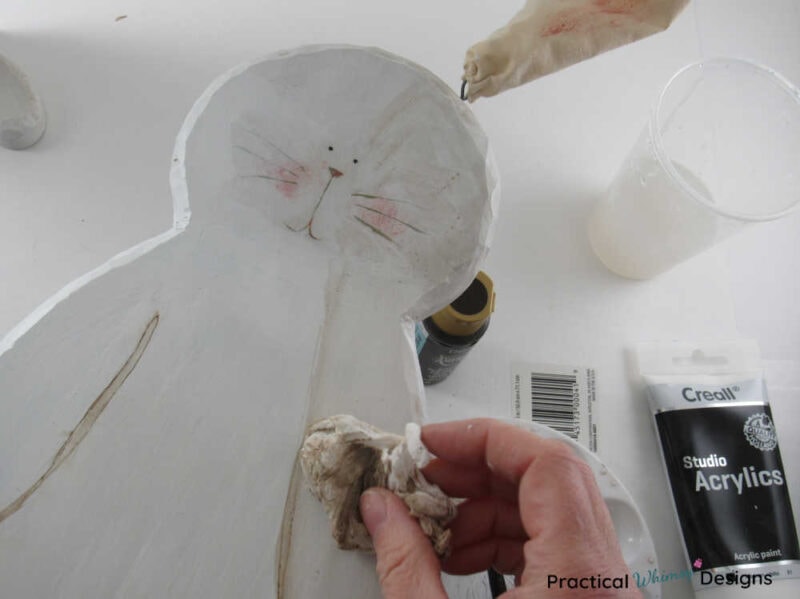
Keep painting and blending until all of the white is covered.
This technique worked great to blend the old paint I had left around the bunny’s face into the new paint.
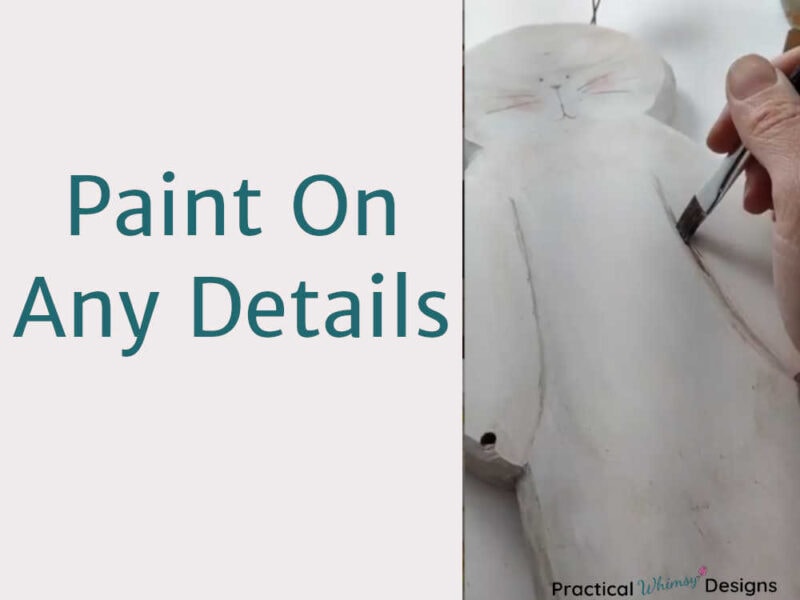
I then used more brown acrylic paint (not watered down) to paint my bunny’s arms.
Can you paint acrylic paint over spray primer?
Yes. I have not had a problem with it peeling off.
Step 4: Add on the details
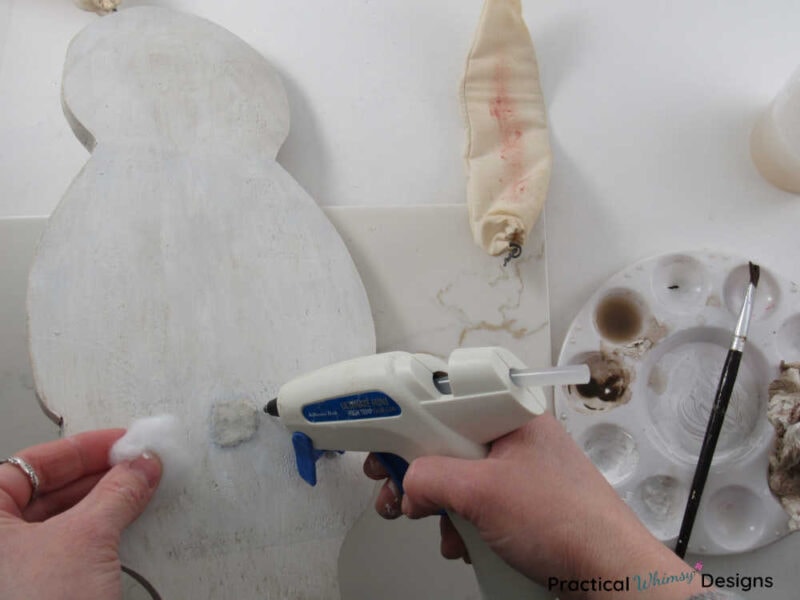
If your wooden decor has any fabric or other details, add them back on.
I put a new tail on my bunnies with a small chunk of quilting batting and a hot glue gun. I also glued the ears back on and tied their carrots back on.
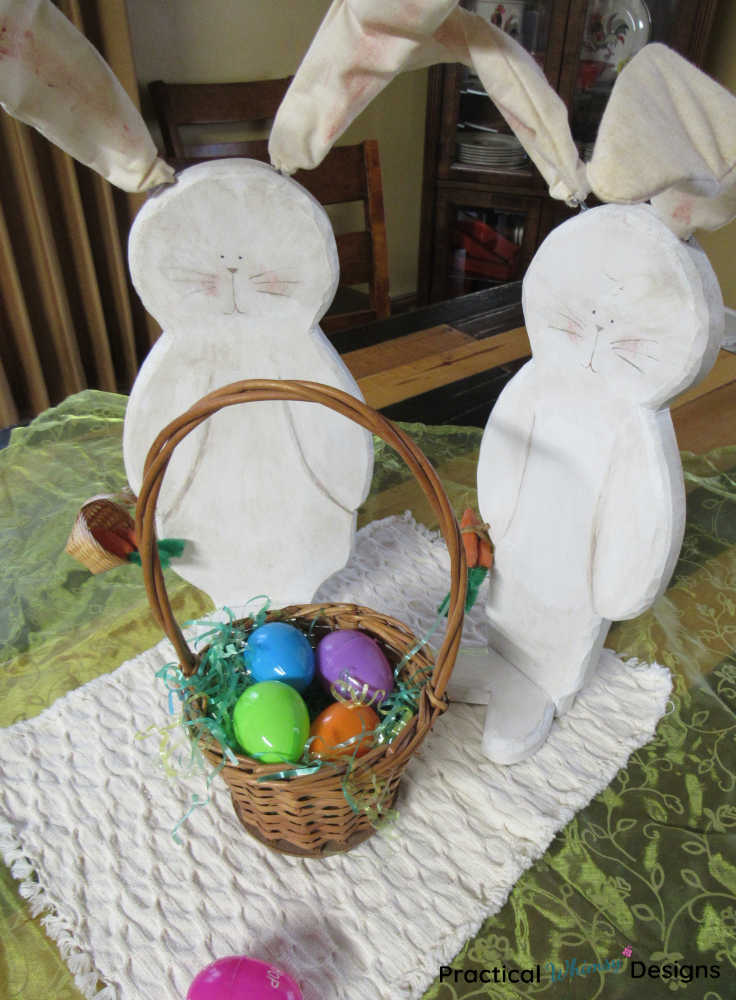
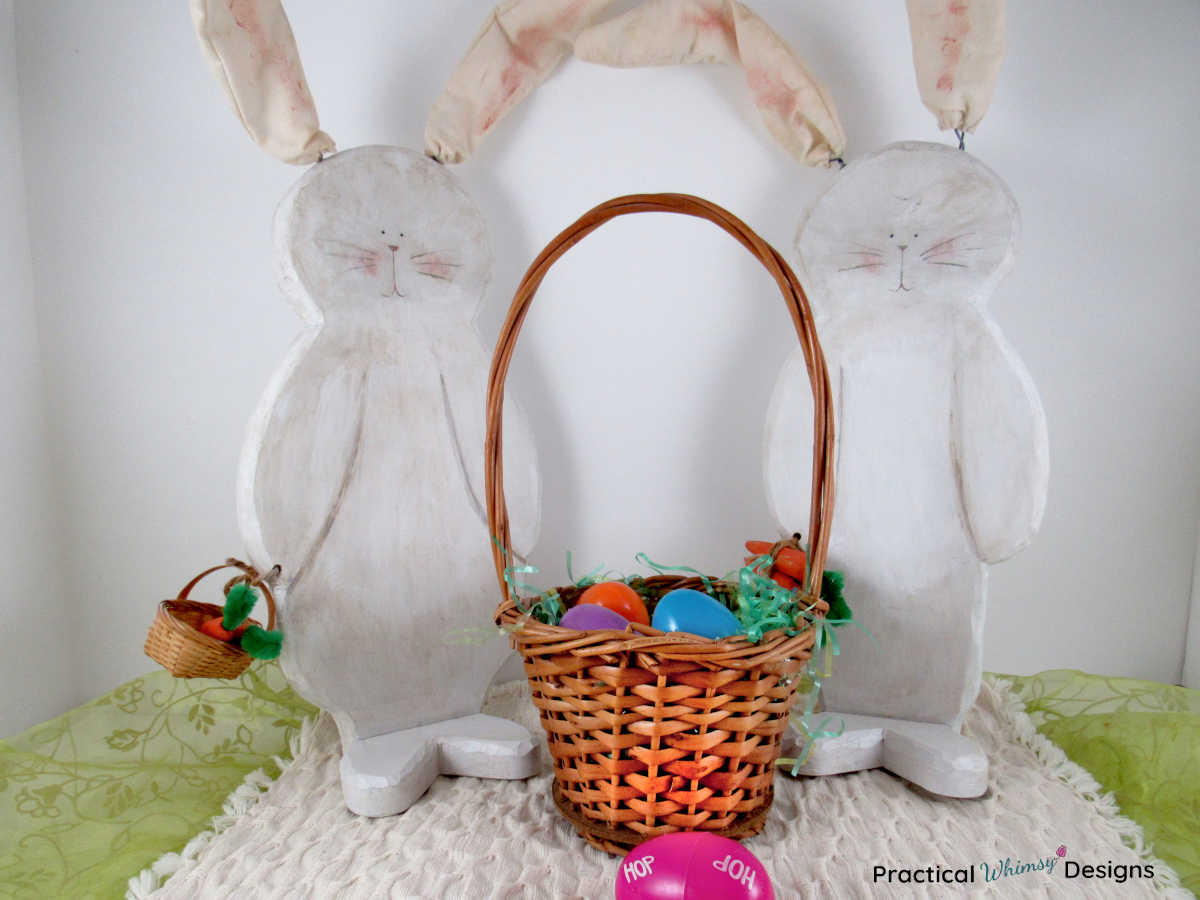
Wooden Bunny Decor
This wooden bunny decor was simple to upcycle and now graces my kitchen table.
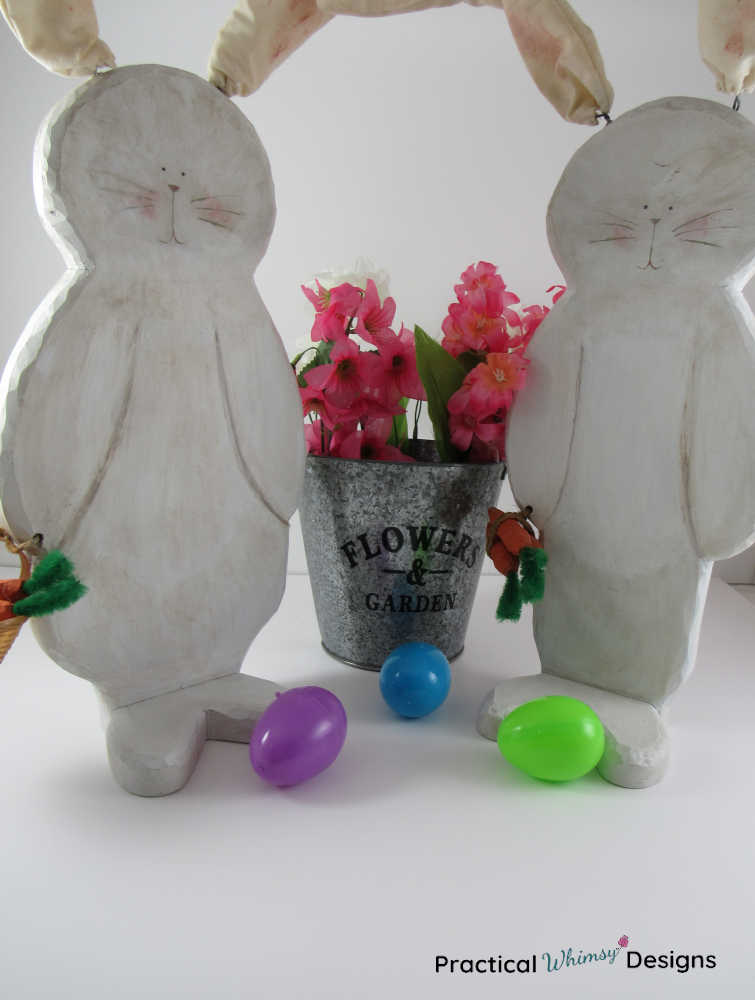
I love remaking things to fit my style and though I wasn’t so sure at first about these large wooden bunny decorations, I am so glad that I was able to give them new life with a little paint.
What about you? Have you ever tried your hand at an upcycled project? Tell me in the comments below.
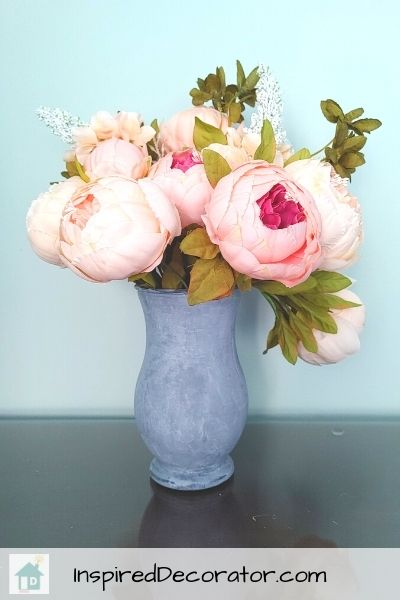
Before you head, check out the other Thrifty Thursday projects. Sara-Lynn from the Inspired Decorator teaches how to make a faux galvanized vase.
Want to remember this idea? Save it to a relevant board on Pinterest.
Want More Great Ideas? You Might Like These..


Are we friends on Instagram?
Follow @PracticalWhimsyDesigns to see more
behind the scenes projects


The bunny makeover turned out super cute! I love finding fun things at the thrift store to makeover. Makes for a super easy project 😊
Thank you! Yes! And it is so nice to be able to give it new life and a fresh start!
This turned out really cute! I love that you saved the original face while giving them a second life.
Thank you! I love how they turned out too and I’m glad I could keep their little painted faces.