Need to keep a post straight until your concrete has set? Here is a quick tutorial to teach you how to build an A-Brace to hold it up so you don’t have to stand there all night.
Brace yourself! What I’m about to teach you, is the fundamentals… the A B C’s of keeping a post straight. (I can hear the collective groan at my puns, but I couldn’t help myself.)
That’s right. These are the steps you will need to create an A-Brace for all of your construction projects.
And why is it called an A-Brace you might ask?
Because it looks kind of like an A. (I know! Super original, right? But why should it be any more complicated than that?)
Whether you are putting in a post for a deck, light post, pergola, etc. this tutorial will come in handy. No one wants to stand and hold a pole level all day. This basic A-brace will keep your post straight and true until your cement sets.
Steps to build an A-Brace
Step 1: Level out your post
Of course, the first step is to have a project that requires a level post.
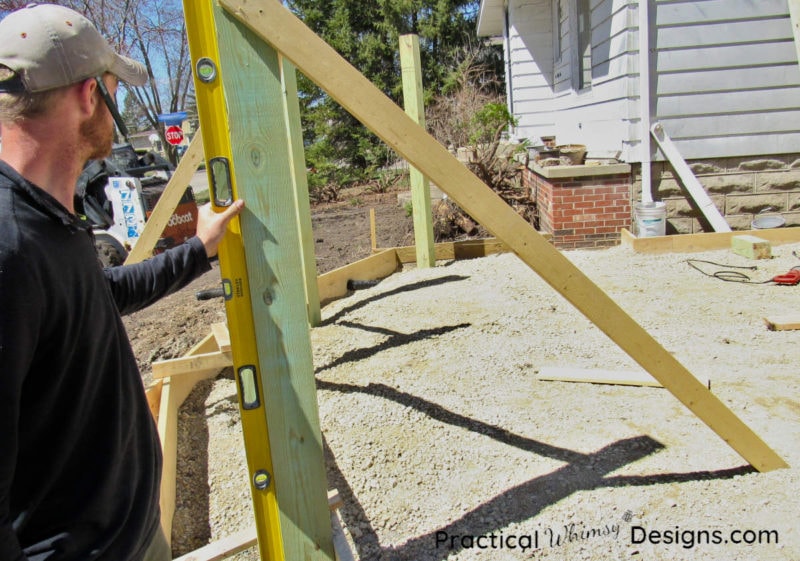
Once you do and your post is dug down into the ground, grab your 2×4’s. Use a level to make sure the post is.. well.. level.
Step 2: Build the A-Brace Sides
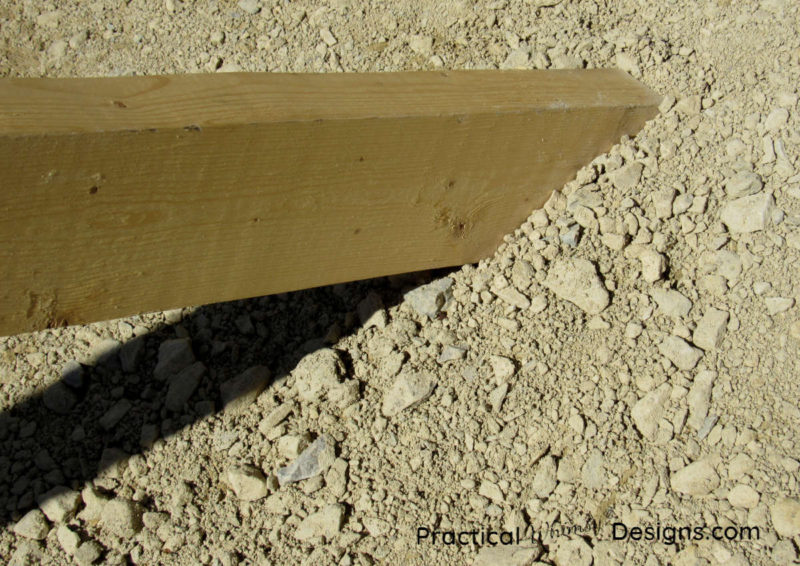
Jam one 2×4 into the ground at an angle.
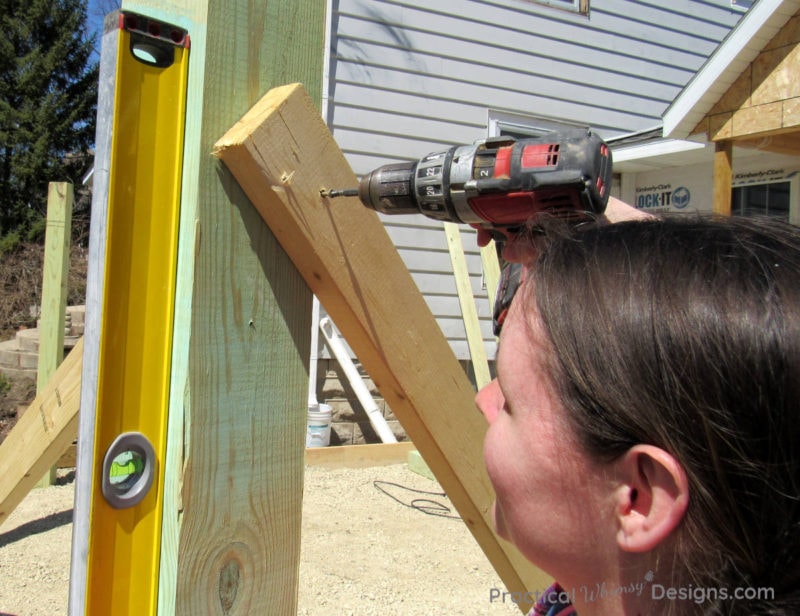
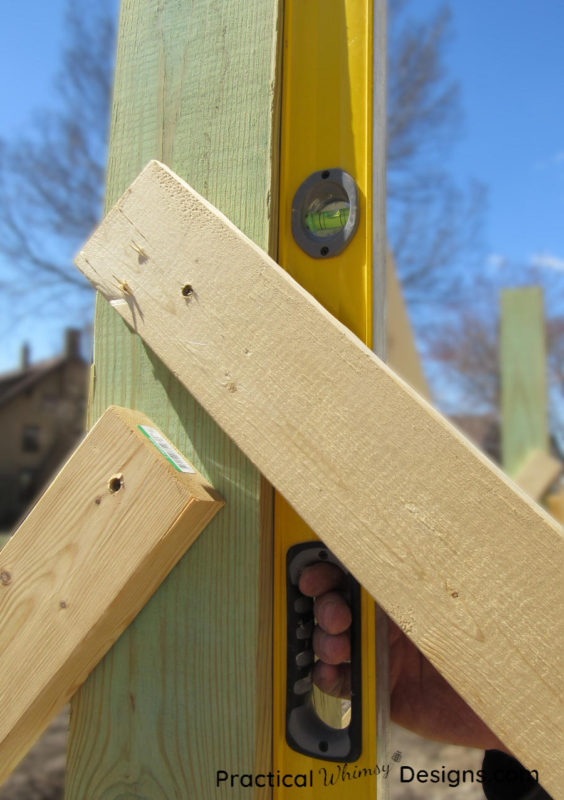
Screw the top into your post.
This is the first side of your A.
Now, check the post again with your level and adjust it to make sure it is completely straight.
Jam the second board into the ground at an angle on the opposite side of your first angled 2×4 to create the second side of the A. Screw the board to the post that you are trying to keep level.
Step 3: Add a Horizontal Board
Now, check the post one more time with your level to make absolutely sure everything is straight.
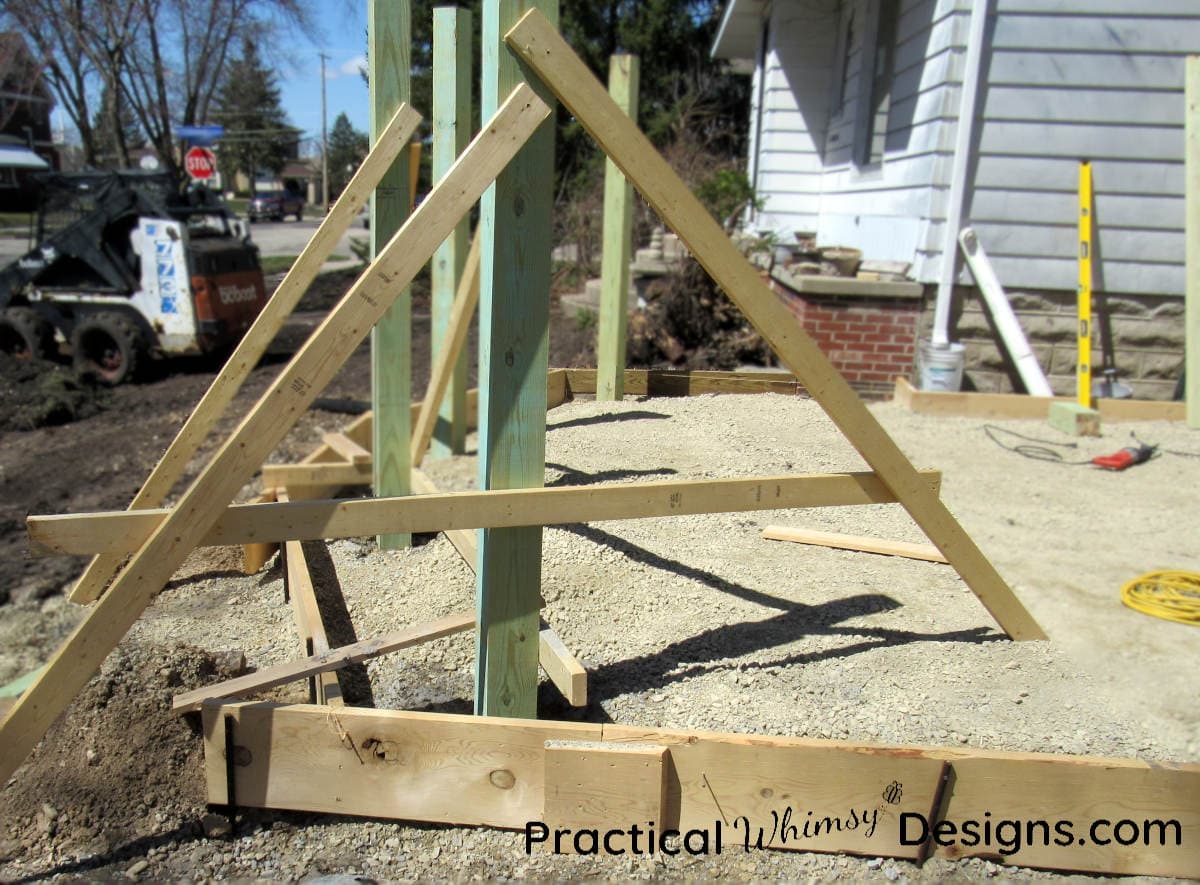
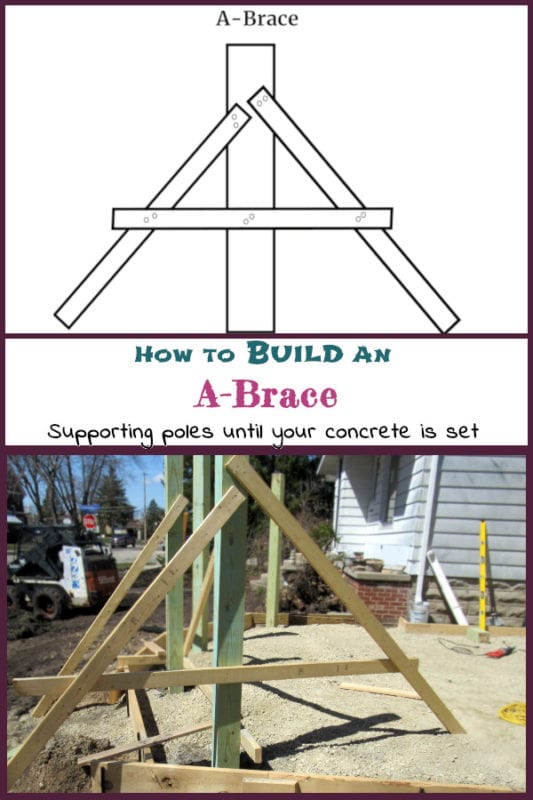
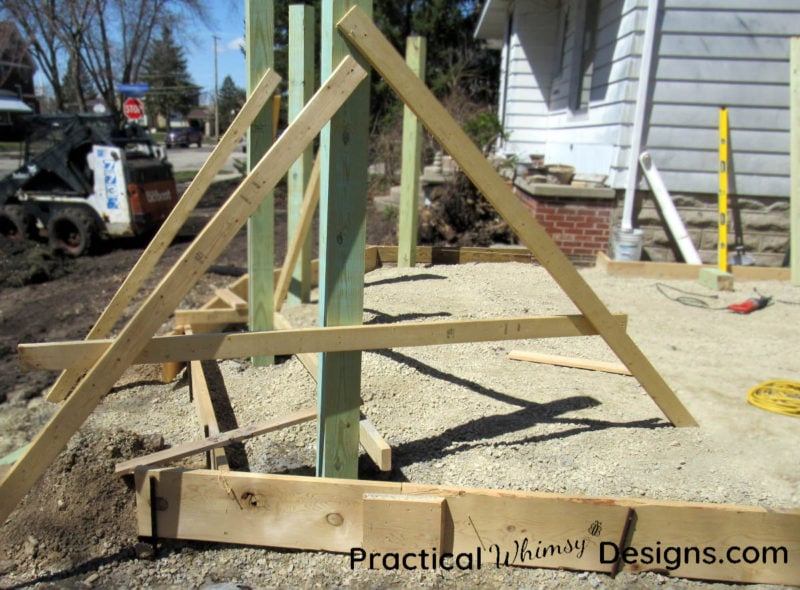
Take another 2×4 and screw it horizontally between the two angled supports of the A-brace. Also, screw it into the central post (the one you are trying to level). This will keep the two end braces (the sides of the A) from kicking out and creates a solid unit that will hold your post in place until your concrete base has set.
After You Build An A-Brace
Step back and check out your work.
This is what it should look like when you are done:
Here is more of a diagram if you need an uncluttered visual.
Important: This is an example of leveling out your post on one side. For example, if this is the North and South side of your post, you will also need to build an A-frame on the East and West side to level it out that way.
I hope that after this tutorial, you can confidently handle any pole that needs bracing.
Now, you can A-brace your next project with enthusiasm and finesse.

