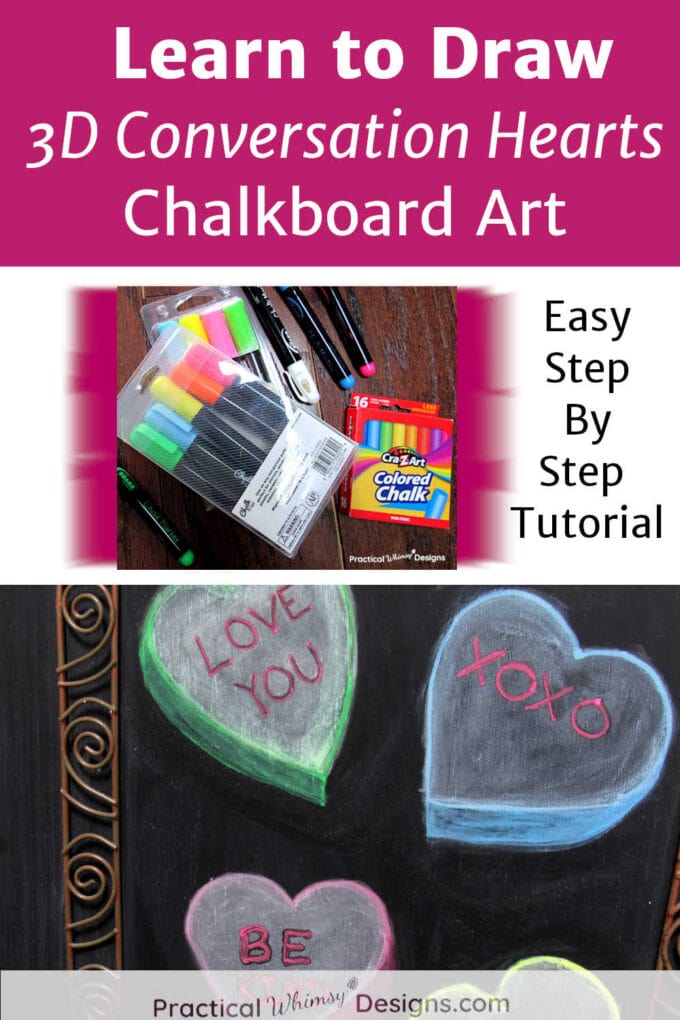
Looking for a simple craft tutorial for this Valentines day? Try your hand at drawing 3D conversation heart chalkboard art for an easy Valentine’s decoration.
Conversation hearts.
This classic treat is a tell tale sign that Valentine’s Day is approaching. There is something about these fun, sweet candy messages that add to the fun of February.
That is why, these cute hearts in pastel colors are the perfect way to add a Valentine’s themed decoration to your home.
If you are wanting an easy Valentine’s day craft to spruce up your home decor why not try your hand at creating your own chalk board art?
You don’t have to have crazy drawing skills to make your own chalkboard art. In fact, it is easy to erase and start over. And the art you create is easily changeable when a new season or holiday arrives.
This simple Valentine’s Day decor is a fun way to add some holiday art to your home.
Don’t have a chalkboard? Make a DIY chalkboard with this tutorial.
This post contains some affiliate links for your convenience (which means if you click a link and make a purchase I will earn a small commission at no extra cost to you). Please see my disclaimer page for more information.
Or click on the images to shop the chalkboard ideas below.

Ready to make some 3D art?
Follow this easy step-by-step tutorial and learn how to draw 3D conversation hearts to fill your empty spaces with a little Valentine’s Day cheer.
How To Draw 3D Conversation Heart Chalkboard Art
Materials Needed:
- Colored chalk
- Chalkboard markers
- Chalkboard
- Damp cloth or paper towel
- Heart stencils like these, optional
- Melamine sponge for cleaning the chalk markers off the chalkboard
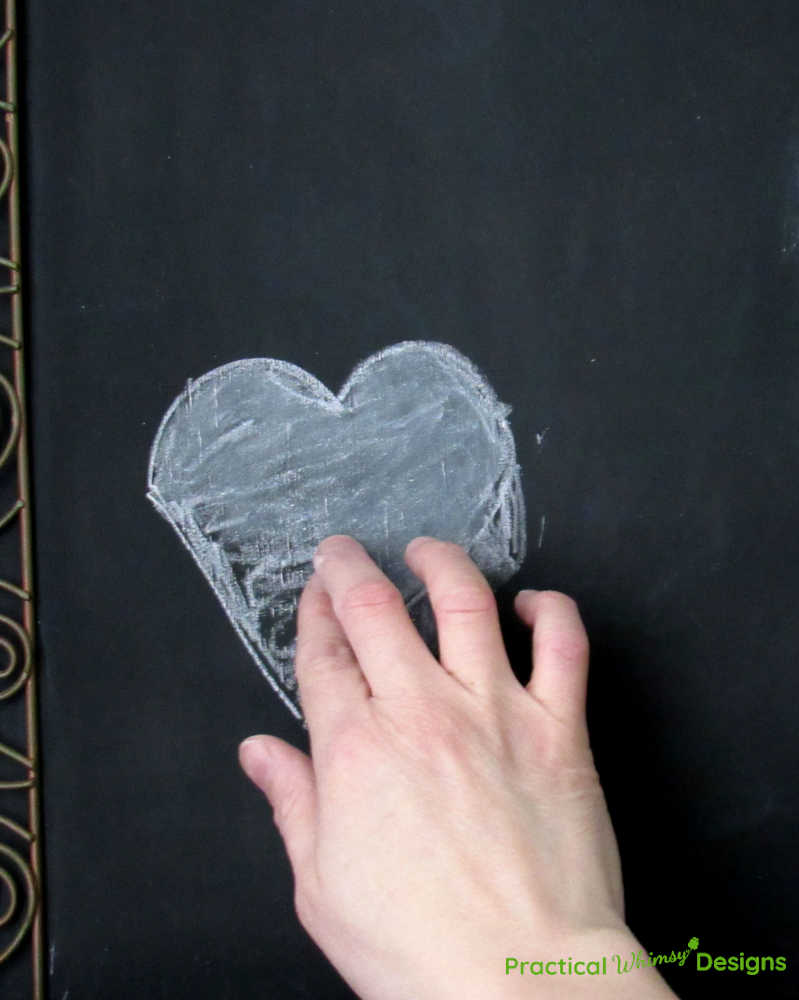
Step 1: Draw The Heart
Pick a place on your chalkboard and draw a heart shape.
Shade it in.
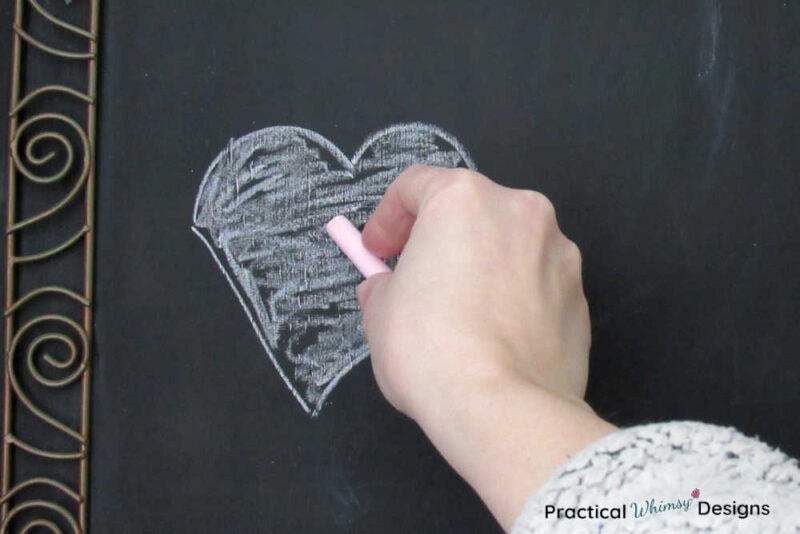
I like to use regular chalk for this because it is easier to erase if I make a mistake.
If you don’t want to free hand your heart, you can use a stencil or cookie cutter and trace around it.
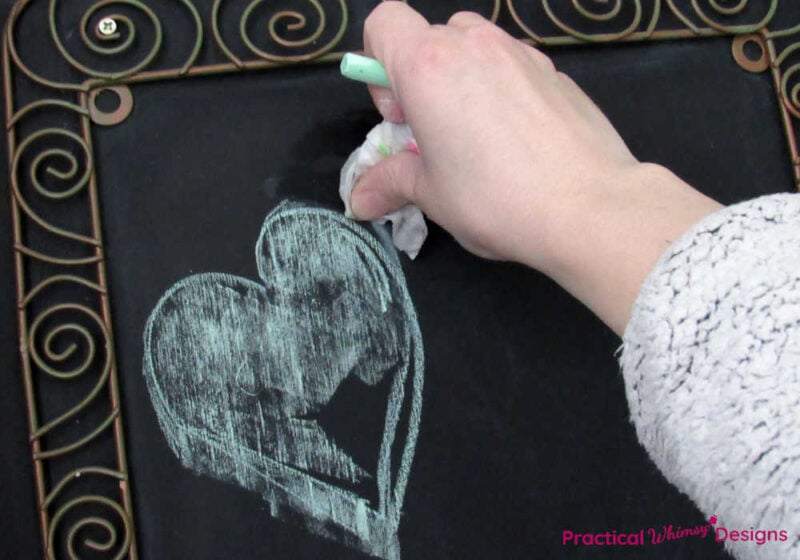
Step 2: Create The 3D Elements
An easy way to create the 3D element, is to flip your piece of chalk so that you are drawing with the rounded long side of the chalk piece. Line one tip of the chalk up with the pointed end of the heart and lay it on the edge of your heart.
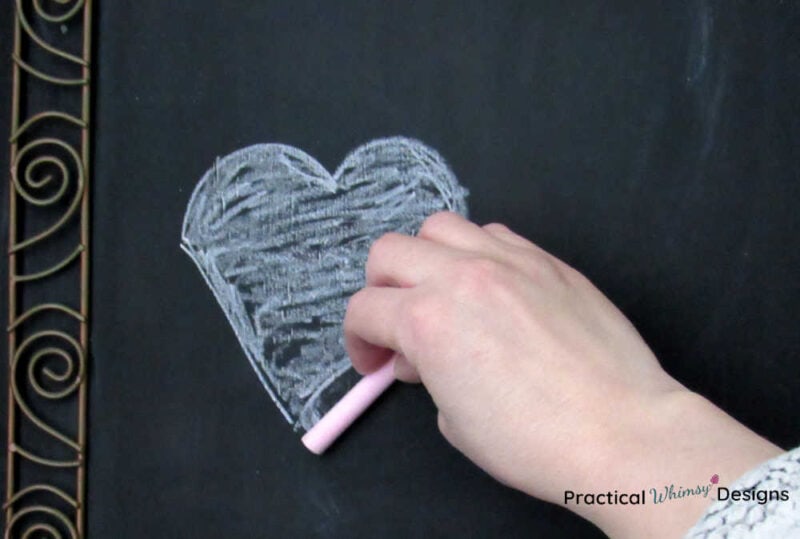
Pull the chalk down away from the heart about a half inch, drawing a shaded line on one side of your heart.
Now, connect the shaded half inch line to where your heart starts to curve up with a tapered line and fill that space in with chalk.
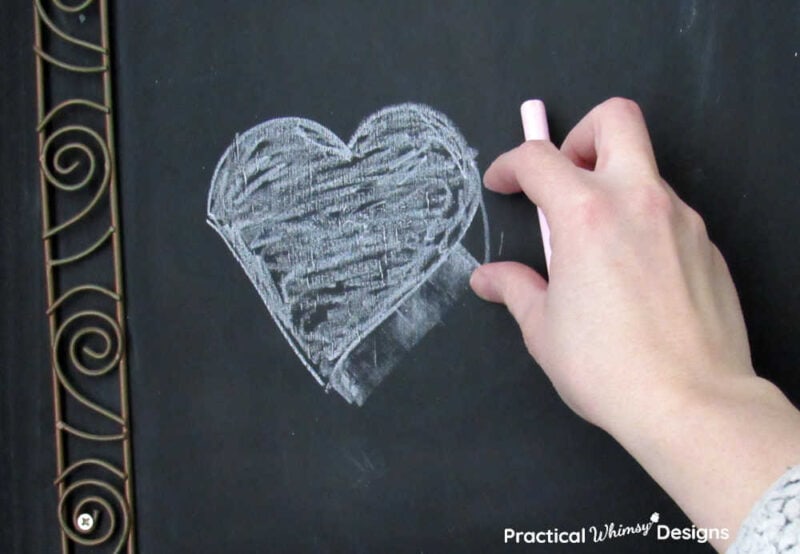
You should have a ‘shadow’ below your heart on one side.
Rub the chalk with your finger or a tissue until it is blended in.
Step 3: Use A Chalk Marker To Shade and Outline
Use a chalk marker that is the same color as the chalk you used to draw your heart, to draw an outline around your heart. (For example, if you drew a pink heart, use a pink marker.)
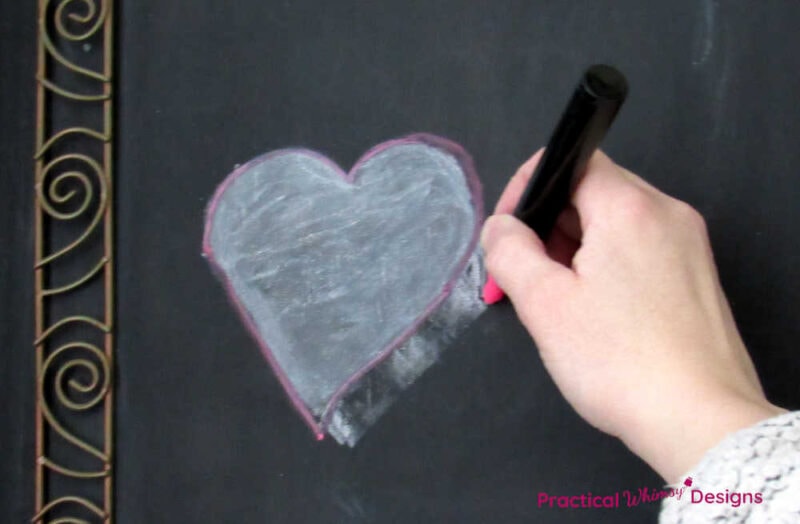
Color in the shadow you just drew on one side of your heart with the marker.
If you don’t want your chalk marker to be as bright on your shadow, blend it in with a tissue.
You can also use a piece of regular chalk and draw over the chalk marker if you don’t want the line to be quite as defined. Blend it with your finger or tissue.
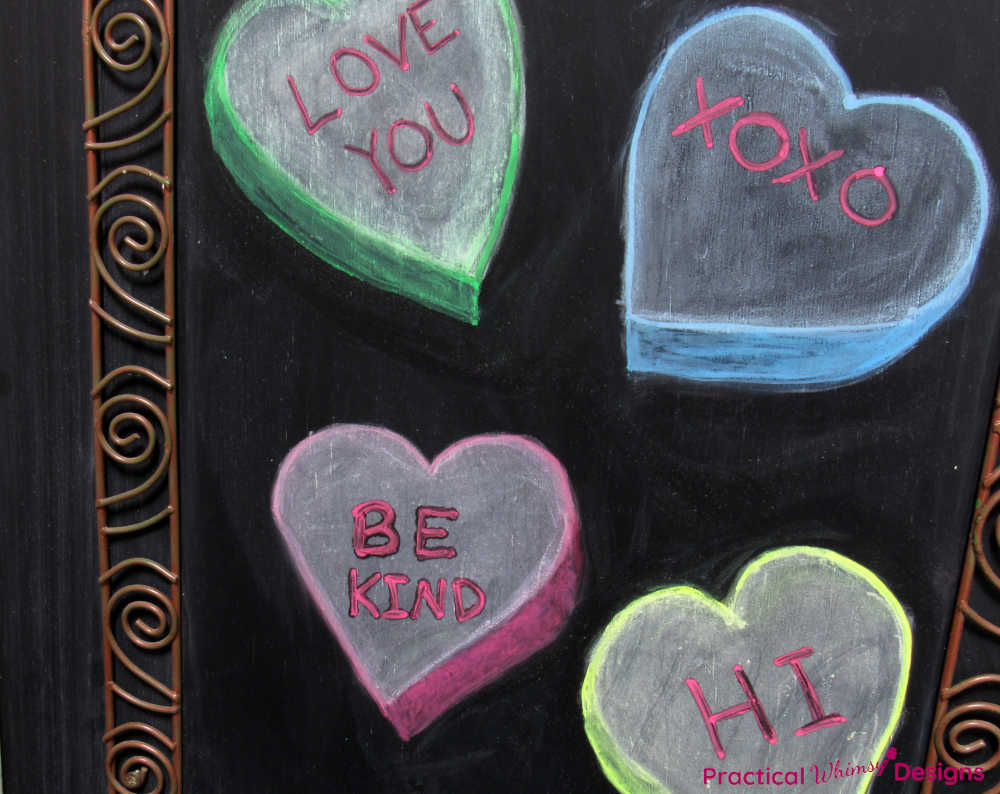
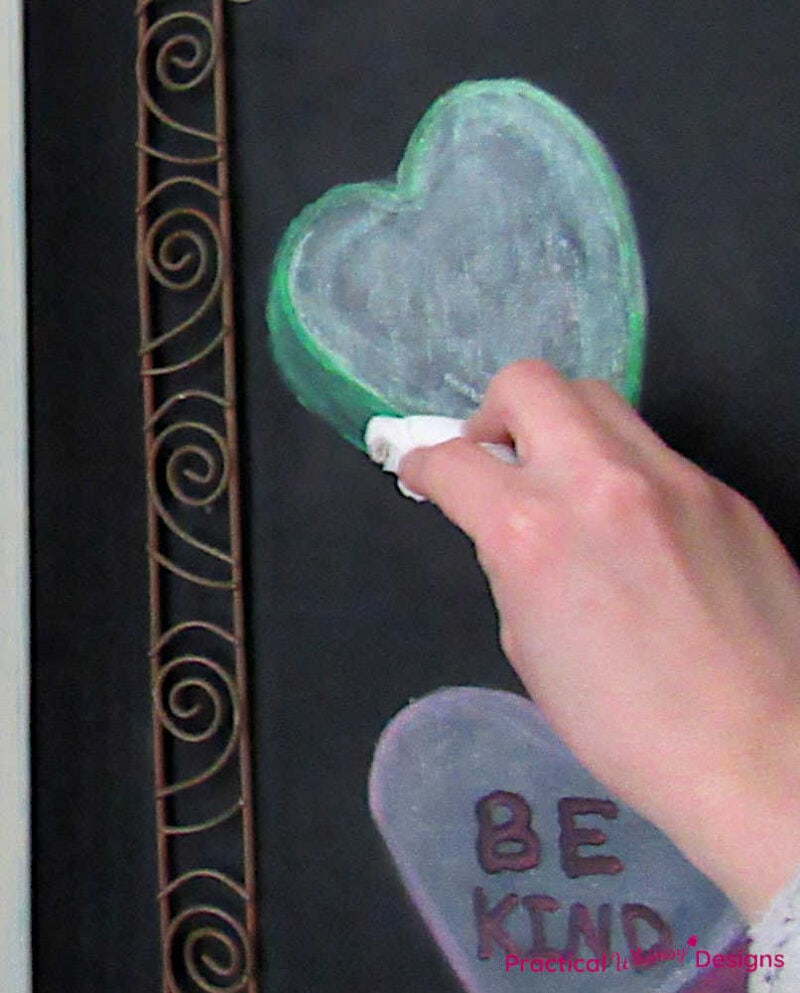
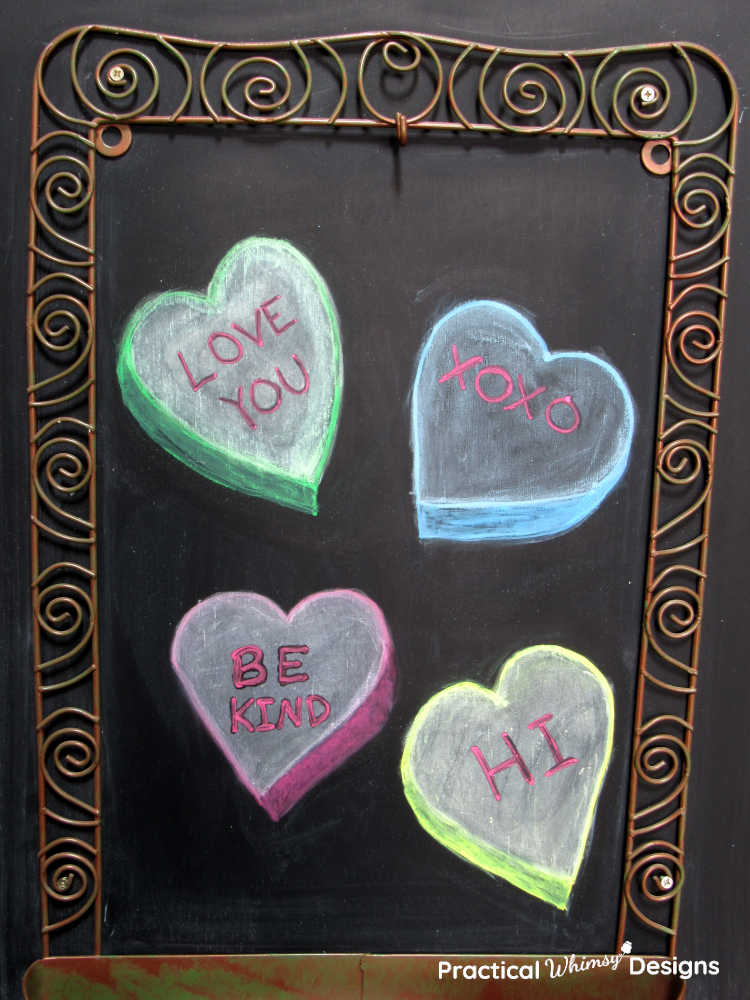
Step 4: Add A Message To Your Conversation Hearts
Grab a pink or white chalk board marker and write a sweet message on your chalkboard candy hearts.
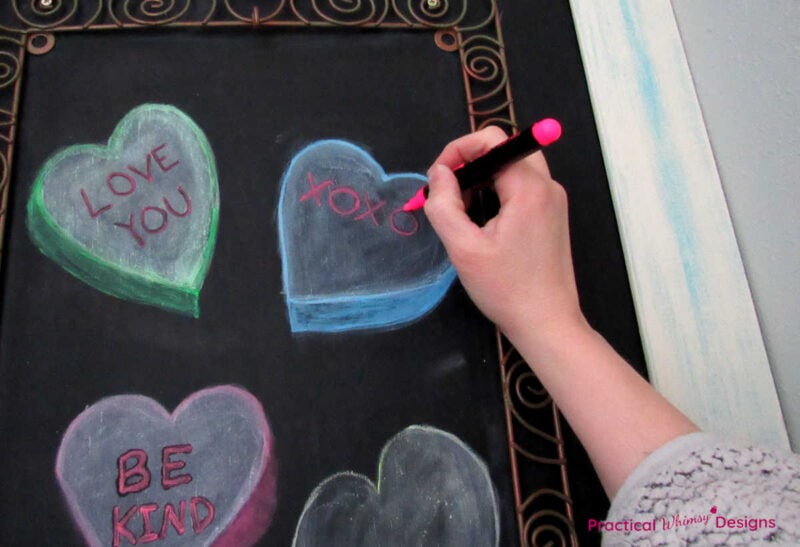
Repeat steps 1-4 and create hearts in different shades and colors to make a beautiful chalkboard art piece. Write a different message on each heart.
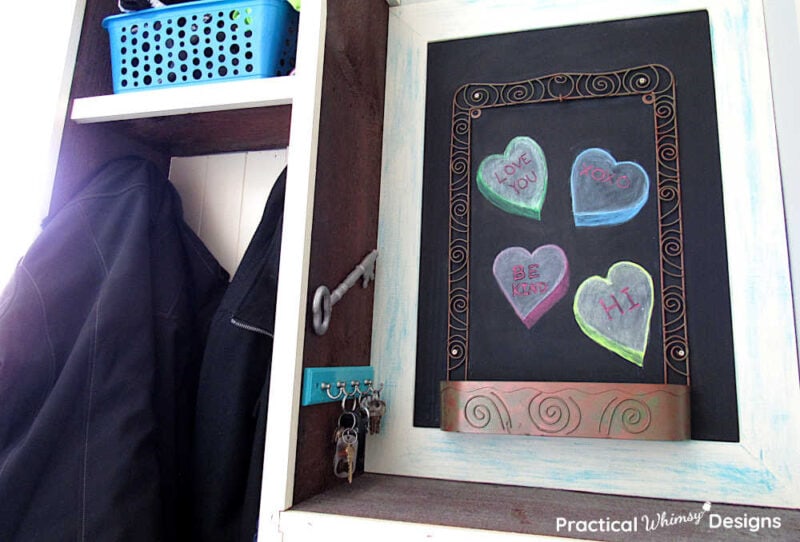
Set the chalkboard in your living or dinning room or anywhere you need a little Valentine’s Day art in your home. I keep mine in my mud room as a fun way to welcome everyone as they walk in the door.
What Kind Of Chalk Should You Use To Make Chalkboard Art?
I love mixing both regular stick chalk and chalk markers.
Combining the two provides a better way to blend colors and add depth to the art.
If you only want to use one or the other, don’t color the top of the heart. Only draw the outline and shade in the side shadow on the heart. That way your heart’s message will be easier to see.
How Do You Get Chalk Marker Off Of Your Chalkboard?
If you make a mistake, use a piece of damp paper towel or cloth to carefully wipe it away. Chalk markers are easily cleaned with water if you wipe them up immediately.
However, if your chalk marker art has sat on your chalkboard for a while, it is a lot harder to remove.
The best method I have found to clean a chalkboard is with a melamine sponge. Just add a little water onto the sponge and the sponge washes your chalkboard marker art right off.
Want more chalkboard ideas? Learn how to create spring themed chalkboard art and get a free svg file for a stencil here.
Can You Use This Tutorial to Make 3D Conversation Hearts on Paper?
Yes. Use these same steps to create 3D Conversation Hearts on a piece of paper, using colored pencils, oil pastels, or markers.
- Draw the heart
- Shade it in with your pencil.
- Shade in a half inch line down from the point of the heart and then draw a tapered line up to the curve of the heart.
- Fill the shaded area in with your pencil, oil pastel, or marker.
- Draw a marker line, oil pastel line, or darker pencil line around the edge of the heart.
- Write a fun message in the 3D heart.
This is a fun classroom craft tutorial as well.
Or you can make homemade Valentine’s Day cards with this cute design. Add a box of candy conversation hearts to your cards and they are sure to be a hit. If you are looking for another Valentine’s Day card idea, check out these DIY scratch art cards.
Want cute printable art for Valentines Day? Sign up for my newsletter and gain access to my free resource library, available only to my newsletter subscribers.
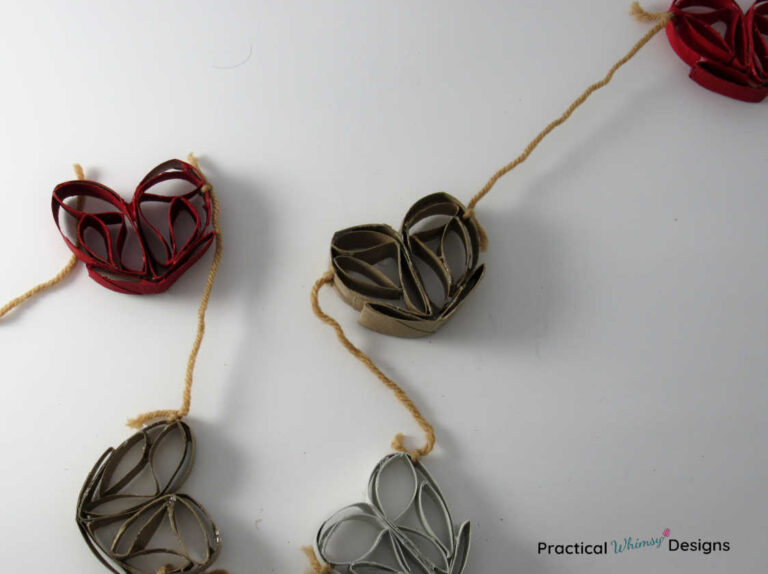
Need more Valentine’s Day ideas? Take a look at these fun crafts and decor, perfect for your Valentine’s Day activities.
Want More Great Ideas? You Might Like These..

Want to remember this conversation heart chalkboard art idea for later? Save it to your favorite decor board on Pinterest.


Are we friends on Instagram?
Follow @PracticalWhimsyDesigns to see more
behind the scenes projects