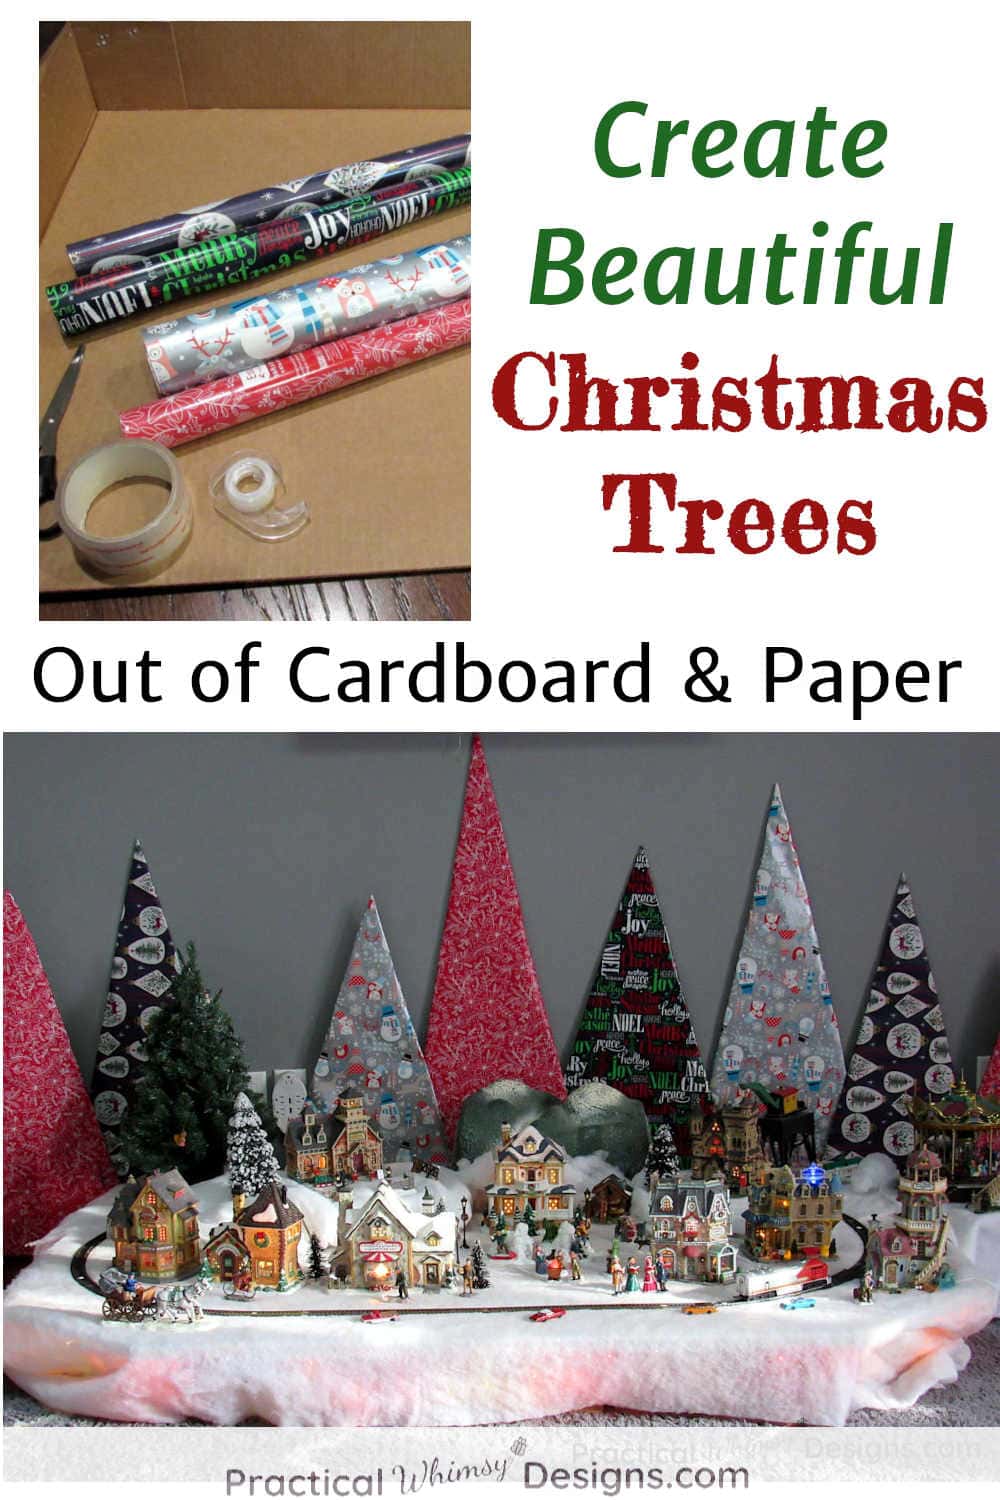
Have a blank wall in need of a little Christmas cheer? Make these simple cardboard Christmas tree decorations to add a pop of color to your decor.
This year I had a problem. It was a good problem, but one that needed a solution. You see, we haven’t been able to decorate our house for Christmas in two years because of all of our remodeling projects.
We finally have our family room remodeled enough to get serious about the decorating. However, with a new space comes the challenge and fun of new decorations.
Perhaps you are in the same boat. Maybe you have a new space to decorate, or are in need of a simple and cost effective change to your holiday decor.
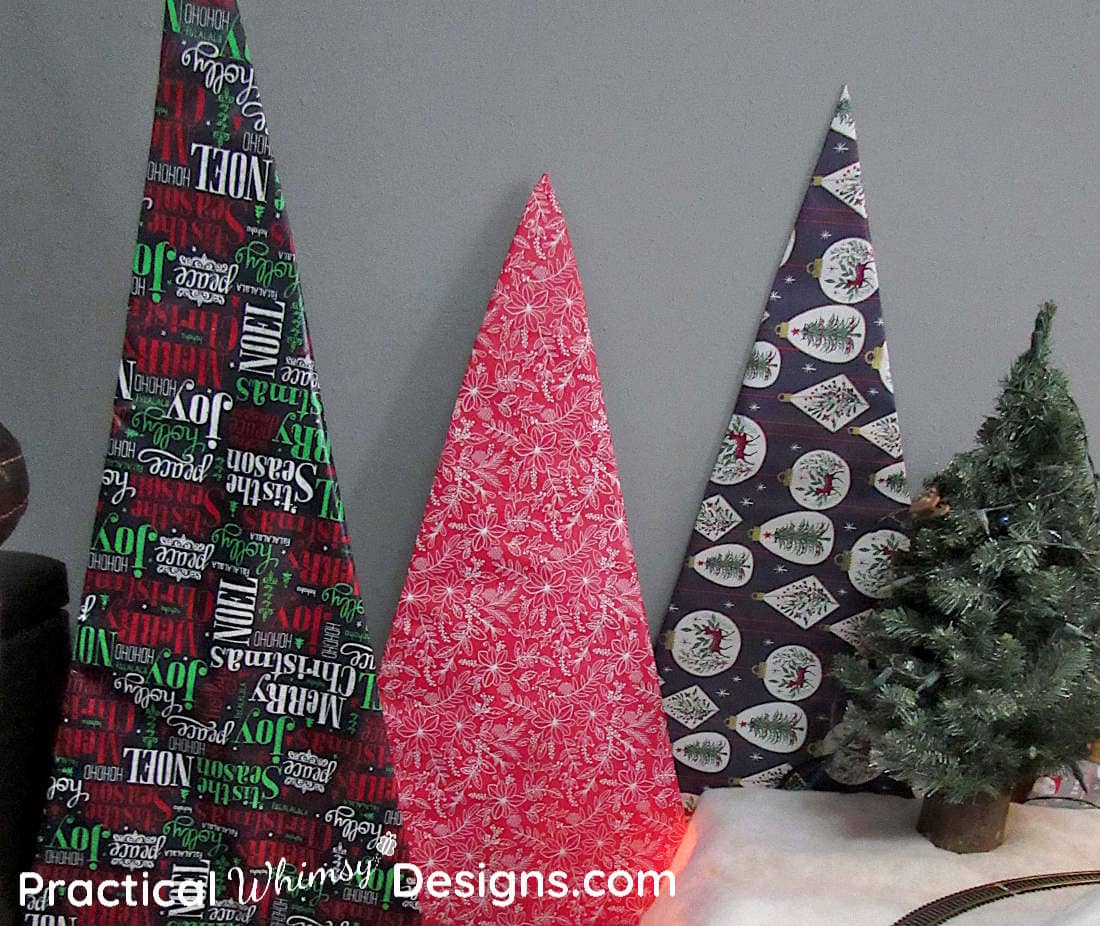
These cardboard Christmas tree decorations are simple, yet add so much fun color.
This post contains some affiliate links for your convenience (which means if you click a link and make a purchase I will earn a small commission at no extra cost to you). Please see my disclaimer page for more information.
Materials You Need:
- Wrapping Paper (I used Christmas wrapping paper I already had on hand, though I think this plaid wrapping paper I found is really cute too)
- Cardboard
- Clear tape
- Scissor or box cutter
- Pencil
- Measuring tape
Steps for Making a Cardboard Christmas Tree
Step 1: Measure and Mark
Determine the height of the Christmas tree by measuring along the wall where you are planning on decorating. If you are going to make multiple Christmas trees like I did, it looks best to vary the heights of the trees. Start with measuring the tallest tree.
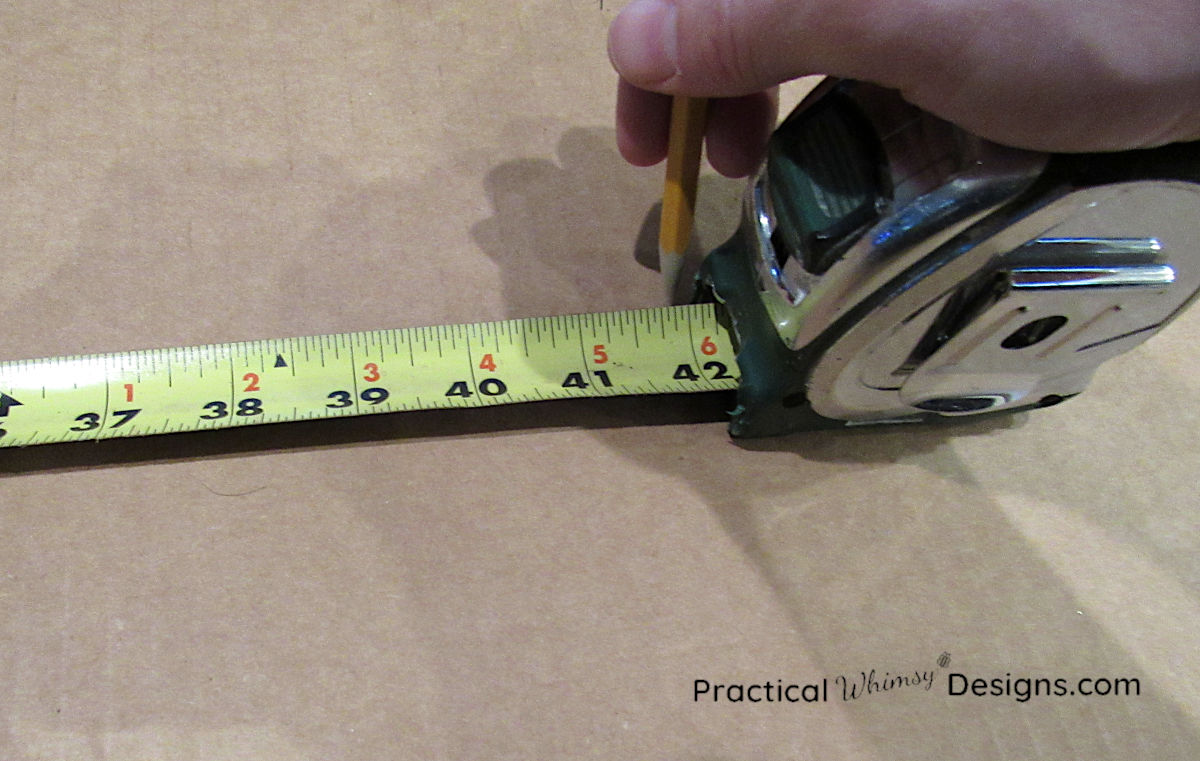
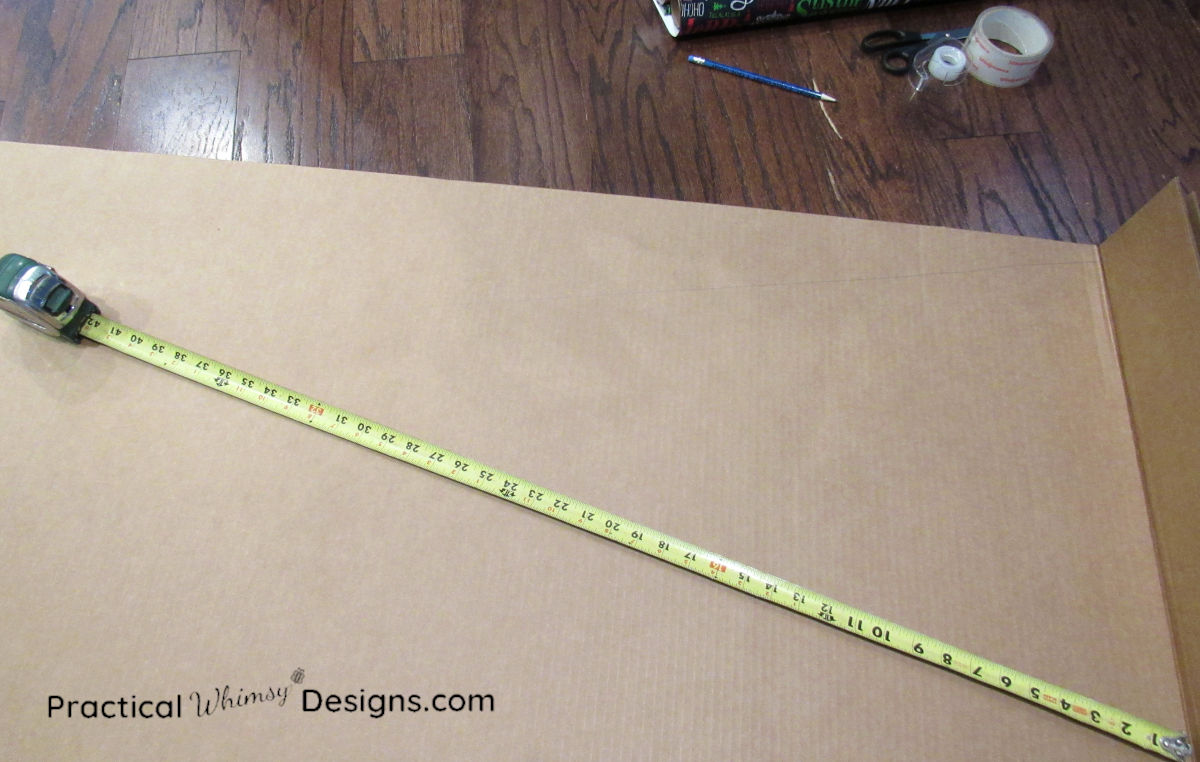
Mark the bottom and the top of the Christmas tree on your cardboard with a pencil.
Use a straight edge to draw your triangle on the cardboard.
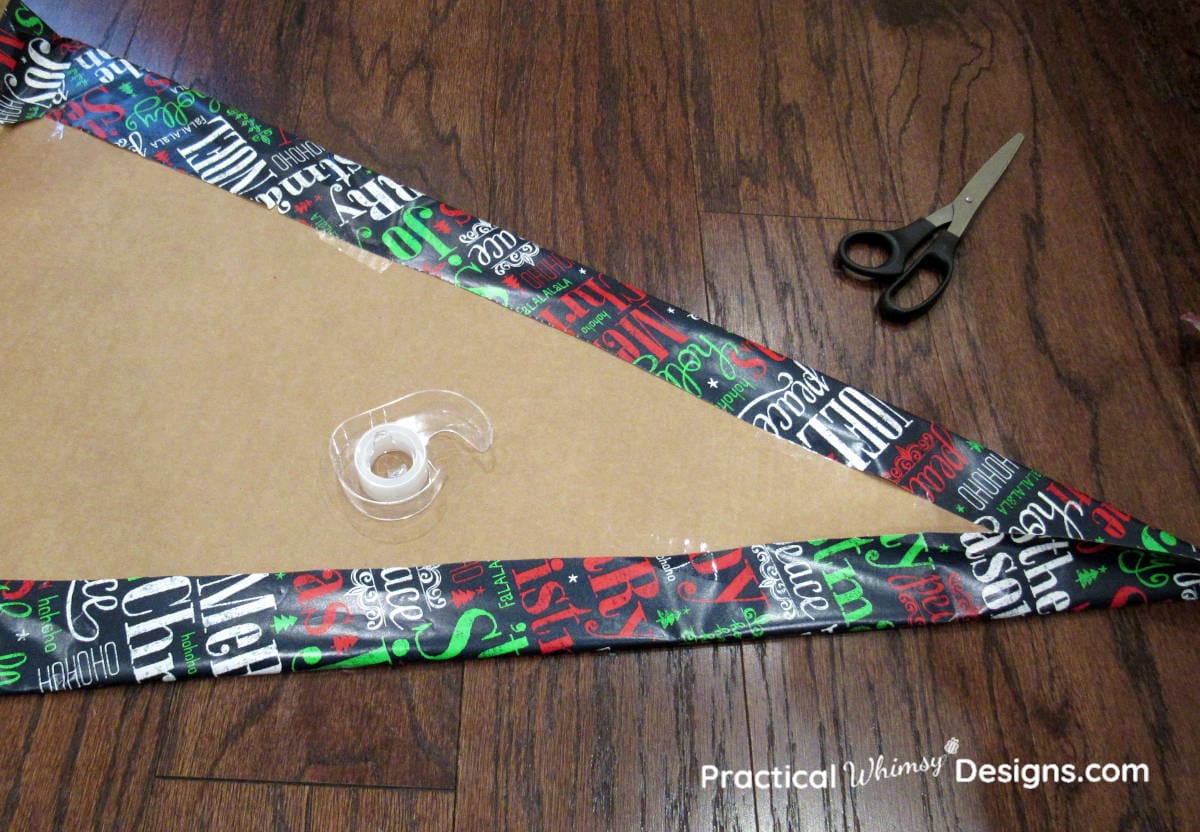
Step 2: Cut out and wrap
Cut out the triangles using a box cutter or scissors.

Lay the triangle on a piece of wrapping paper and cut out enough to wrap around the back at least an inch.
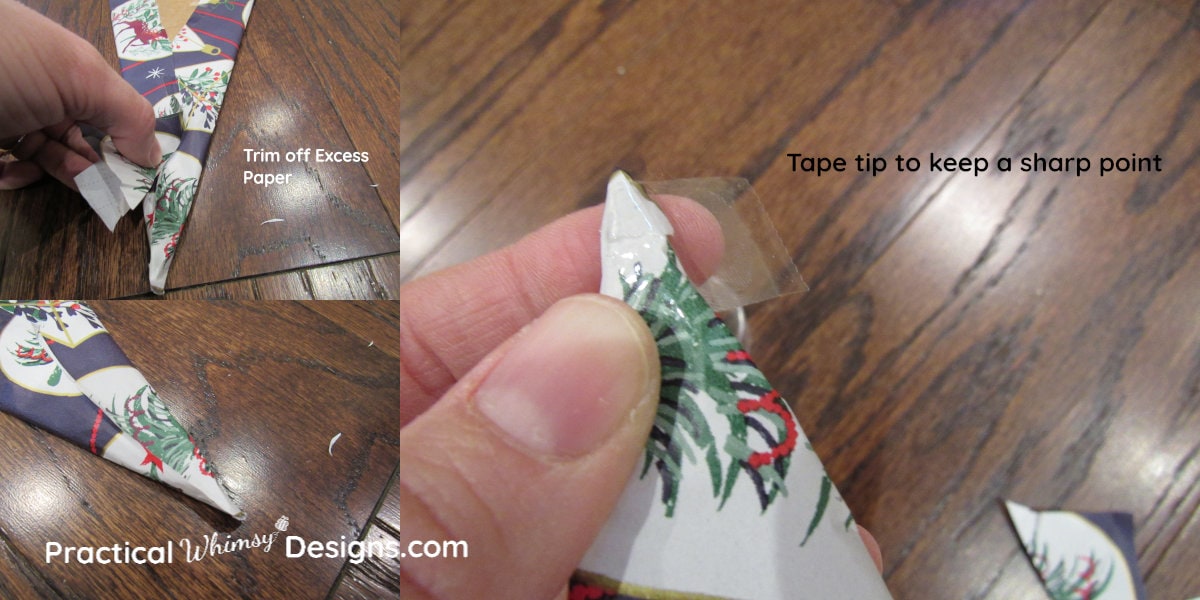
The trickiest part to wrap is the tip. The best way I found to get the sharp point at the end was to:
- Fold both sides of the tip one way.
- Trim off the excess paper.
- Tape the tip to get the sharp point.
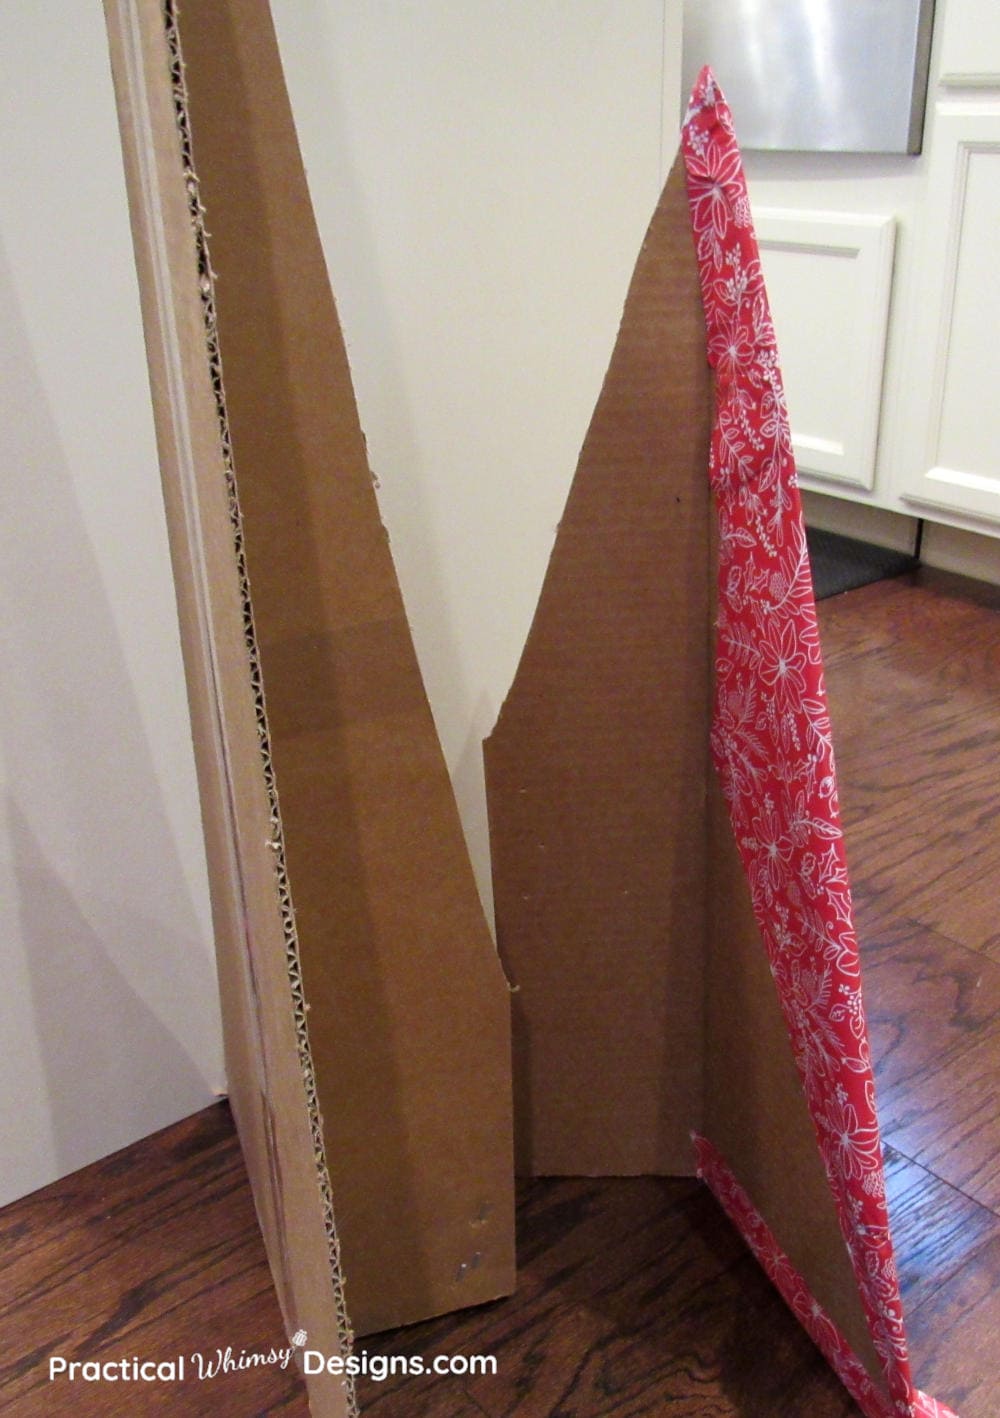
Step 3: Make a stand (optional)
If you are planning on having the tree stand away from the wall, you will need to make a cardboard stand. Cut a piece of cardboard at least 3-4 inches wide and attach it to the bottom of the tree like a T stand. To keep your tree steadier, your stand should be cut in a triangle shape that tapers off at the top.
I made these to go behind our Christmas village this year under our TV.
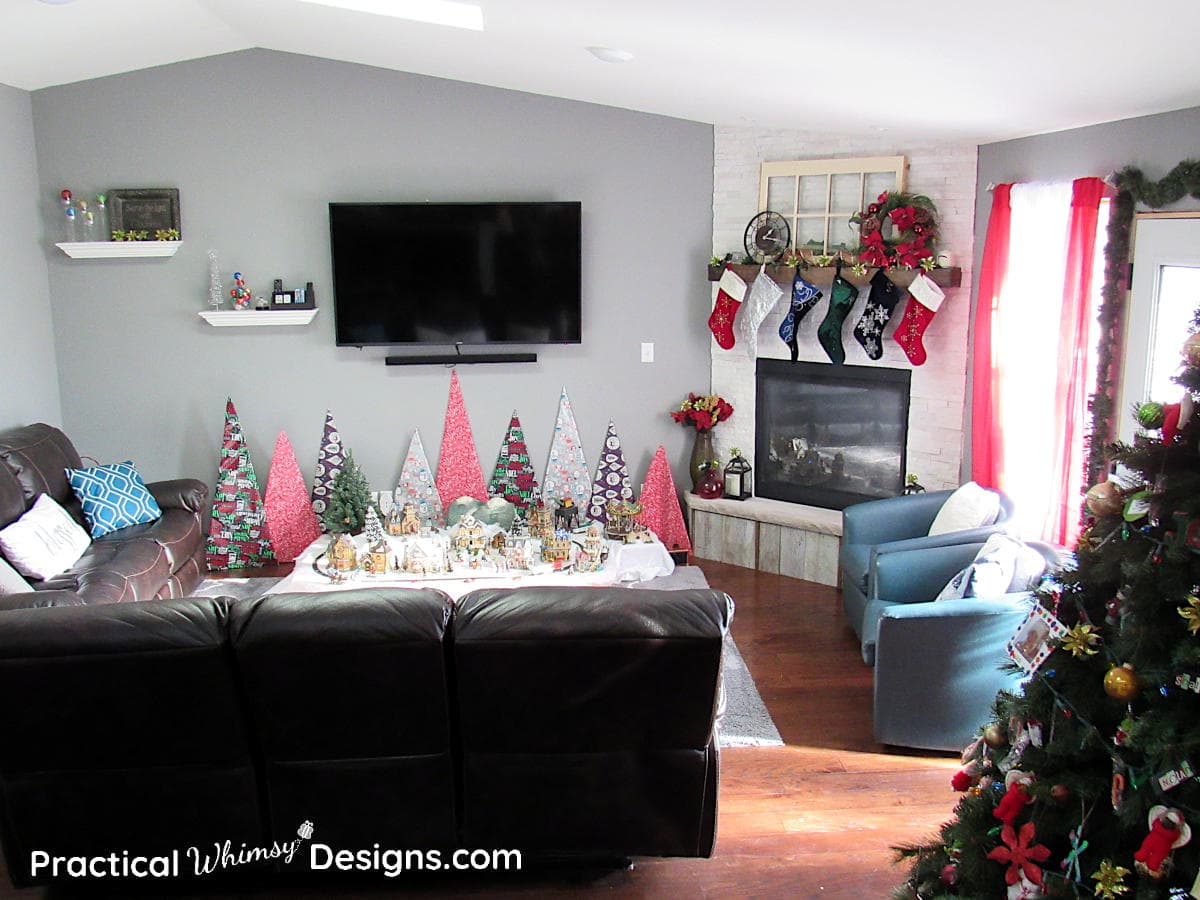
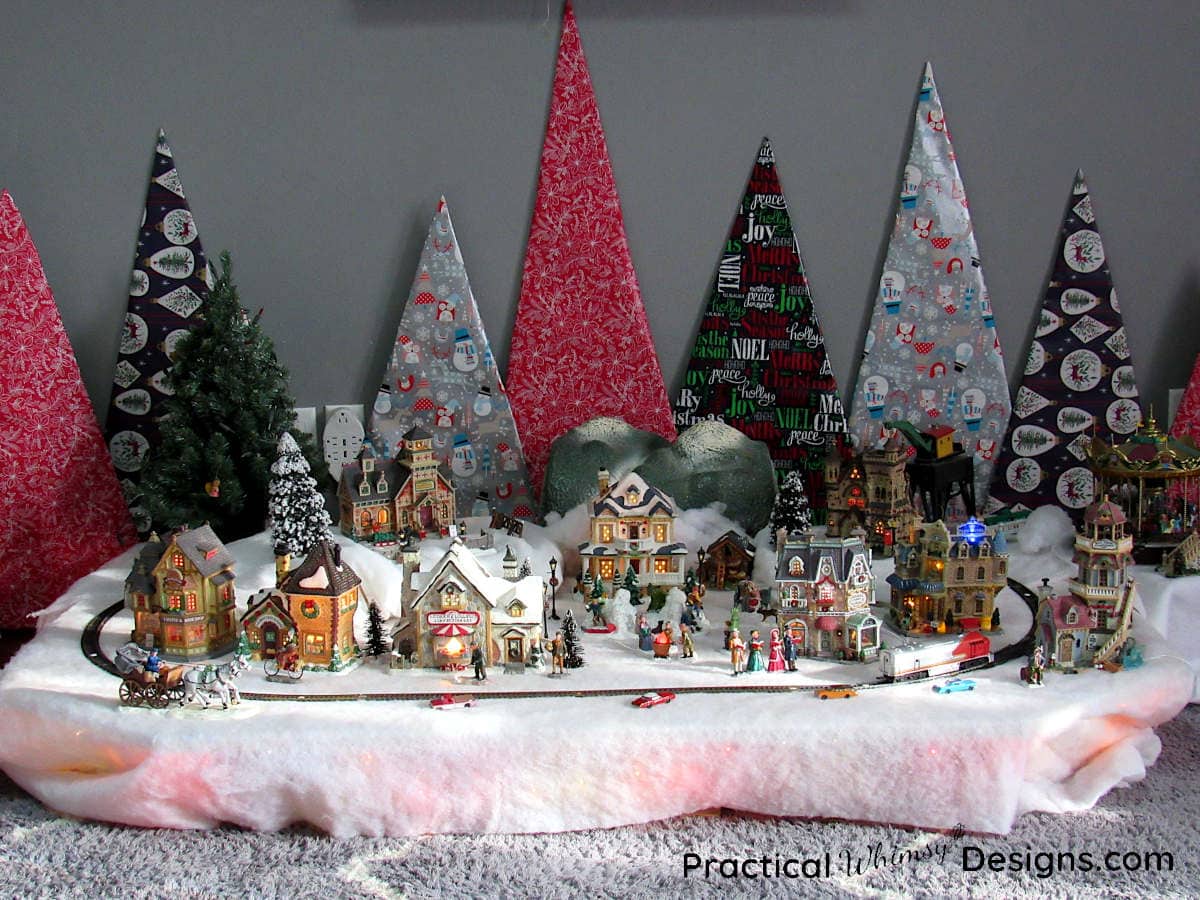
I love how they add so much color and yet are so simple. They are the perfect Christmas back drop for the village and yet they don’t detract from the beauty and detail of the houses.
I hope that I have inspired you to try out this new and easy Christmas decor. Let me know where you have tried them.
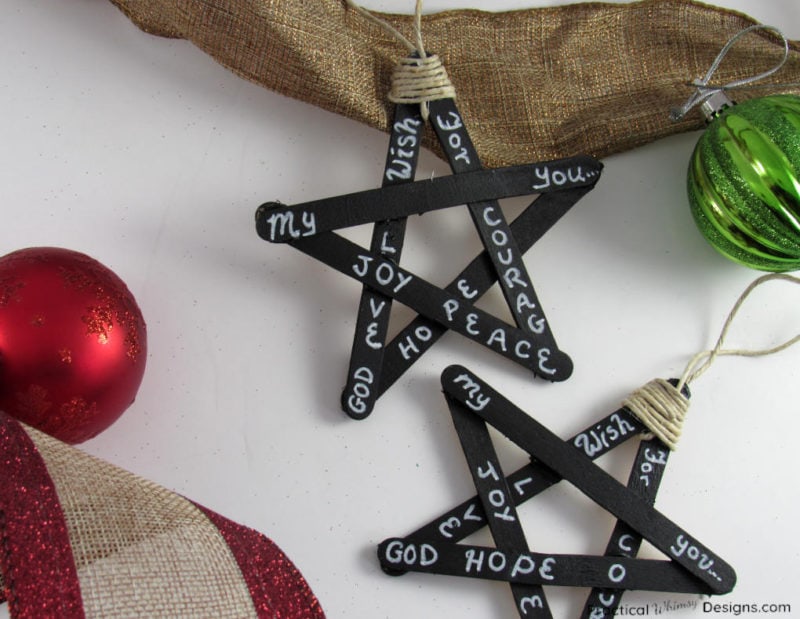
Need a simple idea for a DIY Christmas ornament? Try making these blackboard star Christmas ornaments for your tree.
Want More Great Ideas? You Might Like These..


Are we friends on Instagram?
Follow @PracticalWhimsyDesigns to see more
behind the scenes projects