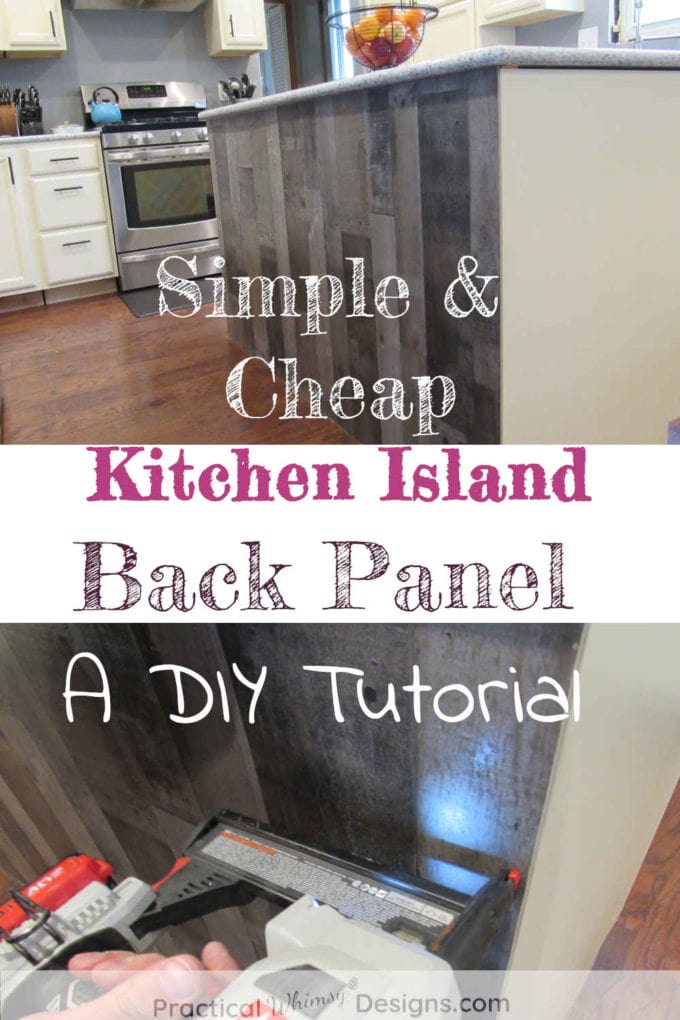
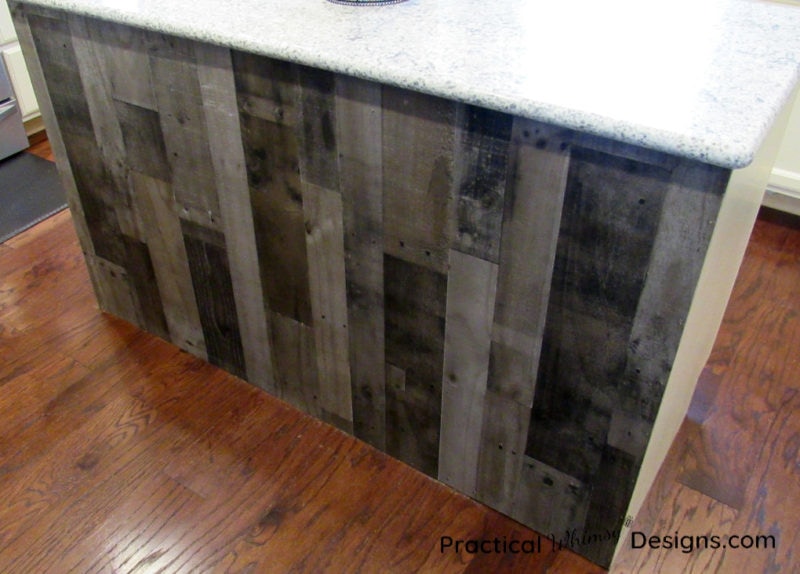
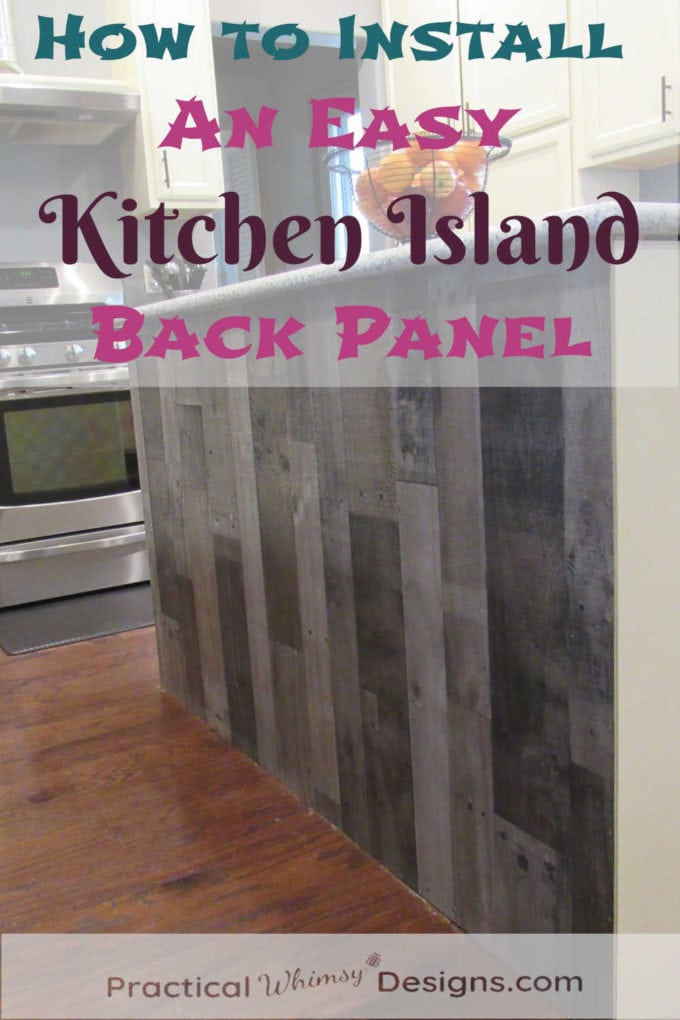
Not sure what to use for your kitchen island back panel? This cheap and simple idea is a quick way to add detail to your kitchen island.
I swore I would never do it!
After all of the paneling we have had to rip out of our houses, there was NO WAY I was EVER going to put it in my house. That is, until my husband brought home some paneling to use as a cabinet back for our two kitchen islands.
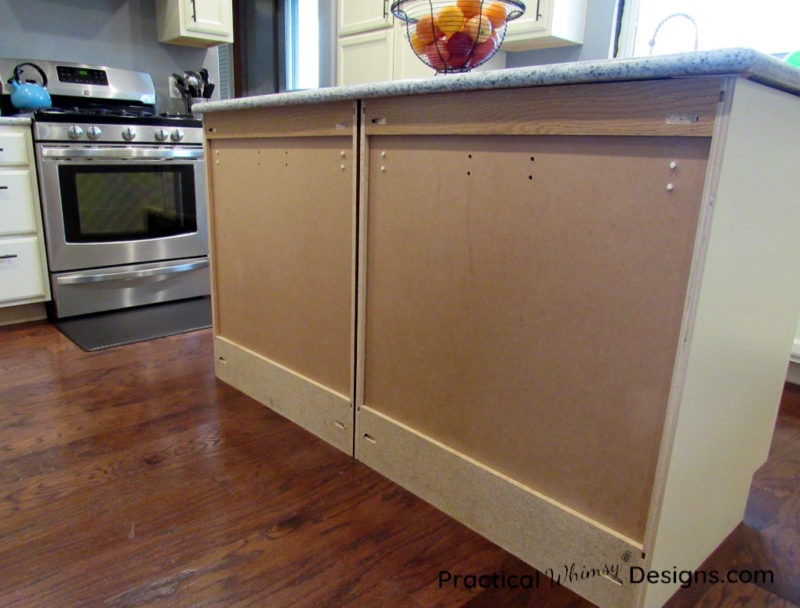
We had been wrestling with multiple kitchen island back panel ideas and couldn’t settle on something. As a result, our cabinets had sat without a cabinet back for over a year.
That’s when my hubby arrived with these panels. I still wasn’t completely sold. Something about the word “paneling” was an immediate turnoff for me. But his argument that it was cheap and easily replaceable if we found something better, convinced me to try it.
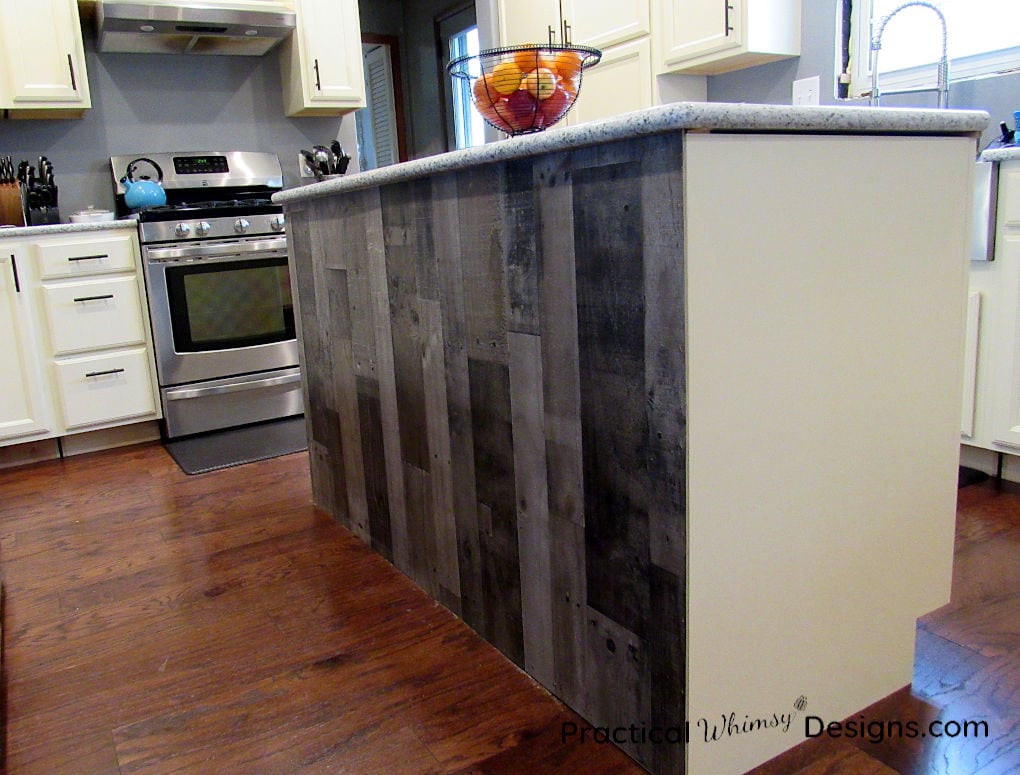
And I am honestly super glad that I said yes. It took less than 30 minutes to install and was less than $40 for both islands. And even though it is paneling it looks surprisingly good.
So, if you are on the fence about what to do with your kitchen island back panel, I encourage you to take a look at paneling. (I only shuddered a little, when I typed this. Ha Ha!) There are so many fun rustic and trendy panels to try from.
This post contains some affiliate links for your convenience (which means if you click a link and make a purchase I will earn a small commission at no extra cost to you). Please see my disclaimer page for more information.
Materials You Need:
- A Kitchen Island that needs a Cabinet Back
- 4′ x 8′ Sheet Decorative Paneling of your choice
- Tape Measure
- Pencil
- Straight Edge
- Circular Saw
- Painters Tape
- Trim nailer or trim nails and hammer
- 100% Silicone Adhesive
Steps to Install a Simple Paneling Kitchen Island Back Panel
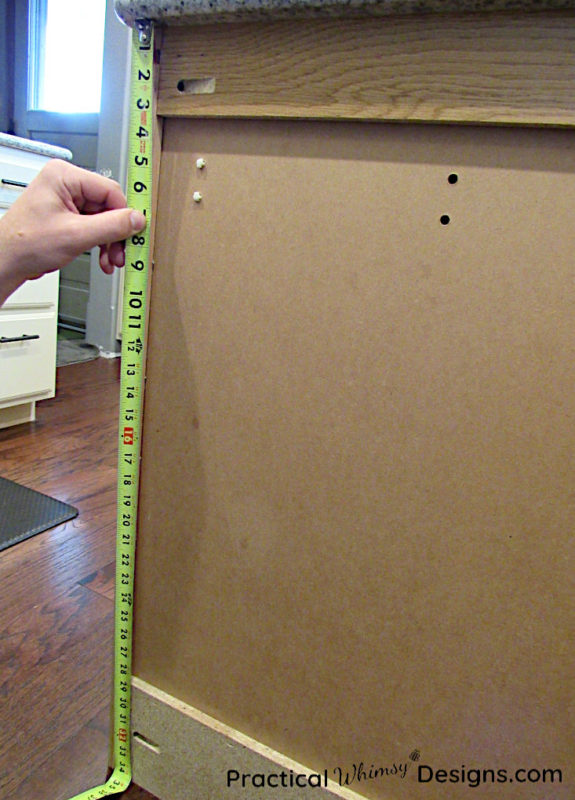
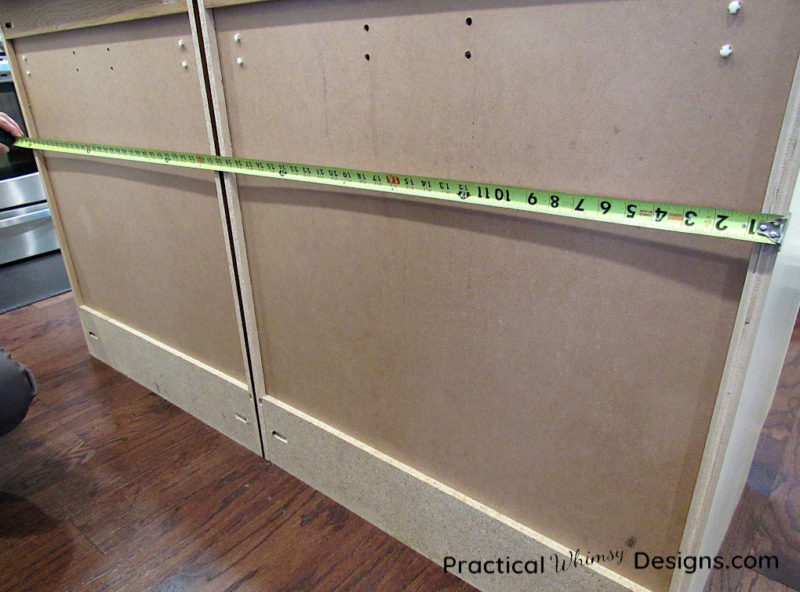
Step 1: Measure
Measure your cabinet with a tape measure from the floor to the bottom of the counter. Make sure to measure in multiple locations to make sure your cabinet is the same height along the whole length. This measurement will account for any variance in the cabinet and floor.
Note: If you are putting on shoe this is not quite as crucial because any variance can be hidden, but it doesn’t hurt to measure more than once.
Next, measure horizontally along the cabinet. Add 1-2 inches onto your horizontal measurement. This will give you the ability to mark your cabinets later and account for any variance in the horizontal length. (You can always cut something smaller, but if you cut it too small right away, it is hard to patch paneling in and still make it look nice.)
Ideally you want your cabinet length and height to be shorter than 4′ x 8′ to avoid having to deal with seams.
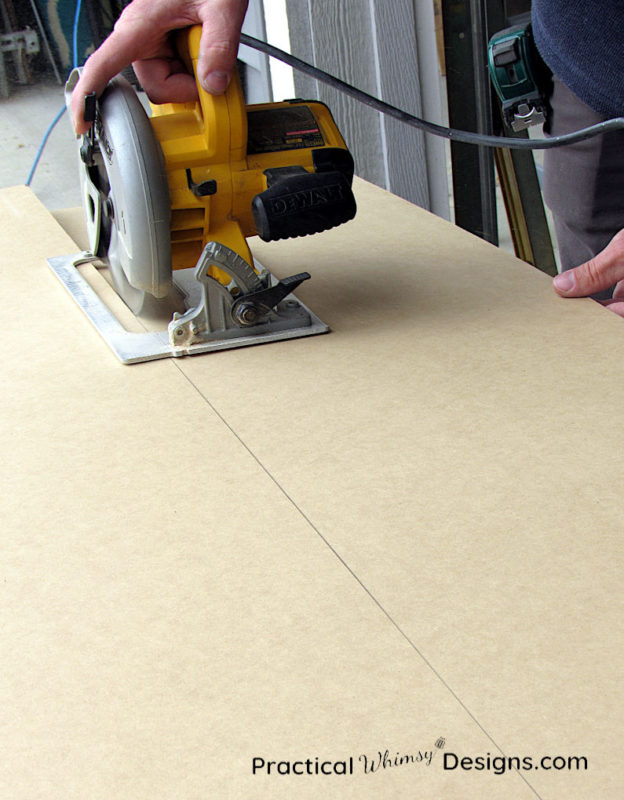
Step 2: Cut out the panel
Mark your vertical and horizontal measurements on the back of your panel.

Use a straight edge (ruler, level, etc.) to draw a straight line on your board.

Use a circular saw to cut out the lines you drew. We set up our paneling on saw horses because it is easier to cut them.
Step 3: Scribe and Cut Again
Now, bring your paneling back inside. Hopefully, if you measured and cut correctly the vertical portion of your panel should fit perfectly and the horizontal should overlap by 1/2-1 inch when centered on your cabinet.
Use a pencil to scribe along the edge to make sure the cabinet is flush with the edge of the panel.
Note: In construction, the term scribe is used when fitting things like cabinets, countertops, moldings, etc., to a crooked wall. In our case we are using a pencil to transfer the line of the edge of the cabinet to our paneling.
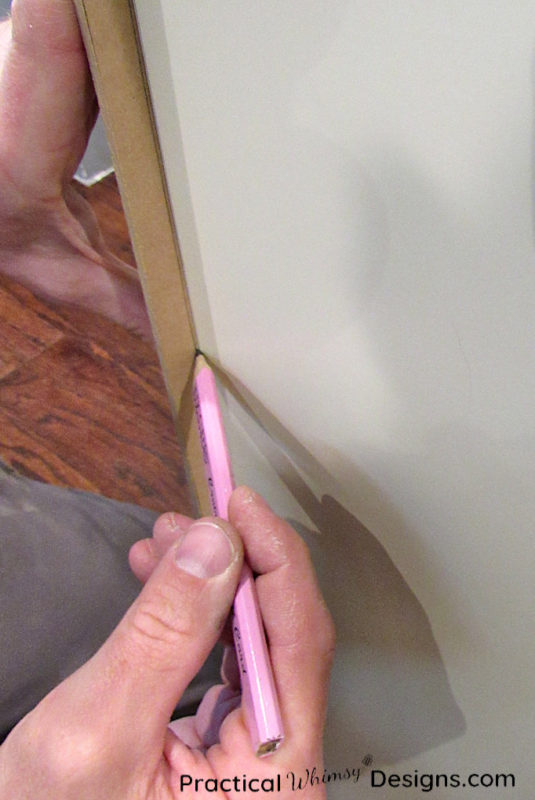
Do this on both sides of the paneling.
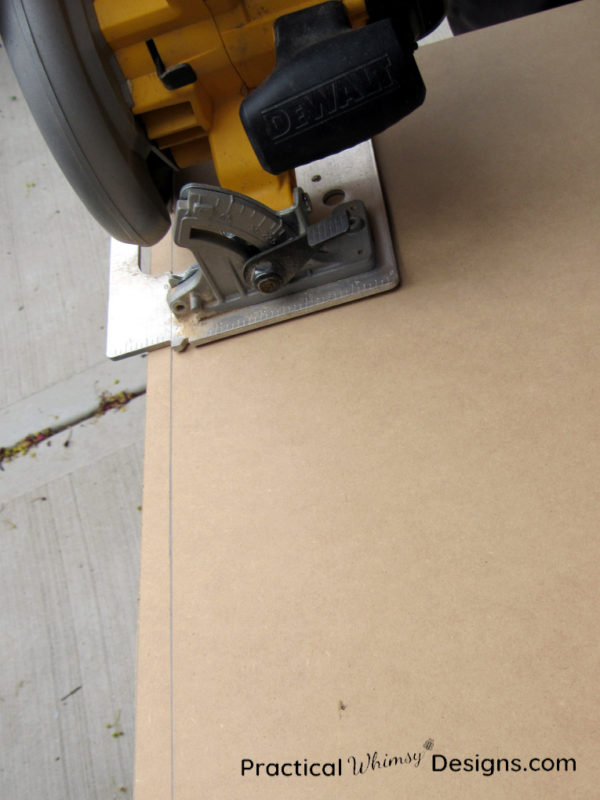
Mark which side is the top for ease of placement later, and take the paneling back out and cut the sides off on your newly scribed line.
Step 4: Attach the Panel to the Kitchen Island Back
Mark any inner nailing surfaces (a.k.a any beginnings and ends of cabinets) with painters tape.
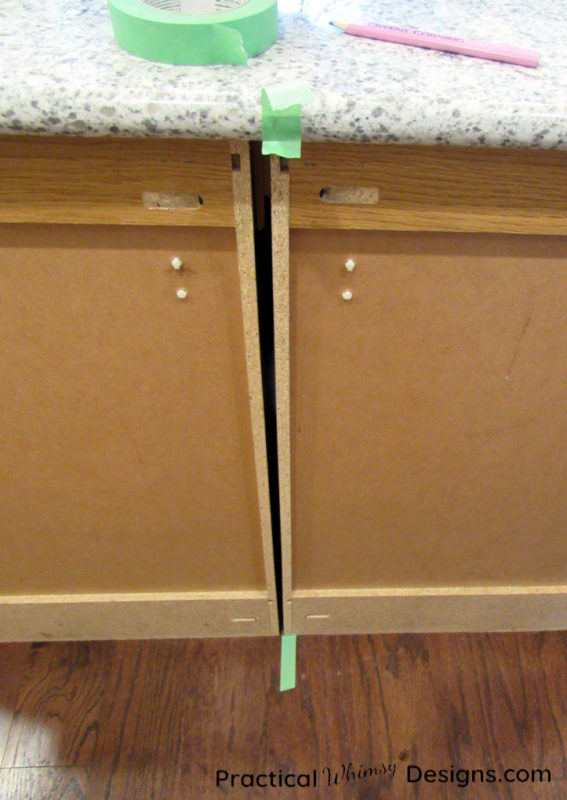
You need to know where these are so that you can nail and glue the cabinets to these points.
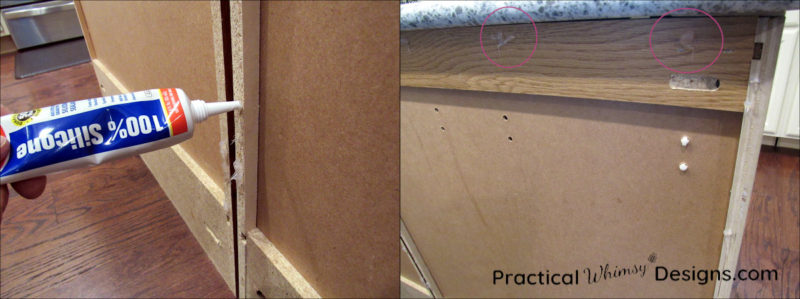
Use 100% silicone adhesive along all of the edges and inner nailing surfaces so you don’t have to use as many nails.
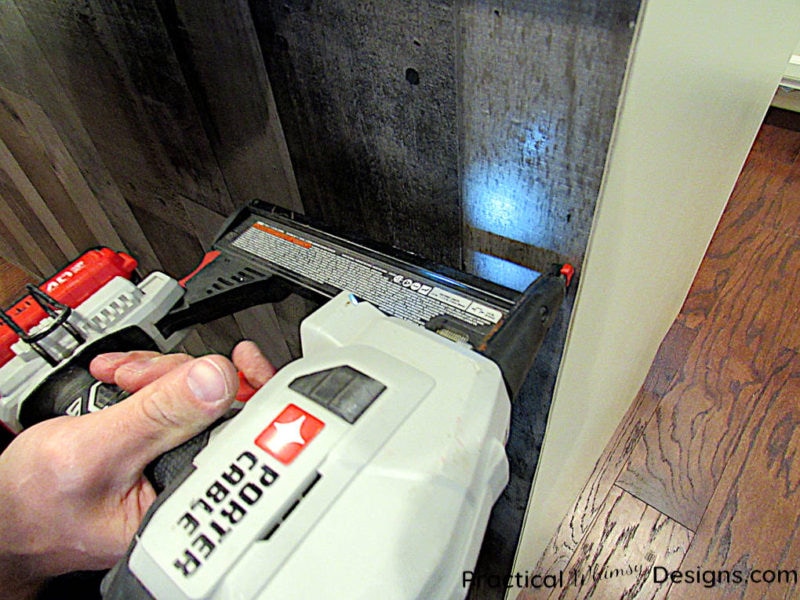
We used a trim nailer to put a nail in every 2-3″ along the outside. We put a couple in the seam just to keep the panel from moving, but we didn’t want to put too many in the center. It looks better without too many nails. If you don’t have a trim nailer, you can use trim nails and a hammer to get the job done.
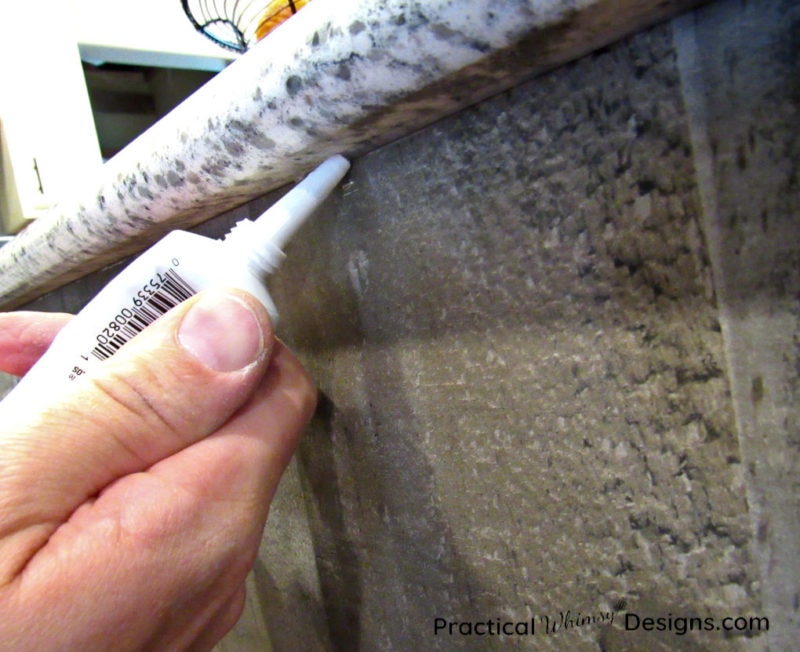
For a finishing touch, put silicone along the top between the counter and the panel. This gives it a more finished look, seals any voids, and makes it stronger.
Why Install This Simple Kitchen Island Back Panel
If after this tutorial you are still on the fence as to whether you want to add paneling into your house (believe me, I was right there with you!!!), here are a couple of questions to ask yourself.
- Is your counter overhang small? If the answer is yes, this is a good solution. We didn’t have much of an overhang to work with so we had to be careful to choose something narrow to add as a cabinet backing. The paneling is only 3/16 inch thick so this did the trick.
- Are you still undecided about your kitchen design or are you tight for money? This paneling is very affordable, so if you don’t have a lot to spend or if you don’t want to invest a lot in something you later hate, this may be a good solution for you.
The form you have selected does not exist.
You can get this done in such a short time and it really makes a big difference. I didn’t realize how having no back on our kitchen cabinets was such an eye sore until we installed these. It adds a subtle detail to the kitchen islands without detracting from the rest of the kitchen.

I’m not sure if these will be the final cabinet backs on our islands, but for now I am very happy that we installed them.
Want to remember this tutorial for later? Save it to your favorite DIY board on Pinterest.
Interested in other installation tutorials? Check out these posts on How to Tile and How to Install a Stacked Stone Fireplace.

