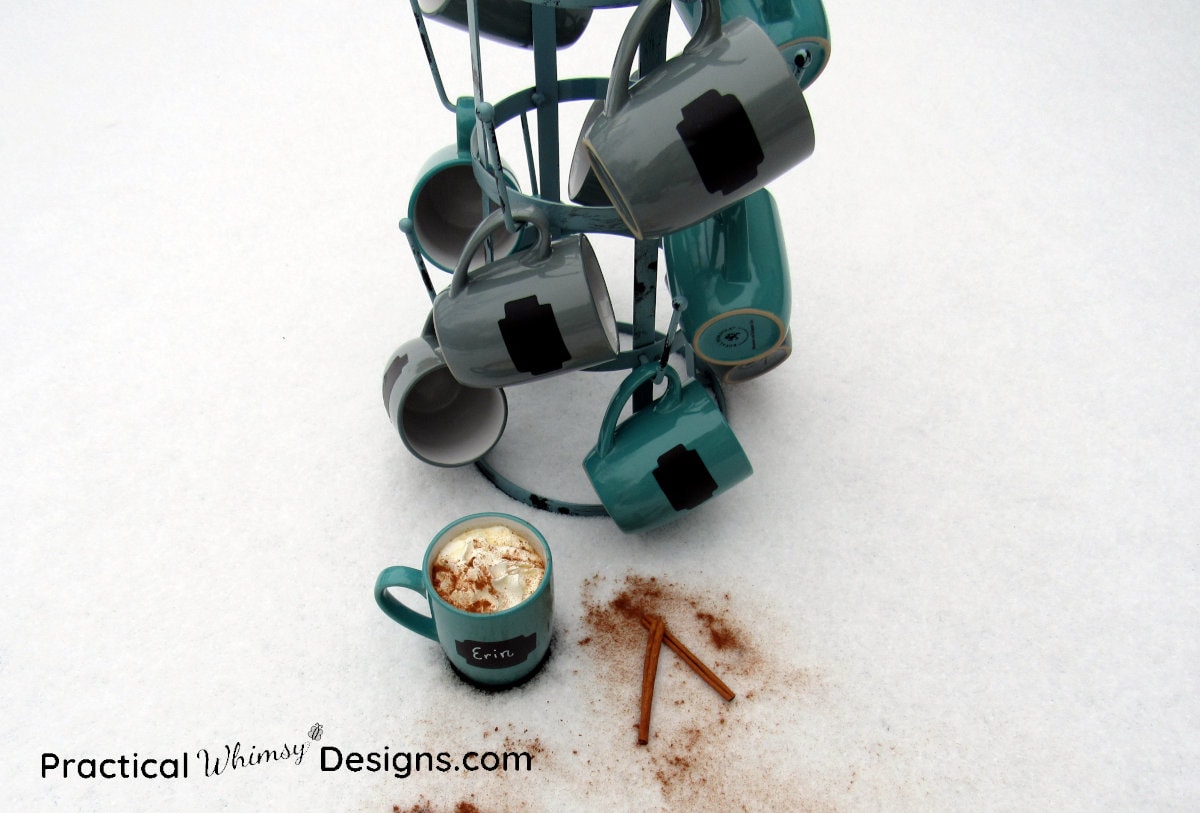
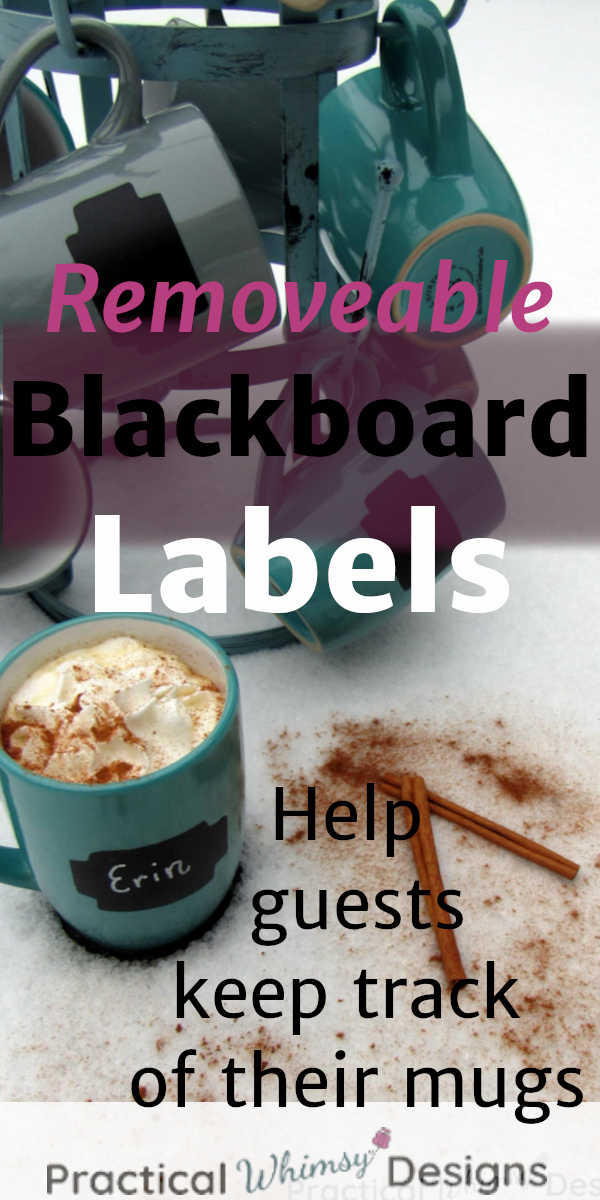
Not sure how to keep track of cups when friends and family visit? Make these cute removable blackboard labels to keep everyone drinking out of their own mug.
It’s that time of year again. Time for food, fun, family, and cups…. lots of cups. Mugs, glasses, drinking paraphernalia…. All strewn about the house and counters.
I don’t think I am the only one that struggles with keeping track of whose mug is whose when there is a large group of people gathered. There are only certain people I feel comfortable sharing saliva with. 😝
If you love to host gatherings, like I do, these DIY removable blackboard labels will definitely come in handy. They easily stick to glass or ceramic cups and can be removed and reused depending on what type of beverage you are serving.
This post contains some affiliate links for your convenience (which means if you click a link and make a purchase I will earn a small commission at no extra cost to you). Please see my disclaimer page for more information.
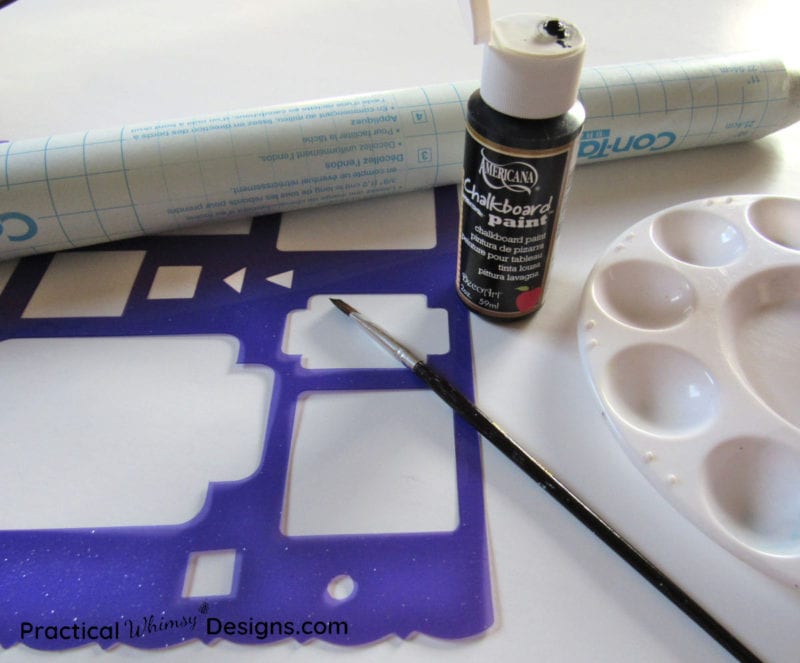
Materials You Need:
- Contact Paper
- Chalkboard paint
- Paint brush
- Scissors
- Pencil
- Stencil to make your label (if desired)
- Chalk (for priming your blackboard label)
- Chalk marker (For writing names on the labels)
Steps for Making Removable Blackboard Labels
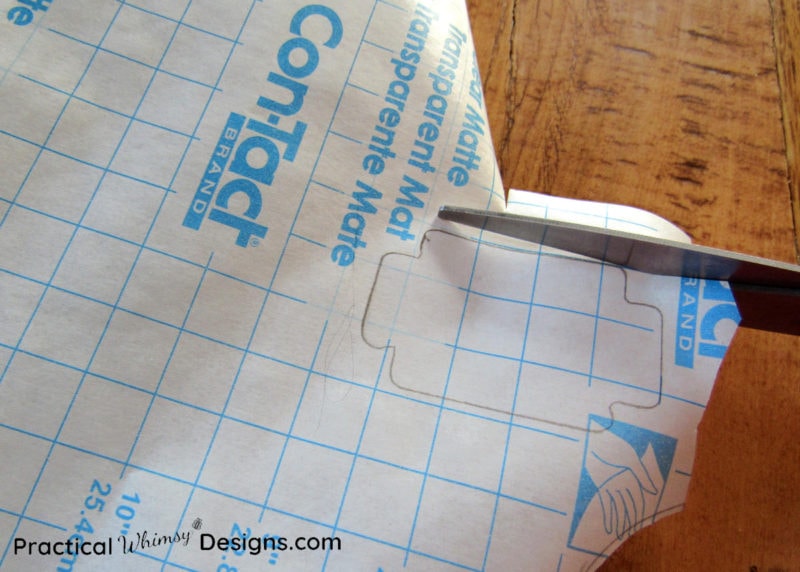
Step 1: Design your label
Start by using a pencil to draw a label on the paper side of the contact paper. I used a stencil so that my labels would be uniform, but you could do something as simple as a rectangle by following the grid squares on the back of the contact paper.
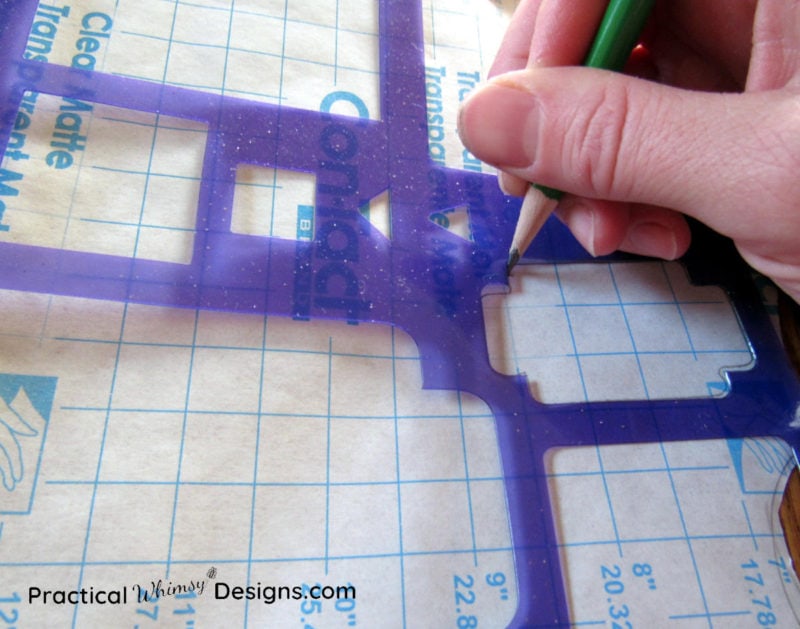
Step 2: Cut out your label
Next, use your scissors to cut around the label.
Note: I tried cutting out the label after I had painted it so I didn’t have to stay in the lines, but the paint flaked off the edges as I cut. It worked the best to cut the label out first and then paint up to the edge.
Step 3: Paint the label
After your labels are cut, place them on some newspaper and paint the chalkboard paint on the non-sticky side of the contact paper. These labels require multiple coats. I painted 3 coats on mine using vertical strokes, then horizontal, then vertical. When you use the different directions for the strokes, it fills in the label and gives it a smoother look.
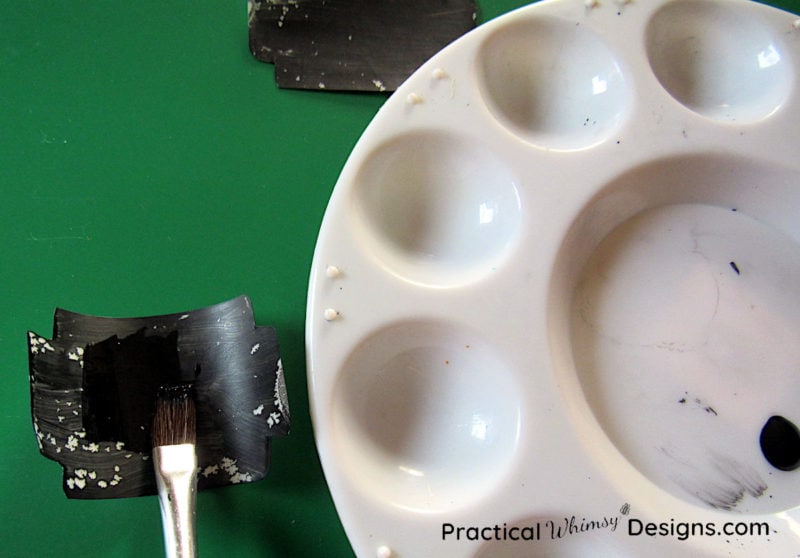
Note: The paint on the first coat may bead up a little. If that happens, let it dry and then apply the next coat. It should smooth out after multiple coats.
Let the chalkboard paint dry fully.
Before using the label, rub chalk across the surface and then wipe it off. This helps prepare your surface for writing.
Step 4: Use the label!
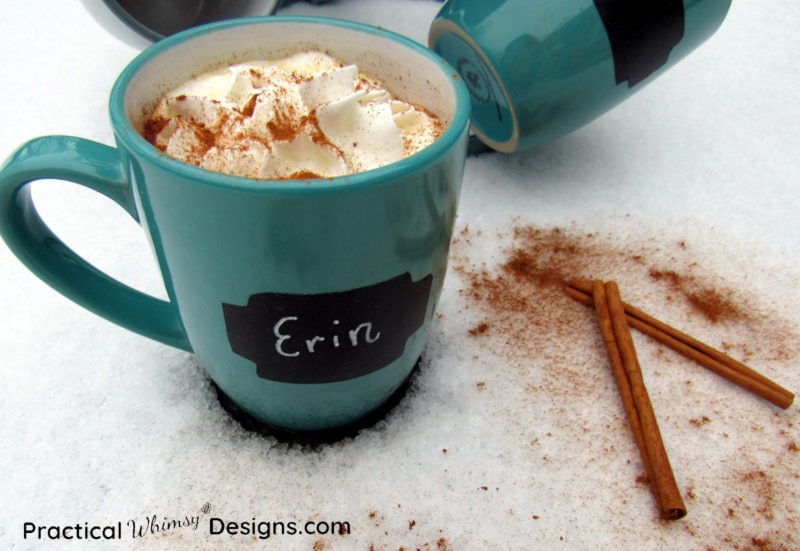
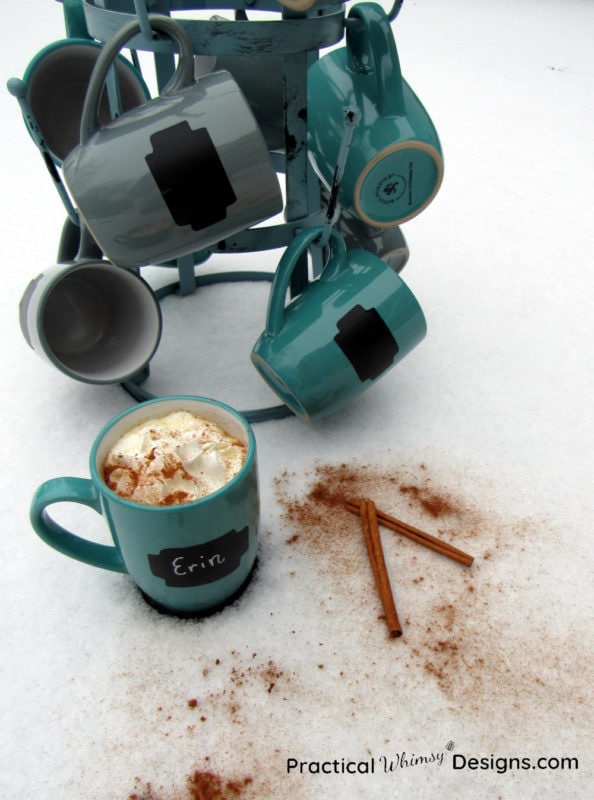
Finally, peel off the back and stick the sticker on to your cup of choice. Use chalk or a chalk marker to write your name.
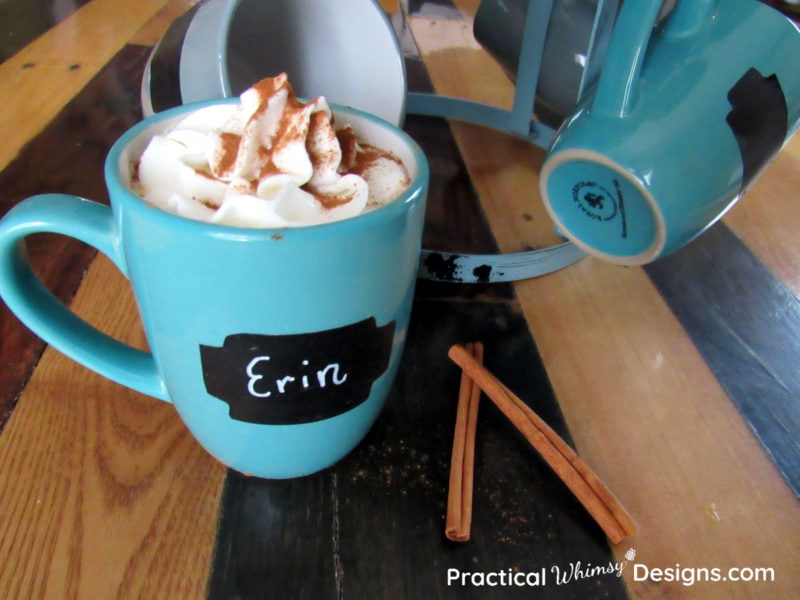
When I used these for guests, I stuck the stickers on the available mugs and set out the chalk marker.
Even though I would not recommend microwaving them, I did test these in the microwave in case someone wanted to reheat a beverage and forgot to remove the label first. I was able to heat my mug for 30 seconds on high without any adverse results.
Note: Make sure to peel the labels off before putting the mugs in a dishwasher!
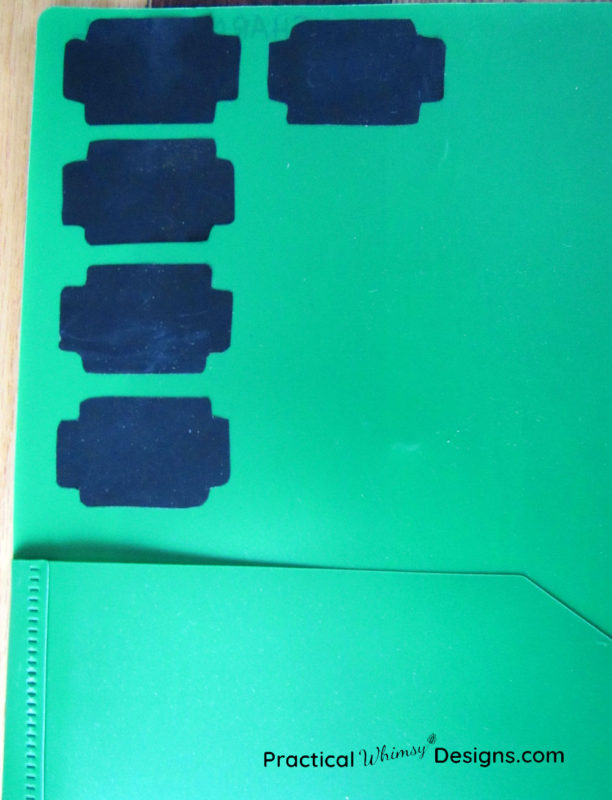
When you are done with your labels, wipe the chalk off and store them on a piece of plastic or wax paper. I placed mine in a plastic folder.
I used a chalk marker to write the names on my labels, however, I found that the chalk marker does not come off easily! Great for not rubbing off on hands, but not so great for removing the name later. The best way to remove the writing from the label if you use a chalk marker is to use a damp magic eraser. I cut mine into small pieces so I wouldn’t waste a whole eraser on the small labels. (Once wet, the eraser begins to break down.)
These DIY removable blackboard labels were easy to make and provide a classy reusable label for guests to use on their glasses and mugs. It provided the fun look of the blackboard labeled mug with the versatility of a removable label. These can be used on multiple types of drinkware without permanence or fear of your chalkboard label chipping off after multiple washes. They also would be great labels for jars in your pantry.
If you like this idea, but don’t want to paint your own labels, they make chalkboard contact paper that is removeable which you can cut into labels as well.
I would love to hear from you. What types of uses could you see for removable blackboard labels?
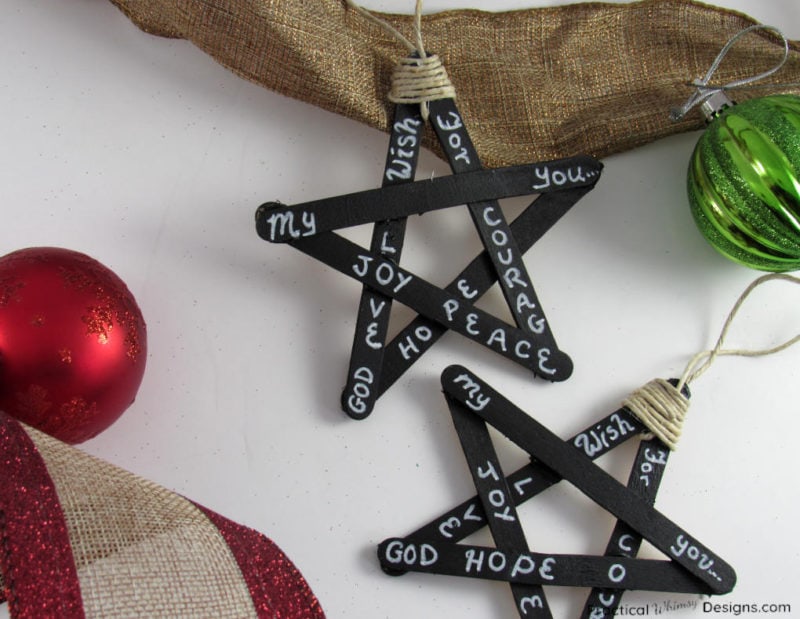
Looking for more ideas to use black board paint? Check out this tutorial for creating your own DIY chalkboard message center or paint these beautiful star ornaments.

Want More Great Ideas? You Might Like These..


Are we friends on Instagram?
Follow @PracticalWhimsyDesigns to see more
behind the scenes projects
Great idea!
Thanks! It makes keeping track of cups a little easier. 🙂