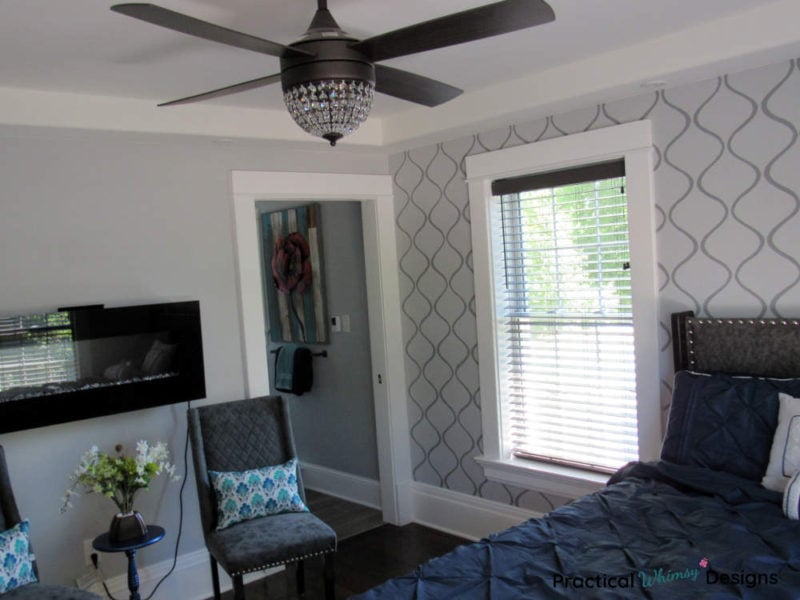
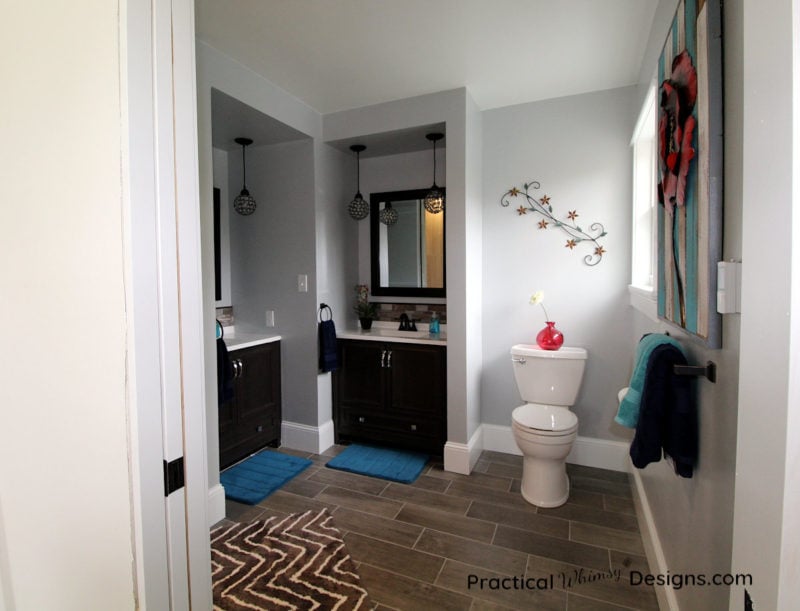
Our boys bedroom design is finished and we can’t wait to show you the progress of their room remodel. Find ideas for your next design.
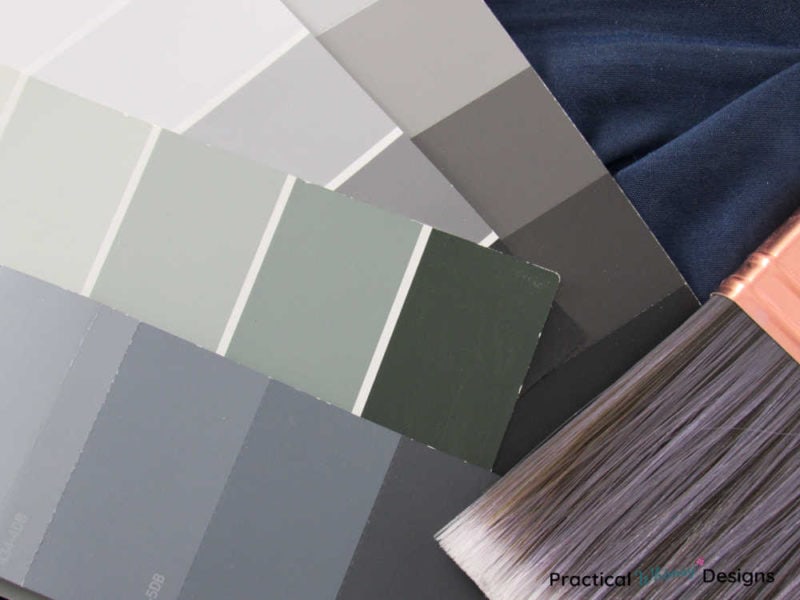
Struggling with finding the perfect paint color for your home? My design guides are available for free to my newsletter subscribers. Grab my Free Paint Guide and FINALLY pick a wall color that you love!
If you are new here, we have been working on fixing up our 130+ year home, designing it to be more modern, yet keeping a lot of the beautiful character in tact.
We have had some crazy adventure which you can read about in my post Lessons from a Fixer Upper. (They might just include a burst water pipe, our family of 6 sleeping in the same room for several years, and an indoor pool).

Nearly five years into our remodeling project, we were able to finally start working on the second floor bedroom that will belong to our three boys. (We already finished the master bedroom and master bathroom on the second floor.)
Before I show you the final reveal pictures of the boys’ bedroom, I wanted to give you a glimpse of the before pictures and the various projects we have completed in this space.
Boys’ Bedroom Before Pictures
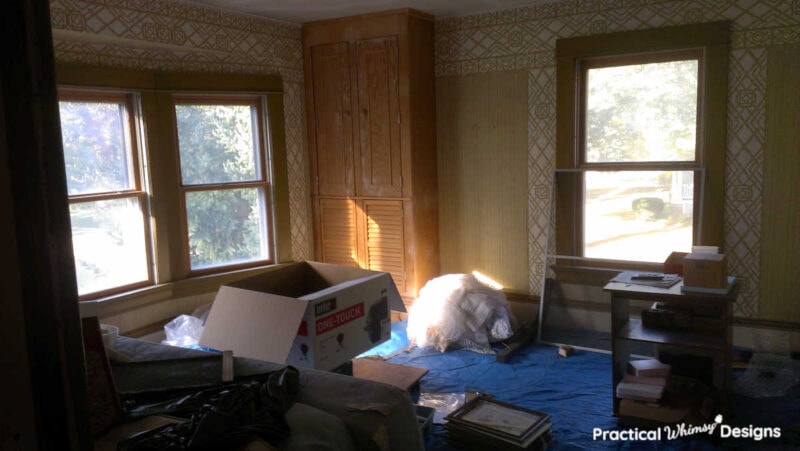
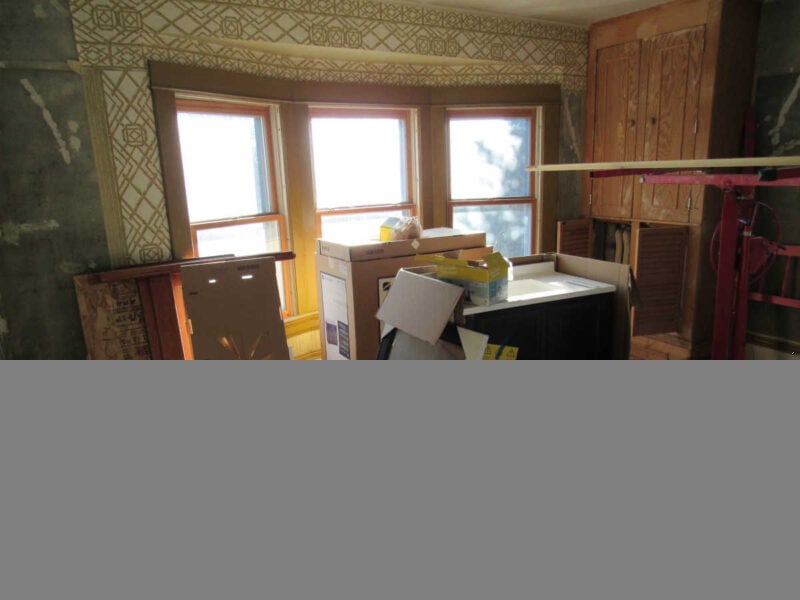
This is a picture of the boys’ bedroom when we purchased the home. I affectionately called it the bamboo room since it had bamboo patterned wall paper.
All of the clutter in the room came with the home (in other words, we had to dispose of it as part of our purchasing agreement).
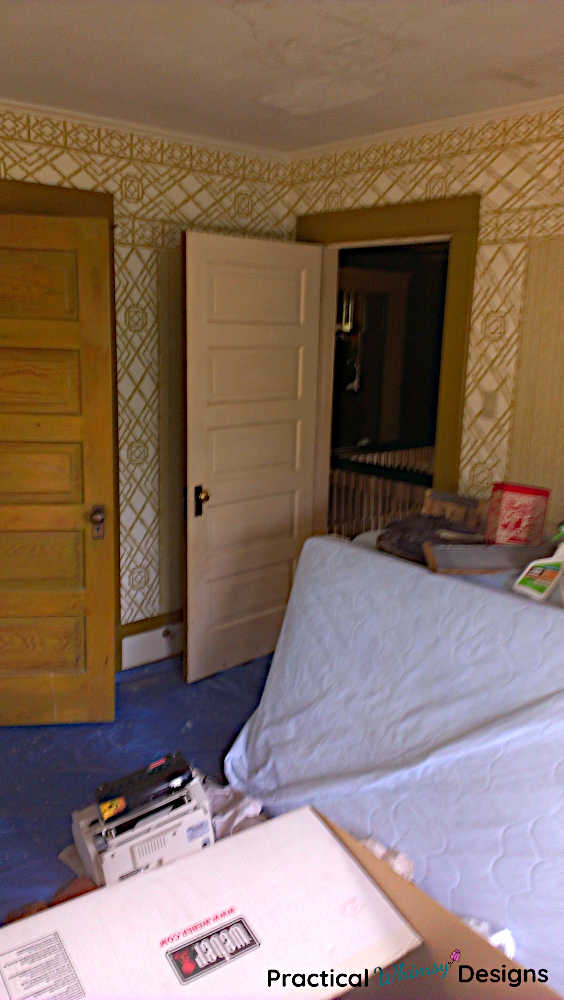
The tarp was on the floor because they had attempted to patch some of the plaster on the ceiling.
Prepping the Bedroom
We cleaned out the clutter when we first moved into the home. However, we used the room to store some of our remodeling supplies, so it still looks cluttered in the picture below.
Our first steps:
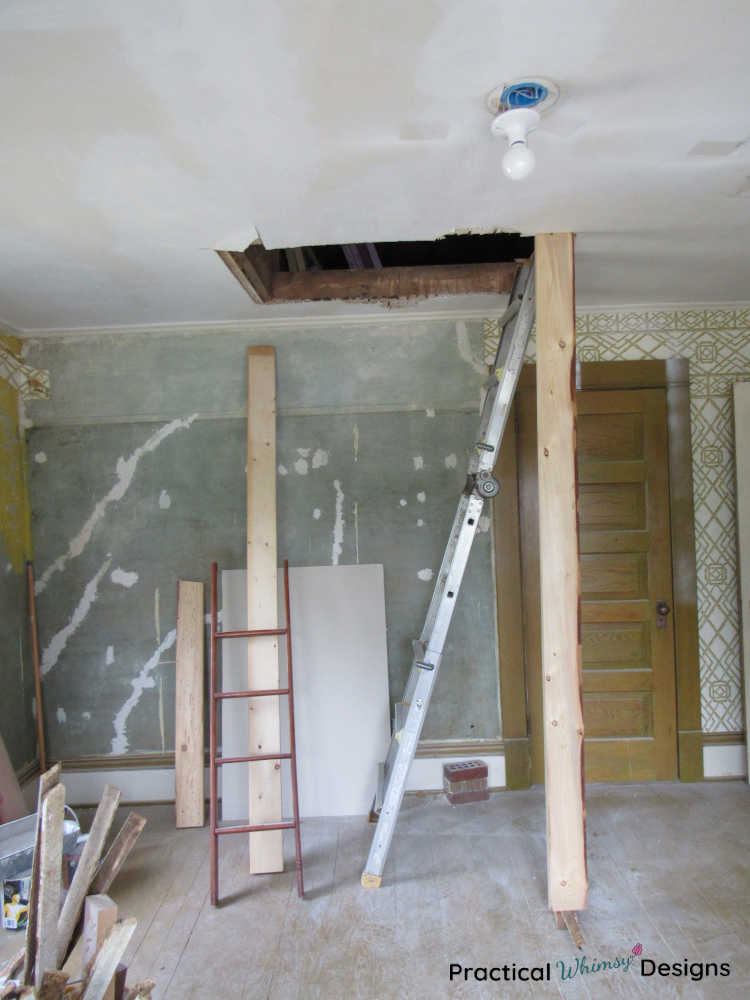
- Take down the wallpaper (luckily it pulled right off)
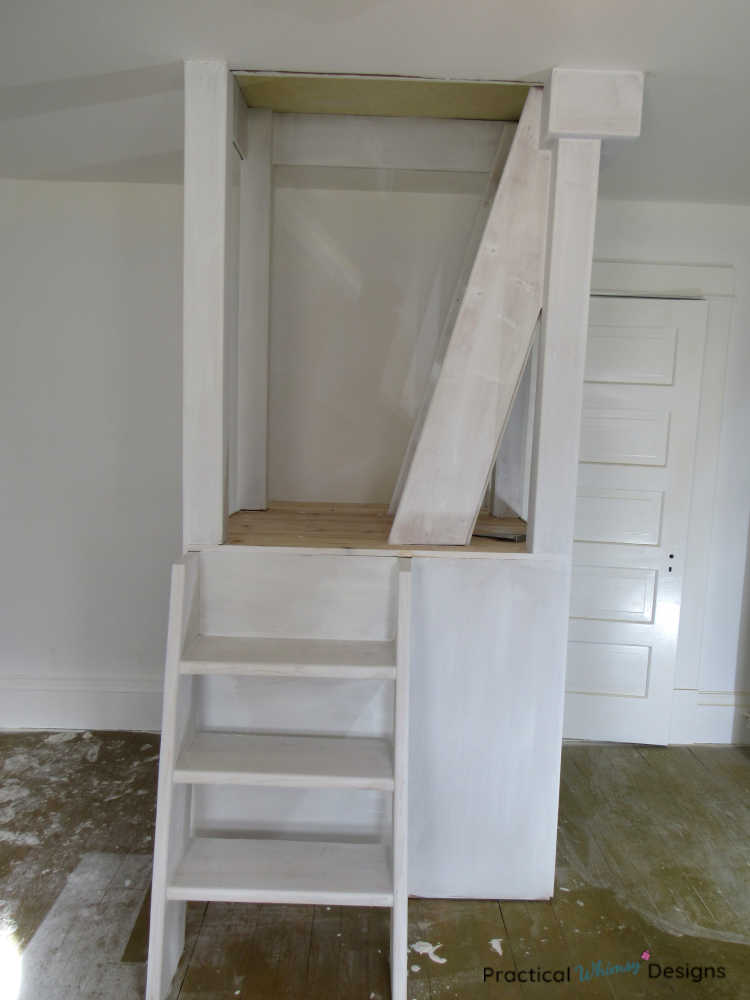
- Cut a hole in the ceiling and build a ladder platform so the kids can access a future attic play area.
Next:
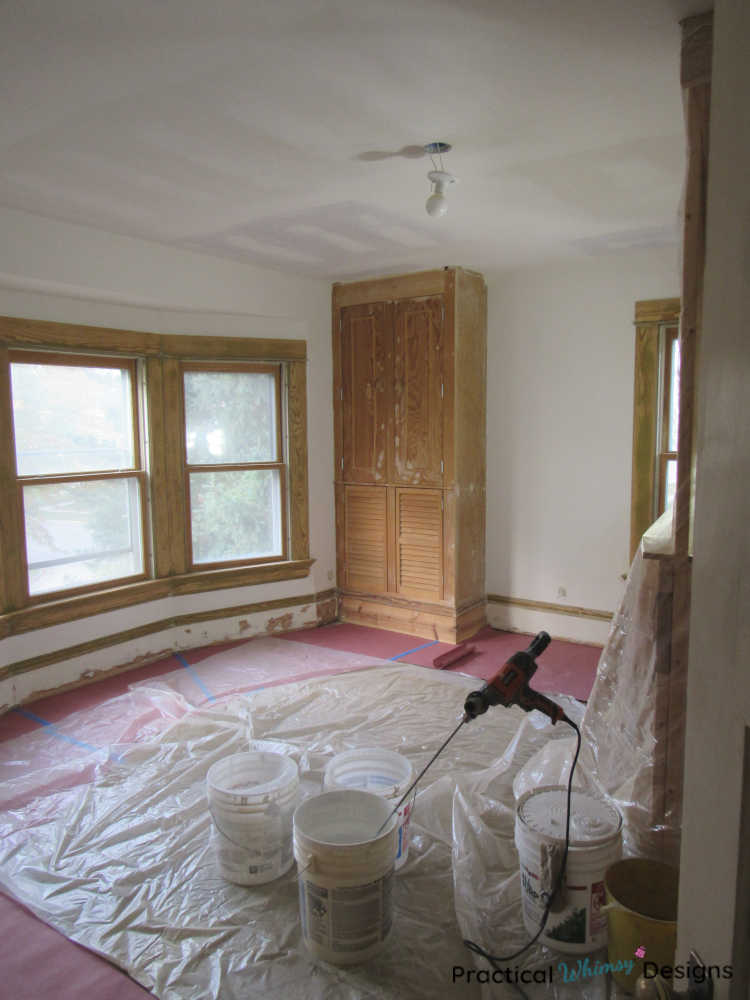
- We added quarter inch drywall to the ceiling
- Coated the walls with drywall mud to eliminate the cracks in the plaster
- Taped and mudded the new ceiling
- And sanded the trim so it was ready to paint (most of the trim had already been painted so it was easier to stick with painting again)
So Much Painting!
We have done a ridiculous amount of painting in this bedroom.
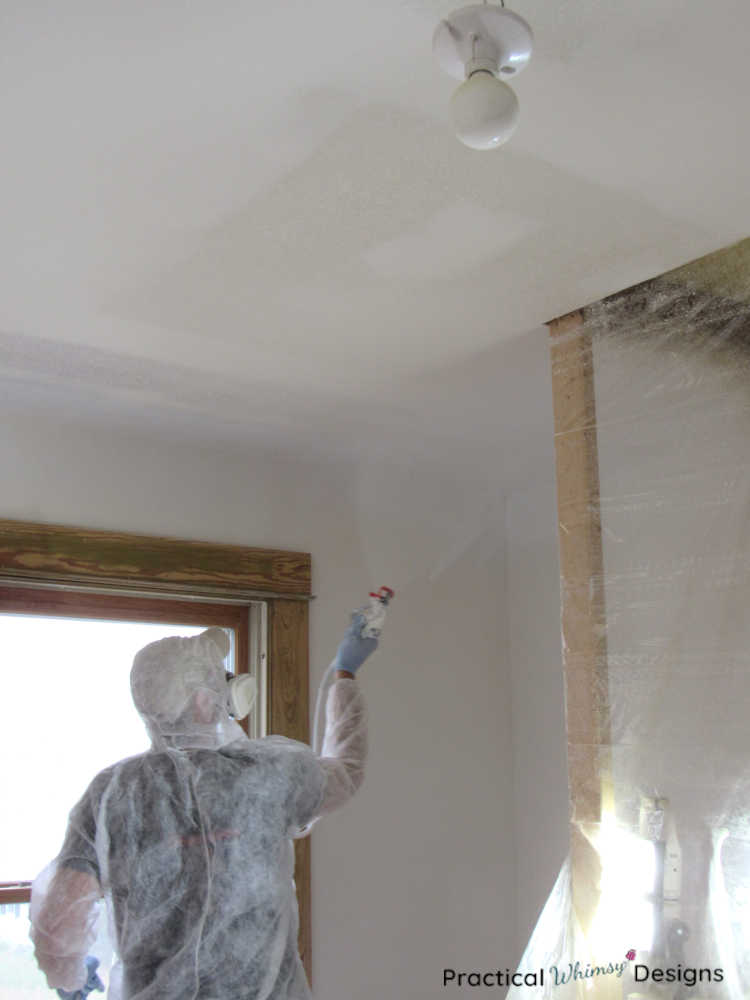
- We primed and painted the walls and ceiling.
- Primed and painted the built in ladder platform and closet/radiator cover.
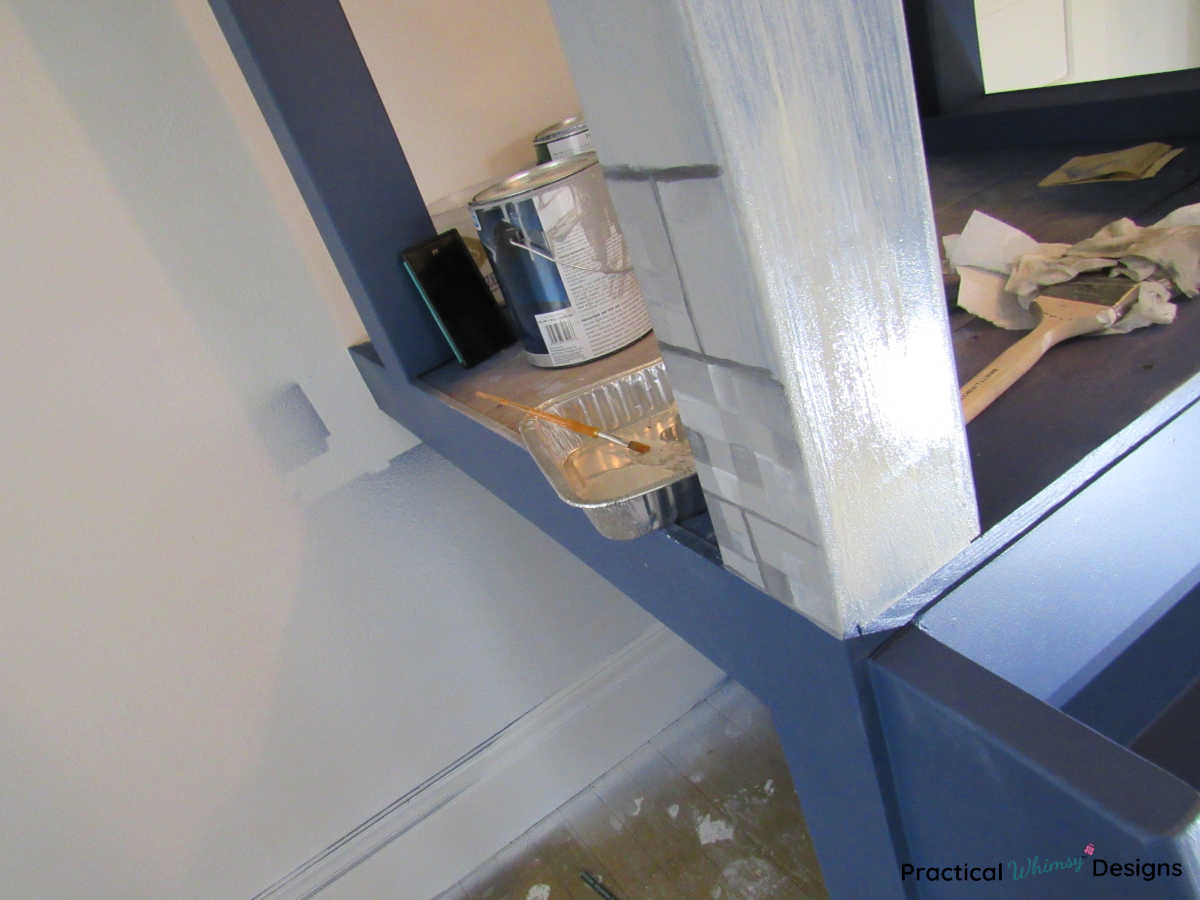
Below is the ladder platform primed and ready for paint. We painted most of it a dark blue color with some fun detailing.
Even more painting……
- We primed and painted all of the trim and doors.
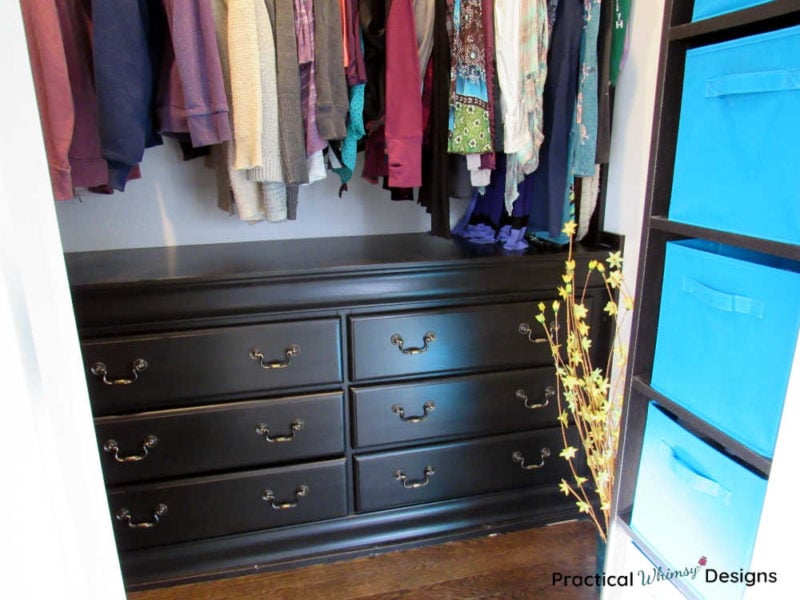
- The closet needed a complete paint job
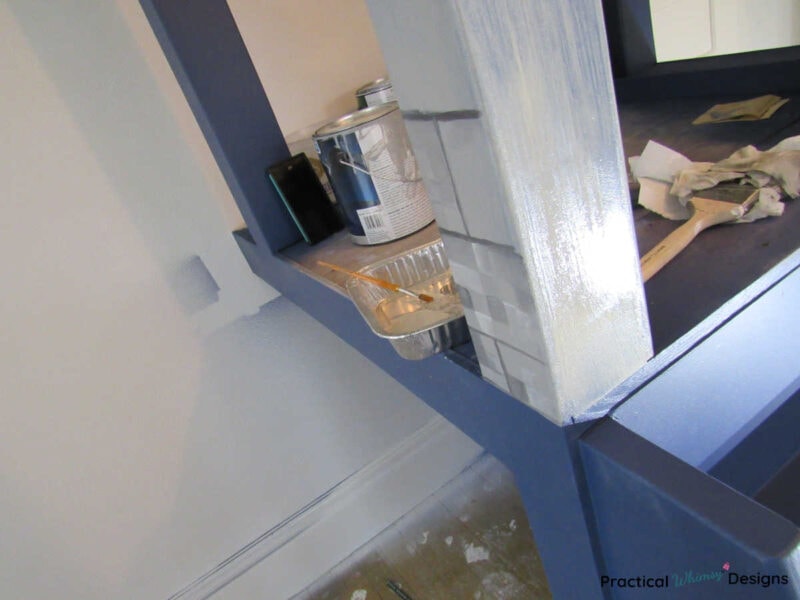
- And I took on the crazy project of making the pillars on the built in platform look like pixilated bricks.
Boys Bedroom Design
Our boys wanted a videogame theme for their room design. (That’s why I took on the pixilated brick project that probably took me 40 hours to paint!)
I wanted to mostly design with elements that could be removed or painted over if they no longer want that theme in their bedroom. (Though they had better love the pixilated bricks forever, because there was way too much time involved with that to paint over it! LOL)
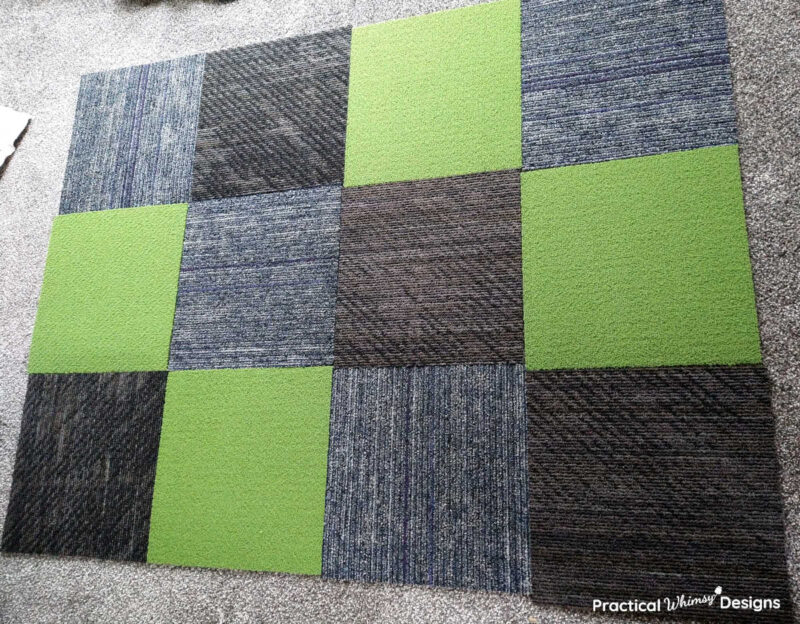
We are working on all of the fun design details now and can’t wait to show you the room reveal soon.
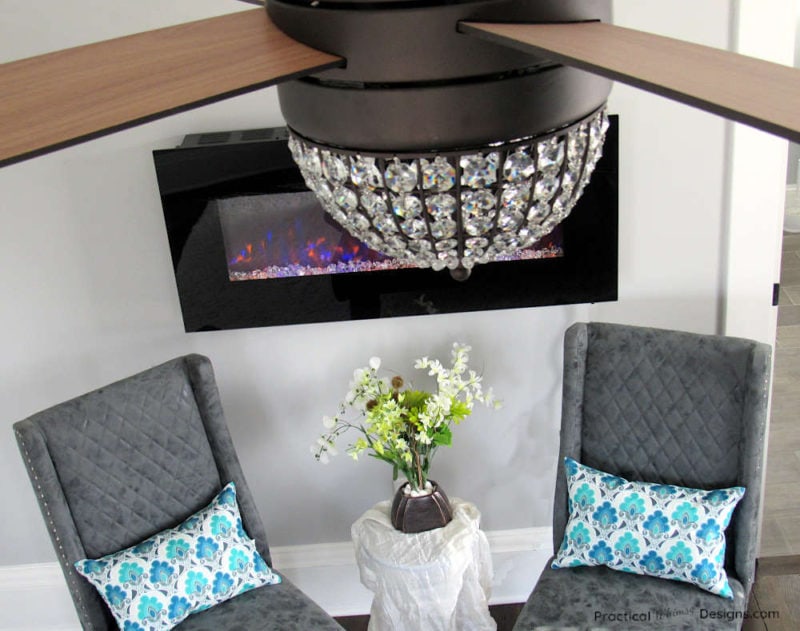
There just might be a few more video game elements and some really fun lighting.
I share a lot of the behind the scenes of my projects on Instagram. Follow me @practicalwhimsydesigns if you want to see the nitty gritty details.
Want to remember this idea? Save it to your favorite design board on Pinterest.
Want More Great Ideas? You Might Like These..


Are we friends on Instagram?
Follow @PracticalWhimsyDesigns to see more
behind the scenes projects

