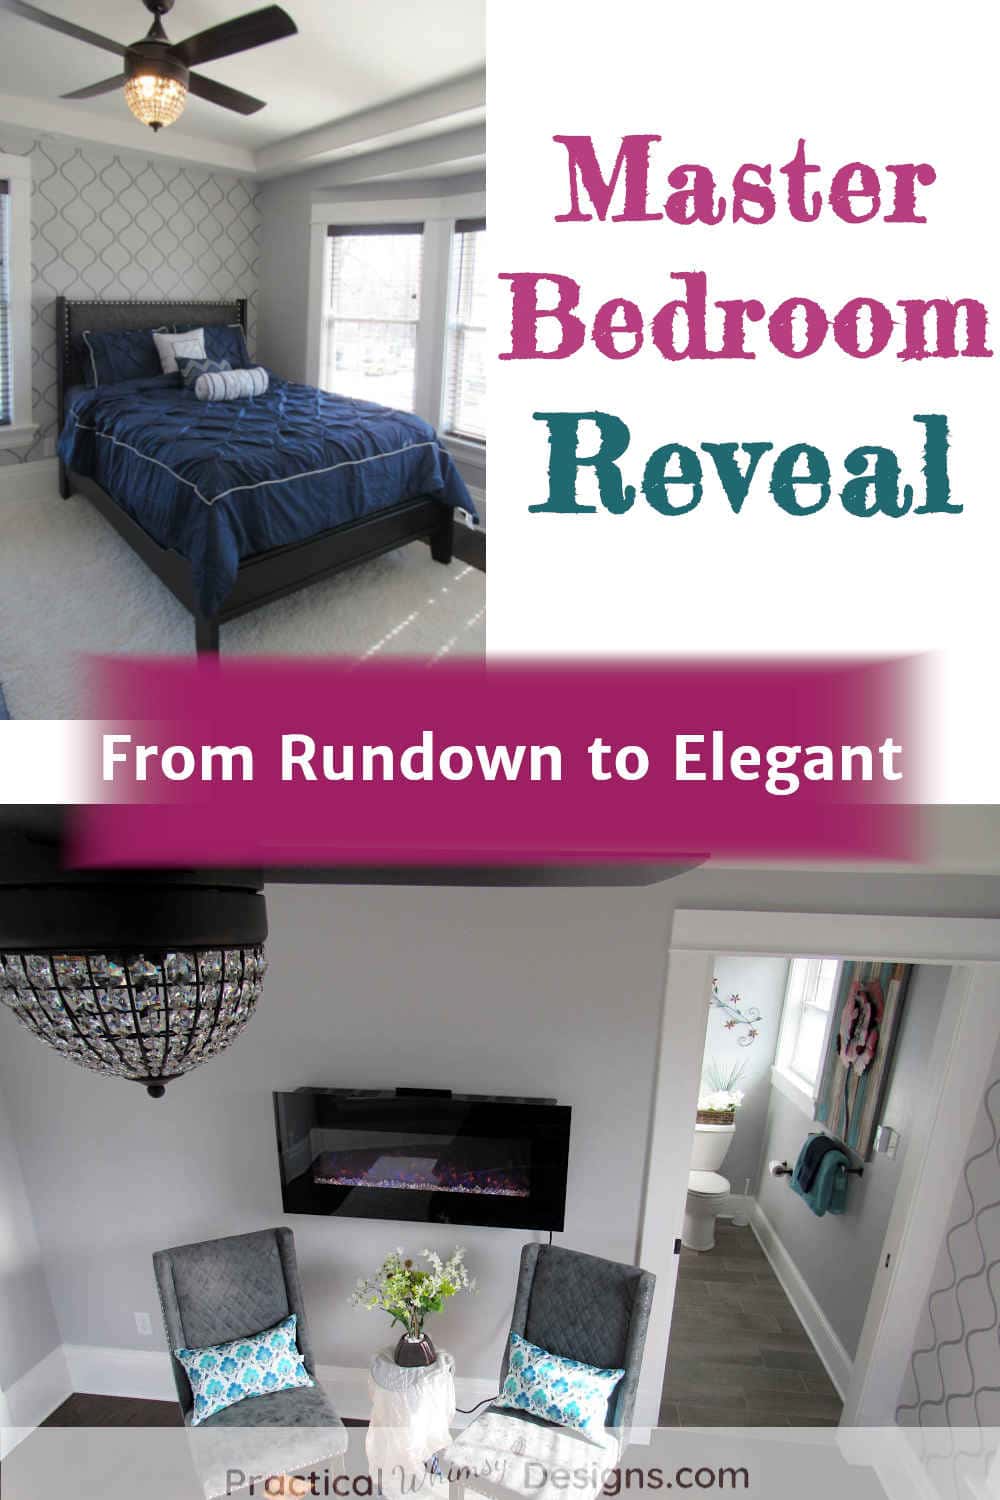
We mixed old and new design elements to transform our rundown bedroom into a beautiful and restful space. Take a look at our master bedroom reveal.
Struggling with finding the perfect paint color for your home? My design guides are available for free to my newsletter subscribers. Grab my Free Paint Guide and FINALLY pick a wall color that you love!
Drum Roll Please…..!
It is finally here!
The long awaited master bedroom reveal!
I know it seems like we have been working on this project for a really, really, really long time. That’s because we have been working on our room for a really, really, really, long time.
But, it is finally ready for the big reveal!
Before our Remodeling
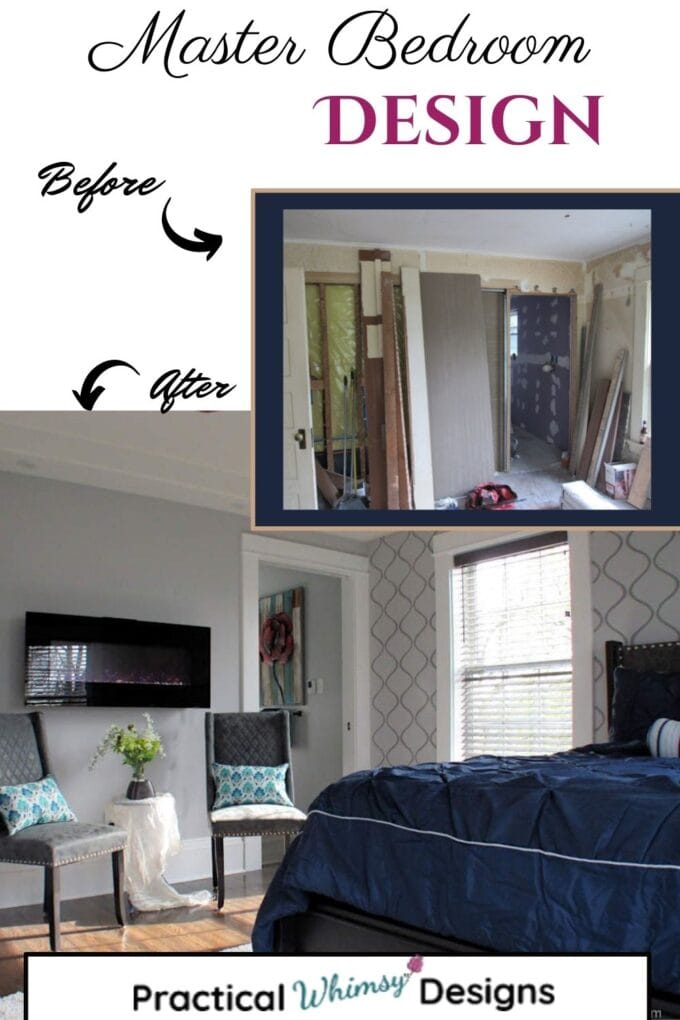
Before I show you too many pictures of the final bedroom remodel, I want to remind you what this space looked like when we first bought the house.
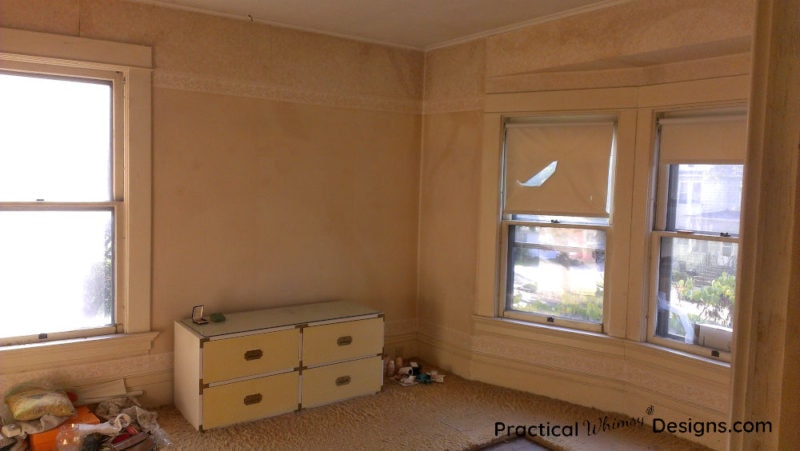
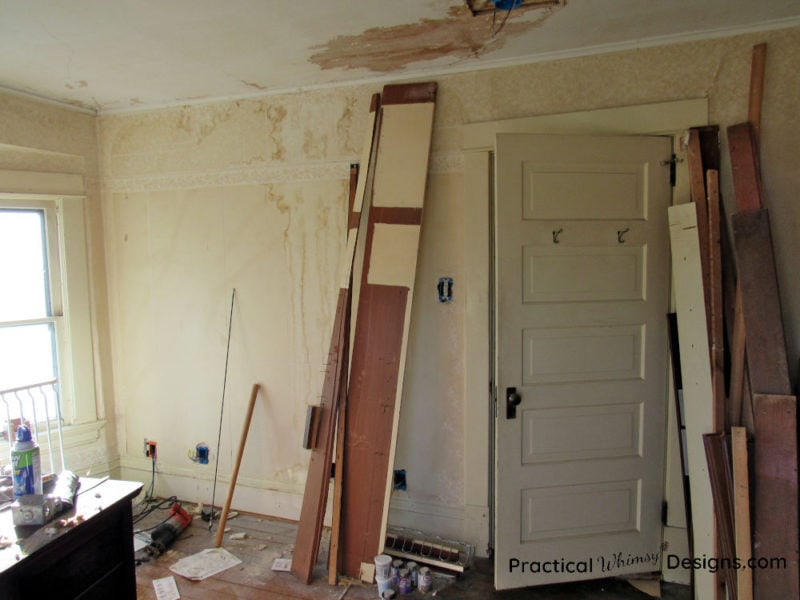
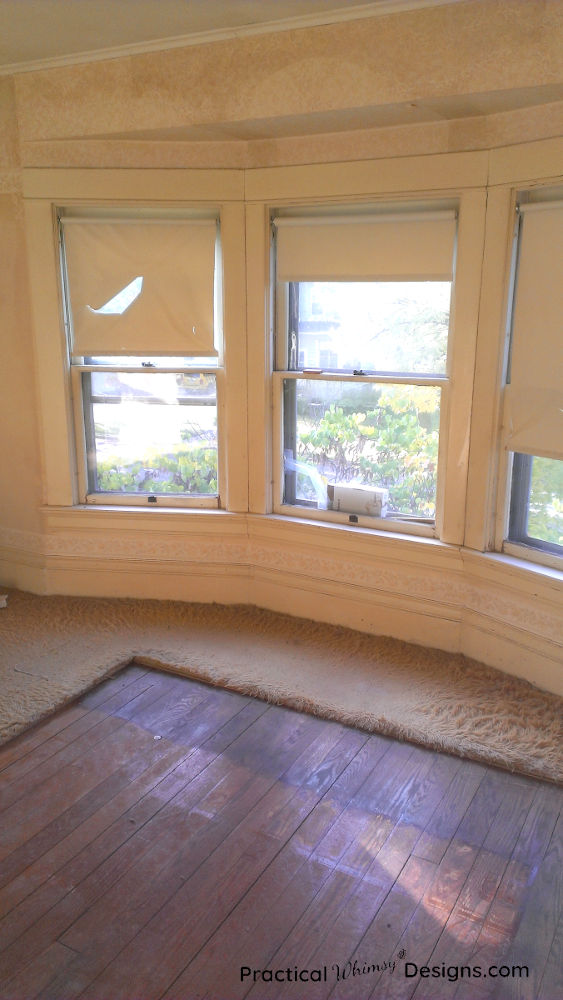
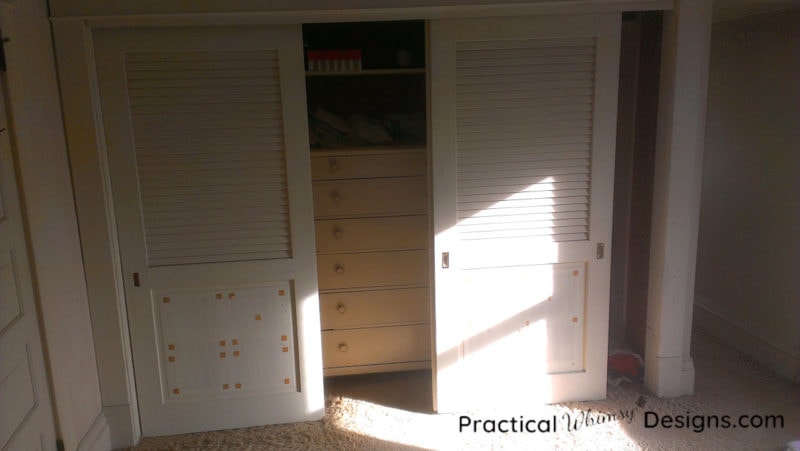
Quite the project, right?
We did a lot of work on it which is detailed in my master bedroom design plans and master bedroom progress report posts. If you want to know all of the changes, you can hop on over and read what we did.
This post contains some affiliate links for your convenience (which means if you click a link and make a purchase I will earn a small commission at no extra cost to you). Please see my disclaimer page for more information.
Master Bedroom Reveal
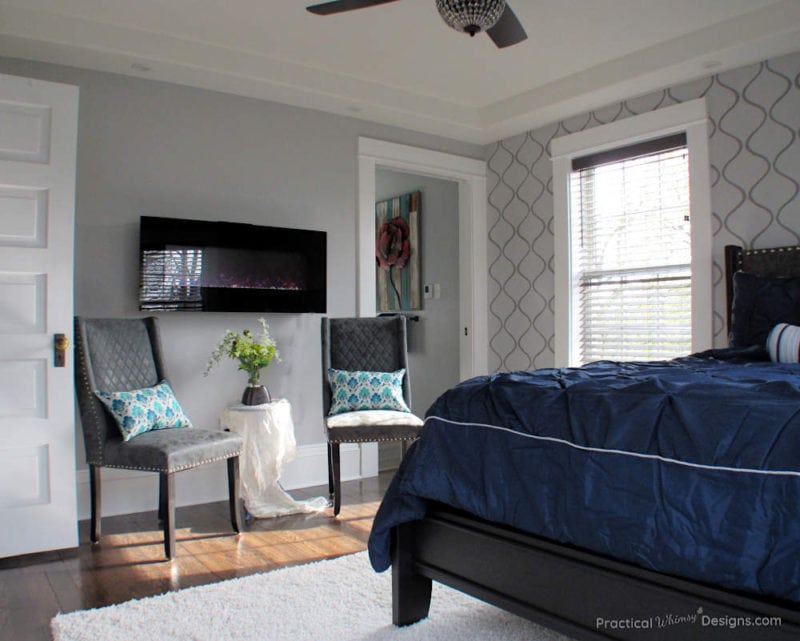
Now that you have a sense of what our bedroom looked like, take a look at these after pictures.
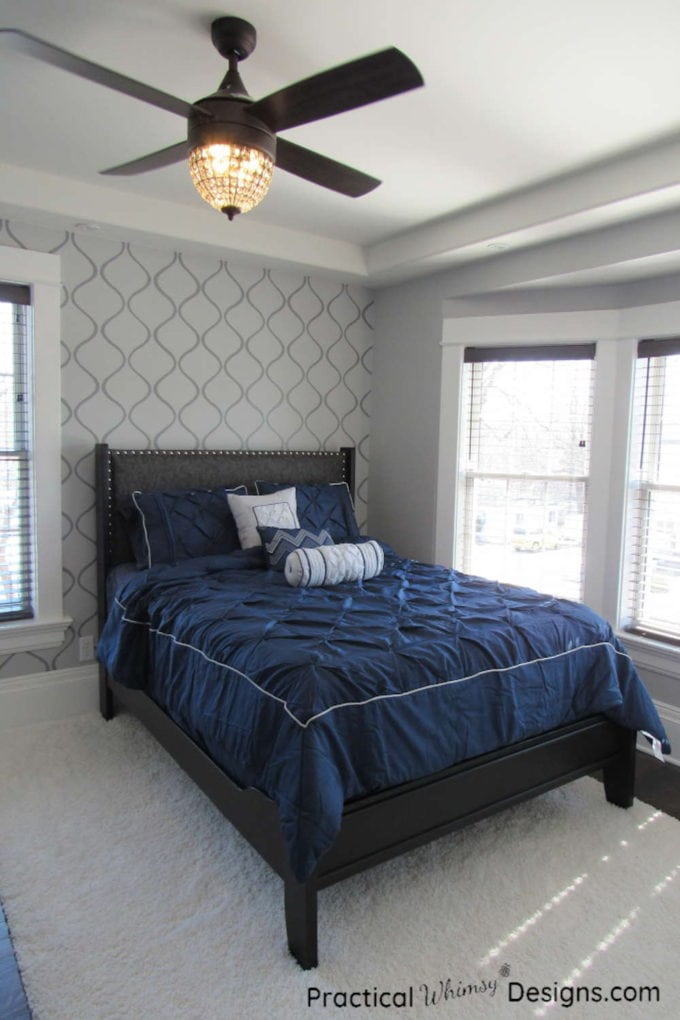
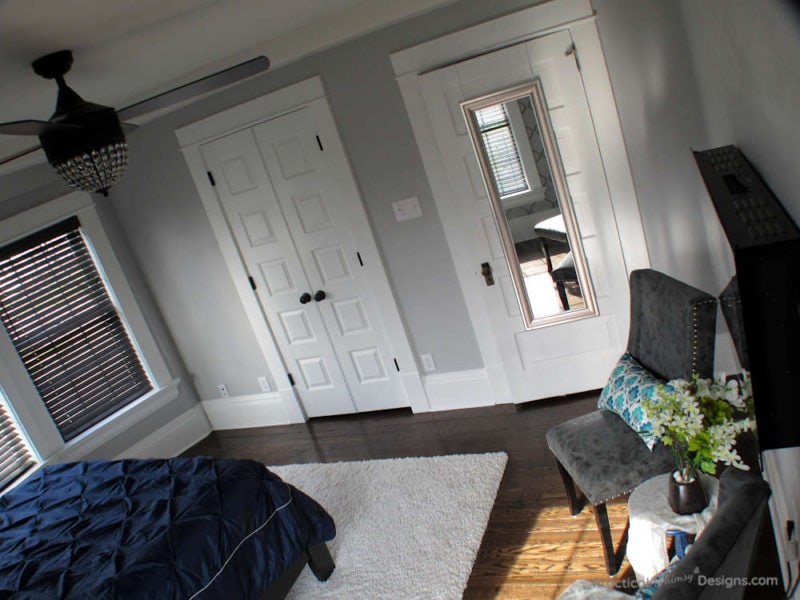
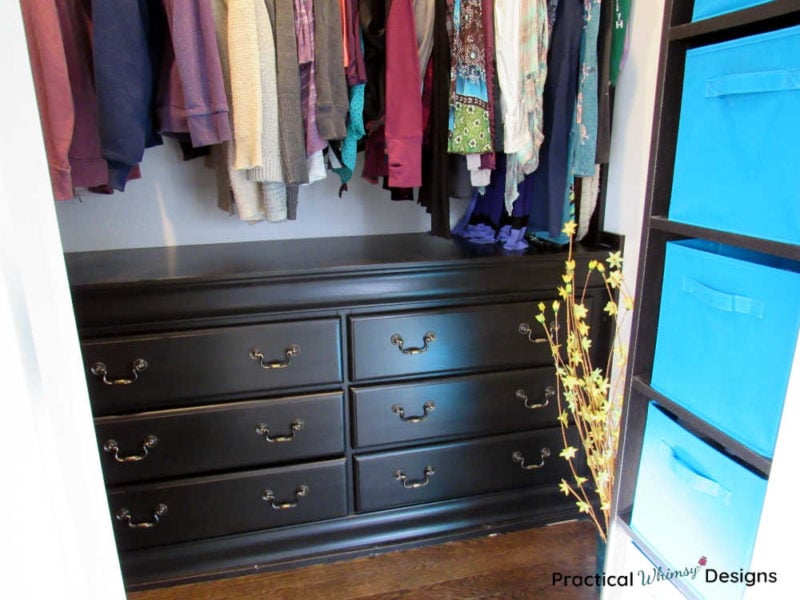
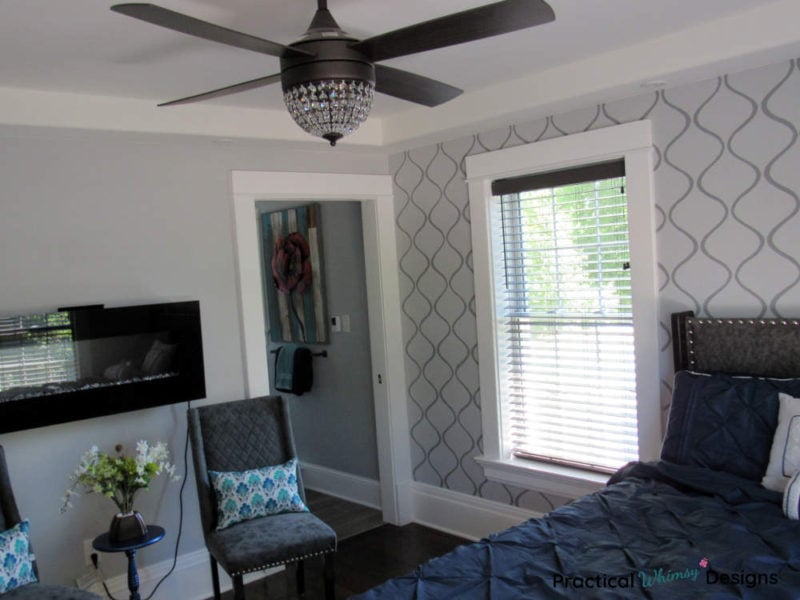
We moved our closet so we could have more space in our master bathroom when we remodeled that room. I love having a walk in closet! (You can check out the master closet reveal here.) And that gave us a full wall to set up this little sitting area and fireplace.
One thing that was lacking in our original master bedroom was a heater. This electric fireplace provides an option for heat until we figure out a more permanent solution. Plus it looks amazing!
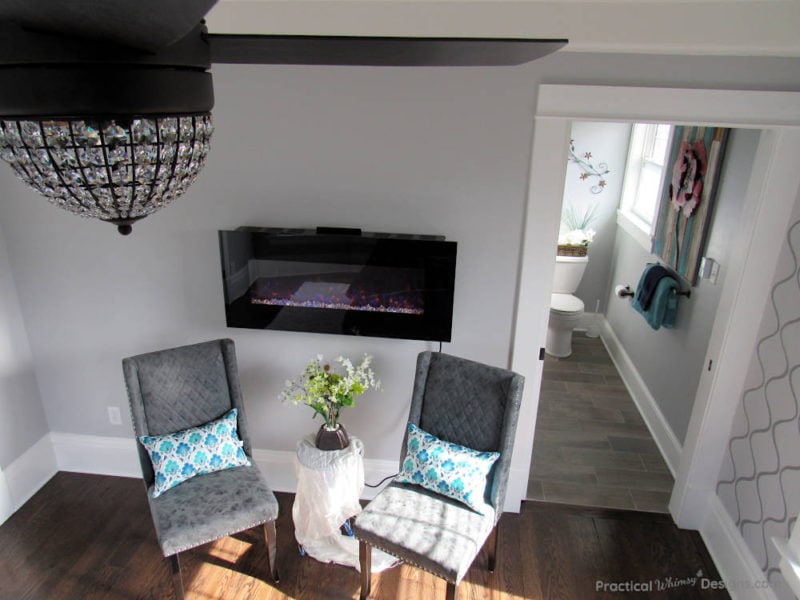
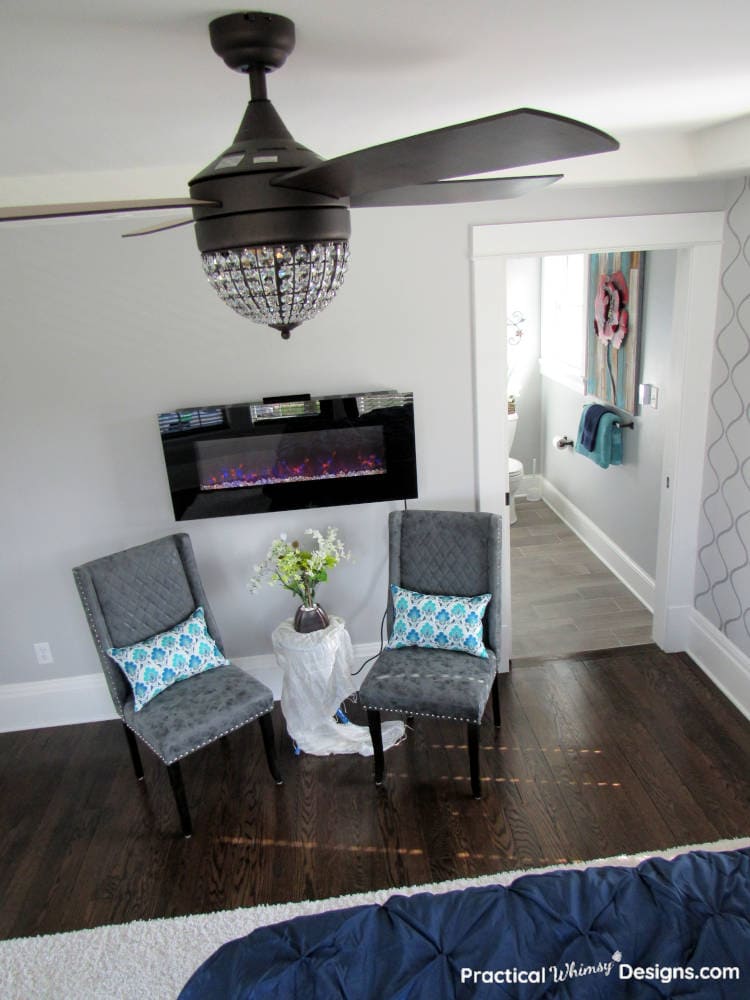
Master Suite Design Elements
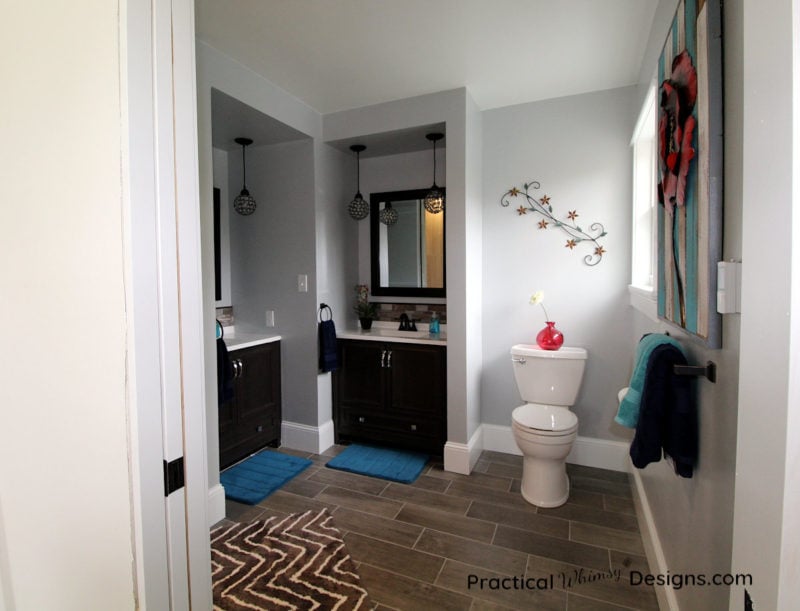
One thing we worked really hard on from a design sense, was creating a cohesive feel between our master bedroom and bathroom. It was important to create a sense of unity between the two spaces since they are part of the same suite.
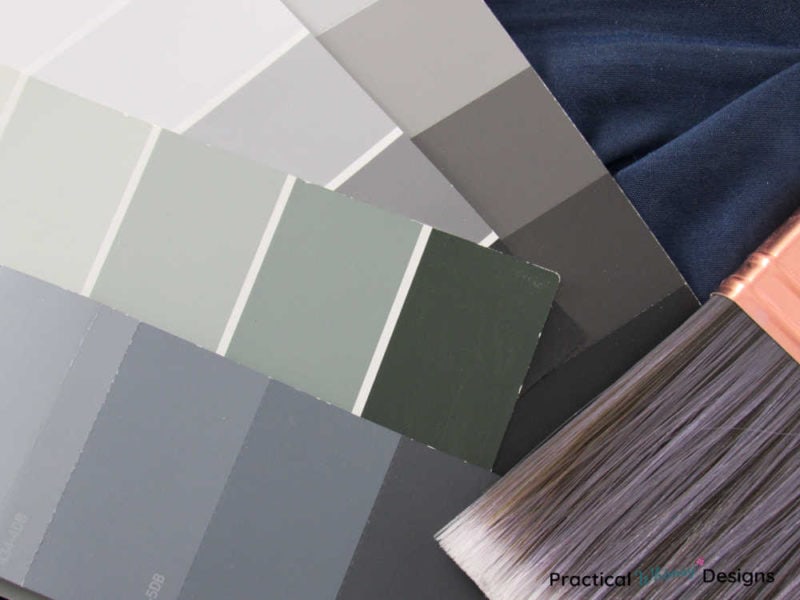
I did this by using similar colors, patterns, and fixtures throughout both rooms. Our accent colors in both rooms were teal and navy blue on a gray and white neutral background. I was able to incorporate elements with these colors into each room.
One simple project that added a splash of color were my diy pillows. Decorative pillows are a great way to add color to a room.
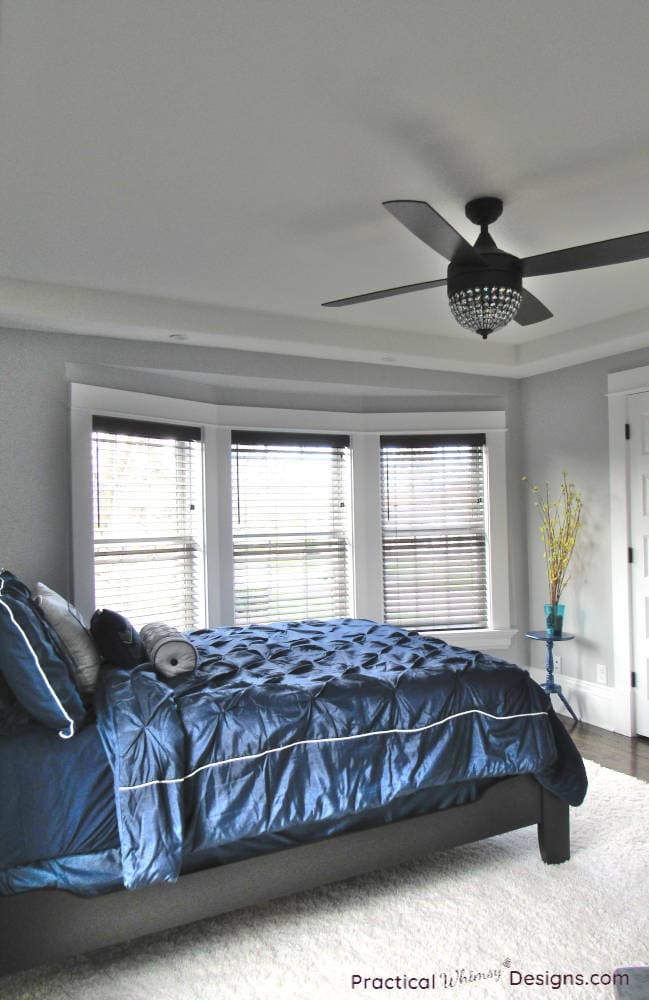
I used bronze elements in both of our rooms including turning a ceramic vase into faux brushed bronze with spray paint for our master bedroom decor. The fan in our master bedroom and the lights in our bathroom have the same crystal pattern.
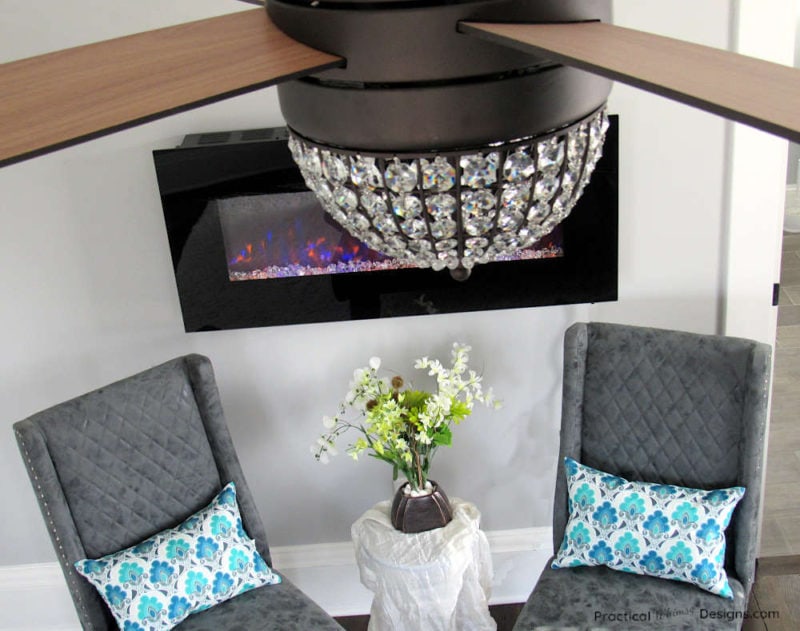
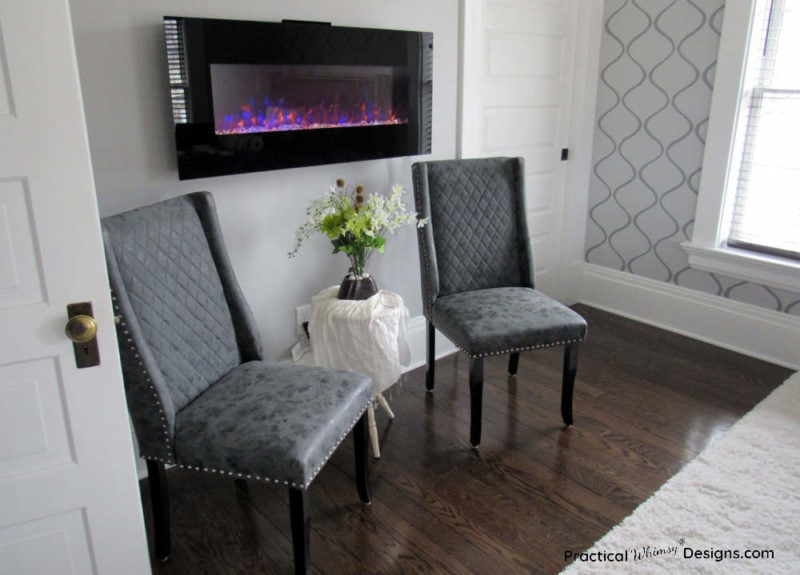
Another thing that was important to us in this remodeling project, was to keep and restore any of the old elements of the room that were worth saving.
We kept and refinished the hardwood floor, trim, and door. This included patching the holes in our hardwood floor and fixing some holes in our painted trim. We enhanced the look of the room by adding a tray ceiling. This brings out the natural beauty of the curved windows.
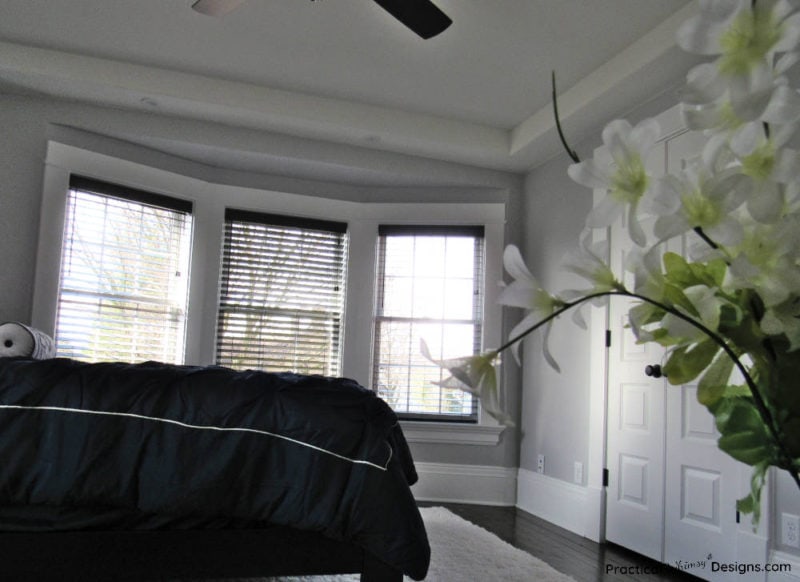
Adding other pops of color into the room worked to create a cozy space. And finding ways to do this through cheap DIY decor like my simple branch dollar tree decor and refinishing the old side table we found in our home when we purchased it, made these projects feasible for our budget.
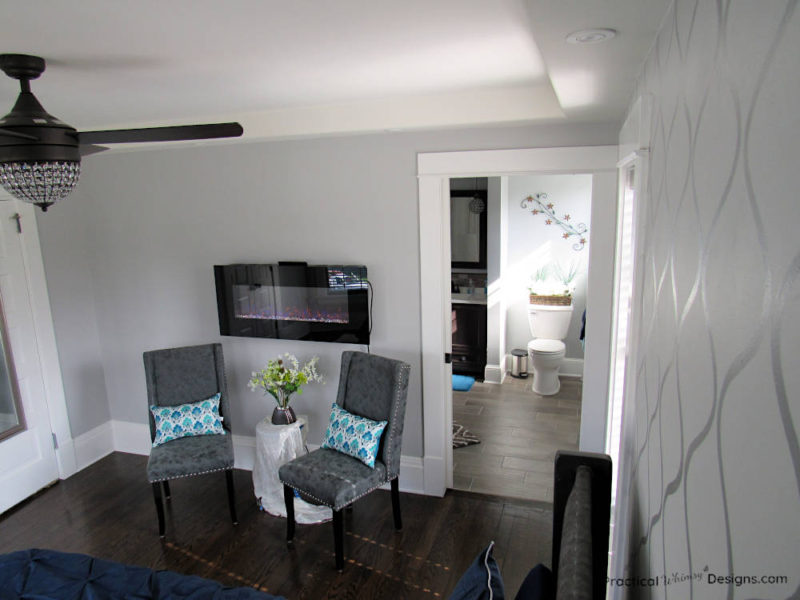
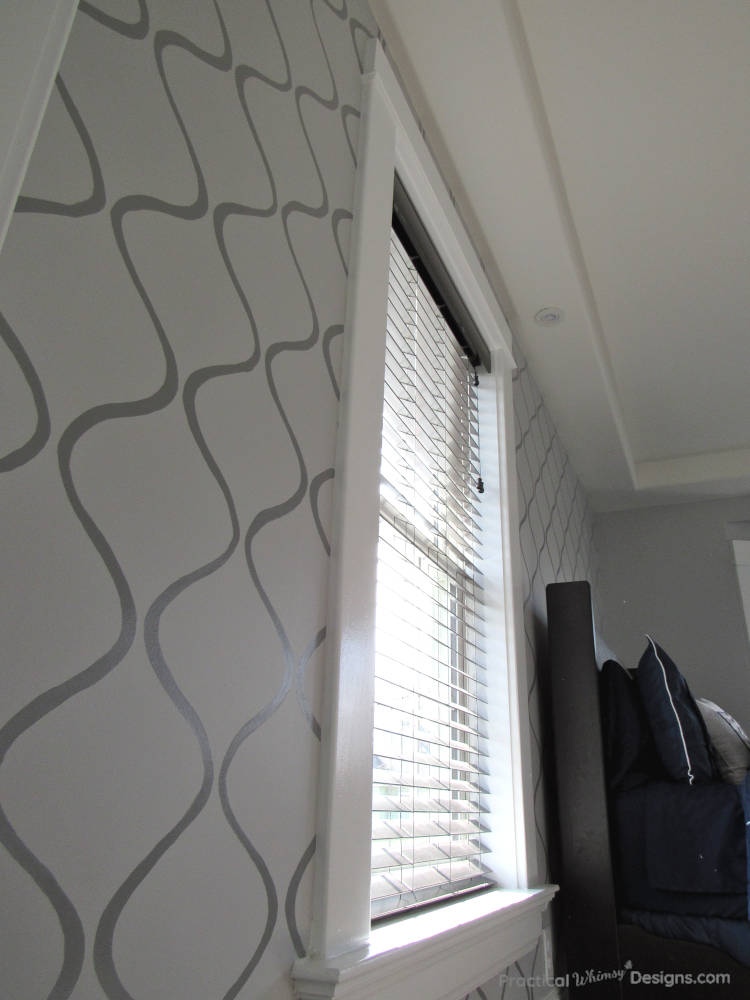
One of my favorite elements that we added to our room is the stenciled accent wall. The technique I used makes the wall look like wall paper, but it is actually all stenciled with paint. You can read the tutorial on how to create this stenciled wall here.
Other Projects
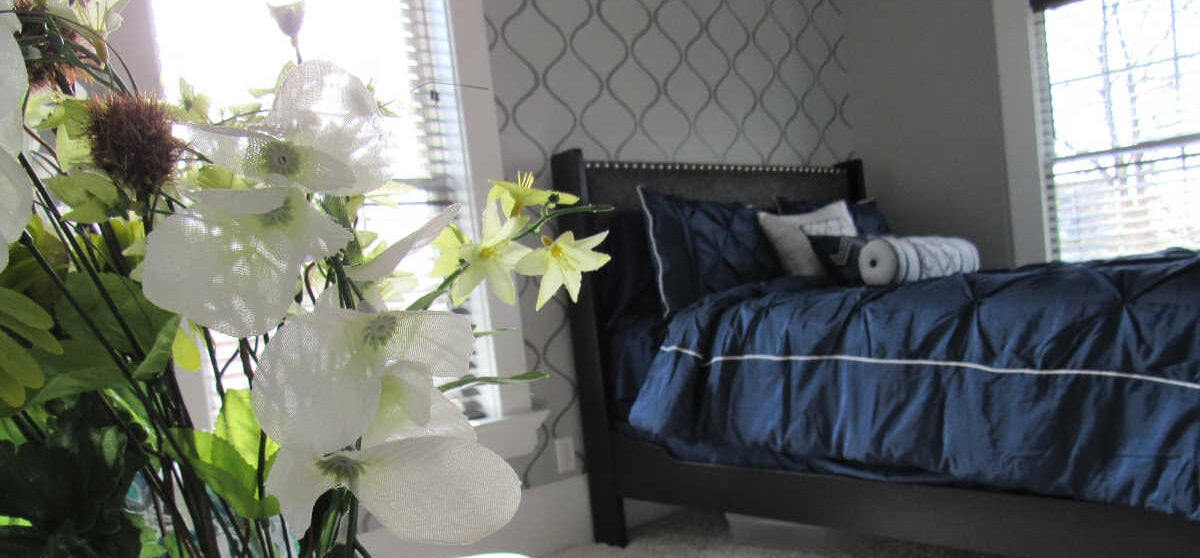
There were a lot of aspects that went into finishing this room, including converting our old sleigh bed into a more modern bed for our sophisticated master bedroom. We also made our own fabric headboard to match the sitting chairs we purchased for our room.
Here is what we used to complete our Master Bedroom. I tried to link to the original sources, but if I couldn’t find them, I linked to something similar. I gave three options for the chairs, since I couldn’t find the exact chairs we purchased. All of them are similar, but have a slightly different profile.
Master Bedroom Source List
Paint Colors: Walls- Moon Beam by Dutch Boy | Accent stencil wall color – Padlock Gray by Dutch Boy | Ceiling- Brightened Cream by Dutch Boy
Rug: White shag rug.
Ceiling Fan: Patriot Lighting Elegant Home Rosella 52″ Fan (purchased from Menards)
Bedding: Comforter | Grey Sheets | Navy Sheets
Chairs: (I could not find the original chairs as they were on clearance. Instead I linked to three other chairs that have a similar look with varying price points.) George leather chairs | Madison Park Emilia Dining Chair | Tufted Faux Leather Dinning Chair
Fireplace: Electric fireplace.
Click on the pictures below to shop the products we used on our remodel.
Want to remember this master bedroom reveal? Save it to your favorite DIY Pinterest board.
Want More Great Ideas? You Might Like These..


Are we friends on Instagram?
Follow @PracticalWhimsyDesigns to see more
behind the scenes projects



This is so lovely and I love that you added a pop of colour with the cushions – gorgeous!
Thank you so much!
I love the room! Especially the white trim and the windows! Beautiful job!!!! 👏👏👏
Thank you!
Absolutely love it! So beautiful and elegant. A pleasure on the eyes!
Thank you so much! I am so happy with how it turned out.
This looks incredible! Love the paint design making it look like wallpaper. It’s hard to believe it isn’t wallpaper, looks just like it. Great job!
Yes! I love how the stencil gives the look without the actual hassle of wall paper. Thank you so much!
I’m so impressed- you two are talented, and very patient 🙂
Thank you! Ha ha! Sometimes I didn’t feel patient, but I am so happy now that it is done!
This is beautiful and WELL DESERVED after all that hard work!!
Thank you! It was a lot of work and quite the process to get it to this point, but I am so happy with how it turned out.
Wow! You both did a great job!
Thank you! 😀
Excited for you! It looks great!
Thank you! I am so glad that it is done and happy with the way it turned out.
Nicely done!!
Thank you so much!
This turned out amazing Erin! You guys should be so proud of yourselves. I love everything about it and that tray ceiling is stunning!!!!
I am so glad my husband loves to install tray ceilings because I always love the way they turn out! Thank you so much!
Looks great Erin! Can’t wait to see it all finished in person. 🙂
Thank you and yes!