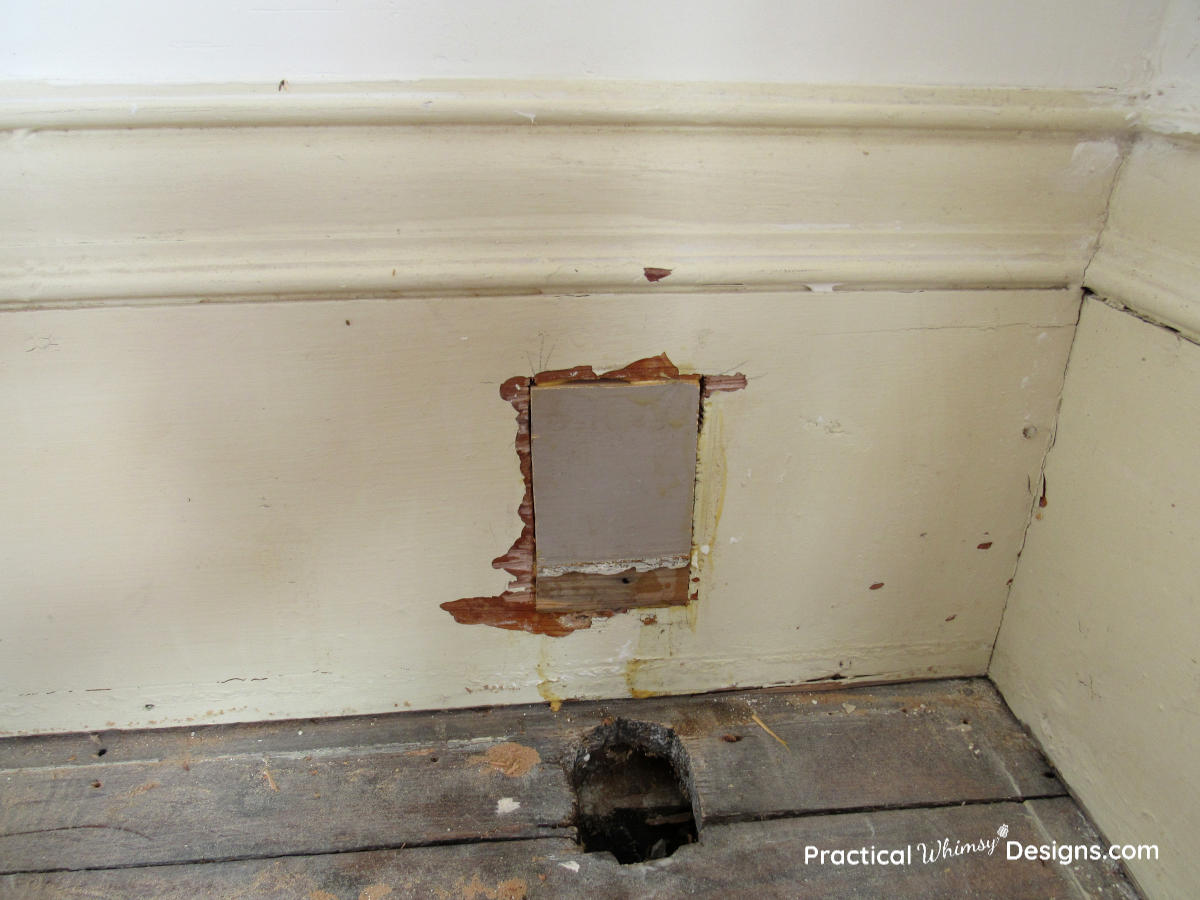
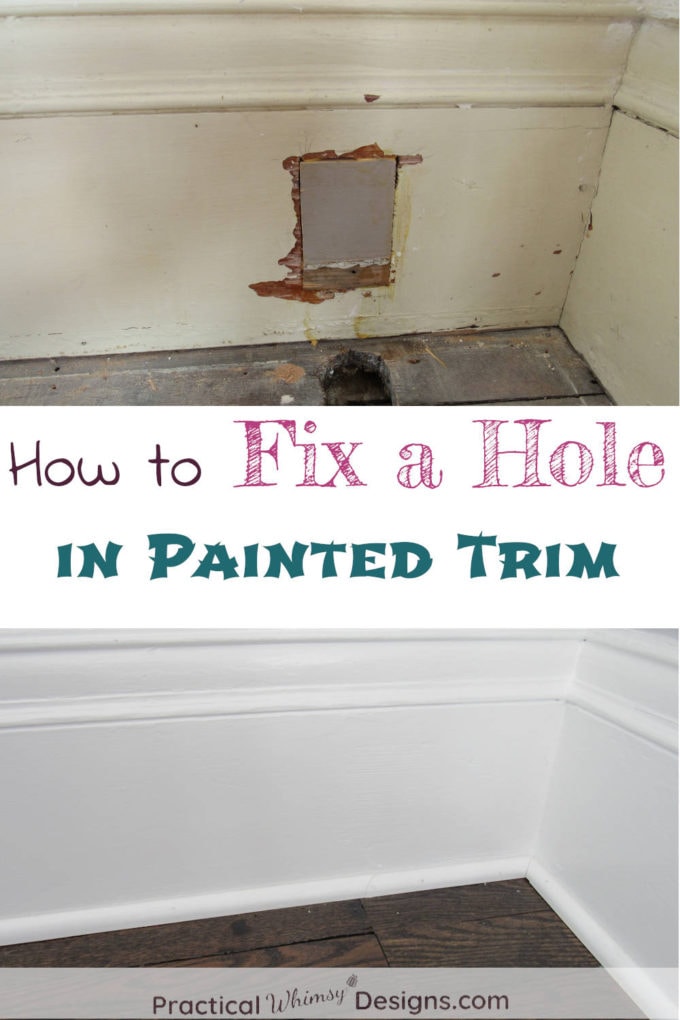
Need help repairing a hole in your base trim? This tutorial teaches you how to fix a hole in painted trim to make it look new again.
Houses go through so many changes. Especially old houses. Trends come and go and our house is an eclectic mix of many decades of style.
One of those styles is painted trim. Most of the woodwork in our house has been painted. (Now, this post is not to debate painted trim vs. wood. I know there are some strong opinions on either side, but I just wanted to state that our trim was already painted before we remodeled.)
We decided to keep our master bedroom trim painted and not try to strip off the old paint. I always love to try to restore things if I can but we had two reasons to keep the trim painted.
- It had a lot of grooves and crevices that would be hard to strip (a.k.a we were being a little lazy)
- We had a lot of patching to do on the base trim. The base trim had to be replaced where we moved the closet. We also had to fix the large hole someone had cut in the trim to install an outlet. We moved the outlet and needed to repair the square hole in our trim.
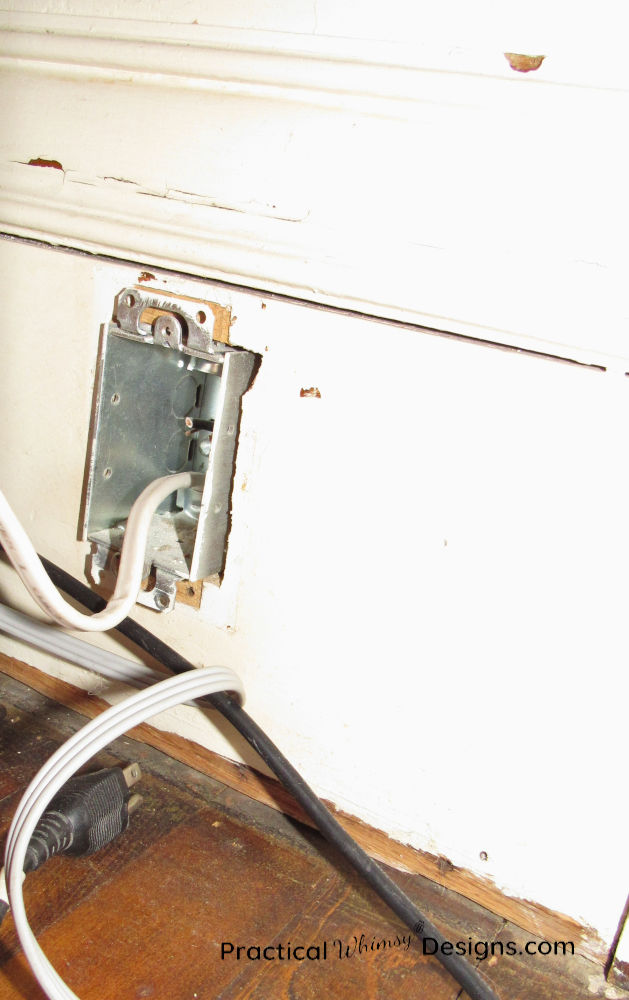
Keeping the trim painted was the easiest way to fix this problem.
If you have painted trim and need to repair a large hole, here is the method we used.
Note: Unfortunately this method only works for painted trim. If you are wanting to stain the wood this method is not for you.
What you will need:
- Wood glue
- Tape measure
- Saw to square out hole and cut your wood to the right size
- Piece of wood (preferably a chunk of the same wood as your trim or, at the very least, the same width)
- Wood filler
- Sander and sand paper
- Paint
Steps to Fix a Hole in Painted Trim
Step 1: Measure and cut
Use the tape measure to measure the hole in your trim. Cut a piece of wood to fit in that hole.
Note: It is a good idea to square the hole in your trim so that your new piece of wood fits in straight. We used an oscillating saw with a flat blade to make sure our hole had straight edges.
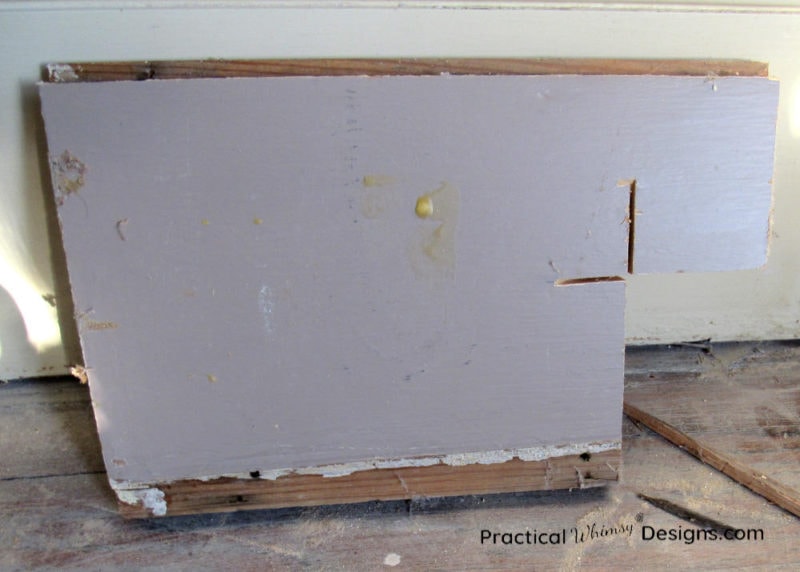
Step 2: Install Wood Piece Into Hole
Apply wood glue to the edges of the wood you cut. Insert the piece of wood into the hole in your trim. Let the glue dry.
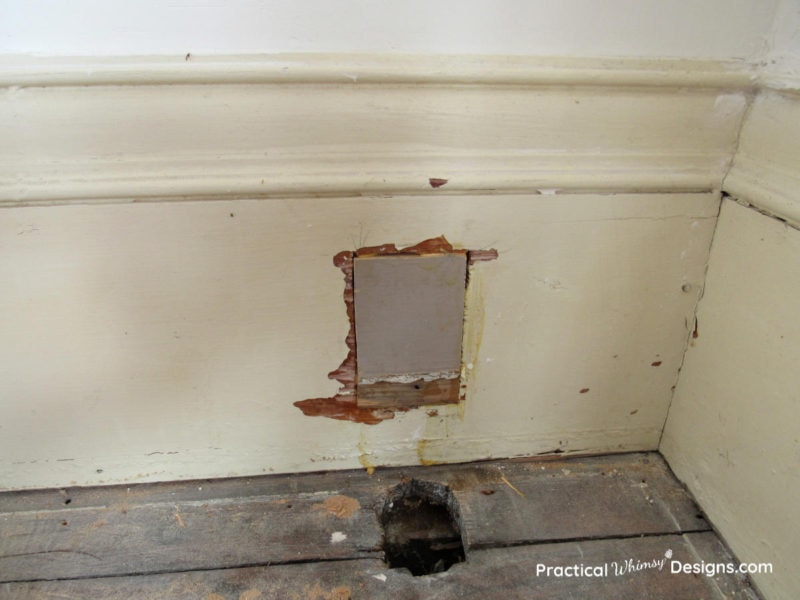
Step 3: Sand and Fill
Once the glue is dry, use an electric sander to sand the glue and edges of your wood block until they are on an even plane with the rest of your trim. Always wear a dust mask when sanding and follow safety guidelines.
Note: If you are thinking of sanding old paint, make sure you test for lead before sanding as lead based paint needs to be treated differently and should not be sanded with an electric sander.
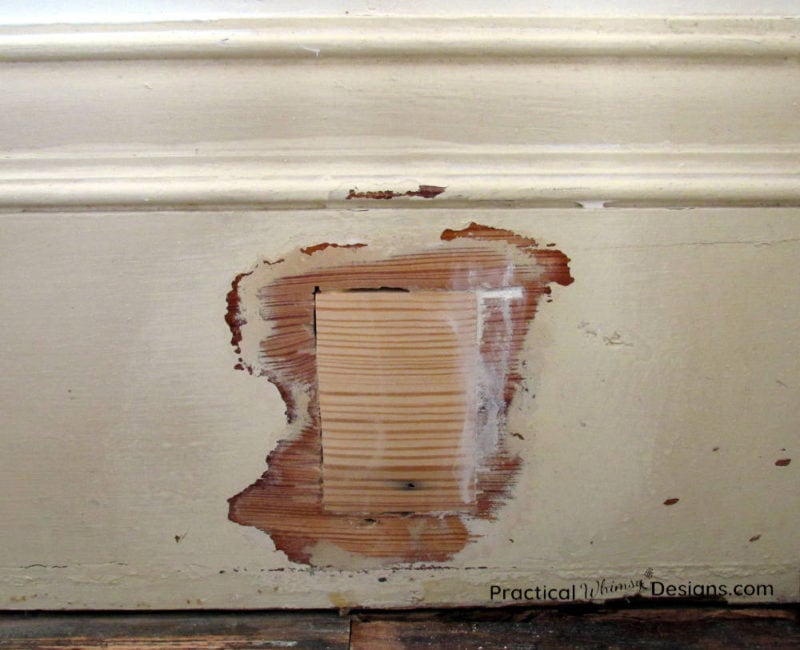
Use wood filler to fill any holes around your piece of wood. Since it will be painted, it really doesn’t matter what color you use, however a lighter color is usually safest if you are painting your trim white.
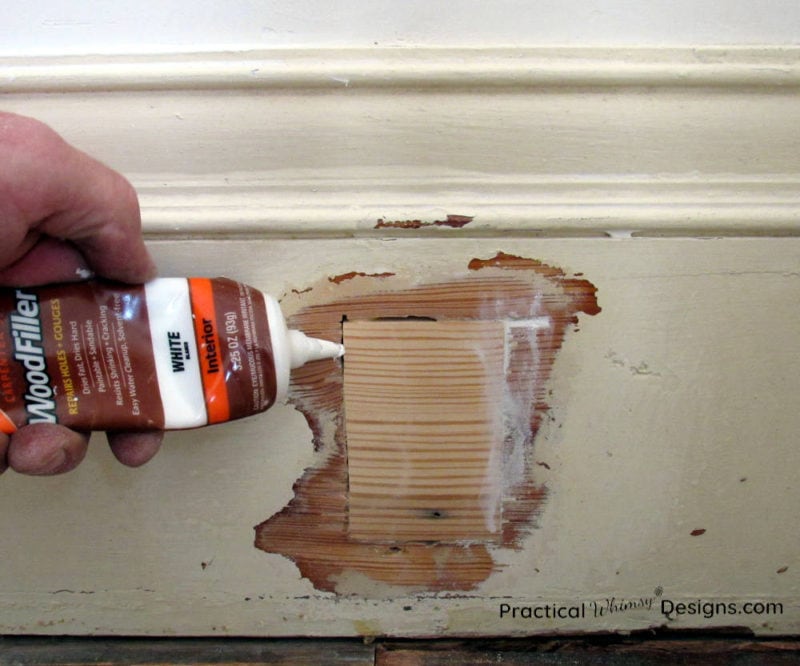
After the filler is dry, lightly sand one more time to make sure everything is smooth.
Step 4: Paint
Now you are ready to come back in and paint your trim.
Fix the Holes in Your Painted Trim Like a Pro
As you can see, you can’t even tell where there was a hole before. We also fixed the hole in the floor by replacing the hardwood boards in the corner.
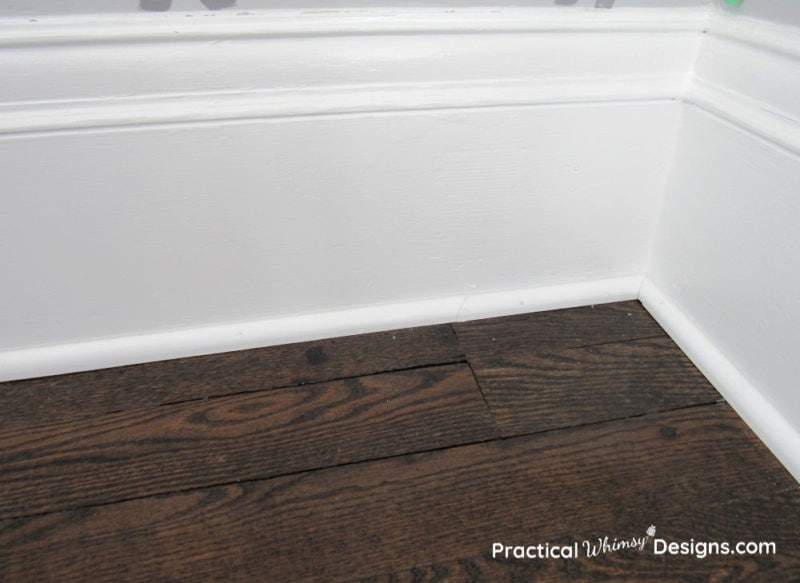
It really is an easy repair that makes a huge difference and can save a lot of money. Repairing your trim rather than replacing it is always the best way to save money on a remodel project.
Now you have the knowledge to fix any holes you might have in your painted trim.
Want to remember this idea for later? Save it on your favorite DIY Pinterest Board.
Need a few more DIY ideas? Read about how to tile: tiling basics for the beginner or learn how to install a simple kitchen island back panel.


