
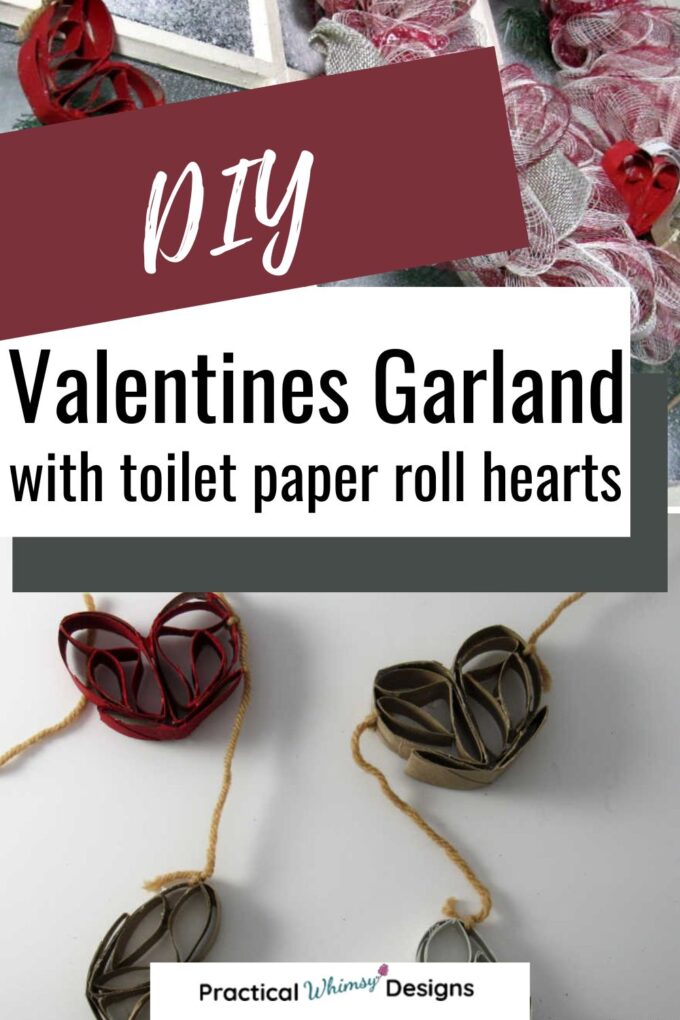
Create an easy DIY Valentines garland with toilet paper roll tubes. These beautiful intricate hearts are a fun way to celebrate.
Valentine’s day decorations are something new in our home. I don’t typically like to go all out, but I do like to put up something simple in my living room, kitchen, or dining table.
If you also enjoy putting up a few easy decorations and are looking for a simple way to wish everyone in your home a happy Valentine’s Day, try your hand at this beautiful garland.
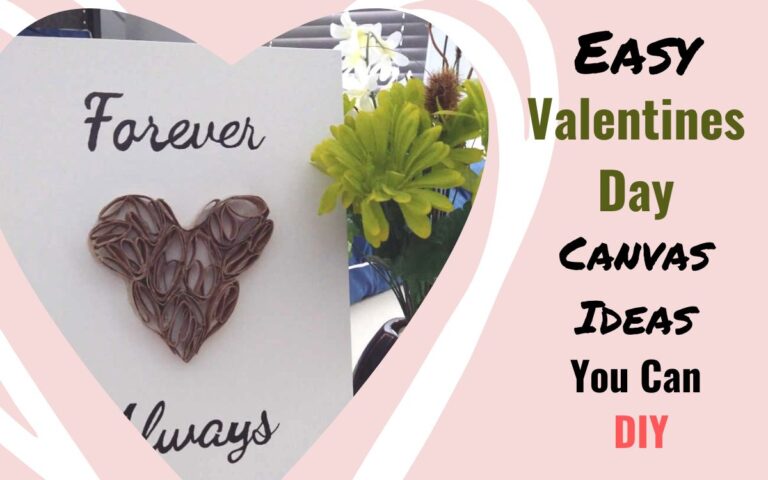
This easy Valentine’s Day garland uses upcycled toilet paper roll tubes and acrylic paint to create each small heart on the garland. I had used a similar method to create my 3D canvas heart picture, so I thought it would be a great idea to come up with DIY Valentine’s garlands that use a smaller version of this intricate looking, yet simple heart.
How to Make an Easy DIY Valentines Garland
Follow these step-by-step instructions to create your own DIY Valentines garland using upcycled toilet paper rolls. This inexpensive DIY project is a beautiful way to create a 3-D heart, perfect for your Valentine decor this year.
This post contains some affiliate links for your convenience (which means if you click a link and make a purchase I will earn a small commission at no extra cost to you). Please see my disclaimer page for more information.
Materials Needed
- Toilet Paper Rolls or Paper Towel Tubes (You can make about one heart per toilet paper roll)
- Scissors
- Hot Glue Gun
- Craft paint brush
- Red Acrylic Paint
- White Acrylic Paint
- Skein of Yarn or jute string
Step 1: Cut the Toilet Paper Roll
The first thing you need to do is cut each toilet paper roll into 1/4″ to 1/3″ strips. Try to make them the same width if possible, but don’t take too much time on this. It is easier to glue the heart together if the pieces aren’t different sizes, but it doesn’t have to be perfect.
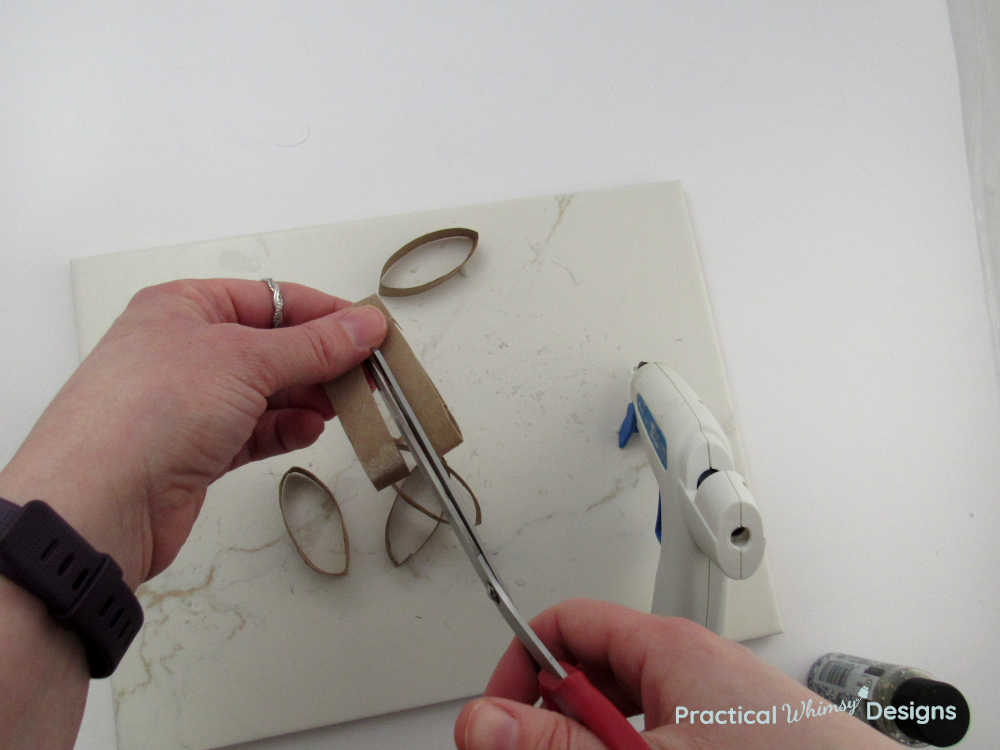
I was able to cut about 7 pieces from each toilet paper roll.
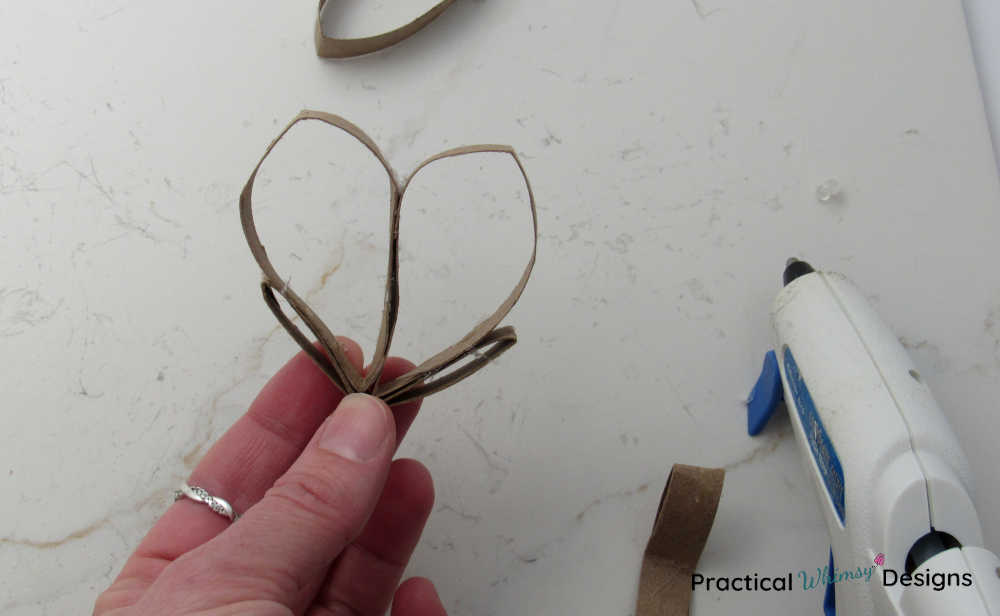
Step 2: Glue Together the Paper Heart Outline
The first step to creating the outline of the heart is to take a piece of cardboard toilet paper roll loop and fold it in half.
Grab another loop and use a hot glue gun to glue the loop onto the left inside edge of the V you created with your first fold.
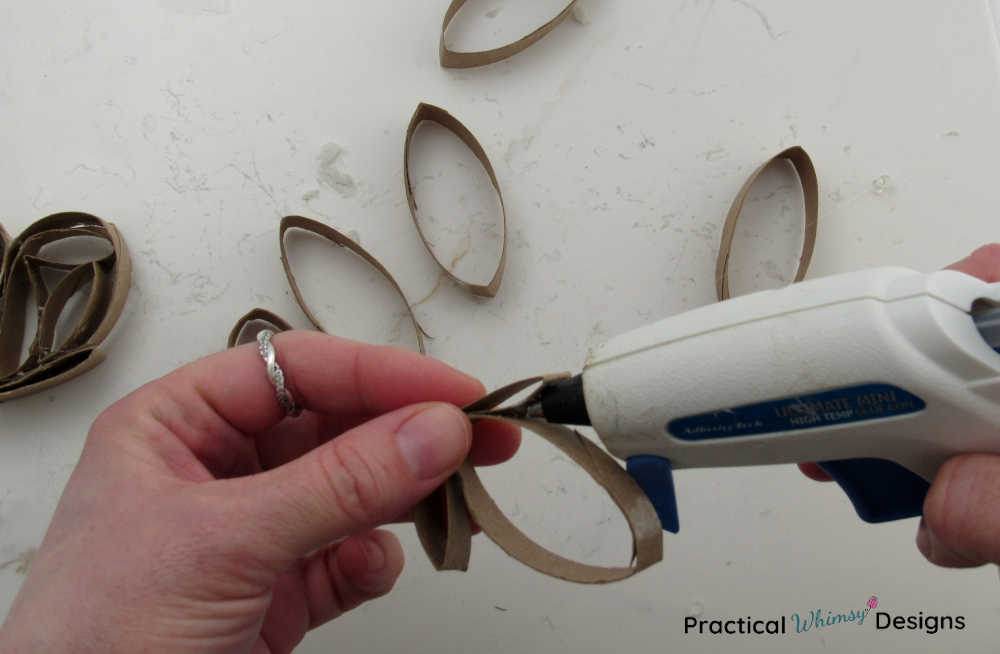
Then glue a second loop on the right side of the inside of the V loop.
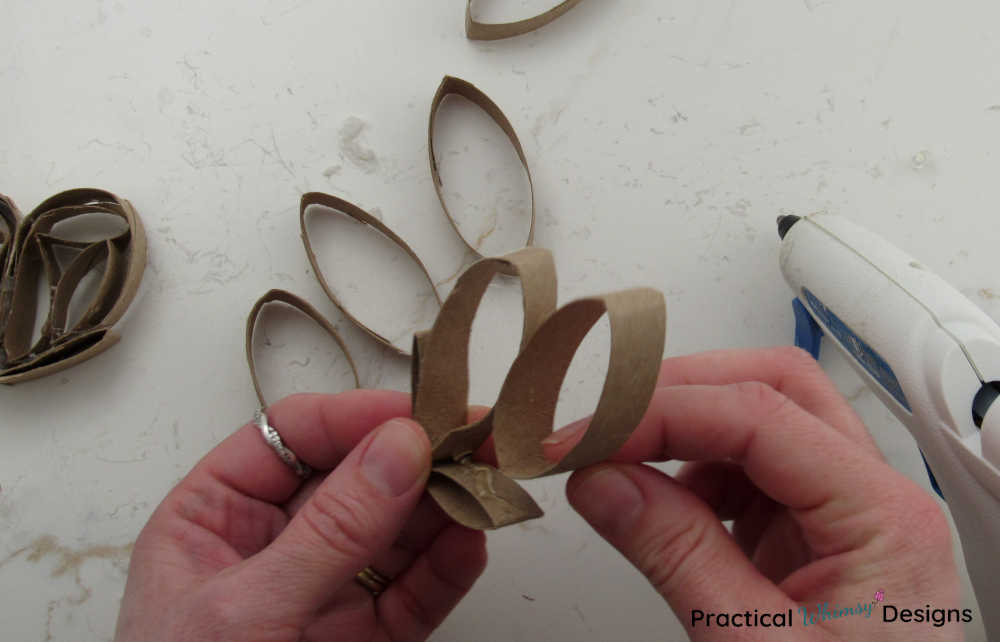
Glue the two loops you just added together on the inside, leaving the two bumps on the top free.
You should now have the folded V-shaped loop on the bottom with the two larger loops glued together in the center to create the outline of your heart shape.
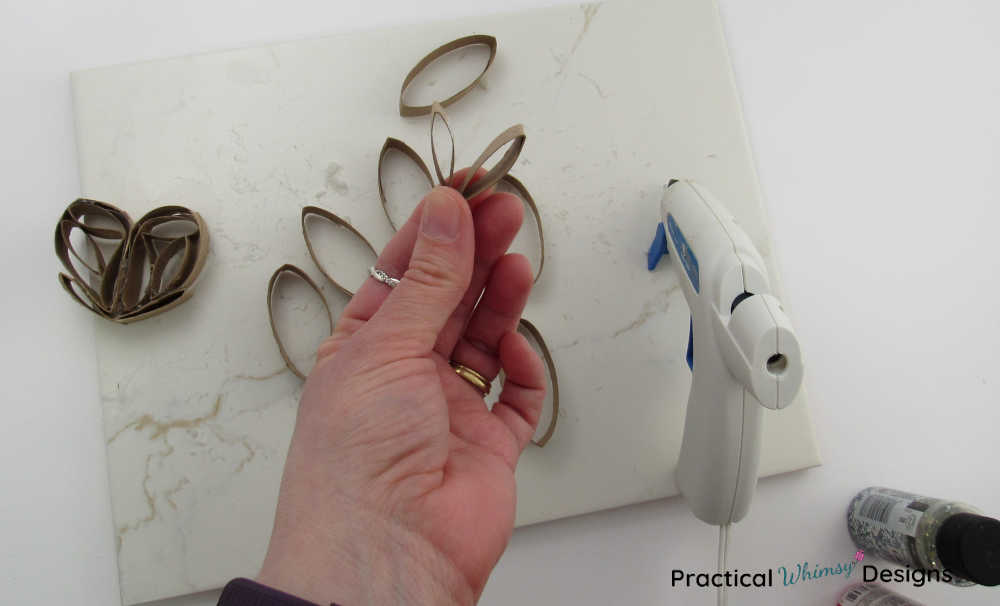
Step 3: Glue the Inside of the Heart
Next, fold another loop in half. Put hot glue on the tips of both ends of the V you created by folding the loop and place the V loop in the center of one of the larger heart loops. The point of the V should touch the inside of the heart with the tips facing the outer circle of the heart.
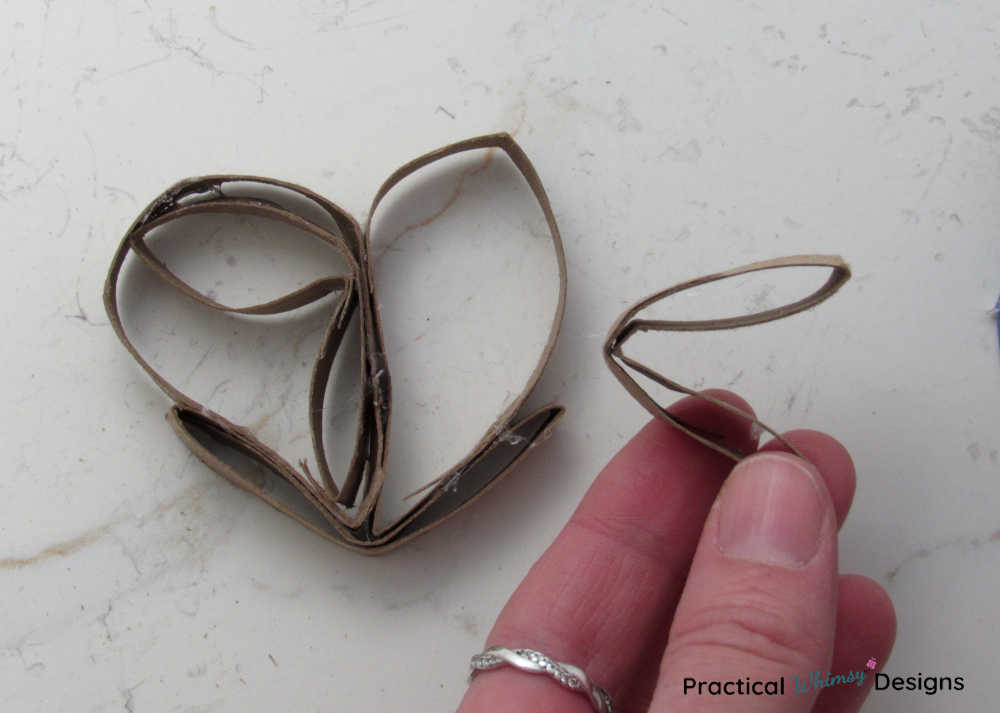
Then fold another loop in half, put hot glue on the tips of each V end and glue it in the other heart circle, facing in the opposite direction as the first loop we just did.
Work the paper loops around with your fingers, making the loops smaller or bigger, until they are the size you want them to be.
Finally, fold one more loop and cut it in half, making two smaller loops.

Glue the ends together of the two mini loops you made.

Grab one of the loops and add glue to either end. Place it in the empty space on the heart loop, filling in the top of the V loop you just glued into the heart.
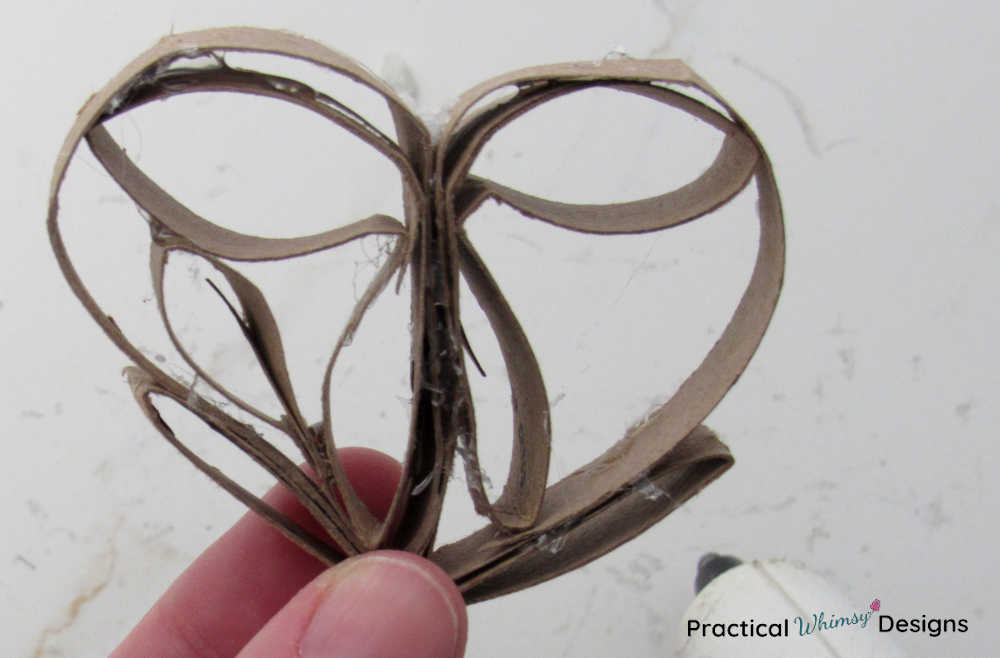
Repeat on the other side.
Now your heart is complete.
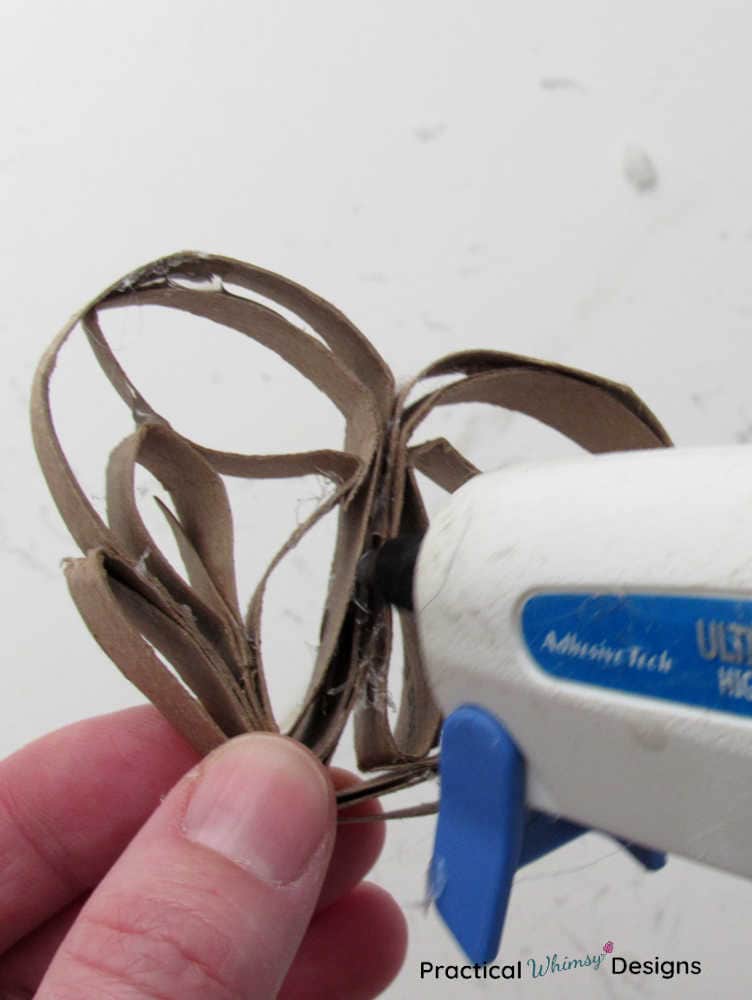
Step 4: Clean up the Heart
Hot glue tends to get a little stringy.
If you have globs of glue or little strings of glue all over your heart, the easiest way to fix that is with the hot glue gun. Rub the heated metal tip of the hot glue gun over any glue globs or strings melt the glue strings and clean up the 3D paper hearts you created. Don’t forget to check the back of the heart for glue as well.
Step 5: Paint the Hearts
If you want to add multiple colors to your garland, you can paint the hearts with acrylic paint. I had both white and brown toilet paper rolls, so I left a few of my hearts each color. I then painted two hearts with red acrylic paint and left them to dry.
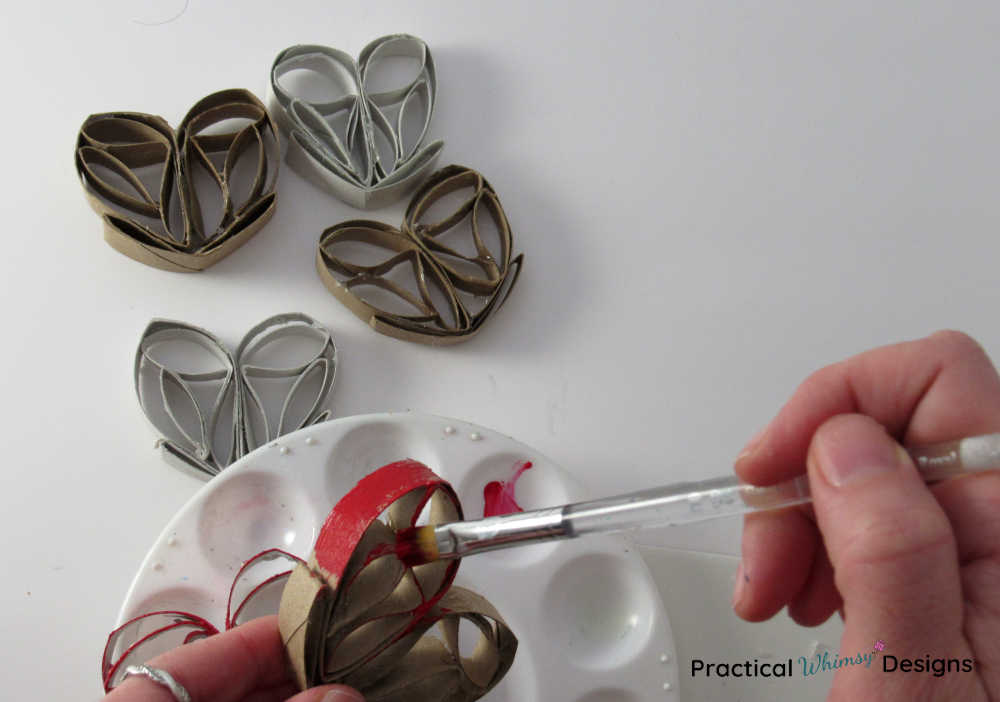
If I was using all brown tubing, I would have painted a few hearts with white acrylic paint as well. I like the way the three colors look together.
Step 6: Tie the Garland Together
The final step is to tie all of your hearts together.
I used a piece of yarn to tie each heart together, but you can also use jute string or a piece of ribbon instead.
Decide how far apart you want your hearts to be spaced and what the desired length of your heart garland should be.
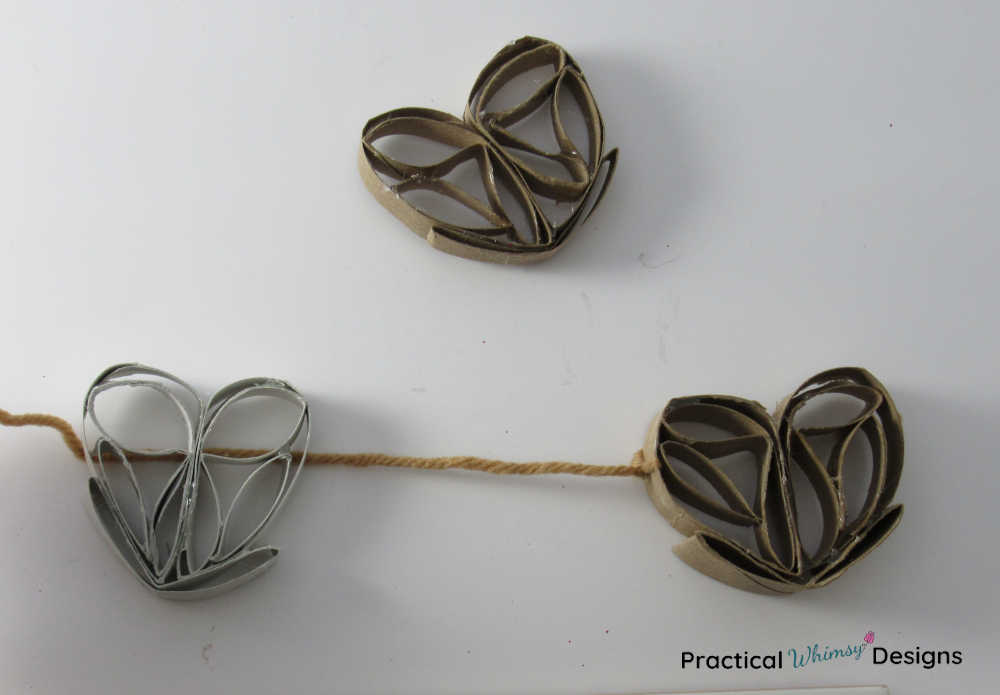
Cut pieces of yarn in equal lengths to tie in between each heart.
Loop the piece of string or yarn in the edge of your 3D heart and tie it in a knot. Trim off any stray pieces of yarn to give your knot a clean look.
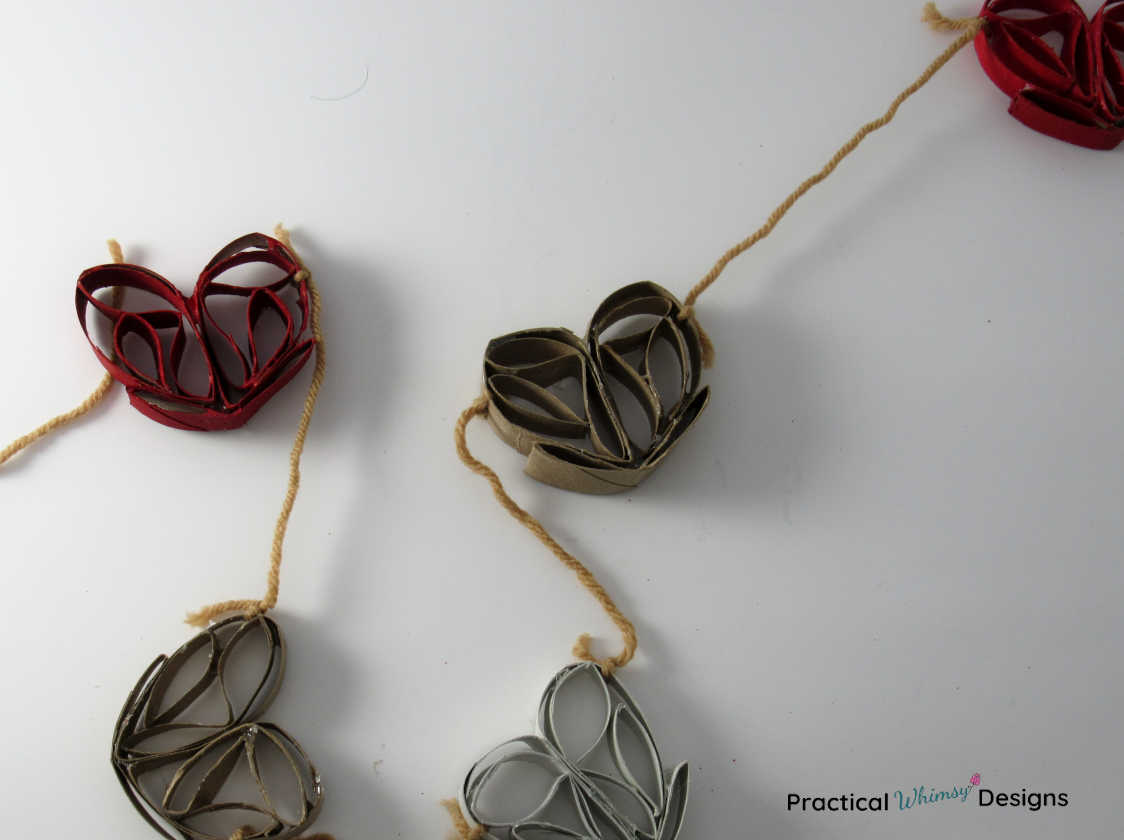
Continue tying each heart to the end of the yarn strips.
Add extra yarn on either end for the perfect decoration for your fireplace mantel or curtains.
Hang Your DIY Valentines Garland
Find the perfect spot to display your Valentine’s garland DIY project.
I hung mine on the DIY frosted window I had used with my Christmas decorations and winter mantel decor this year.
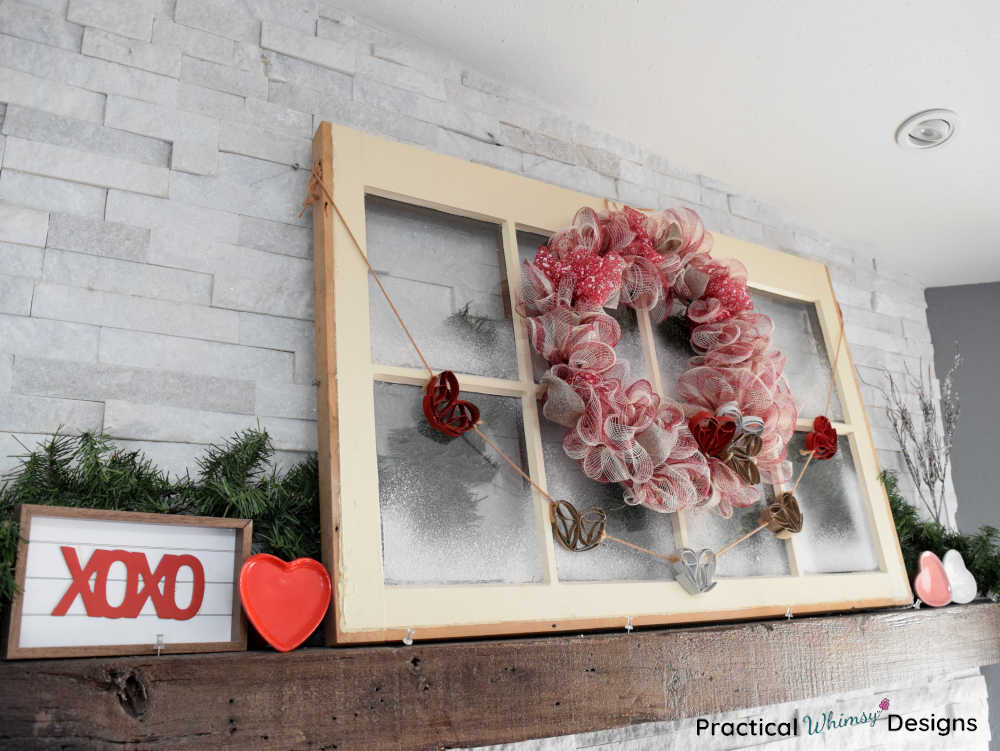
I also added a few of the toilet paper roll hearts to my DIY mesh wreath I had made for Christmas decorating. The beautiful thing about this wreath is that it can easily be changed to match decor in various seasons.
This wreath is an easy DIY valentines decoration that adds a little cheer to any room.
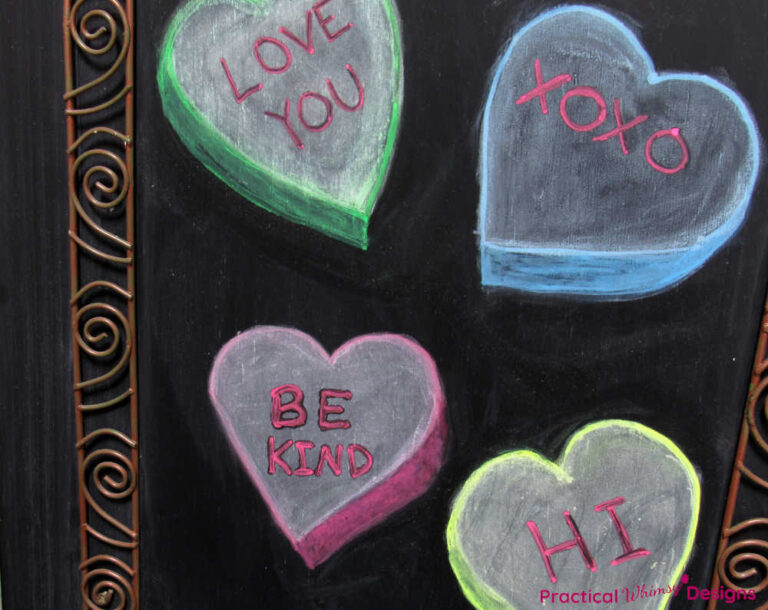
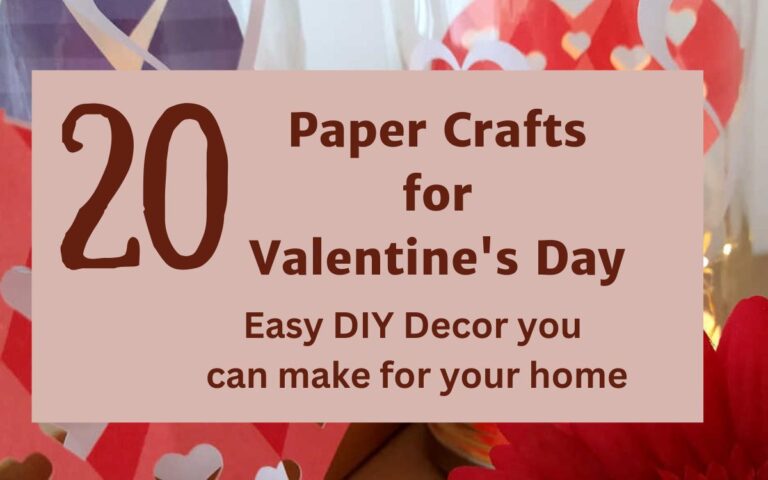
If you are looking for more DIY projects, check out these 20 paper Valentines crafts or Canvas Valentine art projects.
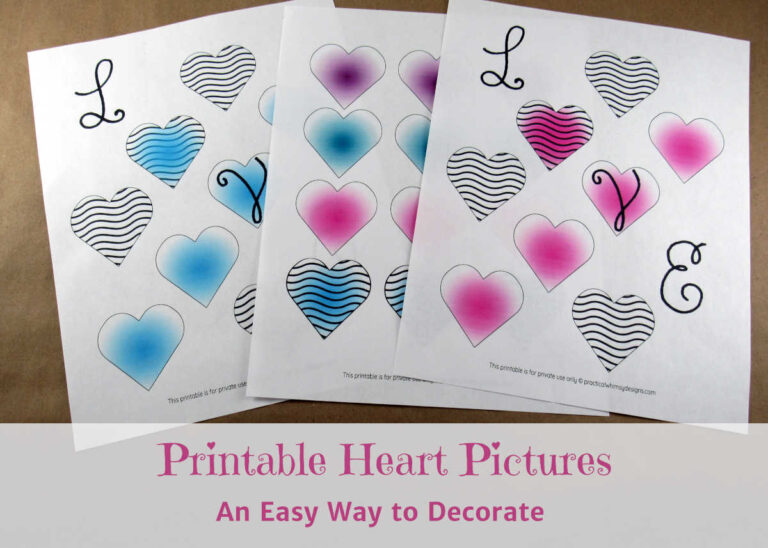
Looking for free printable art to help you decorate your home? Sign up for my newsletter and get immediate access to my resource library as a benefit of being a subscriber.
Want to remember this idea? Save it to your favorite Valentine’s day board on Pinterest.
Want More Great Ideas? You Might Like These..


Are we friends on Instagram?
Follow @PracticalWhimsyDesigns to see more
behind the scenes projects