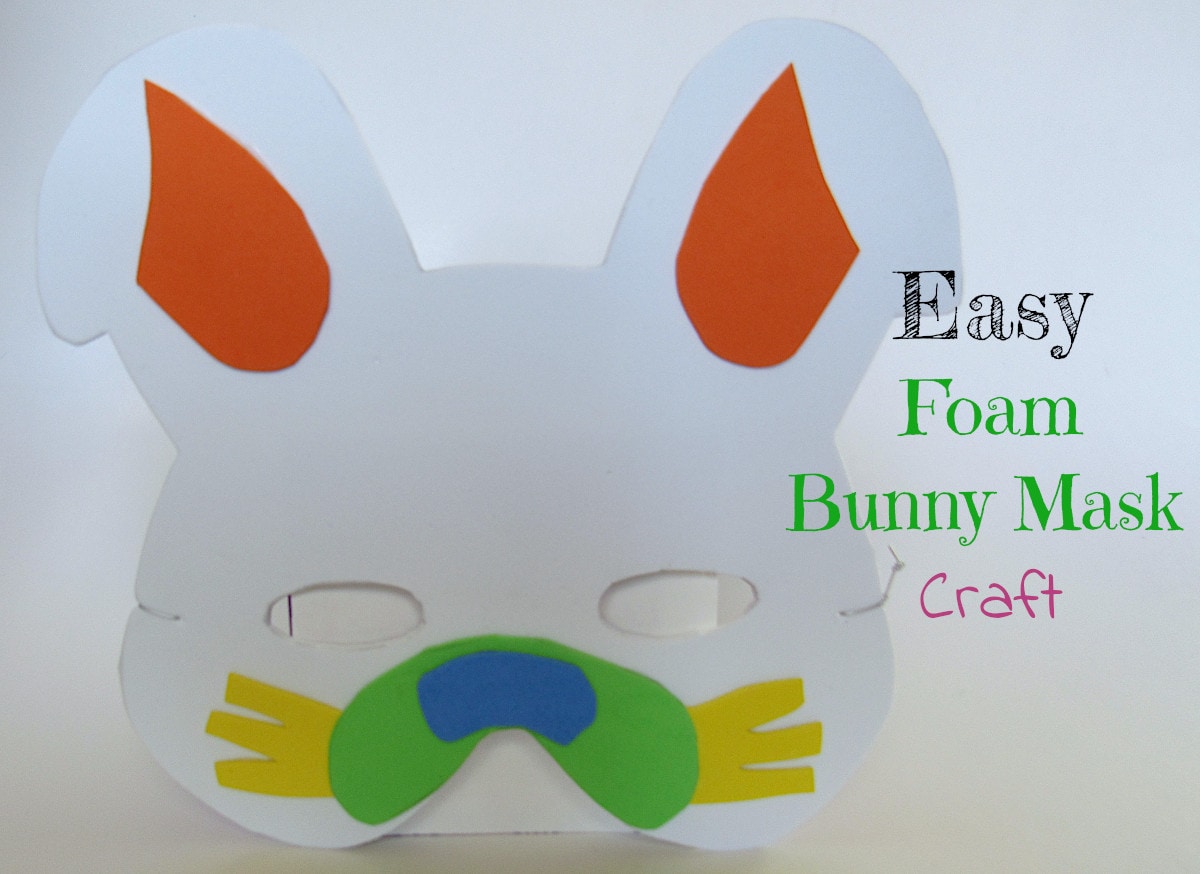
Wanting to make a fun Spring craft that your kids are sure to enjoy? Try this easy foam bunny mask that will have your kids ‘hopping’ for joy.
One of my kids’ favorite dress up paraphernalia is masks. There is something about a mask that transforms the wearer.
No longer are they simply a kid.
Now they are a ferocious lion, silly monkey, or hopping bunny.
Our kids had several of these foam masks in their dress up box, but only one of each kind. It is hard to be a colony of bunnies when there is only one bunny mask.
So, I came up with a template to make more bunny masks, which I thought would be a fun craft right around Easter.
I hope you have fun making this easy foam bunny mask with the kids in your life too.
This post contains some affiliate links for your convenience (which means if you click a link and make a purchase I will earn a small commission at no extra cost to you). Please see my disclaimer page for more information.
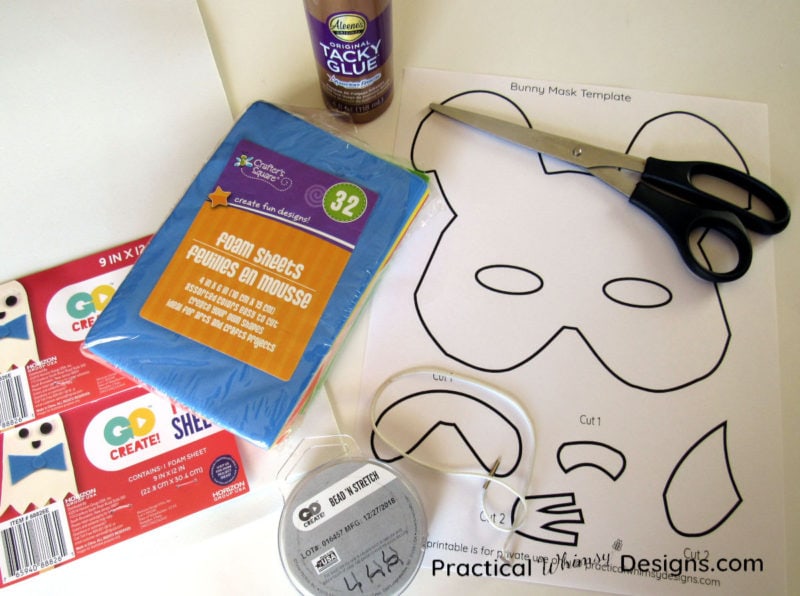
Materials You Need:
- Bunny Mask Printable Template available in my Free Resource Library. (You can get the password by signing up at the bottom of the page)
- Craft foam (I used colored 6″x4″ foam and white 9″x12″ foam)
- Scissors
- Tacky Glue
- Pencil
- Tack
- Elastic string or elastic band with metal ends like this
Steps to Make an Easy Foam Bunny Mask
Step 1: Print and Cut out the Template
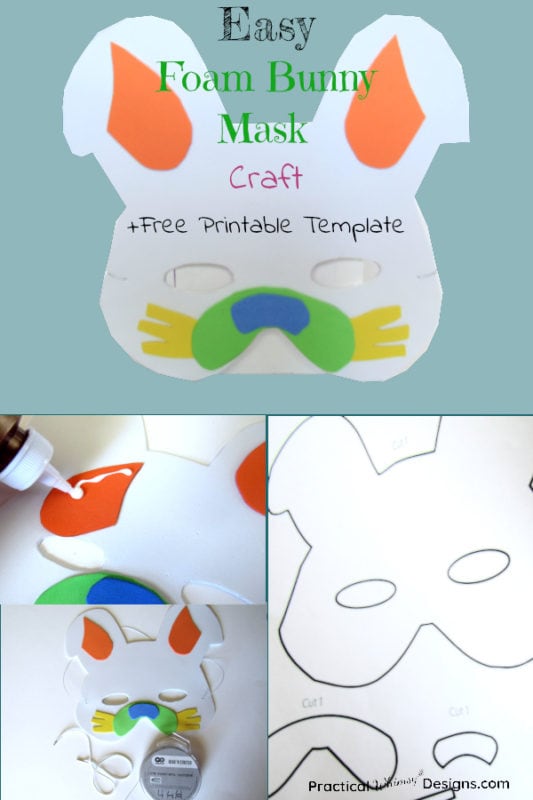
The first thing to do is print out the template I made for you from my free resource library. (Need the password? Sign up at the bottom of the page).
You will need a .pdf reader to open it. If your computer does not come with one, you can download one online for free.
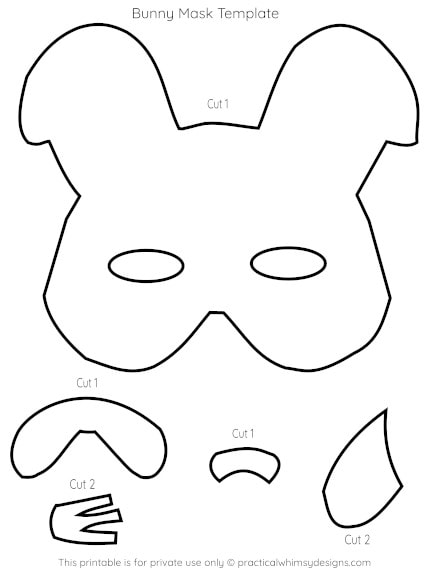
The printable is designed to fit an 8 1/2″ x 11″ sheet of paper.
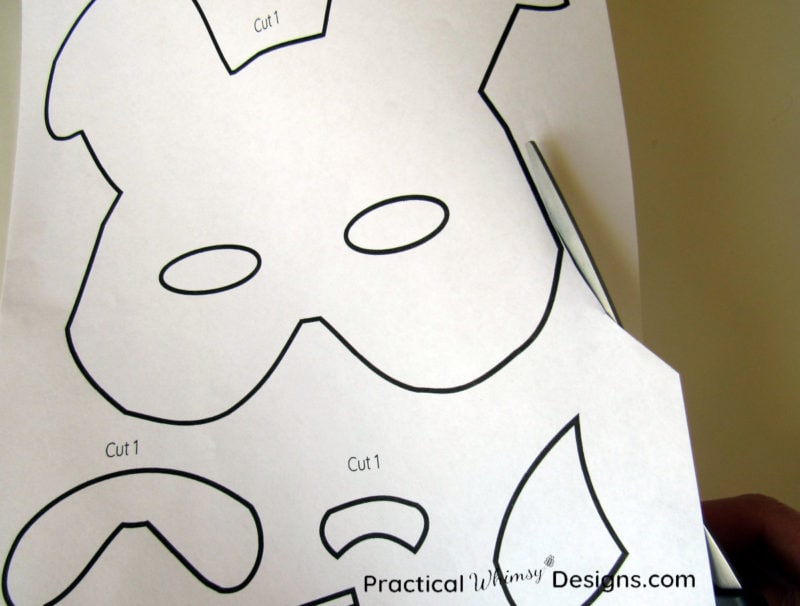
Cut the template out with a scissors.
Step 2: Trace and cut out your foam
Use the template to trace out your mask on the craft foam. You will want 9″x12″ foam for the face piece. For my bunny I used white craft foam for the face and smaller sheets of colored foam for the whiskers, nose , and ears, but you can use any color combinations you want.
Use a pencil to trace an outline on the foam, using the template.
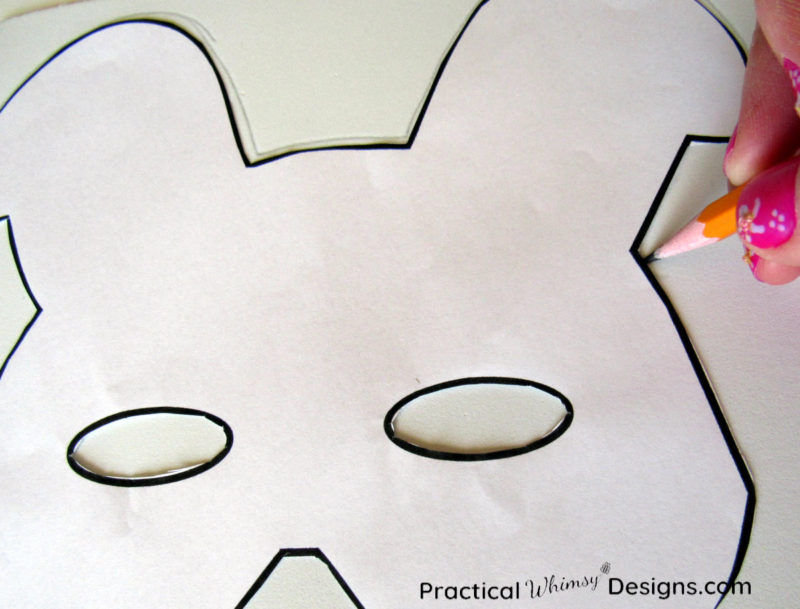
You will need to cut 2 of several of the pieces, so make sure to pay attention to the number when you are tracing out your pieces.
Again, use a scissors to cut out the foam pieces.
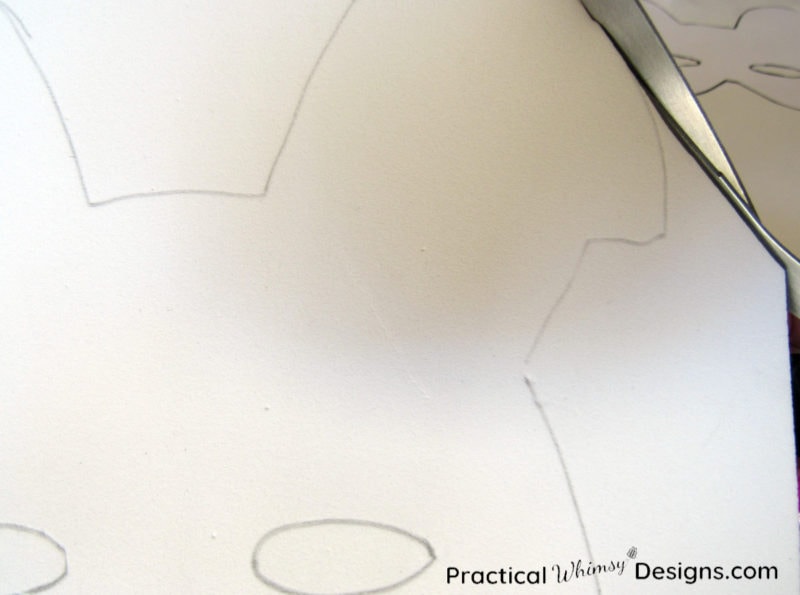
Step 3: Glue the pieces together
I used Tacky glue for this step because of its flexibility. You don’t want to use a glue that dries hard because the foam mask needs to be able to bend around the wearer’s face.
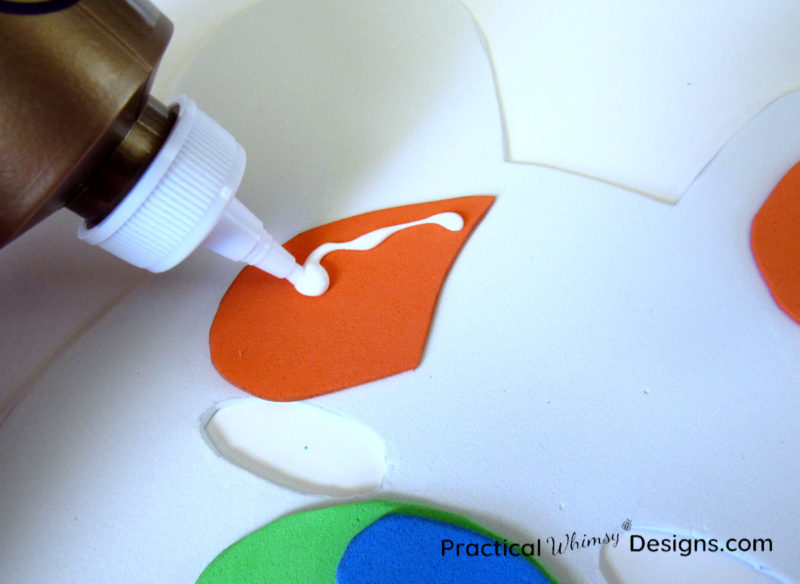
Hint: Make sure to glue the whiskers under the snout piece.
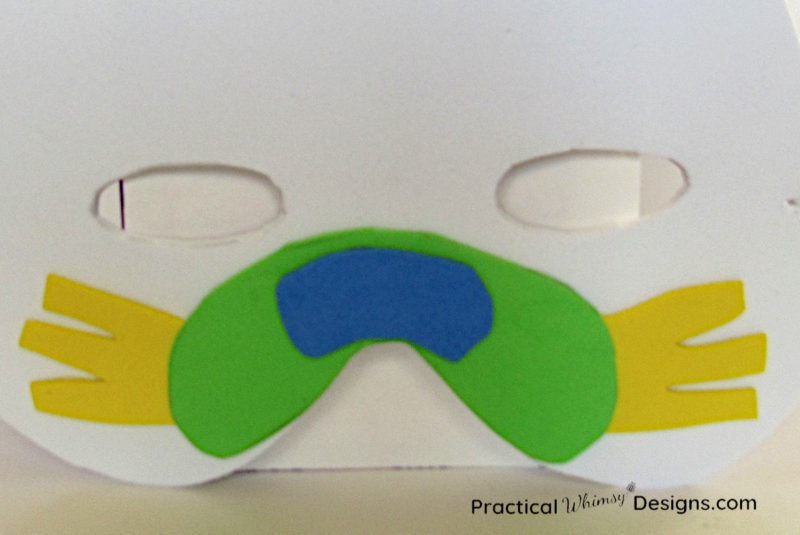
Let the glue dry.
Step 4: Add the elastic band
Poke a hole with a nail in each side of the mask. DO NOT make the holes too big. You only want them to be big enough to fit a small elastic band in them.
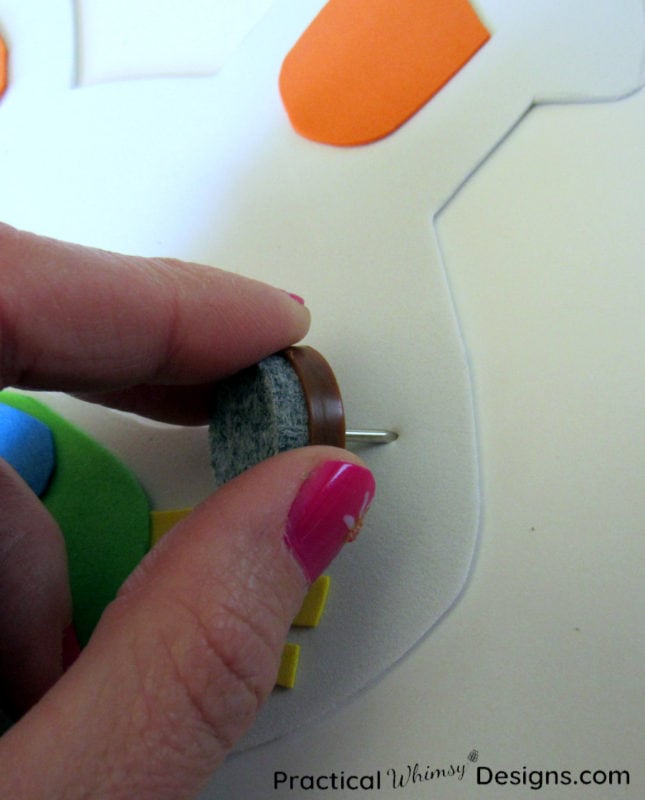
The best bands I found were the ones with metal tips that are designed for masks. However, I didn’t have time to order some of these and couldn’t find them in my local store. I did find some stretchy beading wire which I tied around the edge of the mask.
It shouldn’t matter too much what kind of string you use, as long as it stretches.
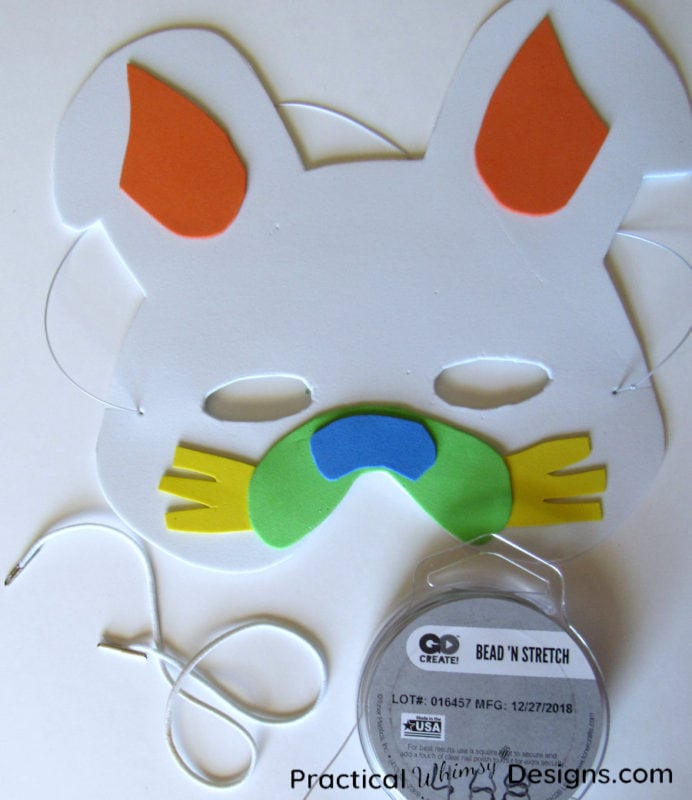
You want the string to be tight enough to fit snugly around the face without digging in to the skin. I cut mine to about 14″ which still gave me enough room to tie the elastic band onto the mask. You will have to measure it to the child who is creating the mask.
Easy Foam Bunny Mask
And that is it.
This is a fun craft to make around Easter.
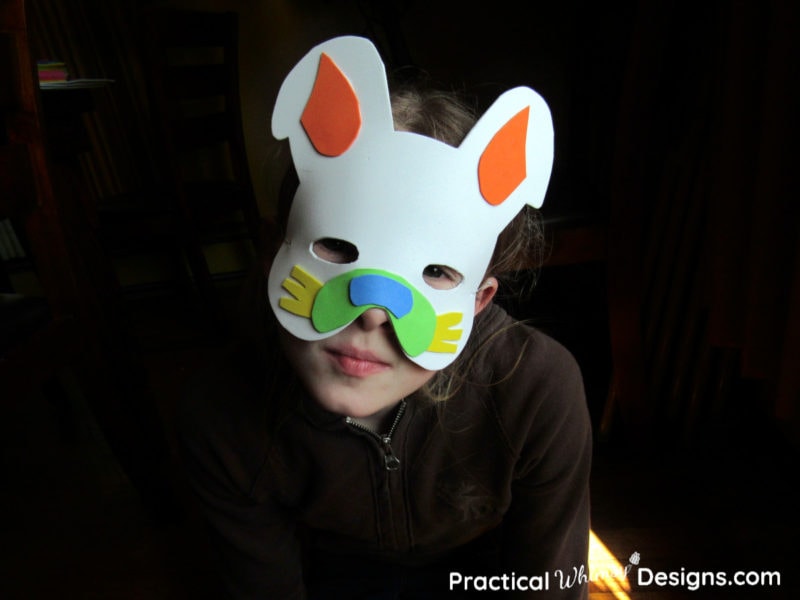
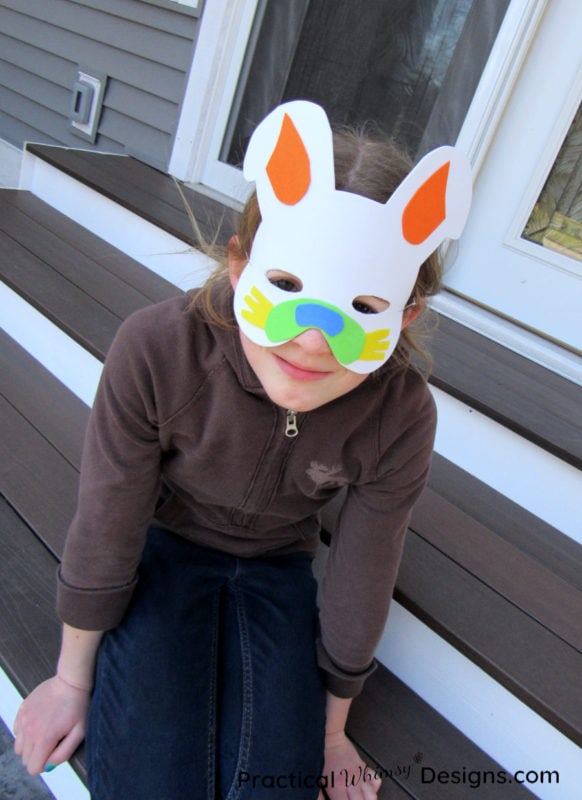
You can also use this mask as part of a fun and easy DIY dust bunny costume for Halloween.
Need the bunny mask printable template? Subscribe (free) to my newsletter below and as a bonus get the password to my free resource library and access this printable and all of my other free printables.
I hope it is something you will enjoy creating.
Want more spring DIY ideas? Click on the pictures below.
Want to remember this craft? Save it to your favorite DIY Craft Board on Pinterest.


Are we friends on Instagram?
Follow @PracticalWhimsyDesigns to see more
behind the scenes projects


With all the kids at home right now and Easter coming soon, this is sure to be a hit!
Yes. These are simple and fun to make and are a great project for this time of year.