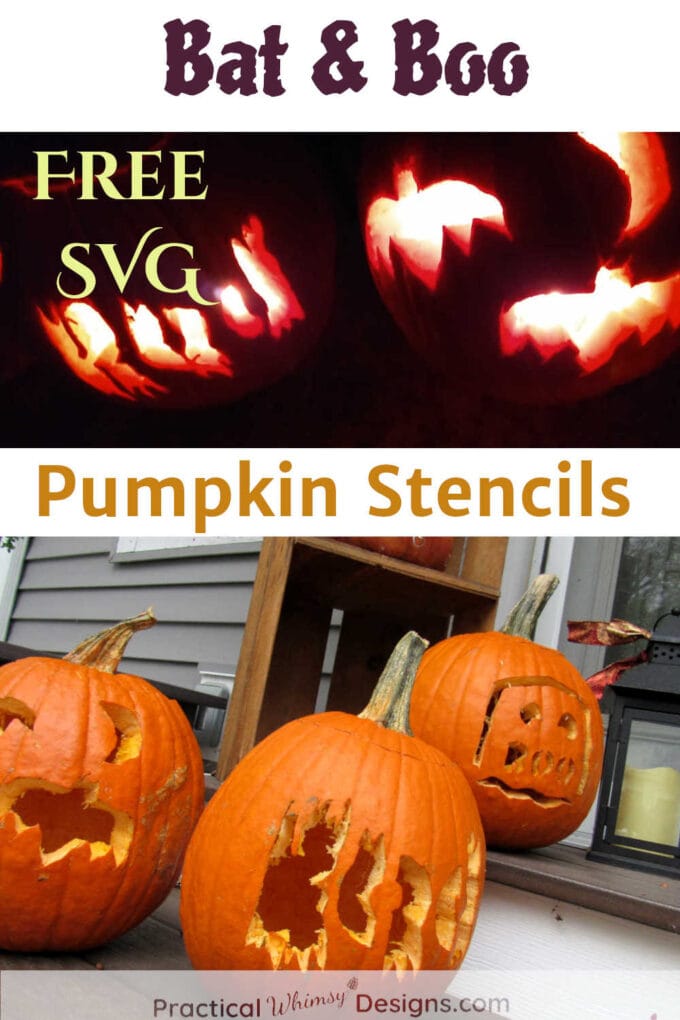
Need a fun family activity for Halloween? These free bat and boo pumpkin stencils are a great way to help you with your next pumpkin carving session.
The perfect pumpkin.
A little bit of patience.
A steady hand.
And the perfect pumpkin carving template.
That is all you need to create fun jack o’ lanterns this year.
Pumpkin carving is something that lots of kids hope you add to your family’s own unique Halloween traditions. Seeing the creativity of the glowing pumpkins next to the front door during an evening walk can be a source of conversation and adventure as you hunt down your favorite Halloween decorations.
It is a fun family activity where everyone can participate in finding that perfect pumpkin at the pumpkin patch. Then, together, you work on transforming it into something fun to put on the front porch.
Using Pumpkin Stencils to Design Your Carving
One of the best ways to create carved pumpkins is with a stencil.
Though you may not not have the skill level to create jack o’ lanterns worthy of Better Homes and Gardens, having pumpkin carving stencils to base your design off of can help give you inspiration for your next pumpkin masterpiece.
That’s why I created these bat and boo pumpkin stencils for your next carving session. They work great for a medium pumpkin. However, if you use a cutting machine the SVG file can be resized to fit a larger or smaller one.
This post contains some affiliate links for your convenience (which means if you click a link and make a purchase I will earn a small commission at no extra cost to you). Please see my disclaimer page for more information.
Materials You Need:
- Free Printable Pumpkin Stencils as a PDF file or Free Pumpkin Stencils as an SVG file for use with a cutting machine (My free SVG/PDF files for these pumpkin stencils are available in my free resource library – get the password by filling out the form at the bottom of this page).
- Cutting machine, cutting mat, and removeable vinyl or cardstock (I love the Cricut Maker) -OR-
- If you don’t have a cutting machine, you can print the pdf onto white cardstock, and cut out the black lines to create the stencil for your pumpkin. (I find it easiest to cut the patterns out on a self-healing cutting mat with a craft knife)
- Pumpkin carvers and scoop or spoon (These are safer than a utility knife and easier to use)
- Markers
- Tea lights (either a battery operated tea light or a real candle)
- t pins or toothpicks, opt.
How to Use the Bat and Boo Pumpkins Stencils
Step 1: Create Your Stencil
Start by unzipping the files you choose to use.
You can create the stencils in two ways.
Method 1: Cut them out by hand
Print the stencil PDFs on cardstock. Place the cardstock on a self-healing cutting mat and use a craft knife to cut around the stencil design.
Method 2: Use a cutting machine
Use a cutting machine (I use a Cricket Maker) to cut out the stencil with the SVG file. Cutting machines are an amazing way to make stencils for your pumpkins.
Upload SVG
To use the provided SVG file on Cricut Design Space: Download the SVG file to your computer and upload it to Design Space. If you need help uploading an SVG file read this tutorial.
Click continue if it warns you about text elements as you are uploading the file.
If you want to move individual stencils around, click ungroup on the top of the right menu.
Then click each stencil and hit attach at the bottom of the screen. This will keep the pieces in place so that the machine will cut them out in the order they are in.
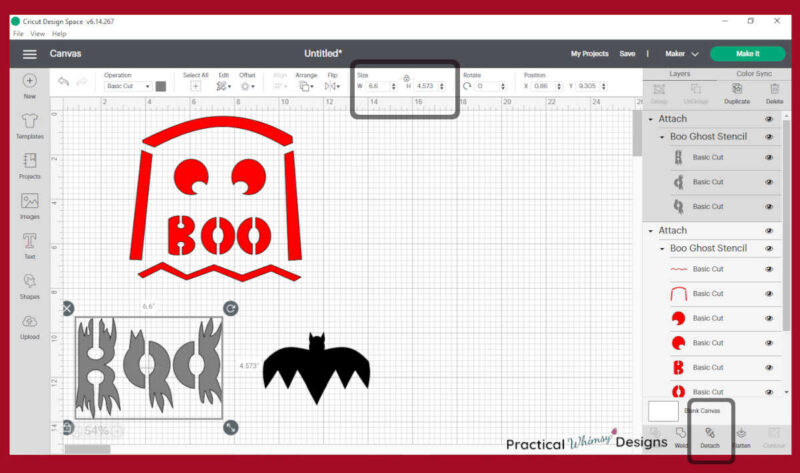
Resize the Stencils
You can resize the stencils to fit your pumpkins by clicking on each stencil. Then drag the arrow in the right bottom corner while you have the arrow clicked. This should allow you to make it bigger or smaller by sliding it back and forth. Or you can change the sizing on the top of the screen under the W and H box.
When you are satisfied with the sizing of your stencils, click the Make It button in the upper right corner of your screen.
Adjust Your Layout
The stencils are designed in 3 different colors so that they will come on 3 different mats. If you kept them small enough to fit on one cutting mat, you can move them all to the same mat.
Simply click the stencil you want to move. Then click the three dots in the upper left corner of the stencil.
Select move object. This allows you to click on one of the other mats and add the selected stencil to that mat. You can then drag it to where you want it to go on the screen.
You can also click a stencil, select the three buttons, and click hide to keep your machine from cutting out the stencil if you don’t want to use it.
Cut Out the Stencil
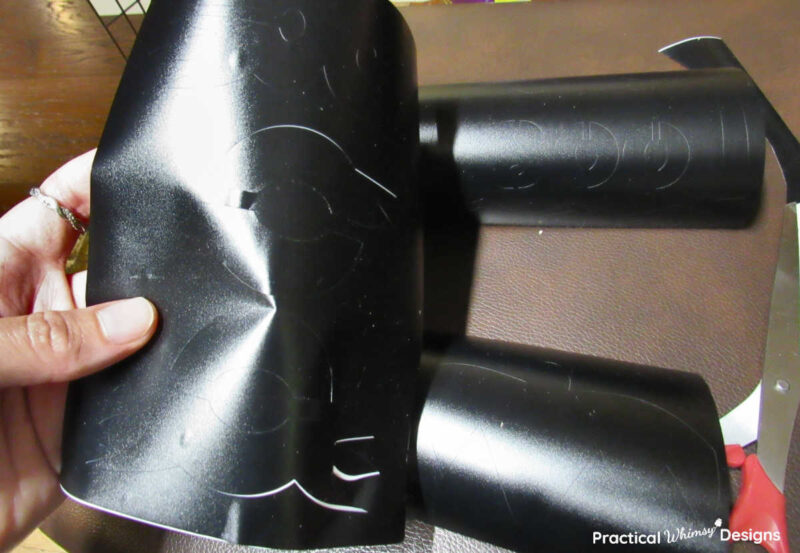
Once you have your stencils where you want them, click make it. Select your material. Stick your removable vinyl or cardstock to a blue or green cutting mat and load it into your Cricut.
Watch your Cricut Maker cut out your stencil.
Step 2: Empty your pumpkin
Use a marker to draw a circle around the top of your pumpkin, large enough to reach your hand in to pull out the seeds and insides.
Use a pumpkin carver to cut around the top of your pumpkin.
Scoop out all of the seeds and any pumpkin flesh that is loose inside of the pumpkin with a spoon or scoop.
Step 3: Cut out your pumpkin carving designs
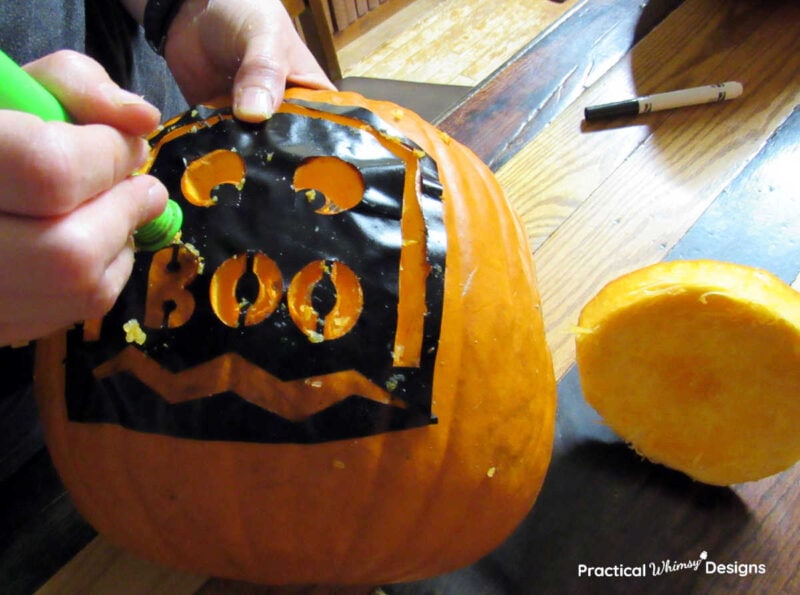
If you cut your stencil out in vinyl you can stick it to the top layer of skin on the side of your pumpkin. I found it easier to not use transfer tape to transfer the vinyl to the pumpkin. The vinyl didn’t want to stick to the bumpy outside of the pumpkin as strongly as it would to other materials. It was hard to peel the vinyl off of the transfer tape when I tried this method.
Instead, I peeled the vinyl stencil off of its backing and stuck it to the pumpkin. Since I used removeable vinyl, I could move the stencil around and adjust it as needed.
We used both the inside of the vinyl stencil and the outside so that more kids could cut out their design at once. This was the best use of the vinyl too.
If you are using cardstock, tape the cardstock stencil onto your pumpkin.
Depending on your pumpkin carving skills you can either trace the stencil onto your pumpkin with a marker, or cut around the stencil with your pumpkin carvers.

It was easier for our kids to cut around the vinyl stencils we used while they were still stuck to the pumpkins, so we left them on as they cut.
Use a steady knife to cut the smaller pieces out first and then cut out the bigger sections. We like the pumpkin carvers because they are not as sharp as a regular knife, though you still need to supervise younger children.
If you accidently made extra cuts or have a thin piece that needs extra support, use t pins or a toothpick and stick them into the thin areas of the pumpkin to strengthen the it.
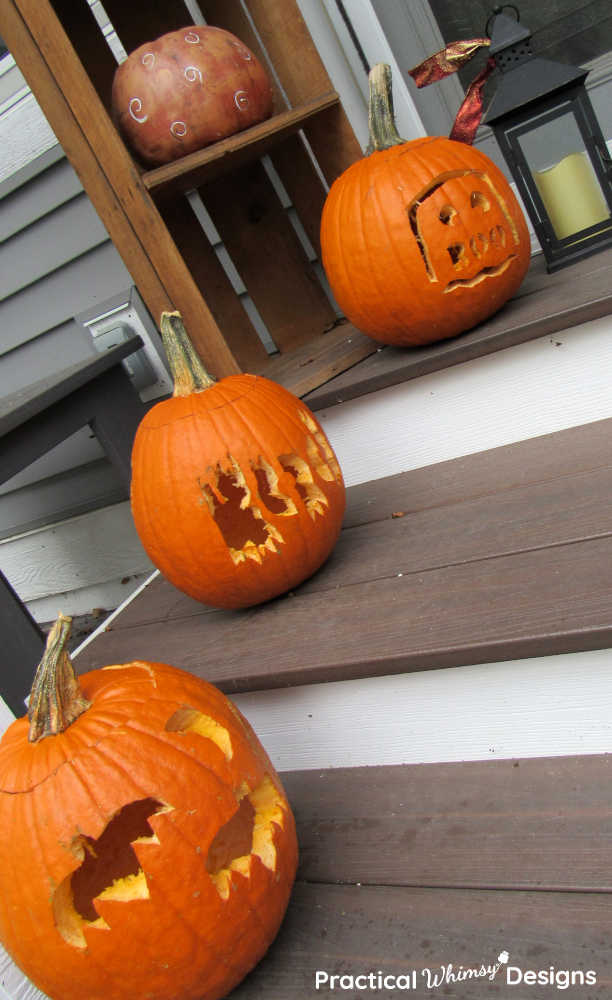
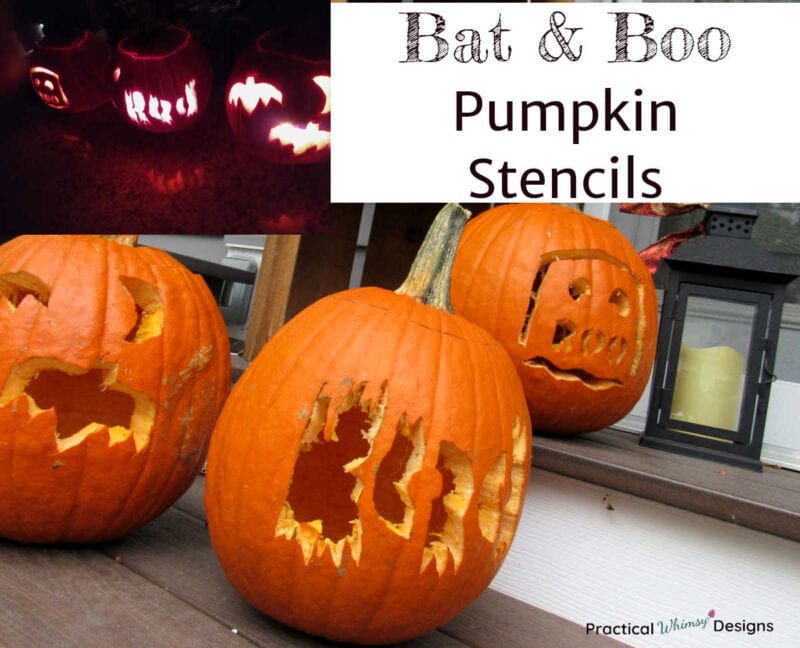
Bat and Boo Pumpkin Stencils
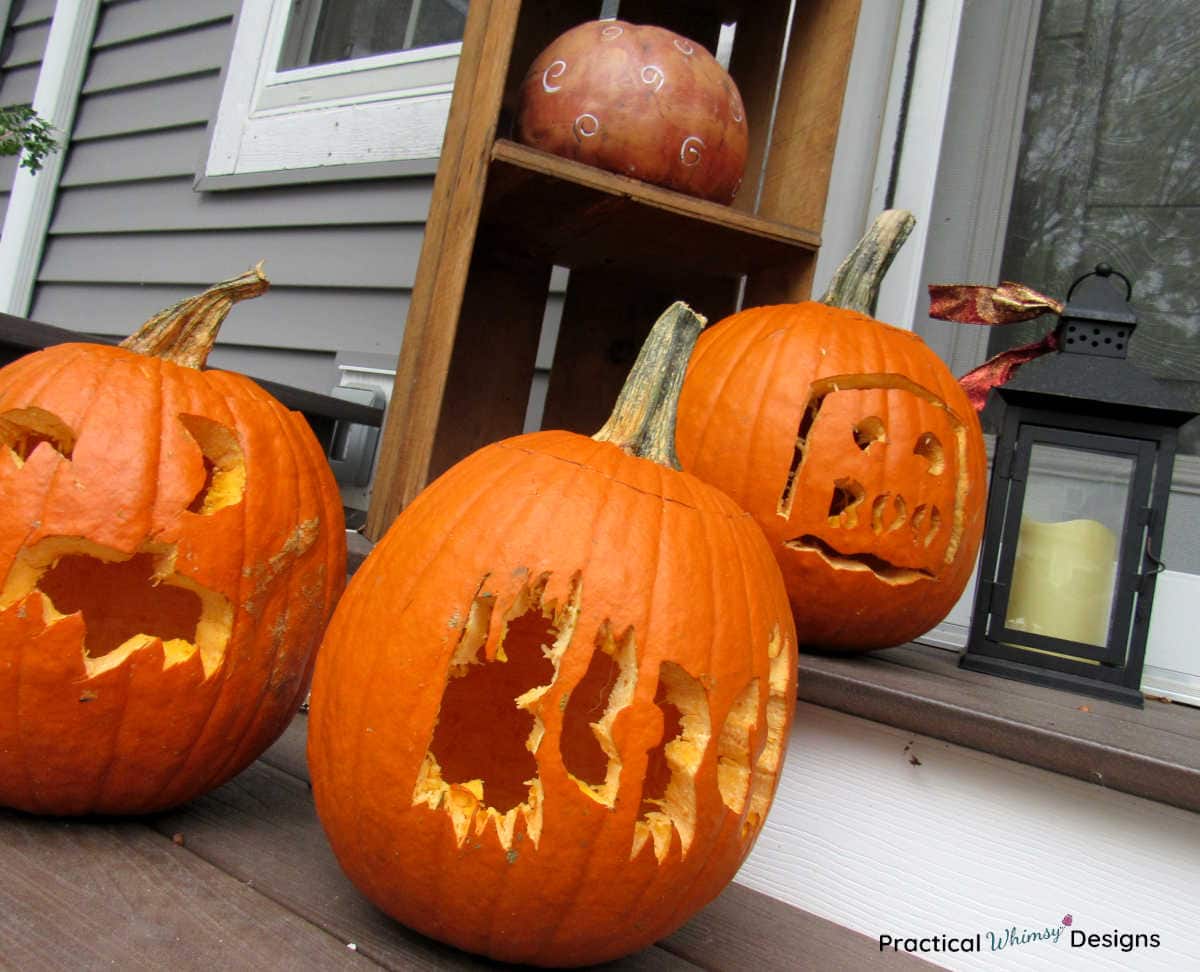
Here are the different pumpkin carving patterns after we cut them out.
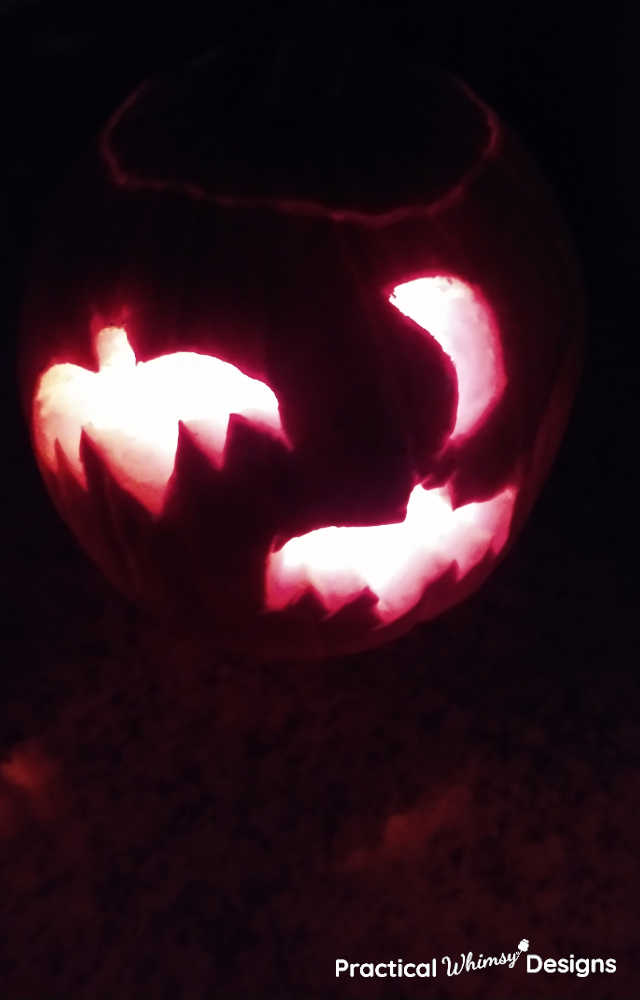
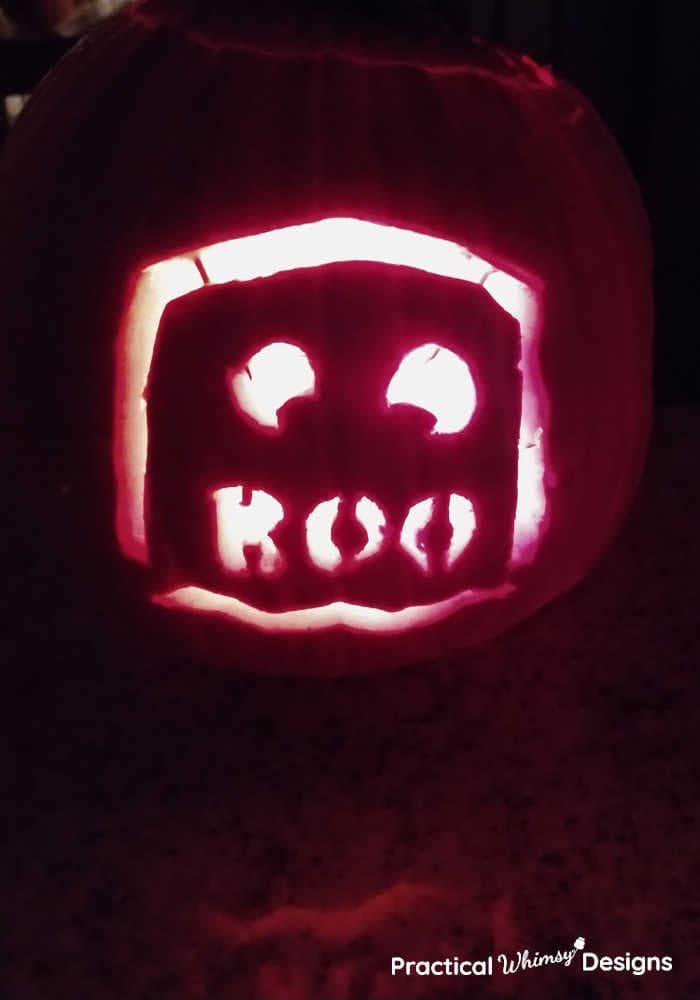
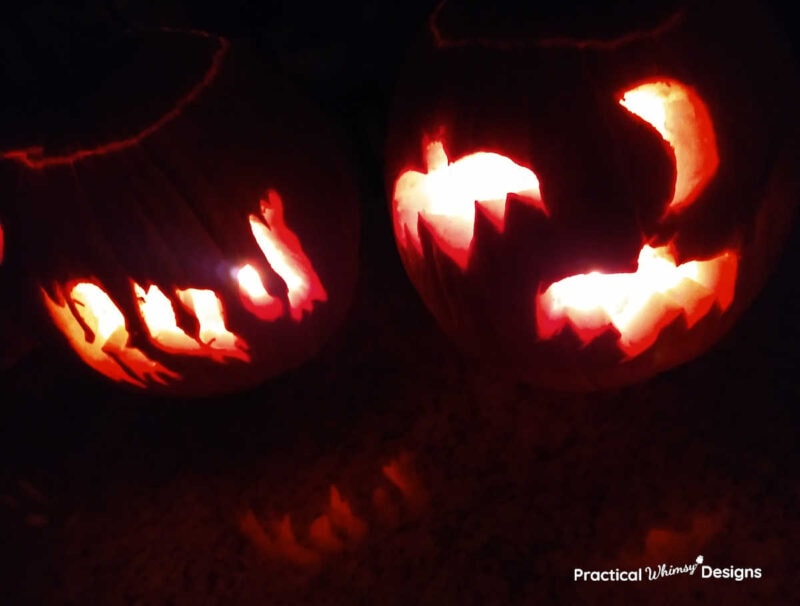
And this is what they looked like after we lit tea lights in the pumpkins.
My son used the bat shape twice on his pumpkin and then we hand drew the crescent moon over the top of the bats.
My youngest son needed a little help carving out the goofy ghost with the boo mouth, but he was so happy with how it turned out.
Favorite No-Carve Pumpkin Option
If you have smaller children who need a lower difficulty level when it comes to decorating their pumpkins, these free pumpkin carving patterns also work great as a no-carve option. Just cut out the stencil on vinyl and use the inside pieces to stick decorations onto your pumpkins.
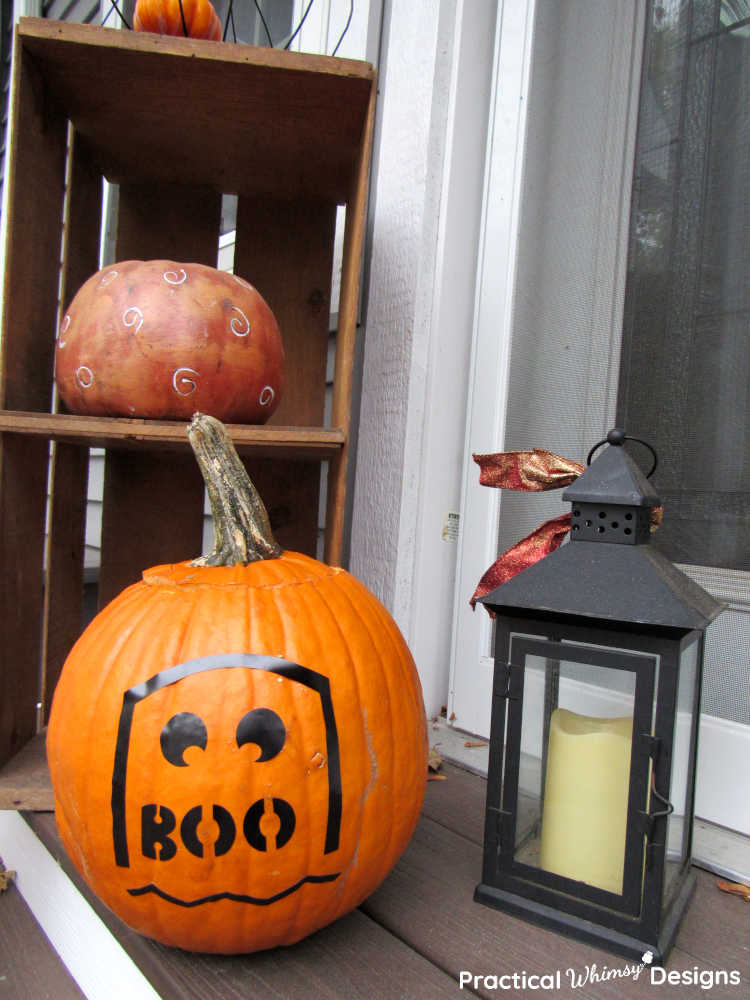
Or use the stencil and let your child trace the template onto the pumpkin. After they trace the stencil, allow them to color it in to create a fun boo pumpkin pattern on their pumpkin too.
These awesome pumpkin stencils are a fun way to spend an evening together as a family and include your kids in your seasonal home decor. With a little patience you can create a fun decoration that will light the night with your creativity.
Need fun ideas for Halloween costumes? Check out these easy DIY costumes:
- Easy DIY Dust Bunny Costume
- One Eyed, One Horned, Flying, Purple People Eater
- Easy Tooth Fairy Costume
- Easy Sock Monster Costume
Want to remember this for later? Save it to your favorite DIY Pinterest board.
Want More Great Ideas? You Might Like These..


Are we friends on Instagram?
Follow @PracticalWhimsyDesigns to see more
behind the scenes projects